
Java笔记之SSH项目整合
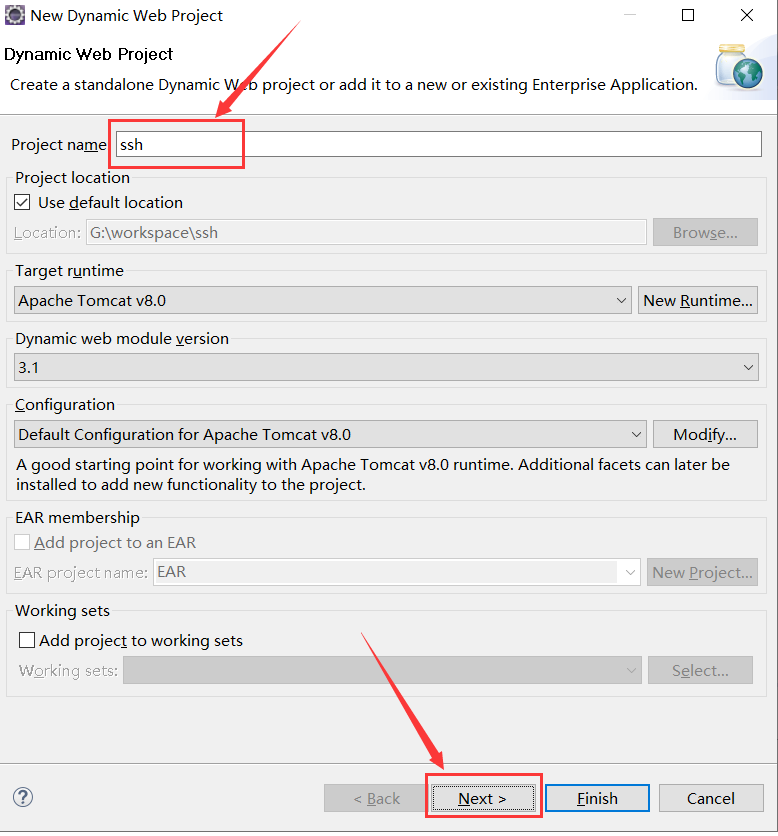
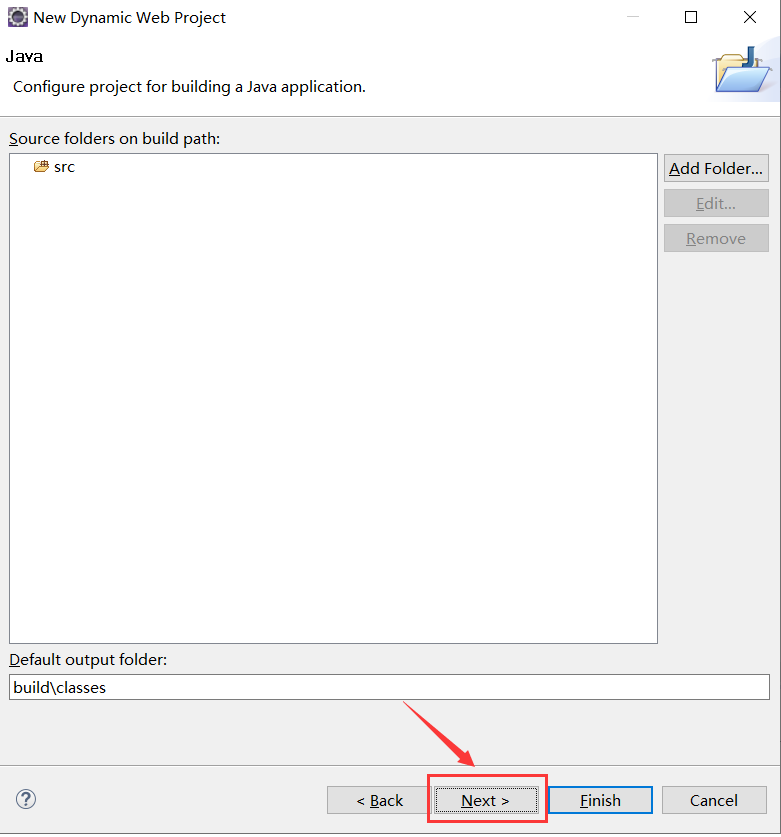
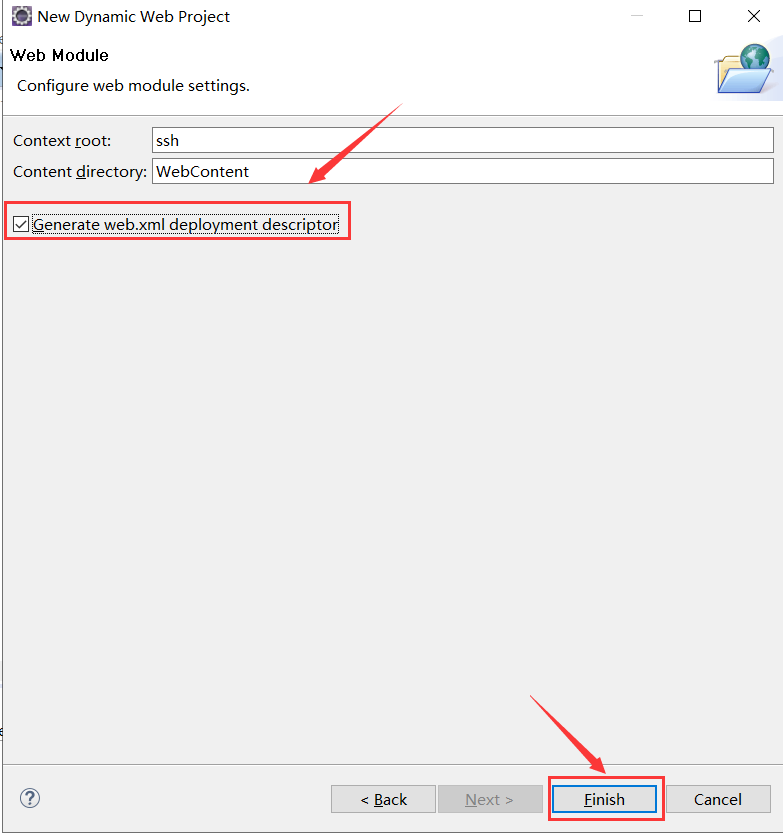
1.新建web项目
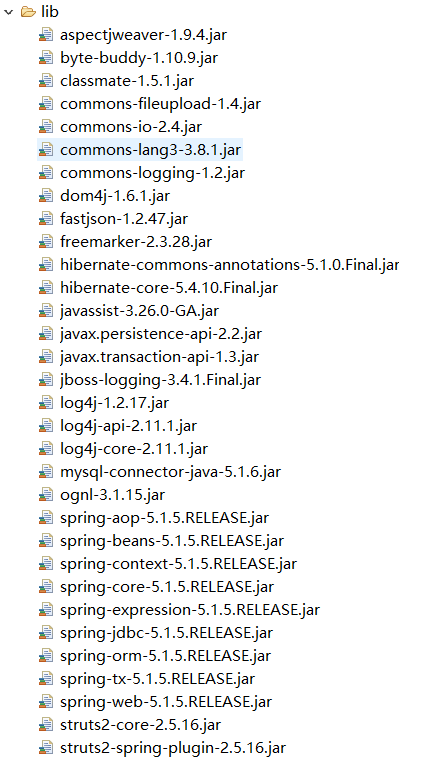
2.导入jar包
3.修改web.xml文件

<?xml version="1.0" encoding="UTF-8"?>
<web-app xmlns:xsi="http://www.w3.org/2001/XMLSchema-instance" xmlns="http://xmlns.jcp.org/xml/ns/javaee" xsi:schemaLocation="http://xmlns.jcp.org/xml/ns/javaee http://xmlns.jcp.org/xml/ns/javaee/web-app_3_1.xsd" id="WebApp_ID" version="3.1">

  <filter>
      <filter-name>struts2</filter-name>
      <!-- 2.3版本是org.apache.struts2.dispatcher.ng.filter.StrutsPrepareAndExecuteFilter -->
      <filter-class>org.apache.struts2.dispatcher.filter.StrutsPrepareAndExecuteFilter</filter-class>
  </filter>
  <filter-mapping>
      <filter-name>struts2</filter-name>
      <url-pattern>/*</url-pattern>
  </filter-mapping>

  <listener>
      <listener-class>org.springframework.web.context.ContextLoaderListener</listener-class>
  </listener>
  <context-param>
      <param-name>contextConfigLocation</param-name>
      <param-value>classpath:applicationContext.xml</param-value>
  </context-param>


  <display-name>ssh</display-name>
  <welcome-file-list>
    <welcome-file>/WEB-INF/jsp/index.jsp</welcome-file>
  </welcome-file-list>
</web-app>
4.src目录下新建applicationContext.xml文件
<?xml version="1.0" encoding="UTF-8"?>
<beans xmlns="http://www.springframework.org/schema/beans"
  xmlns:xsi="http://www.w3.org/2001/XMLSchema-instance"
  xmlns:context="http://www.springframework.org/schema/context"
  xmlns:tx="http://www.springframework.org/schema/tx"
  xmlns:aop="http://www.springframework.org/schema/aop"
  xsi:schemaLocation="http://www.springframework.org/schema/beans
      http://www.springframework.org/schema/beans/spring-beans.xsd
      http://www.springframework.org/schema/context
      http://www.springframework.org/schema/context/spring-context.xsd
      http://www.springframework.org/schema/tx
      http://www.springframework.org/schema/tx/spring-tx.xsd
      http://www.springframework.org/schema/aop
      http://www.springframework.org/schema/aop/spring-aop.xsd">

    <!-- 配置注解扫描 -->
    <context:component-scan base-package="com.ssh.demo"></context:component-scan>
    <!-- 加载数据库配置文件 -->
    <context:property-placeholder location="classpath:jdbc.properties"/>

    <bean id="dataSource" class="org.springframework.jdbc.datasource.DriverManagerDataSource">
        <property name="driverClassName" value="${jdbc.driver}"></property>
        <property name="url" value="${jdbc.url}"></property>
        <property name="username" value="${jdbc.username}"></property>
        <property name="password" value="${jdbc.password}"></property>
    </bean>

    <bean id="sessionFactory" class="org.springframework.orm.hibernate5.LocalSessionFactoryBean">
        <property name="dataSource" ref="dataSource"></property>
        <property name="hibernateProperties">
            <props>
                <prop key="hibernate.dialect">org.hibernate.dialect.MySQL5Dialect</prop>
                  <prop key="hibernate.show_sql">true</prop>
                  <prop key="hibernate.format_sql">true</prop>
                  <prop key="hibernate.hbm2ddl.auto">update</prop>
            </props>
        </property>
        <property name="mappingLocations">
            <list>
                <value>classpath:com/ssh/demo/pojo/*.hbm.xml</value>
            </list>
        </property>
    </bean>

    <bean id="transactionManager" class="org.springframework.orm.hibernate5.HibernateTransactionManager">
        <property name="sessionFactory" ref="sessionFactory"></property>
    </bean>

    <tx:advice id="advice" transaction-manager="transactionManager">
        <tx:attributes>
            <tx:method name="get*" propagation="SUPPORTS"/>
            <tx:method name="add*" propagation="REQUIRED"/>
            <tx:method name="update*" propagation="REQUIRED"/>
            <tx:method name="delete*" propagation="REQUIRED"/>
        </tx:attributes>
    </tx:advice>

    <aop:config>
        <aop:pointcut expression="execution(* com.ssh.demo.service.*.*(..))" id="pointCut"/>
        <aop:advisor advice-ref="advice" pointcut-ref="pointCut"/>
    </aop:config>

</beans>
5.src目录下新建jdbc.properties
jdbc.driver=com.mysql.jdbc.Driver
jdbc.url=jdbc:mysql://localhost:3306/keeper?characterEncoding=UTF-8
jdbc.username=root
jdbc.password=123456
6.src目录下创建struts.xml文件
<?xml version="1.0" encoding="UTF-8"?>
<!DOCTYPE struts PUBLIC
          "-//Apache Software Foundation//DTD Struts Configuration 2.0//EN"
          "http://struts.apache.org/dtds/struts-2.0.dtd">
<struts>
    <!-- struts的对象交给spring管理 -->
    <constant name="struts.objectFactory" value="spring"></constant>

    <package name="first" extends="struts-default" namespace="/">
        <action name="hello" class="helloAction" method="sayHello">
            <result name="hello">/WEB-INF/jsp/hello.jsp</result>
        </action>
    </package>
</struts>
7.src目录下新建log4j.properties文件
log4j.rootLogger=DEBUG,stdout,FILE
log4j.addivity.org.apache=true

#stdout输出到控制台
log4j.appender.stdout=org.apache.log4j.ConsoleAppender
log4j.appender.stdout.layout=org.apache.log4j.PatternLayout
log4j.appender.stdout.layout.ConversionPattern=%-5p - %m%n

#FILE输出到文件
log4j.appender.FILE=org.apache.log4j.DailyRollingFileAppender
#日志文件的位置
log4j.appender.FILE.File=G:/log/ssh.log
#日志文件的编码方式
log4j.appender.FILE.File.Encoding=utf-8
log4j.appender.FILE.DatePattern="'_'yyyyMMdd"
#当天的日志使用追加的方式写入日志文件
log4j.appender.FILE.Append=true
log4j.appender.FILE.layout=org.apache.log4j.PatternLayout
#日志的格式
log4j.appender.FILE.layout.ConversionPattern=%-5p %c - %m%n
8.src下新建包com.ssh.demo.action,并在其中新建HelloAction类
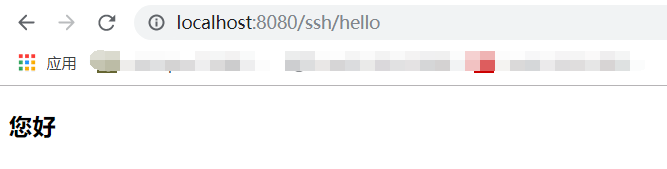
package com.ssh.demo.action;

import javax.servlet.http.HttpServletRequest;

import org.apache.struts2.ServletActionContext;
import org.springframework.stereotype.Controller;

@Controller
public class HelloAction {
    public String sayHello() {
        HttpServletRequest request = ServletActionContext.getRequest();
        request.setAttribute("message", "您好");
        return "hello";
    }
}
9.WEB-INF下新建jsp目录,在其中新键index.jsp文件和hello.jsp文件
index.jsp
<%@ page language="java" contentType="text/html; charset=UTF-8"
    pageEncoding="UTF-8"%>
<!DOCTYPE html PUBLIC "-//W3C//DTD HTML 4.01 Transitional//EN" "http://www.w3.org/TR/html4/loose.dtd">
<html>
<head>
<meta http-equiv="Content-Type" content="text/html; charset=UTF-8">
<title>首页</title>
</head>
<body>
    <a href="hello">打招呼</a>
</body>
</html>
hello.jsp
<%@ page language="java" contentType="text/html; charset=UTF-8"
    pageEncoding="UTF-8"%>
<!DOCTYPE html PUBLIC "-//W3C//DTD HTML 4.01 Transitional//EN" "http://www.w3.org/TR/html4/loose.dtd">
<html>
<head>
<meta http-equiv="Content-Type" content="text/html; charset=UTF-8">
<title>打招呼</title>
</head>
<body>
    <h3>${message }</h3>
</body>
</html>
10.新建包com.ssh.demo.pojo,并在其中新建Employee类---类可以先不创建,包要创建,因为在applicationContext.xml文件中配置sessionFactory时做了映射文件的配置,其中包含了该包
package com.ssh.demo.pojo;

public class Employee {
    private Integer empId;
    private String empName;

    public Employee() {

    }
    public Integer getEmpId() {
        return empId;
    }
    public void setEmpId(Integer empId) {
        this.empId = empId;
    }
    public String getEmpName() {
        return empName;
    }
    public void setEmpName(String empName) {
        this.empName = empName;
    }

}
11.启动项目,访问地址http://localhost:8080/ssh/
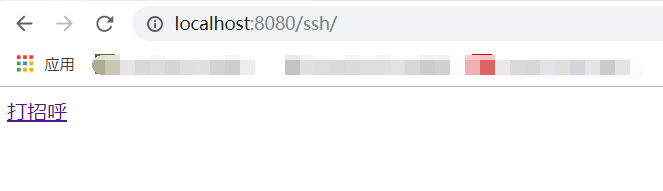
点击"打招呼"链接


【推荐】国内首个AI IDE,深度理解中文开发场景,立即下载体验Trae
【推荐】编程新体验,更懂你的AI,立即体验豆包MarsCode编程助手
【推荐】抖音旗下AI助手豆包,你的智能百科全书,全免费不限次数
【推荐】轻量又高性能的 SSH 工具 IShell:AI 加持,快人一步
· AI与.NET技术实操系列:向量存储与相似性搜索在 .NET 中的实现
· 基于Microsoft.Extensions.AI核心库实现RAG应用
· Linux系列:如何用heaptrack跟踪.NET程序的非托管内存泄露
· 开发者必知的日志记录最佳实践
· SQL Server 2025 AI相关能力初探
· 震惊!C++程序真的从main开始吗?99%的程序员都答错了
· winform 绘制太阳,地球,月球 运作规律
· 【硬核科普】Trae如何「偷看」你的代码?零基础破解AI编程运行原理
· 上周热点回顾(3.3-3.9)
· 超详细:普通电脑也行Windows部署deepseek R1训练数据并当服务器共享给他人