Gitlab
Gitlab
GitHub是公开的仓库,一些企业和公司的代码不方便放到上面,就可以选择搭建一个自己的私有仓库,可以搭建Gitlib来实现。
1.Git服务器的搭建
[root@antong ~]# yum install -y git
[root@antong ~]# git config --global user.name "antong"
[root@antong ~]# git config --global user.email "1172734664@qq.com"
//添加git用户,并且设置shell为/usr/bin/git-shell,目的是为了不让git用户远程登陆
[root@antong ~]# useradd -s /usr/bin/git-shell git
[root@antong ~]# cd /home/git/
//创建authorized_keys文件,并更改属主、属组和权限,用来存客户端机器上的公钥
[root@antong git]# mkdir .ssh
[root@antong git]# touch .ssh/authorized_keys
[root@antong git]# chown -R git.git .ssh
[root@antong git]# chown 600 .ssh/authorized_keys
[root@antong git]# ll .ssh/authorized_keys
-rw-r--r--. 1 600 git 0 Sep  2 21:40 .ssh/authorized_keys

//定好存储Git仓库的目录,比如 /data/gitpub
[root@antong git]# mkdir /data/gitpub
[root@antong git]# cd /data/gitpub/
[root@antong gitpub]# git init --bare sample.git
Initialized empty Git repository in /data/gitpub/sample.git/
[root@antong gitpub]# chown -R git.git sample.git/
[root@antong gitpub]# ll
total 0
drwxr-xr-x. 7 git git 119 Sep  2 21:42 sample.git
以上操作是在Git服务器上操作,平时Git服务器是不需要开发人员登录修改代码的,它仅仅是充当着一个服务器的角色,就像GitHub一样,平时操作都是在我们自己的机器上操做的。
//首先要把客户端上的公钥放到git服务器/home/git/.ssh/authorized_keys文件里
[root@client ~]# ssh-keygen    //按3次回车
[root@client ~]# scp /root/.ssh/id_rsa.pub 192.168.200.10:/home/git/.ssh/authorized_keys
//在客户端上克隆远程仓库
[root@client ~]# git clone git@192.168.200.10:/data/gitpub/sample.git
Cloning into 'sample'...
warning: You appear to have cloned an empty repository.
[root@client ~]# ls
anaconda-ks.cfg  sample
 //此时就可以在当前目录下生成一个sample的目录,这个就是我们克隆的远程仓库了。进入到这里面,可以开发一些代码,然后push到远程,比如git push origin master。
2.GitLab的使用
GitLab官网:https://about.gitlab.com/gitlab-com/
官方安装文档:https://about.gitlab.com/installation/?version=ce#centos-7 (ce/ee)
要求服务器内存不少于2 GB。
[root@client ~]# vim /etc/yum.repos.d/gitlab.repo		//加入如下内容
[gitlab-ce]
name=Gitlab CE Repository
baseurl=https://mirrors.tuna.tsinghua.edu.cn/gitlab-ce/yum/el$releasever/
gpgcheck=0
enabled=1
[root@client ~]# yum clean all   //清理yum源
[root@client ~]# yum repolist   //查看是否配置成功
[root@antong ~]# yum install -y gitlab-ce.x86_64
[root@antong ~]# gitlab-ctl reconfigure		//重新加载
[root@antong ~]# netstat -lnpt  //查看监听端口
[root@antong ~]# netstat -lnpt
Active Internet connections (only servers)
Proto Recv-Q Send-Q Local Address           Foreign Address         State       PID/Program name
tcp        0      0 0.0.0.0:8060            0.0.0.0:*               LISTEN      3528/nginx: master
tcp        0      0 127.0.0.1:9121          0.0.0.0:*               LISTEN      4247/redis_exporter
tcp        0      0 127.0.0.1:9090          0.0.0.0:*               LISTEN      4253/prometheus
tcp        0      0 127.0.0.1:9187          0.0.0.0:*               LISTEN      4355/postgres_expor
tcp        0      0 127.0.0.1:9093          0.0.0.0:*               LISTEN      4344/alertmanager
tcp        0      0 127.0.0.1:9100          0.0.0.0:*               LISTEN      4226/node_exporter
tcp        0      0 127.0.0.1:9229          0.0.0.0:*               LISTEN      4213/gitlab-workhor
tcp        0      0 127.0.0.1:9168          0.0.0.0:*               LISTEN      4241/ruby
tcp        0      0 127.0.0.1:8080          0.0.0.0:*               LISTEN      3409/puma 5.3.2 (un
tcp        0      0 0.0.0.0:80              0.0.0.0:*               LISTEN      3528/nginx: master
tcp        0      0 127.0.0.1:8082          0.0.0.0:*               LISTEN      3441/sidekiq 5.2.9
tcp        0      0 127.0.0.1:9236          0.0.0.0:*               LISTEN      4206/gitaly
tcp        0      0 0.0.0.0:22              0.0.0.0:*               LISTEN      908/sshd
tcp        0      0 127.0.0.1:3000          0.0.0.0:*               LISTEN      4361/grafana-server
tcp        0      0 127.0.0.1:25            0.0.0.0:*               LISTEN      1203/master
tcp6       0      0 :::9094                 :::*                    LISTEN      4344/alertmanager
tcp6       0      0 :::3306                 :::*                    LISTEN      1137/mysqld
tcp6       0      0 ::1:9168                :::*                    LISTEN      4241/ruby
tcp6       0      0 :::22                   :::*                    LISTEN      908/sshd
tcp6       0      0 ::1:25                  :::*                    LISTEN      1203/master
[root@antong ~]# gitlab-ctl start     //启动gitlab
ok: run: alertmanager: (pid 4344) 274s
ok: run: gitaly: (pid 4235) 277s
ok: run: gitlab-exporter: (pid 4241) 277s
ok: run: gitlab-workhorse: (pid 4213) 278s
ok: run: grafana: (pid 4361) 273s
ok: run: logrotate: (pid 2962) 530s
ok: run: nginx: (pid 3528) 427s
ok: run: node-exporter: (pid 4226) 278s
ok: run: postgres-exporter: (pid 4355) 274s
ok: run: postgresql: (pid 3214) 512s
ok: run: prometheus: (pid 4253) 276s
ok: run: puma: (pid 3409) 451s
ok: run: redis: (pid 3003) 524s
ok: run: redis-exporter: (pid 4247) 277s
ok: run: sidekiq: (pid 3436) 445s
使用浏览器访问Gitlab,输入IP地址即可
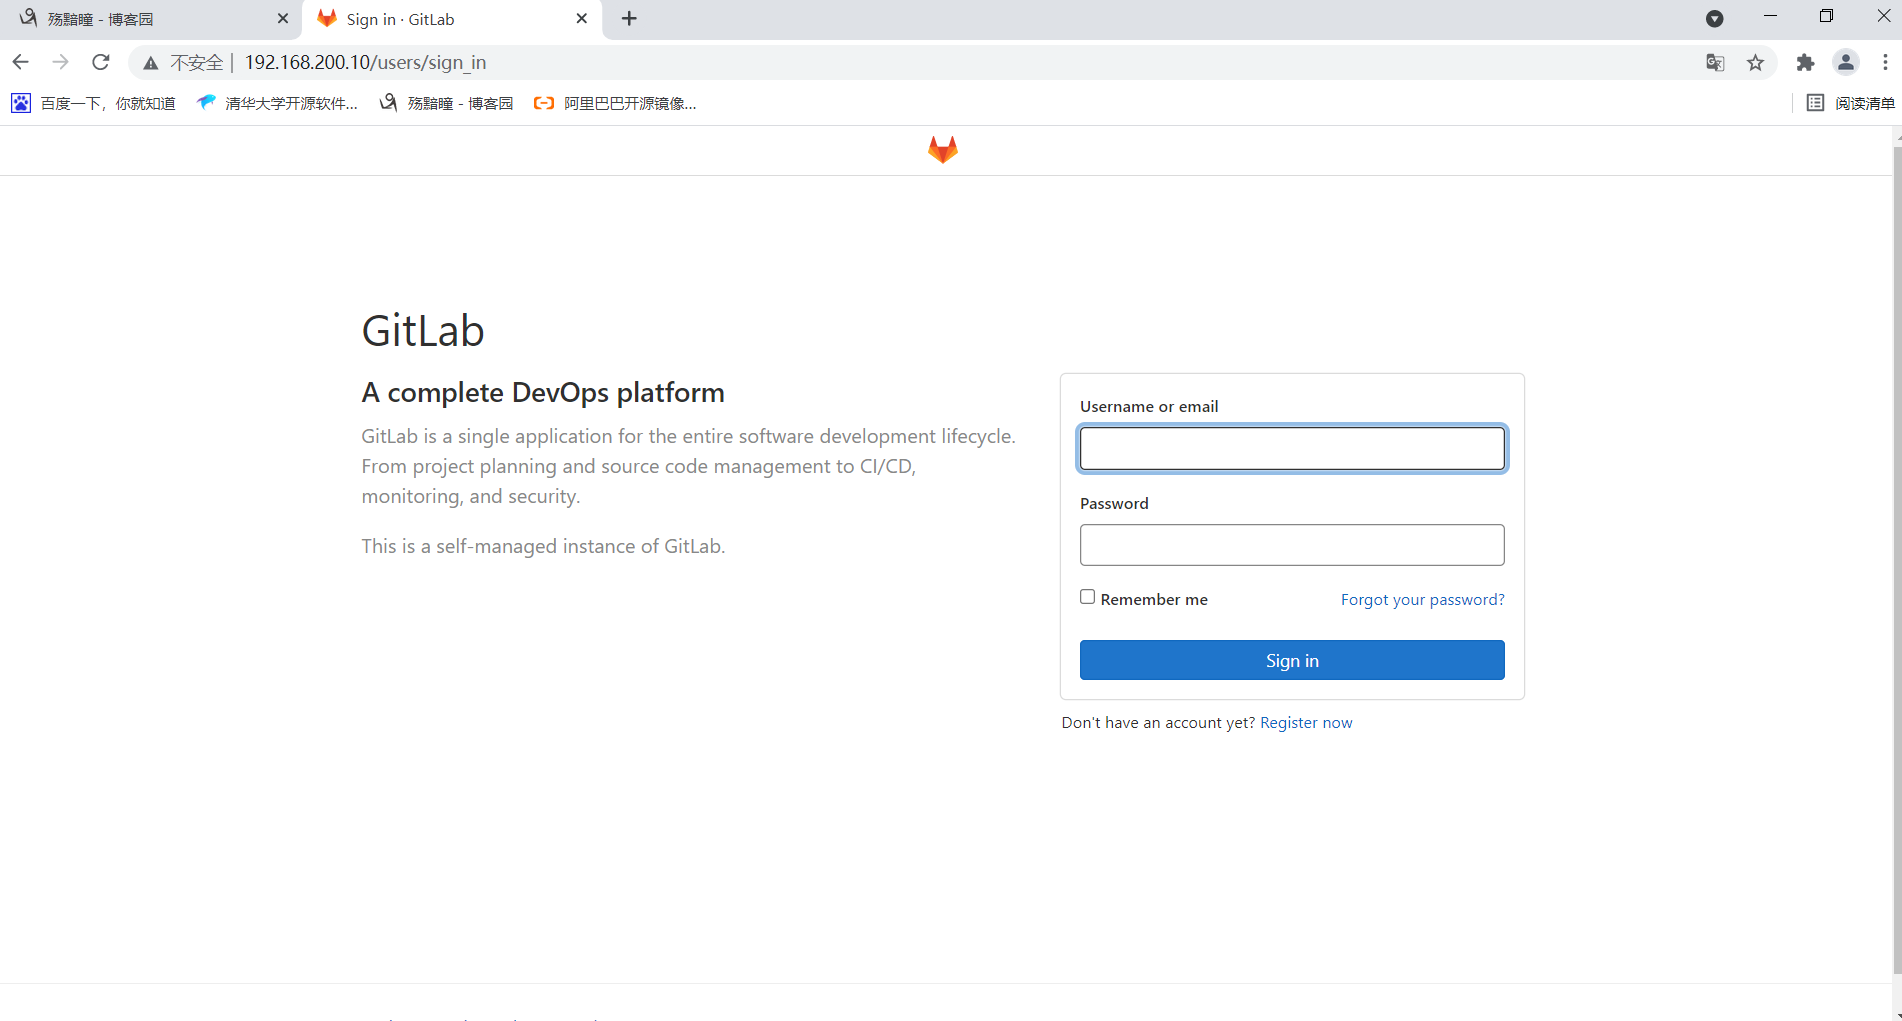
默认管理员root,无密码,它会让我们去定义一个密码,至少8位数
GitLab常用命令 https://www.cnyunwei.cc/archives/1204
//GitLab备份
[root@antong ~]# gitlab-rake gitlab:backup:create	//创建备份压缩包
2021-09-02 23:16:13 -0400 -- Dumping database ...
Dumping PostgreSQL database gitlabhq_production ... [DONE]
2021-09-02 23:16:17 -0400 -- done
2021-09-02 23:16:17 -0400 -- Dumping repositories ...
...    //简写省略

//备份目录在/var/opt/gitlab/backups
[root@antong ~]# ls /var/opt/gitlab/backups/
1630638978_2021_09_02_14.2.3_gitlab_backup.tar

//GitLab恢复,需要先停服务
[root@antong ~]# gitlab-ctl stop unicorn ; gitlab-ctl stop sidekiq
ok: down: sidekiq: 7s, normally up

[root@antong ~]# gitlab-rake gitlab:backup:restore BACKUP=xxxxx //(这里是一个编号,即备份文件的前缀)	//恢复备份
...
2020-08-05 12:13:33 -0400 -- done
2020-08-05 12:13:33 -0400 -- Restoring repositories ...
2020-08-05 12:13:33 -0400 -- done
2020-08-05 12:13:33 -0400 -- Restoring uploads ...
2020-08-05 12:13:33 -0400 -- done
...

//再启动服务
# gitlab-ctl start
ok: run: alertmanager: (pid 3330) 12714s
ok: run: gitaly: (pid 3341) 12713s
ok: run: gitlab-exporter: (pid 3357) 12713s
ok: run: gitlab-workhorse: (pid 3359) 12713s
ok: run: grafana: (pid 4273) 12521s
ok: run: logrotate: (pid 13262) 1911s

 浙公网安备 33010602011771号