macOS常用配置实录(vscode等)
记录一下常用软件的下载使用以及常见问题
以下软件的安装使用全部基于macOS BigSur 11.3.1,M1芯片
微信
目前App Store里的微信3.1.5版本还是intel的
有网友说Rosetta 2运行的微信占用内存很大,不过亲测下来CPU和内存的占用都很正常,使用也很流畅
但就是微信的聊天记录迁移功能着实很诡异
从手机迁移的记录并没有出现在列表里,单个联系人窗口点开之后查询记录也是没有结果
唯一证明它迁移过了的证据是在“从电脑迁移到手机里”有迁移过来的聊天的 图标显示
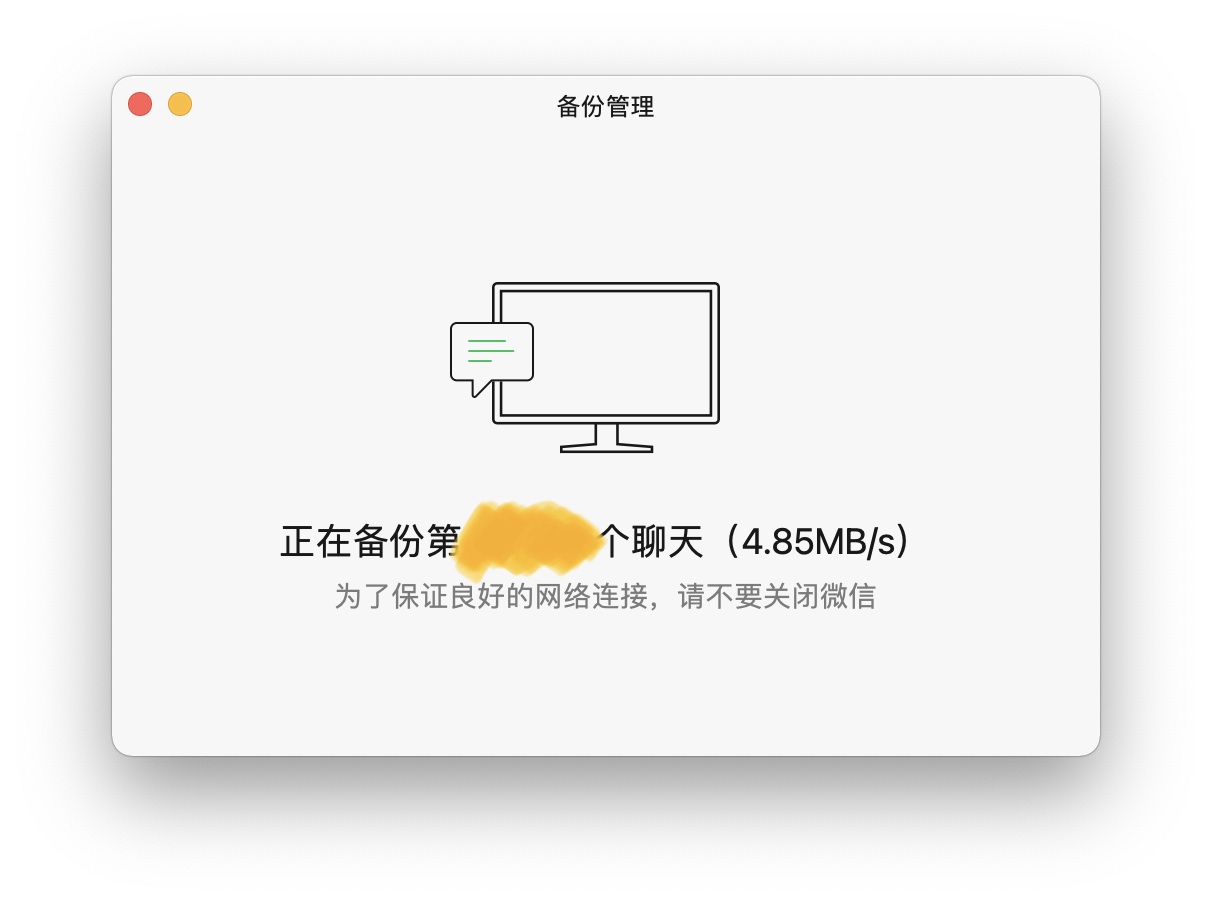
传输记录如上图,当然最后聊天记录和文件还是没传过来
唯一迁移成功的经历是在登录时勾上“同步最近的聊天记录” [摊手]
真的是不比不知道,同步迁移功能可以做的多糟糕
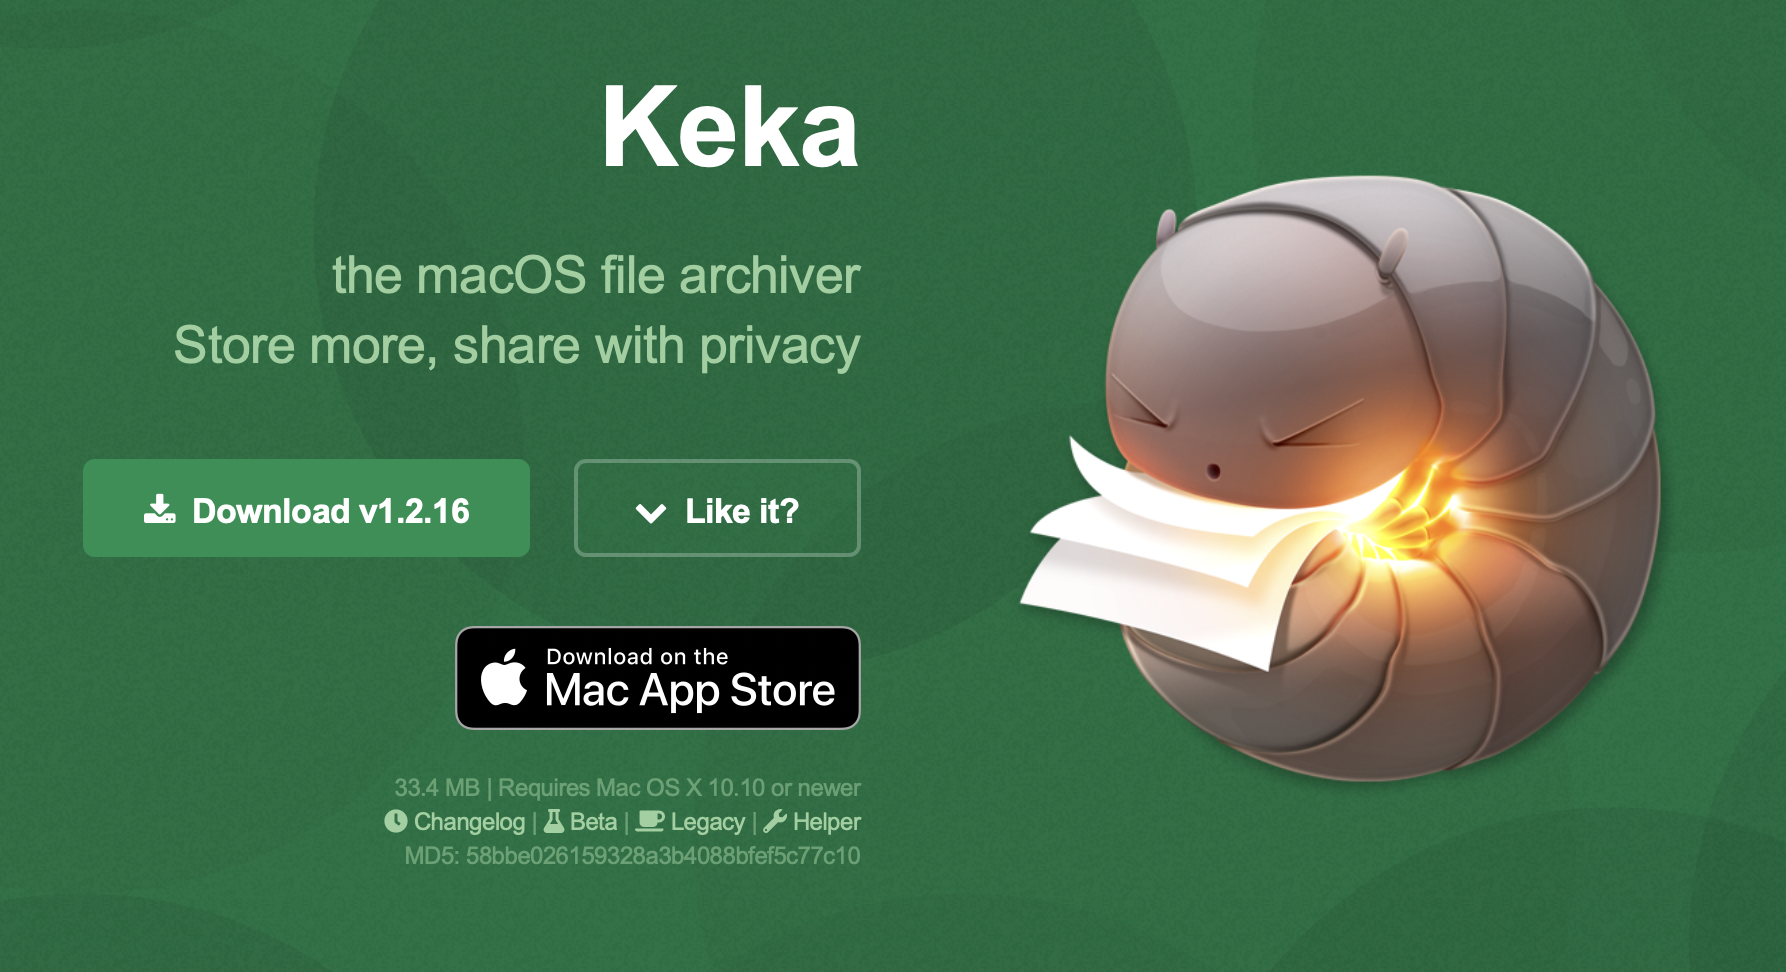
压缩软件-Keka
UI做的挺好看的
支持以下类型文件
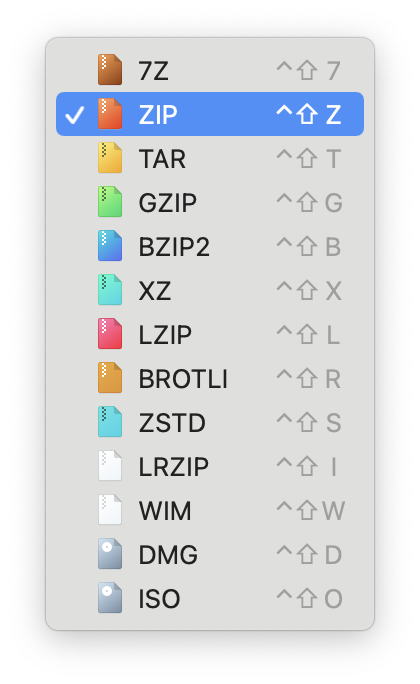
官网下载链接是https://www.keka.io/en/
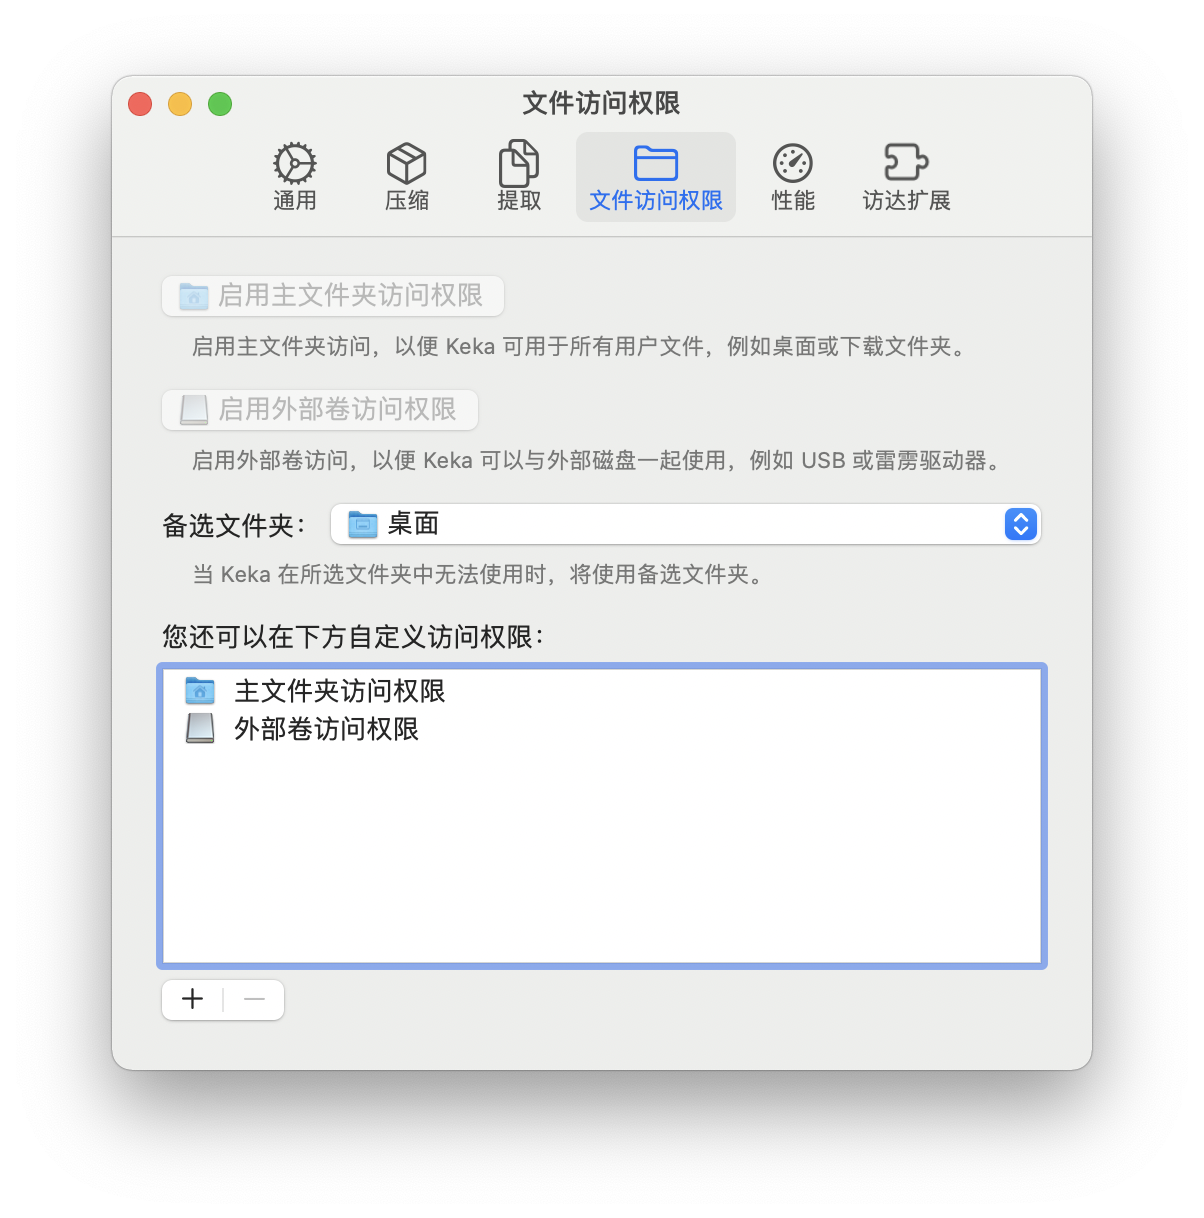
首次使用需要开启访问文件夹的权限
Adobe全家桶系列
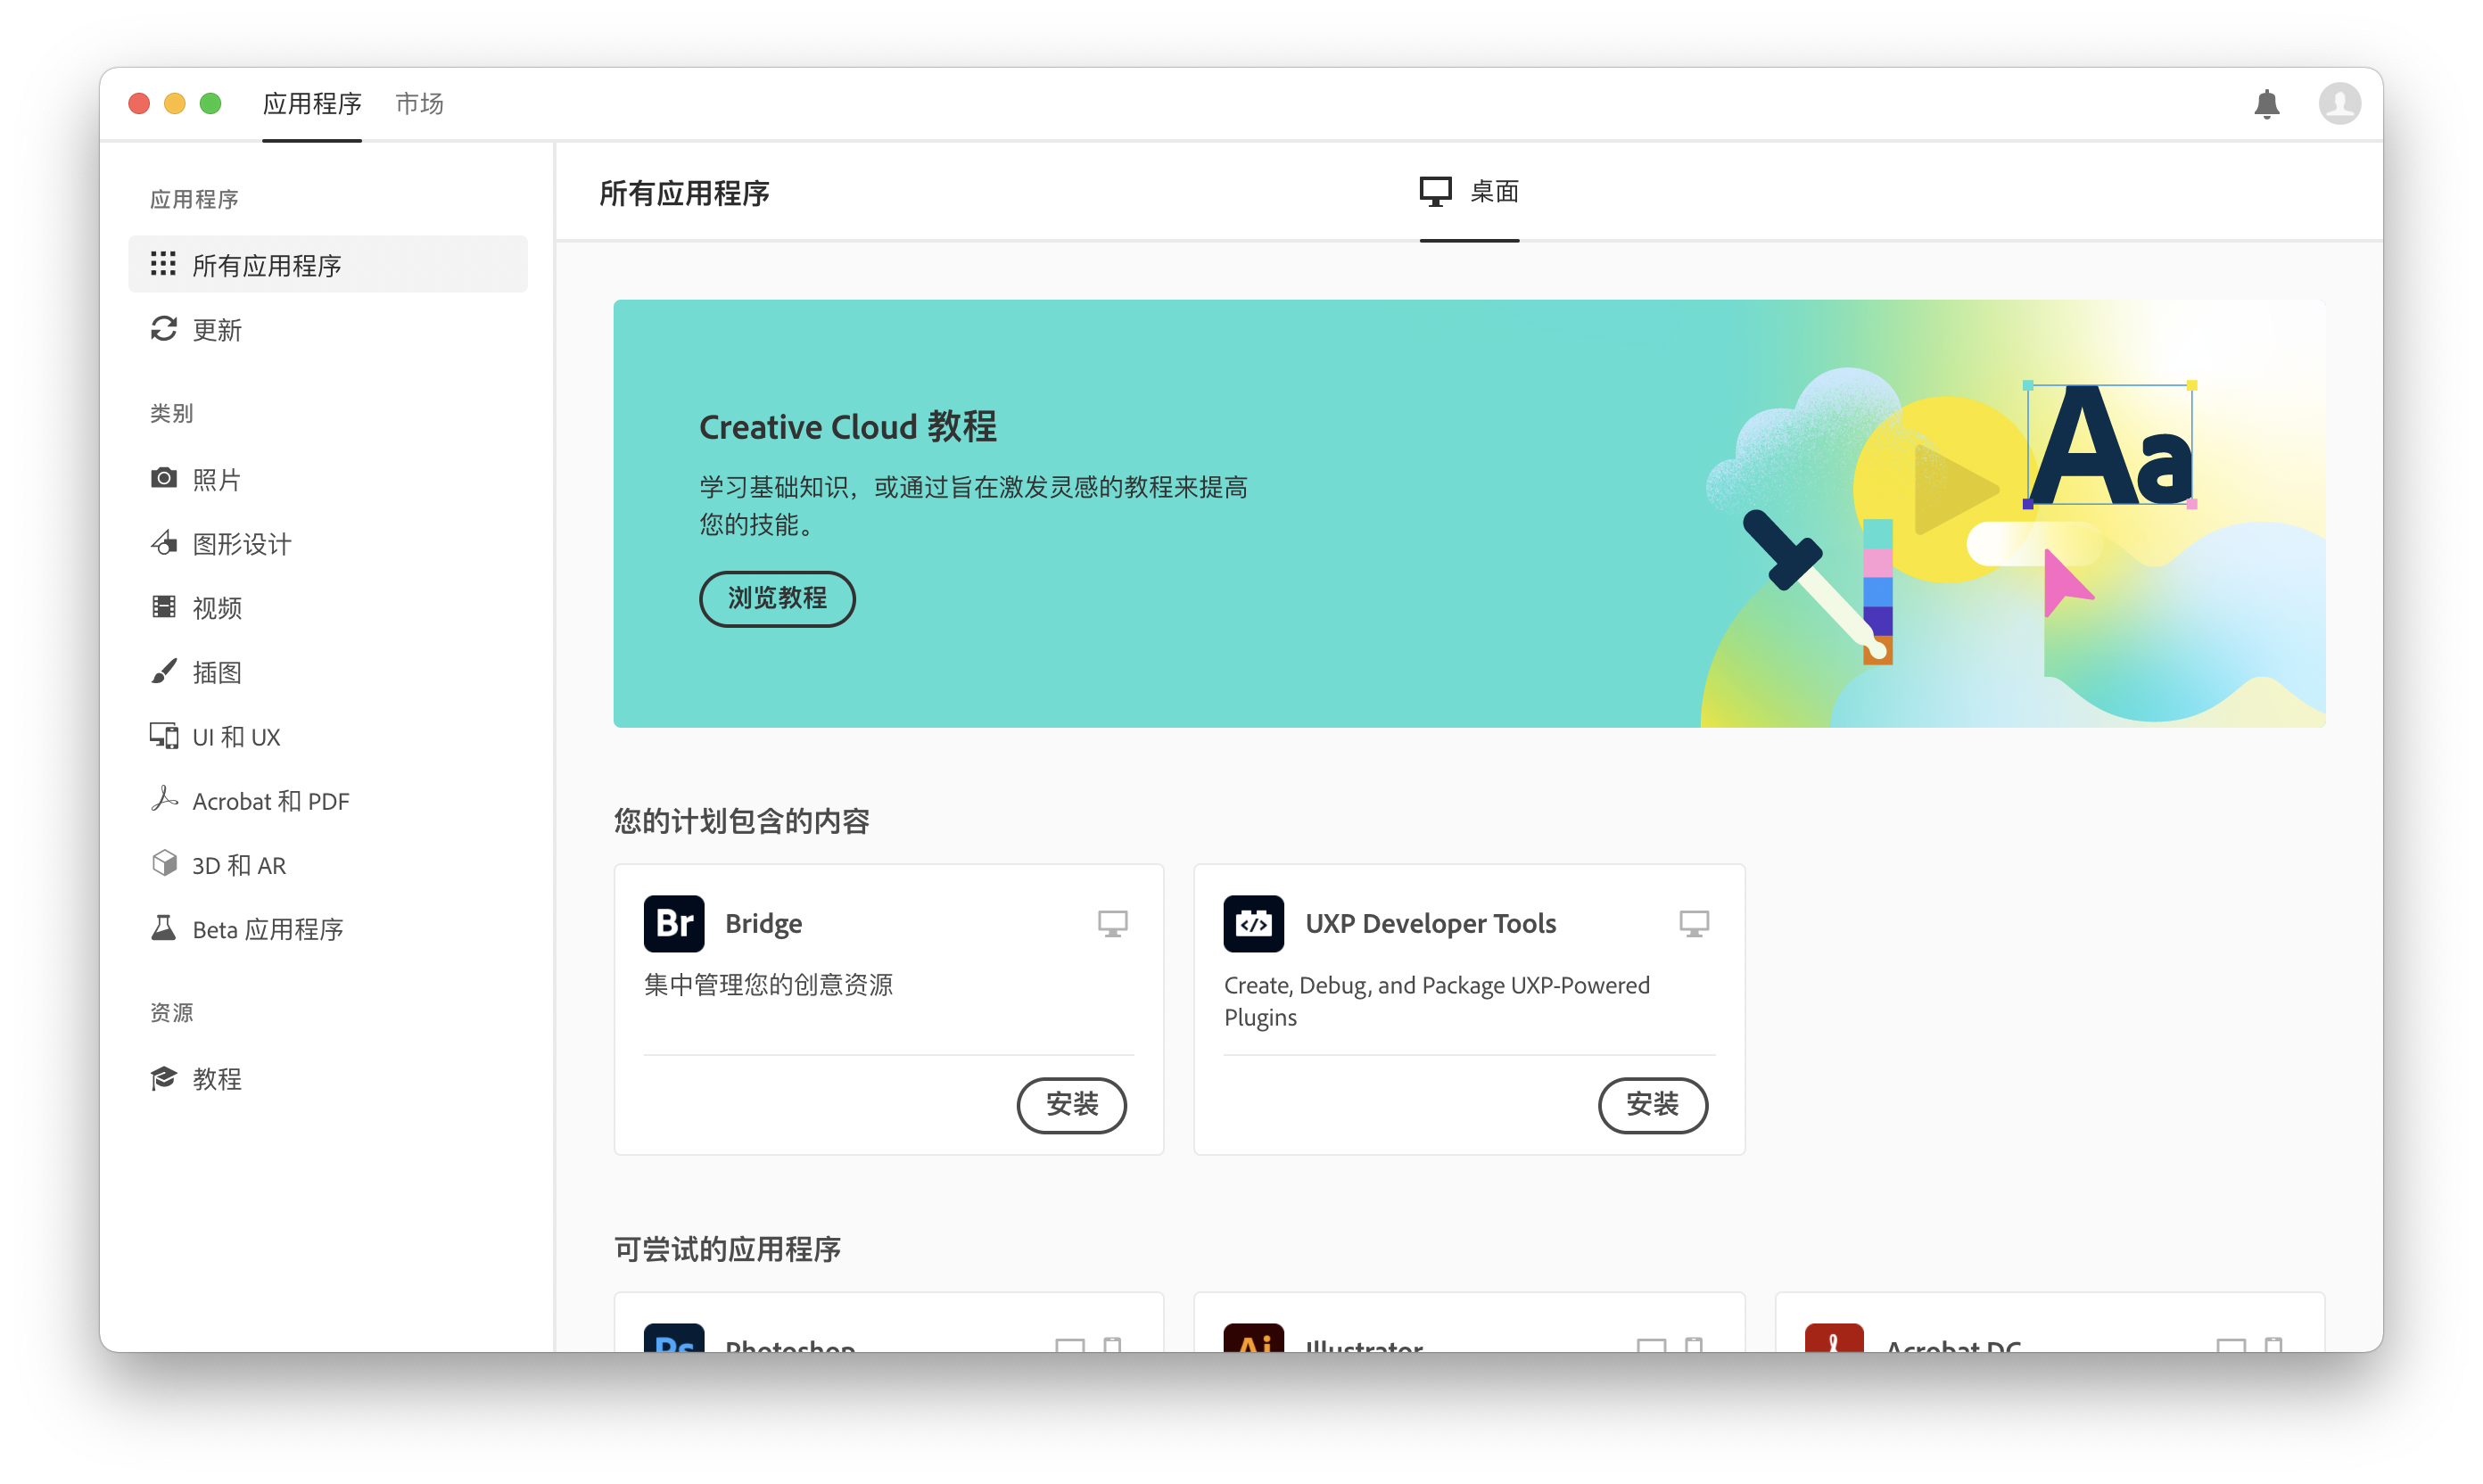
推荐在Adobe Creative Cloud里下载安装
链接是 https://www.adobe.com/cn/products/catalog.html
Adobe全家桶如何破解
Adobe Zii 官方网站 https://www.adobezii.com/home/
使用的时候要注意参考帮助文档
建议将Adobe用于商业用途的同学购买正版
Office全家桶系列
Office 365是按年订阅的,Office 2019/2016是买断制的
如果需要破解,需要下载安装Office 2019/2016版本
Office全家桶如何激活
一般来说各个大学都会提供Office的激活方式
一般是一个dmg包,安装即可
配置vscode的c++环境
以前记过一个Mac配置gdb的一些问题
再详细地记一次吧emm
首先在vsc的扩展商店里下载微软的"C/C++"扩展 可以看到它是c++扩展里边热度最高的
不过单独安装这个扩展既不能够编译运行也不能够调试程序,它的作用主要是代码高亮、代码补全、代码改进建议等
然后我们来看到官方的帮助文档 C/C++ for Visual Studio Code
macOS自带clang这个编译器,在vsc里按下 ⌃` 打开终端,输入以下命令检查一下编译器的配置
首次操作的话会提醒下载命令行开发者工具,同意即可
clang --version
如果在输出里边没有版本号或者显示clang is not a recognized command的话,你需要把PATH路径改成编译器它所在的位置(不过正常情况下是不会有问题的)
接下来是clang的具体配置,转到clang的官方帮助文档 Using Clang in Visual Studio Code
需要说明的一点是,vscode编译、运行的配置并不是全局的,而是在一个文件夹.vscode里的以下三个文件。这个.vscode文件夹内的配置文件在不同的工作区(你写程序的文件夹)里是可以不同的,且都需要你自己配置。换句话说它并不是一次配置好了以后,就可以编译运行在任何地方的.cpp文件。
tasks.json(compiler build settings)launch.json(debugger settings)c_cpp_properties.json(compiler path and IntelliSense settings)
按着帮助文档一步步来,首先选定一个文件夹作为工作区,然后新建一个helloworld.cpp,输入以下代码
 1 #include <iostream>
 2 #include <vector>
 3 #include <string>
 4
 5 using namespace std;
 6
 7 int main()
 8 {
 9     vector<string> msg {"Hello", "C++", "World", "from", "VS Code", "and the C++ extension!"};
10
11     for (const string& word : msg)
12     {
13         cout << word << " ";
14     }
15     cout << endl;
16 }
接下来需要配置 tasks.json 文件
在“终端”栏内选择 Configure Default Build Task ,再选择 clang++生成活动文件
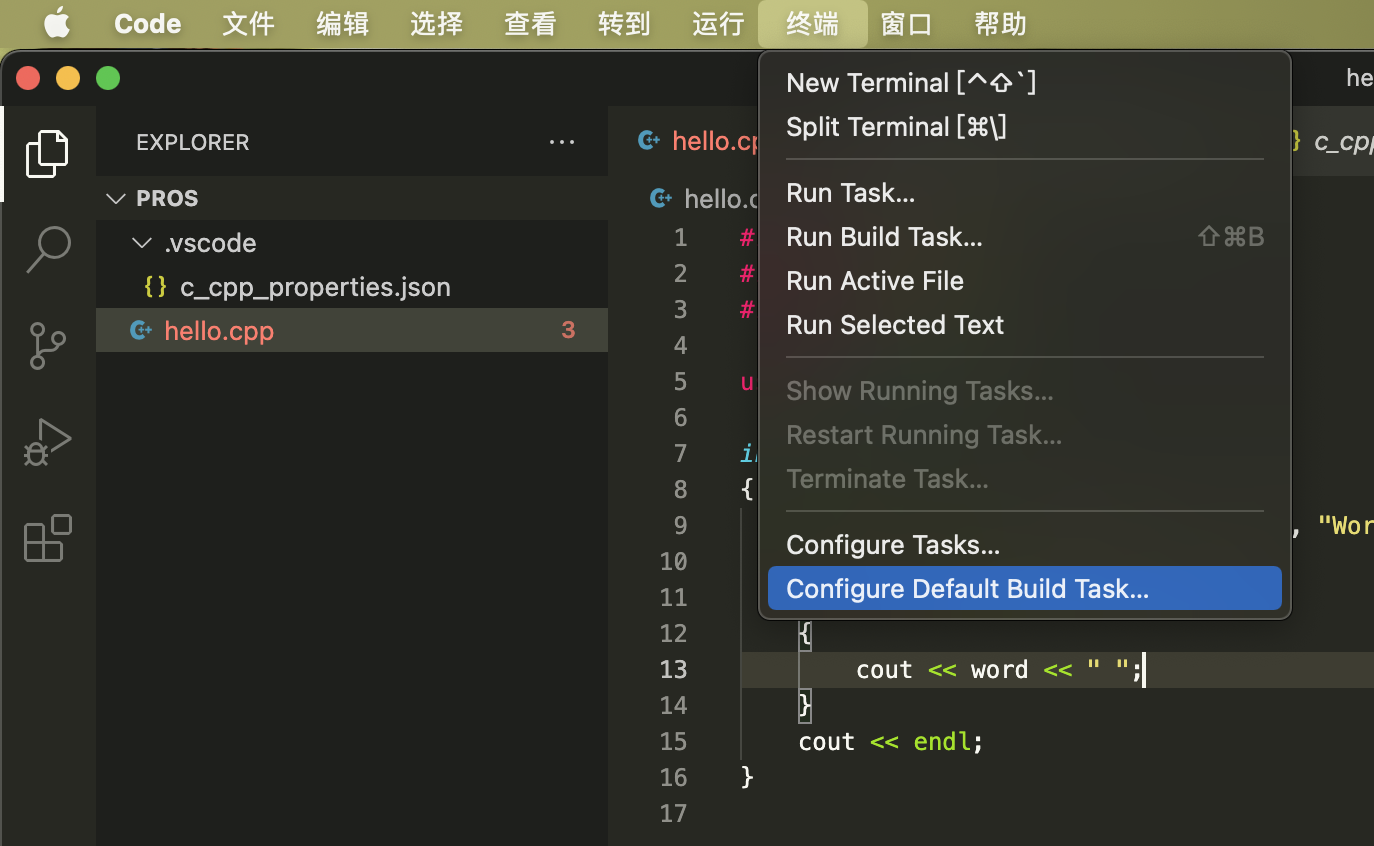
上图:选Configure Default Build Task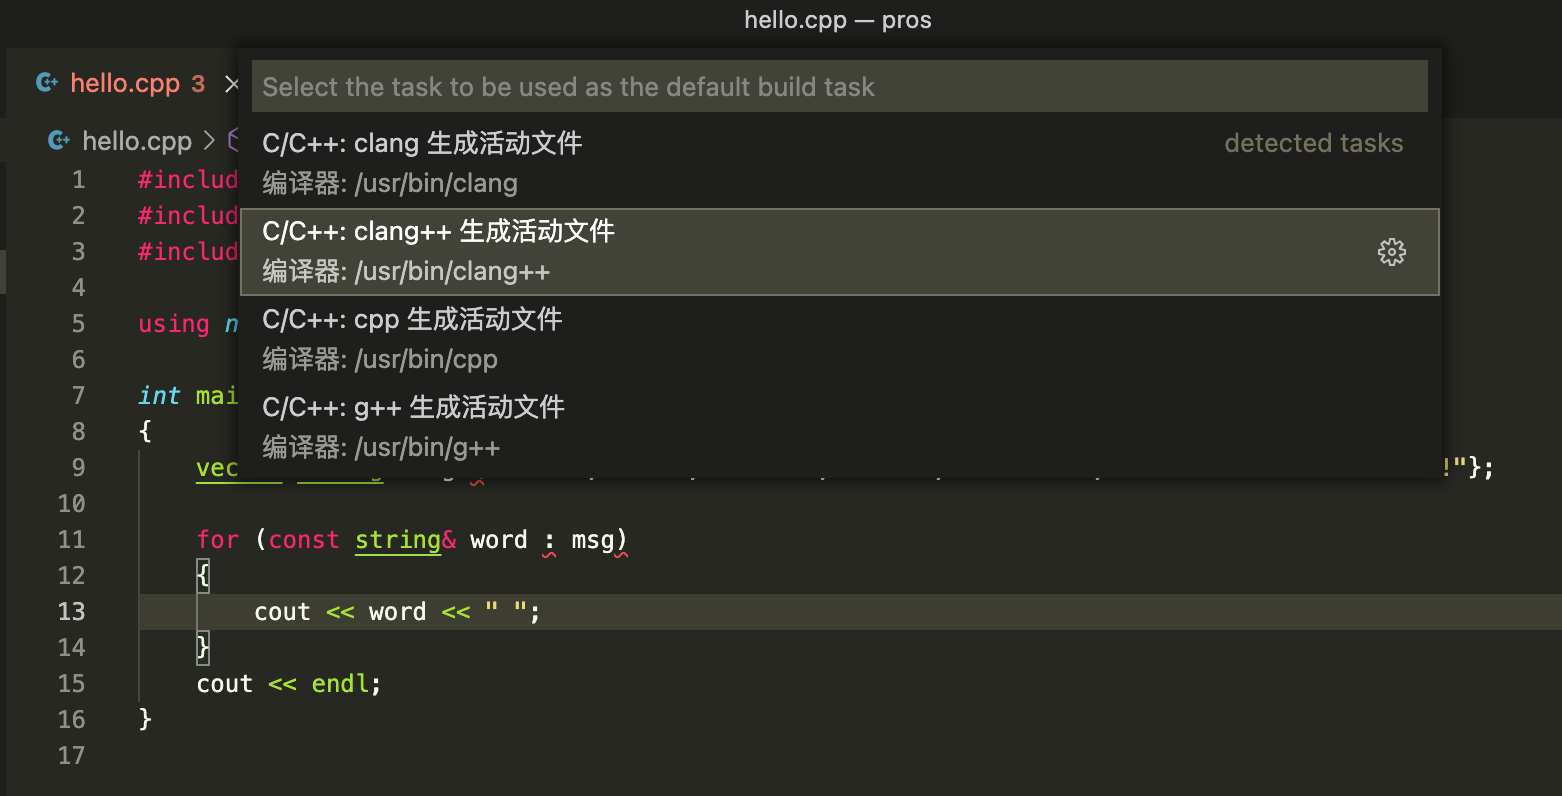 上图:C/C++:clang++ 生成活动文件
然后把tasks.json的内容换成以下代码
{
  // See https://go.microsoft.com/fwlink/?LinkId=733558
  // for the documentation about the tasks.json format
  "version": "2.0.0",
  "tasks": [
    {
      "type": "shell",
      "label": "clang++ build active file",
      "command": "/usr/bin/clang++",
      "args": [
        "-std=c++17",
        "-stdlib=libc++",
        "-g",
        "${file}",
        "-o",
        "${fileDirname}/${fileBasenameNoExtension}"
      ],
      "options": {
        "cwd": "${workspaceFolder}"
      },
      "problemMatcher": ["$gcc"],
      "group": {
        "kind": "build",
        "isDefault": true
      }
    }
  ]
}
现在就完成了build的配置
接下去是Running the build的环节
回到helloworld.cpp,按⇧⌘B编译它

结果如上图就说明正常地完成了编译,按任意键退出
要运行这个程序,可以在终端输入 ./helloworld
最后是debug的配置
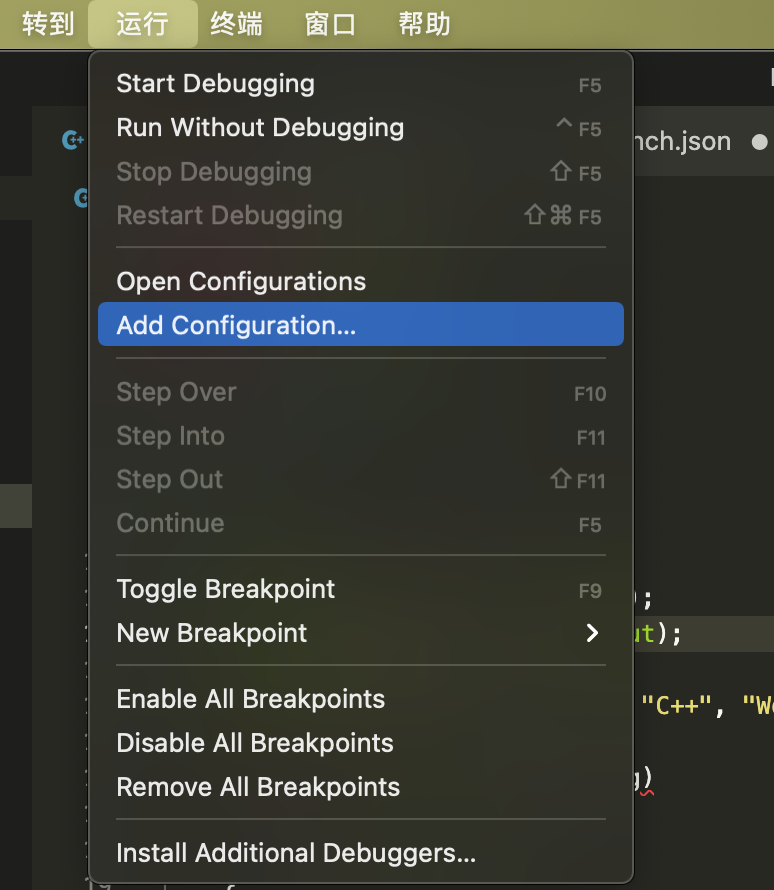
在“运行”栏里选择 Add Configuration 并依次选择C++ (GDB/LLDB) 和 clang++ 来新建launch.json文件
这里launch.json的配置就不需要再更改了
再次返回到helloworld.cpp,设置断点,按下Fn+F5,你会发现程序暂停了一段时间以后什么事情都没干就退出了
找到了一个stackflow上的帖子提到类似的问题 VS Code debug Rust program: process exited with status -1 (Error 1) on Mac M1 ,另外github上似乎还没有人提到类似的问题
按照上述这篇帖子的意思,在terminal里断点调试是没有问题的,不过在VSC里就somehow不行 [摊手]
github上的其他Unexpected LLDB output from command "-exec-run"的问题及解决方案供参考 [macOS Catalina] Unable to debug with 'externalConsole'

总的来说这样配置下来就能够正常使用c++了 大不了输出调试嘛
如何添加bits万能头?
参考 如何在MAC OS中的VSCODE下添加bits/stdc++.h
在/Library/Developer/CommandLineTools/usr/include下创建bits文件夹,然后新建stdc++.h文件为以下内容
用命令行操作的话,是先 cd /Library/Developer/CommandLineTools/usr/include,再sudo mkdir bits并输入密码,接着cd bits
然后sudo touch stdc++.h,最后open stdc++.h,复制进以下内容,注意保存的时候也要sudo
  1 // C++ includes used for precompiling -*- C++ -*-
  2
  3 // Copyright (C) 2003-2014 Free Software Foundation, Inc.
  4 //
  5 // This file is part of the GNU ISO C++ Library.  This library is free
  6 // software; you can redistribute it and/or modify it under the
  7 // terms of the GNU General Public License as published by the
  8 // Free Software Foundation; either version 3, or (at your option)
  9 // any later version.
 10
 11 // This library is distributed in the hope that it will be useful,
 12 // but WITHOUT ANY WARRANTY; without even the implied warranty of
 13 // MERCHANTABILITY or FITNESS FOR A PARTICULAR PURPOSE.  See the
 14 // GNU General Public License for more details.
 15
 16 // Under Section 7 of GPL version 3, you are granted additional
 17 // permissions described in the GCC Runtime Library Exception, version
 18 // 3.1, as published by the Free Software Foundation.
 19
 20 // You should have received a copy of the GNU General Public License and
 21 // a copy of the GCC Runtime Library Exception along with this program;
 22 // see the files COPYING3 and COPYING.RUNTIME respectively.  If not, see
 23 // <http://www.gnu.org/licenses/>.
 24
 25 /** @file stdc++.h
 26  *  This is an implementation file for a precompiled header.
 27  */
 28
 29 // 17.4.1.2 Headers
 30
 31 // C
 32 #ifndef _GLIBCXX_NO_ASSERT
 33 #include <cassert>
 34 #endif
 35 #include <cctype>
 36 #include <cerrno>
 37 #include <cfloat>
 38 #include <ciso646>
 39 #include <climits>
 40 #include <clocale>
 41 #include <cmath>
 42 #include <csetjmp>
 43 #include <csignal>
 44 #include <cstdarg>
 45 #include <cstddef>
 46 #include <cstdio>
 47 #include <cstdlib>
 48 #include <cstring>
 49 #include <ctime>
 50
 51 #if __cplusplus >= 201103L
 52 #include <ccomplex>
 53 #include <cfenv>
 54 #include <cinttypes>
 55 #include <cstdbool>
 56 #include <cstdint>
 57 #include <ctgmath>
 58 #include <cwchar>
 59 #include <cwctype>
 60 #endif
 61
 62 // C++
 63 #include <algorithm>
 64 #include <bitset>
 65 #include <complex>
 66 #include <deque>
 67 #include <exception>
 68 #include <fstream>
 69 #include <functional>
 70 #include <iomanip>
 71 #include <ios>
 72 #include <iosfwd>
 73 #include <iostream>
 74 #include <istream>
 75 #include <iterator>
 76 #include <limits>
 77 #include <list>
 78 #include <locale>
 79 #include <map>
 80 #include <memory>
 81 #include <new>
 82 #include <numeric>
 83 #include <ostream>
 84 #include <queue>
 85 #include <set>
 86 #include <sstream>
 87 #include <stack>
 88 #include <stdexcept>
 89 #include <streambuf>
 90 #include <string>
 91 #include <typeinfo>
 92 #include <utility>
 93 #include <valarray>
 94 #include <vector>
 95
 96 #if __cplusplus >= 201103L
 97 #include <array>
 98 #include <atomic>
 99 #include <chrono>
100 #include <condition_variable>
101 #include <forward_list>
102 #include <future>
103 #include <initializer_list>
104 #include <mutex>
105 #include <random>
106 #include <ratio>
107 #include <regex>
108 #include <scoped_allocator>
109 #include <system_error>
110 #include <thread>
111 #include <tuple>
112 #include <typeindex>
113 #include <type_traits>
114 #include <unordered_map>
115 #include <unordered_set>
116 #endif
ok这样就实现了vscode c++的配置啦(整体来说
然后就是按照个人taste对快捷键、主题颜色等配置的修改
Brew
brew是macOS/Linux上的一个程序包管理器,可以很方便地下载/管理众多程序包(原文是"the stuff you need")
官网这边移步brew.sh
在终端中输入 /bin/bash -c "$(curl -fsSL https://raw.githubusercontent.com/Homebrew/install/HEAD/install.sh)" 以下载安装
期间可能会要求输入几次密码,另外还有概率多次中断,所以要做好下载持久战的准备
众所周知github处于半墙状态,所以建议找一个网络带宽充足的时间/空间并且多尝试几次下载(比如说早八时候的寝室)
配置vscode的python环境
鸽了好久的python配置
参考vscode官网的帮助文档 Getting Started with Python in VS Code
首先和C++的配置一样,你需要在vsc的扩展商店中下载安装由Microsoft发布的Python插件(依然是下载量最大的那个)
接下来按下组合键Cmd+Shift+P输入shell command并点击“在path中安装‘code’命令”

上图:把vscode添加到系统路径
下一步,在如上一条所述下载安装好brew后,在终端中输入命令 brew install python3
这一步是在下载python的解释器
再回到vscode,注意一下左下角图标

如果出现上图情况,点一下黄色三角,在弹出的窗口中选择python3
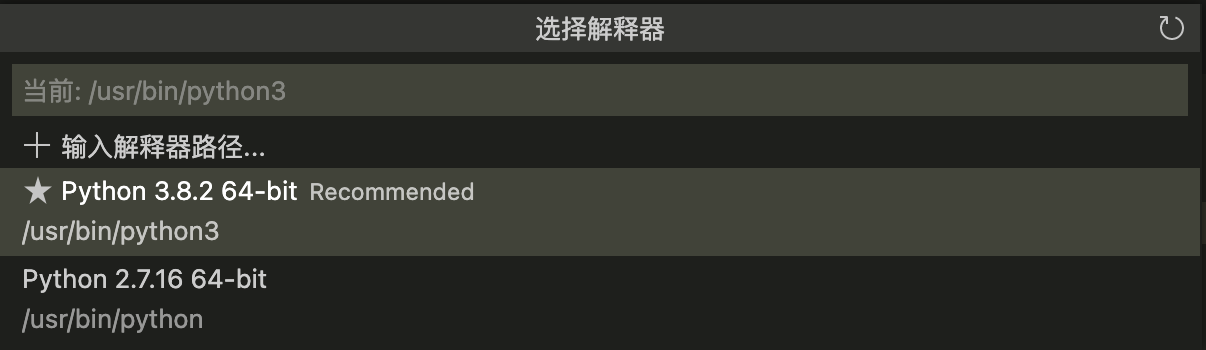
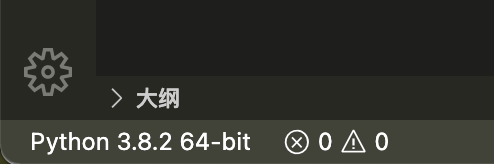
左下角图标如下图显示说明解释器配置完成了
pip包管理器
python包管理器用的是pip
终端内输入命令e.g. python3 -m pip install numpy 即可安装numpy包
如果直接sudo命令 sudo -H pip3 install numpy 会提醒

这里提到用 venv 进行虚拟环境的包管理
将/opt/homebrew/bin/python3配置为默认
参考 设置python3为默认python的方法 需要将/usr/bin/python3先删除 再把homebrew里的python3链接过去
但执行 sudo rm /usr/bin/python3 的时候遇上了报错 $ \texttt{rm: /usr/bin/python3: Operation not permitted} $
并且Stack Overflow上也没找到这个问题的解决方法
两种退而求其次的办法参考 python默认环境变量设置_设置python3为默认python的方法:在vscode的settings和launch里修改使用的解释器;或者是在文件开头加上
Aria2c
依然使用homebrew包管理器,在终端中输入 brew install aria2 下载
使用过程可能遇上报错,那就用 aria2c --enable-rpc baidu.com 命令来下载
END

 浙公网安备 33010602011771号