flume安装
1. 下载apache-flume-1.9.0-bin.tar
2. 在/usr/local/share/下创建flume,并chmod 777,将flume解压至此文件夹
tar -xf apache-flume-1.9.0-bin.tar --strip-components 1 -C /usr/local/share/flume
注:--strip-components 1是去掉原文件夹顶层
3. 设置PATH(/etc/profile)
export FLUME_HOME=/usr/lib/flume/apache-flume-1.9.0-bin
export PATH=$PATH:$FLUME_HOME/bin  (如果有别的 export PATH=$PATH:$JAVA_HOME/bin:$FLUME_HOME/bin)
source /etc/profile
注意:这个设置仅仅能够在任意目录使用命令flume-ng,如flume-ng version.
在启动flume时指定配置文件,仍然需要指定目录
4. 配置agent配置文件
进入conf/
cp flume-conf.properties.template flume-conf.properties
5. 配置文件如下
a1.sources = r1
a1.sinks = k1
a1.channels = c1

a1.sources.r1.type = exec
a1.sources.r1.command = tail -f /home/nuctech/robotResume/jupiter/jupiter_http_log/logback.log
#a1.sources.r1.command = tail -f /home/nuctech/bigdata/test.log
a1.sources.r1.inputCharset = UTF-8
a1.sources.r1.interceptors = i1
a1.sources.r1.interceptors.i1.type = timestamp

a1.sinks.k1.type=org.apache.flume.sink.kafka.KafkaSink
a1.sinks.k1.kafka.topic=nginx-resume
a1.sinks.k1.kafka.bootstrap.servers=localhost:9092
a1.sinks.k1.kafka.flumeBatchSize=100
a1.sinks.k1.kafka.producer.acks=1

a1.channels.c1.type = memory
a1.channels.c1.capacity = 1000
a1.channels.c1.transactionCapacity = 100

a1.sources.r1.channels = c1
a1.sinks.k1.channel = c1
6. 运行
终端运行
flume-ng agent --conf conf --conf-file conf/flume-conf.properties --name a1

  -Dflume.root.logger=INFO,console 可以在日志配置文件配置
  –n a1中的a1对应配置文件中的a1
  需要指定conf的路径
  如果在命令行直接执行,flume-env.sh可以不配置
后台运行
nohup flume-ng agent --conf conf --conf-file conf/flume-conf.properties --name a1 &
  注意flume目录chmod 777,可以在此目录下生成nohup.out否则可能会有问题
7.配置服务启动
[Unit]
Description=flume
After=network.target remote-fs.target nss-lookup.target

[Service]
Type=forking
ExecStart=/usr/local/share/flume/bin/flume-ng agent --conf /usr/local/share/flume/conf --conf-file /usr/local/share/flume/conf/flume-conf.properties --name a1
ExecReload=/bin/kill -s HUP $MAINPID
PrivateTmp=true

[Install]
WantedBy=multi-user.target
放置在/etc/systemd/system/flume.service
chmod 775 flume.service
systemctl daemon-reload
注意:使用此方式需要配置flume-env.sh,将JAVA_HOME配置正确
放置service的位置
/etc/systemd/system/ - Prio 1
/run/systemd/system/ - Prio 2
/lib/systemd/system/ - Prio 3
/usr/lib/systemd/system/ - Prio 3
8.测试方式
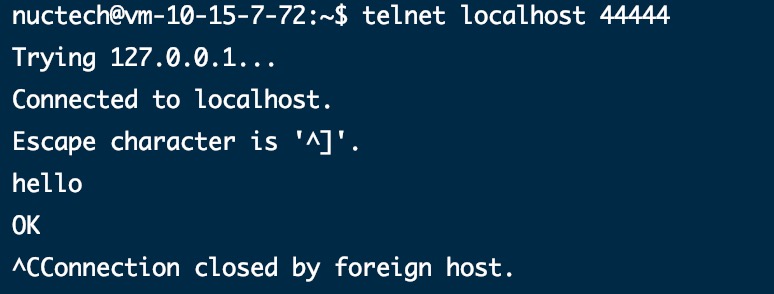
在另一个终端telnet localhost 44444,然后输入hello,flume就能收到并打印

 浙公网安备 33010602011771号