mac安装并配置nexus3.5.1版本
一、安装nexus
前置条件 :已经安装了JDK
1:下载nexus(http://www.sonatype.com/download-oss-sonatype) 最新版本(我的是3.5.1).
2:解压下载文件,我的放在了/Users/xxx/myApp下
3:配置环境变量:
打开/etc目录,在profile文件中加入:NEXUS_HOME="/Users/xxx/myApp/nexus-3.5.1-02-mac/nexus-3.5.1-02";
保存,退出后。打开控制台键入nexus start 即可启动(注:配置完环境变量后,控制台需要重启,再打开.)
如果不清楚命令,输入nexus,系统会给出命令使用说明
Usage: /Users/xxx/myApp/nexus-3.5.1-02-mac/nexus-3.5.1-02/bin/nexus {start|stop|run|run-redirect|status|restart|force-reload}
4:启动后,neuxs默认监听端口是8081。
在浏览器输入http://127.0.0.1:8081/nexus或者http://localhost:8081/nexus
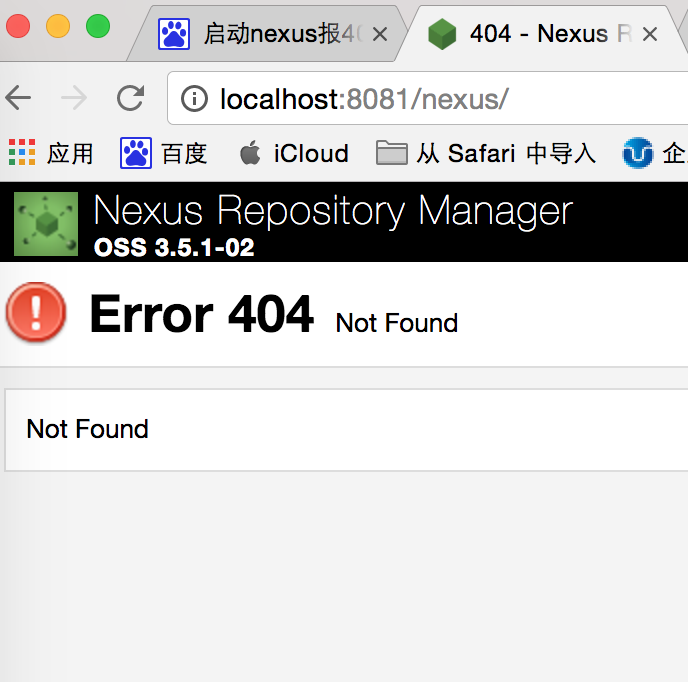
出现下面这个界面,没关系,点击nexus repo..图标,跳转到下一个界面。


5、新搭建的neuxs环境只是一个空的仓库,需要手动和远程中心库进行同步。
nexus默认是关闭远程索引下载,最重要的一件事情就是开启远程索引下载。
登陆nexus系统,默认用户名密码为admin/admin123。
Nexus 的仓库分为这么几类:
- hosted 宿主仓库:主要用于部署无法从公共仓库获取的构件(如 oracle 的 JDBC 驱动)以及自己或第三方的项目构件;
- proxy 代理仓库:代理公共的远程仓库;
- virtual 虚拟仓库:用于适配 Maven 1;
- group 仓库组:Nexus 通过仓库组的概念统一管理多个仓库,这样我们在项目中直接请求仓库组即可请求到仓库组管理的多个仓库。
二、在maven中配置自己的私服
1:打开~/.m2/ settings.xml
1)配置下载文件保存路径, 这里也可以使用默认的,不用配置.
<localRepository>/Users/xxx/repository</localRepository>
2) 增加server节点
   <server>
      <id>nexus-releases</id>
      <username>admin</username>
      <password>admin123</password>
    </server>
   <server>
      <id>nexus-snapshots</id>
      <username>admin</username>
      <password>admin123</password>
   </server>
3)添加镜像地址
    <mirror>
      <id>nexus</id>
      <mirrorOf>nexus-snapshots</mirrorOf>
      <url>http://127.0.0.1:8081/repository/maven-public/</url>
    </mirror>
4)添加profile
<profiles>
    <profile>
    <!--profile的id-->
       <id>nexus</id>
       <repositories>
         <repository>
       <!--仓库id,repositories可以配置多个仓库,保证id不重复-->
           <id>nexus-releases</id>
       <!--仓库地址,即nexus仓库组的地址-->
           <url>http://127.0.0.1:8081/repository/maven-releases</url>
       <!--是否下载releases构件-->
           <releases><enabled>true</enabled></releases>
       <!--是否下载snapshots构件-->
           <snapshots><enabled>true</enabled></snapshots>
         </repository>
         <repository>
           <id>nexus-snapshots</id>
           <url>http://127.0.0.1:8081/repository/maven-snapshots</url>
           <releases><enabled>true</enabled></releases>
           <snapshots><enabled>true</enabled></snapshots>
         </repository>
       </repositories>
       <pluginRepositories>
      <!-- 插件仓库,maven的运行依赖插件,也需要从私服下载插件 -->
          <pluginRepository>
          <!-- 插件仓库的id不允许重复,如果重复后边配置会覆盖前边 -->
                  <id>nexus-releases</id>
                  <url>http://127.0.0.1:8081/repository/maven-releases</url>
                  <releases><enabled>true</enabled></releases>
                  <snapshots><enabled>true</enabled></snapshots>
          </pluginRepository>
          <pluginRepository>
                  <id>nexus-snapshots</id>
                  <url>http://127.0.0.1:8081/repository/maven-snapshots</url>
                  <releases><enabled>true</enabled></releases>
                  <snapshots><enabled>true</enabled></snapshots>
           </pluginRepository>
        </pluginRepositories>
     </profile>
  </profiles>


 <!--使用profile定义仓库需要激活才可生效,切记:一定要激活,否则每次都是从https://repo.maven.apache.org/maven2这个网站下,私服根本没生效,我就吃了这个亏!-->
  <activeProfiles>
    <activeProfile>nexus</activeProfile><!--nexus和之上的id保持一致-->
  </activeProfiles>
三、上传jar包到私服nexus
在pom.xml文件中加入:
    <!-- 上传jar包到私服 -->
    <distributionManagement>
        <!-- 两个ID必须与 setting.xml中的<server><id>nexus-releases</id></server>保持一致 -->
        <repository>
            <id>nexus-releases</id>
            <name>Nexus Release Repository</name>
            <url>http://127.0.0.1:8081/repository/maven-releases/</url>
        </repository>

        <snapshotRepository>
            <id>nexus-snapshots</id>
            <name>Nexus Snapshot Repository</name>
            <url>http://127.0.0.1:8081/repository/maven-snapshots/</url>
        </snapshotRepository>
    </distributionManagement>
执行:
mvn package
mvn deploy -X
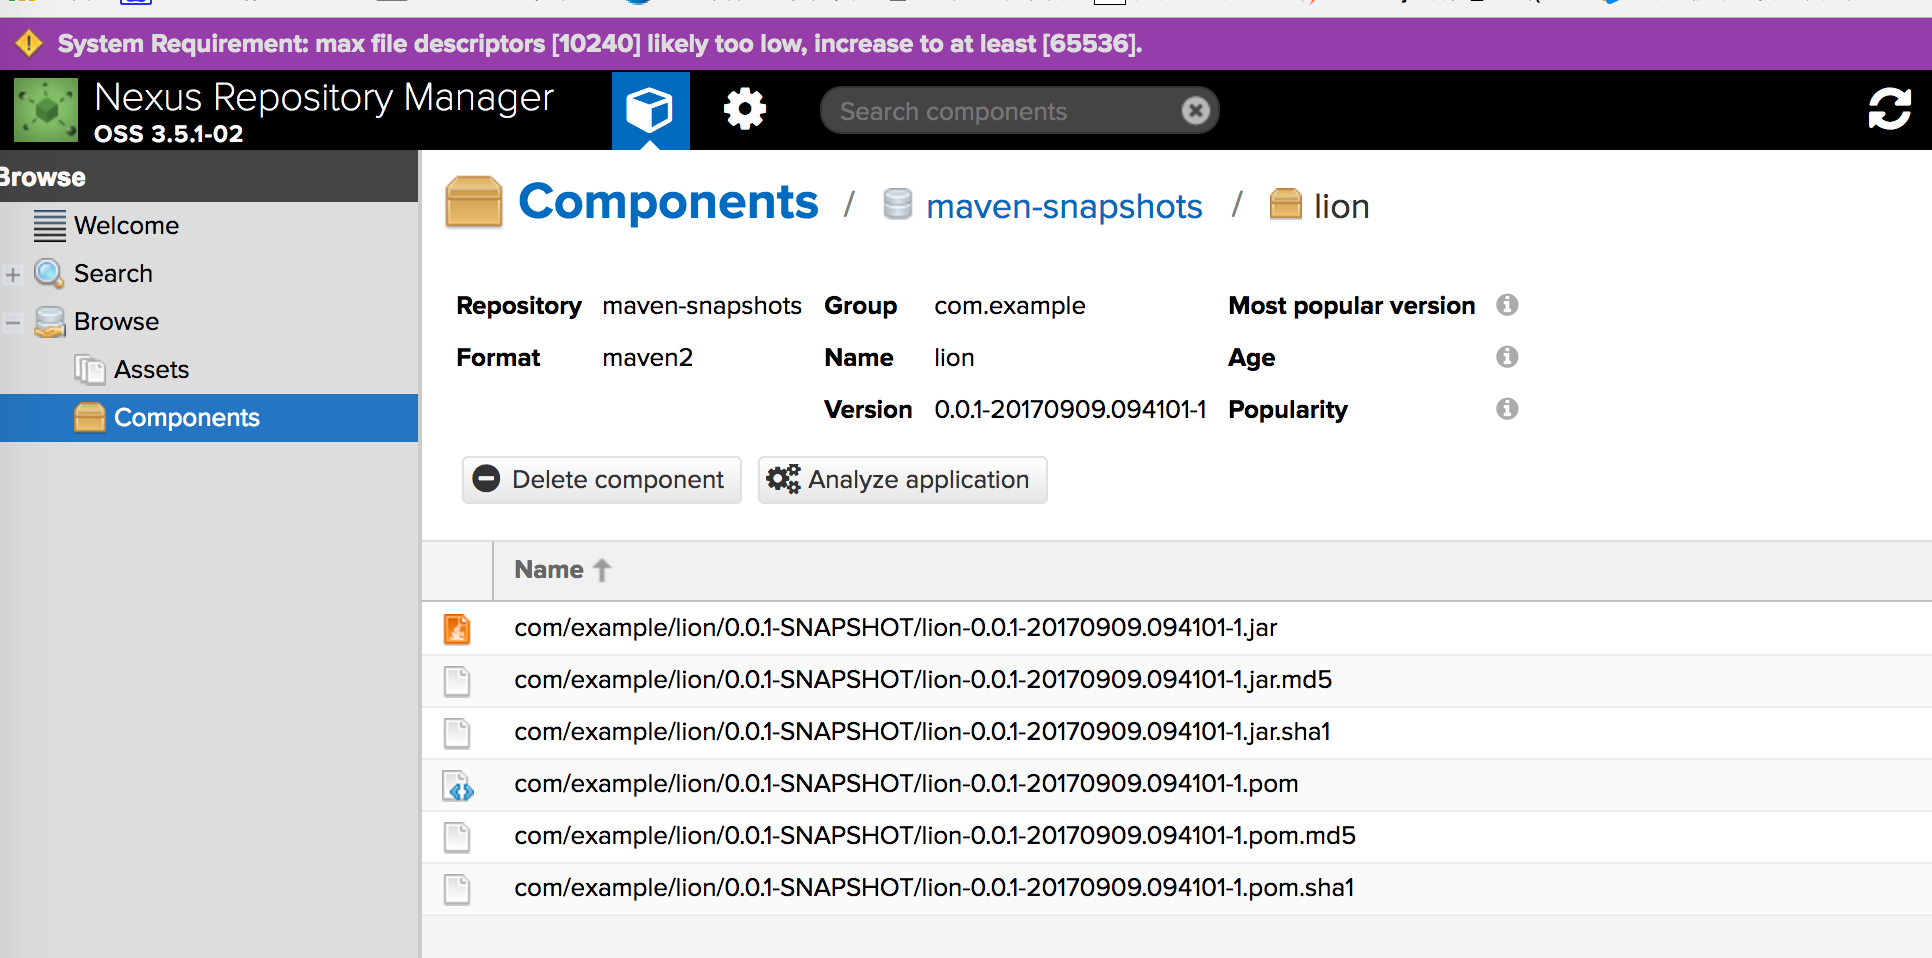
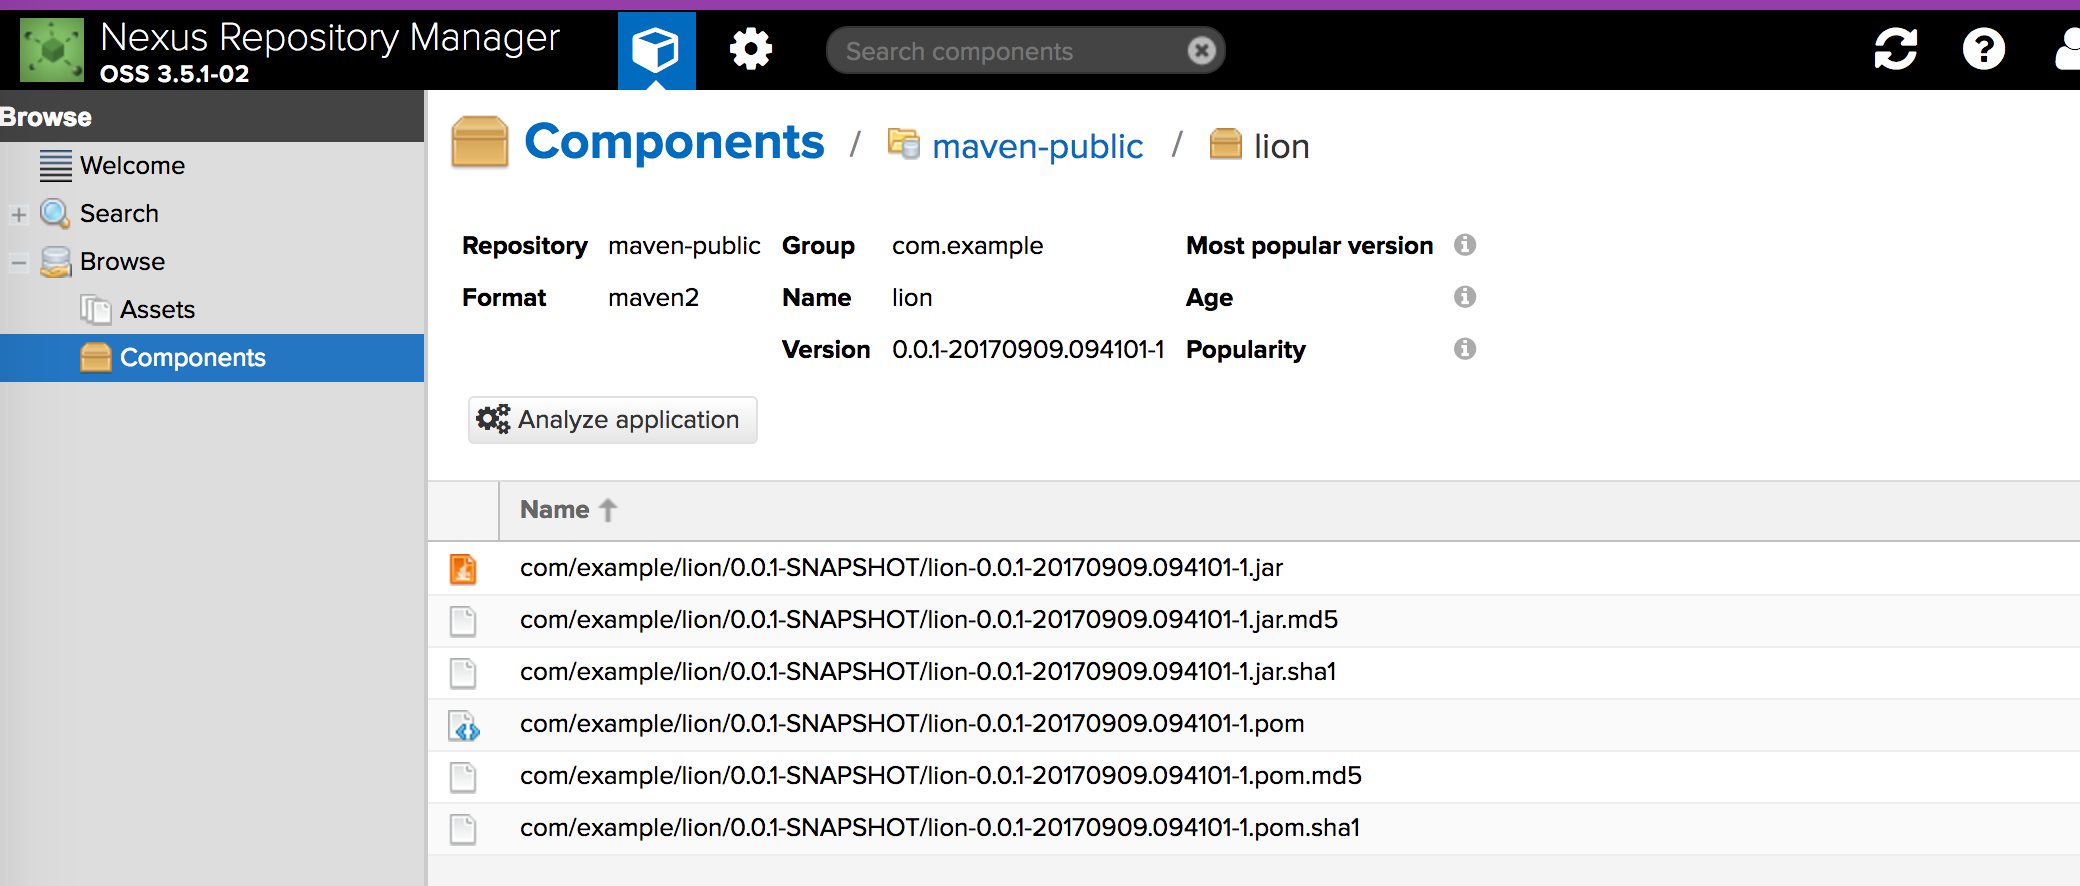
这时在以下这两个界面,将会看到(我的项目名叫lion):


