zabbix第一篇-zabbix监控软件安装图文教程记录
序言
针对zabbix这个软件,我会从三个大的方向来去写,一块内容是监控项目(如网络设备、服务器设备、网站等),一块内容是写告警的方式(如邮件、企微、飞书、短信等),一块是画图方面,后续会持续更新
章节
1.基础情况介绍
1.1. 安装监控软件的目的
安装监控软件的目的是监控网络设备、服务器设备应用系统的可用性,对发现异常时能够通过邮件、电话、短信、微信等方式通知对应管理人员进行处理,减少故障出现的可能性和缩短故障发现和处理的时间。
1.2. 监控系统宿主机情况
| 系统 | CPU | 内存 | 存储空间 |
|---|---|---|---|
| ubuntu 22.04 | 2CPU | 4RAM | 100GB |
2.zabbix的安装
2.1. Become root user
sudo su -
2.2. Install Zabbix repository
wget https://repo.zabbix.com/zabbix/7.0/ubuntu/pool/main/z/zabbix-release/zabbix-release_latest+ubuntu22.04_all.deb
dpkg -i zabbix-release_latest+ubuntu22.04_all.deb
apt update
2.3. Install Nginx repository
apt install -y add-apt-key
curl -fsSL https://nginx.org/keys/nginx_signing.key | gpg --dearmor -o /etc/apt/keyrings/nginx_signing.gpg
echo "deb [signed-by=/etc/apt/keyrings/nginx_signing.gpg] https://nginx.org/packages/ubuntu $(lsb_release -cs) nginx" > /etc/apt/sources.list.d/nginx.list
echo "deb-src [signed-by=/etc/apt/keyrings/nginx_signing.gpg] https://nginx.org/packages/ubuntu $(lsb_release -cs) nginx" >> /etc/apt/sources.list.d/nginx.list
apt update
2.4. Install Nginx web server
apt install nginx
2.5. Install Mariadb and php
apt install -y mariadb-server mariadb-client
apt install -y php php-fpm php-cli php-mysql php-xml php-mbstring php-curl php-zip php-gd php-xmlrpc php-ldap php-odbc php-pear
systemctl start mariadb
systemctl enable mariadb
2.6. Install Zabbix server, frontend, agent
apt install -y zabbix-server-mysql zabbix-frontend-php zabbix-nginx-conf zabbix-sql-scripts zabbix-agent
2.7. Create initial database
- Create database
# mysql -uroot -p
password
mysql> create database zabbix character set utf8mb4 collate utf8mb4_bin;
mysql> create user zabbix@localhost identified by 'password';
mysql> grant all privileges on zabbix.* to zabbix@localhost;
mysql> set global log_bin_trust_function_creators = 1;
mysql> quit;
- import zabbix database
zcat /usr/share/zabbix-sql-scripts/mysql/server.sql.gz | mysql --default-character-set=utf8mb4 -uzabbix -p zabbix
- Disable log_bin_trust_function_creators option after importing database schema
# mysql -uroot -p
password
mysql> set global log_bin_trust_function_creators = 0;
mysql> quit;
2.8. Configure the database for Zabbix server
- Edit file /etc/zabbix/zabbix_server.conf
DBPassword=password
2.9. Configure PHP for Zabbix frontend
- Edit file /etc/zabbix/nginx.conf uncomment and set 'listen' and 'server_name' directives.
listen 80;
server_name localhost;
- Edit file /etc/zabbix/php-fpm.conf,change php-fpm user
sed -i 's#www-data#nginx#g' /etc/zabbix/php-fpm.conf
- remove default nginx conf
mv /etc/nginx/conf.d/default.conf /etc/nginx/conf.d/default.conf.bak
- change zabbix html floder privileges
chown -R nginx.nginx /usr/share/zabbix/
2.10. Start Zabbix server and agent processes
systemctl restart zabbix-server zabbix-agent nginx php8.1-fpm
systemctl enable zabbix-server zabbix-agent nginx php8.1-fpm
3.web界面初始化
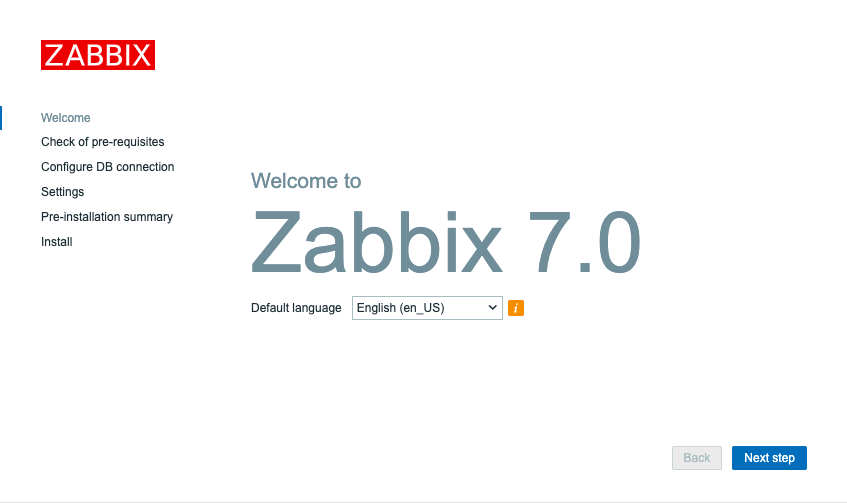
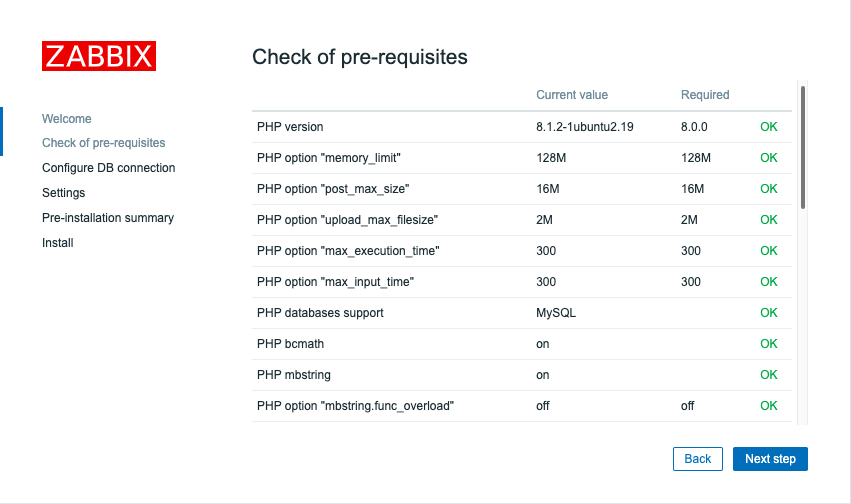
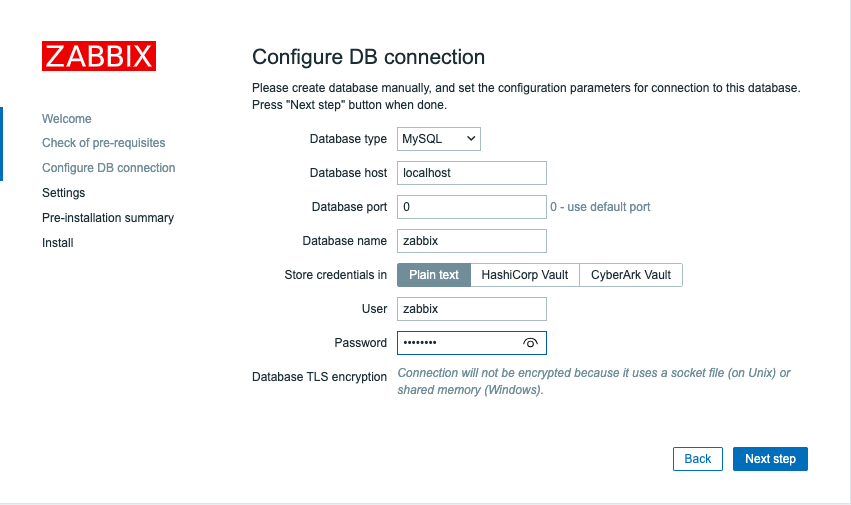
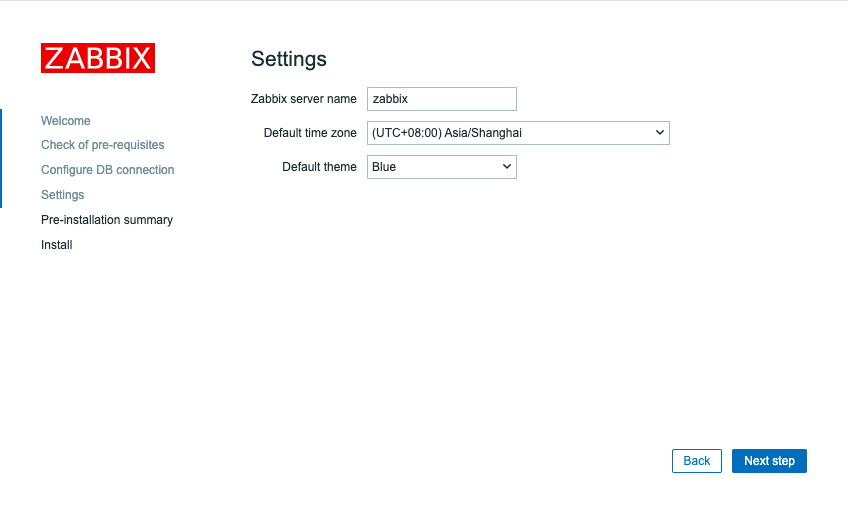
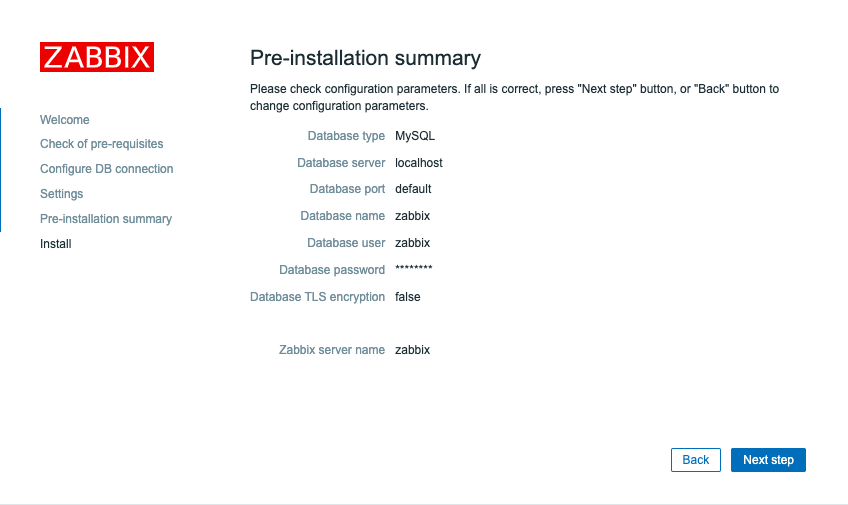
3.1 图形界面初始化
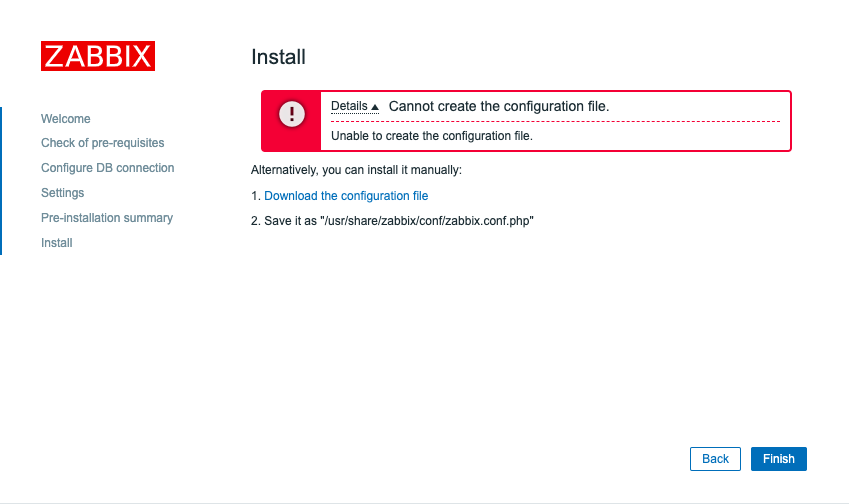
3.2 Cannot create the configuration file解决
- 方式一: 通过给/usr/share/zabbix/目录777权限(不推荐,不安全)
chmod -R 777 /usr/share/zabbix/
- 方式二:手动放置zabbix.conf.php配置文件至/usr/share/zabbix/conf/
通过访问http://zabbix-ip/setup.php?save_config=1来下载zabbix.conf.php
- 解决后的状态

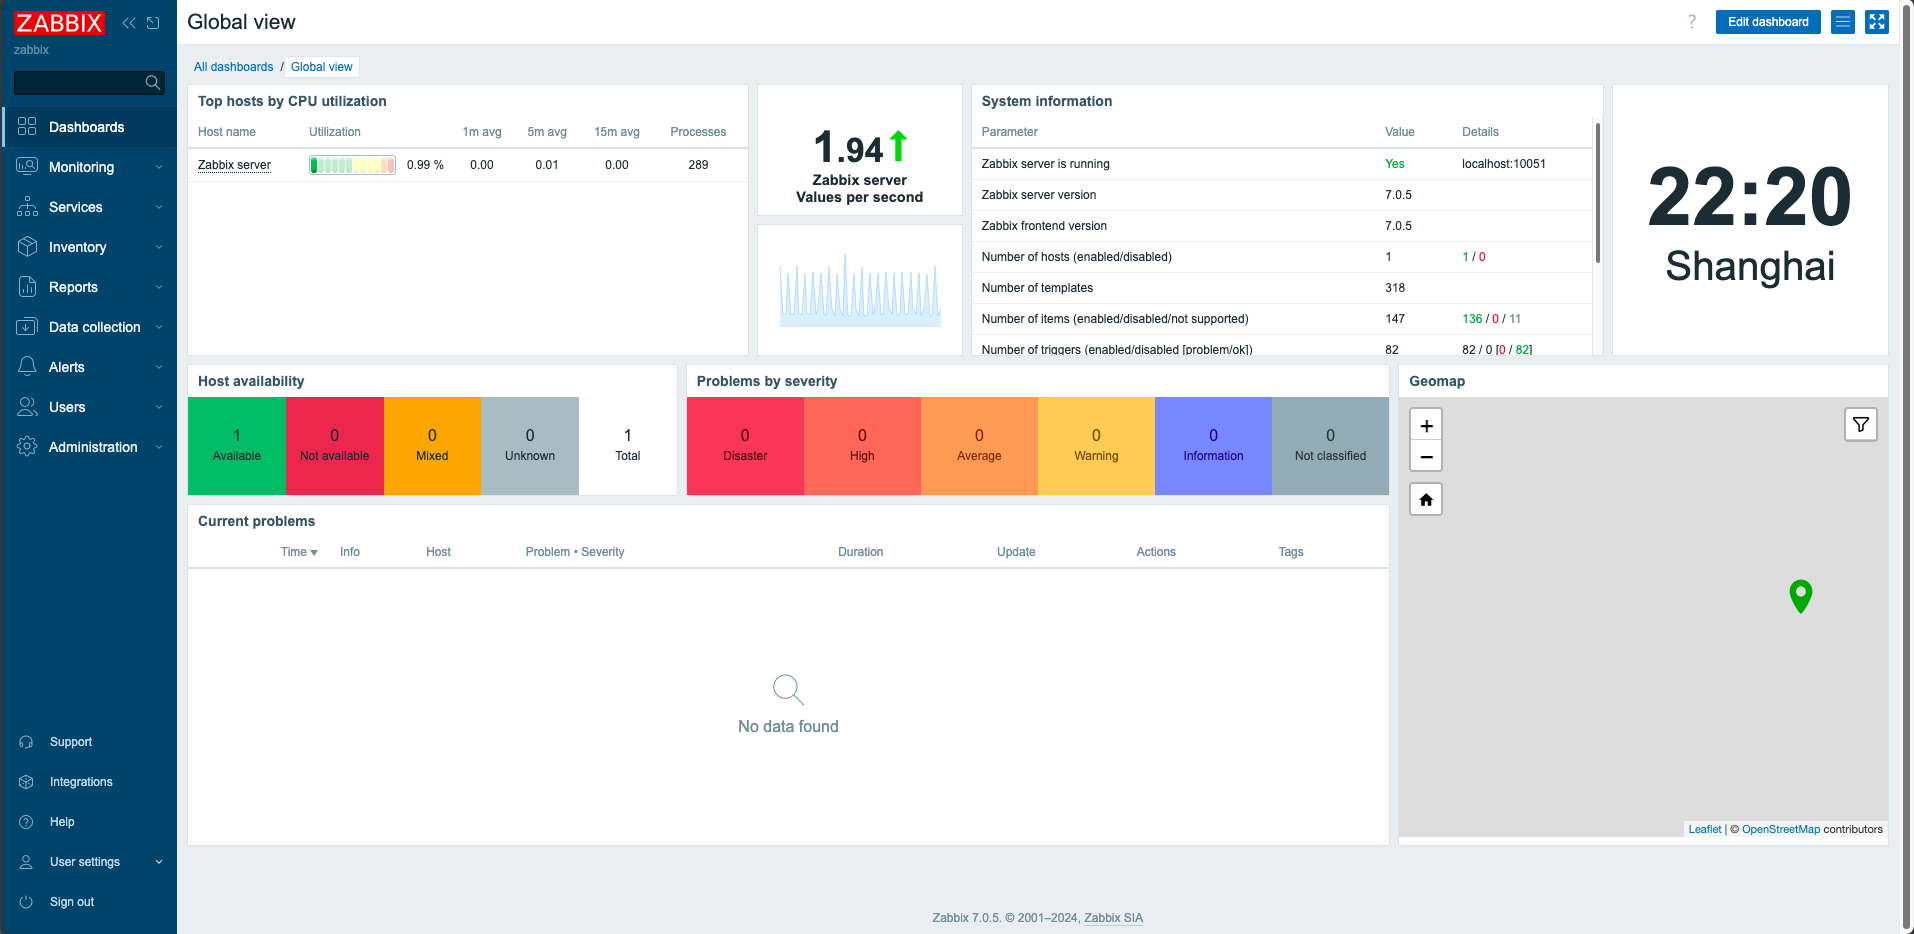
3.3 完成zabbix安装
zabbix默认用户名是Admin,默认密码是zabbix,登录后建议立即修改
