[原]WPF Non-Client Area Design Techniques For Custom Window Frames
WPF Non-Client Area Design Techniques For Custom Window Frames
Introduction(code project)
Microsoft has reported that a frequent request from WPF developers is for more information on how to customize the NON-CLIENT area of a Window, to create custom Window frames. Published demos are often limited to supporting only rectangular windows, require Win32 Interop, or pollute client-side markup with frame-related details...
This article demonstrates a 100% WPF solution to support frames of any shape, with expected min/max/close button behaviors, mouse detection of irregular sizing borders with standard six-directional sizing, and information on how to maintain compatibility with Expression Blend (which is essential for designing complex "wrapping" and other non-trivial visual effects).
nonclient area & client area:
The client area is the surface inside the window boundaries. This is where you place your content.
The nonclient area includes the border and the title bar at the top of the window. The operating system
manages this area.
Nonrectangular Windows
Irregularly shaped windows are often the trademark of cutting-edge consumer applications
such as photo editors, movie makers, and MP3 players, and they’re likely to be even more
common with WPF applications.
Creating a basic shaped window in WPF is easy. However, creating a slick, professionallooking
shaped window takes more work—and, most likely, a talented graphic designer to
create the outlines and design the background art.
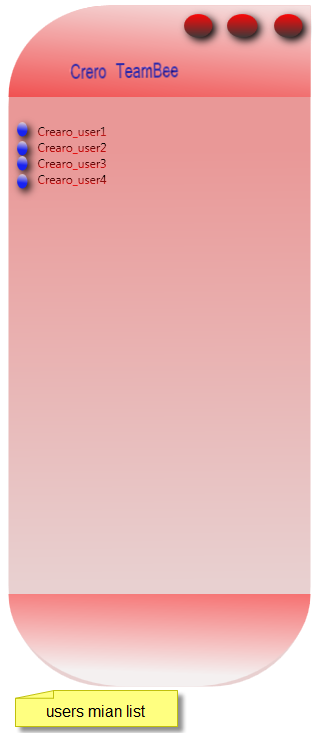
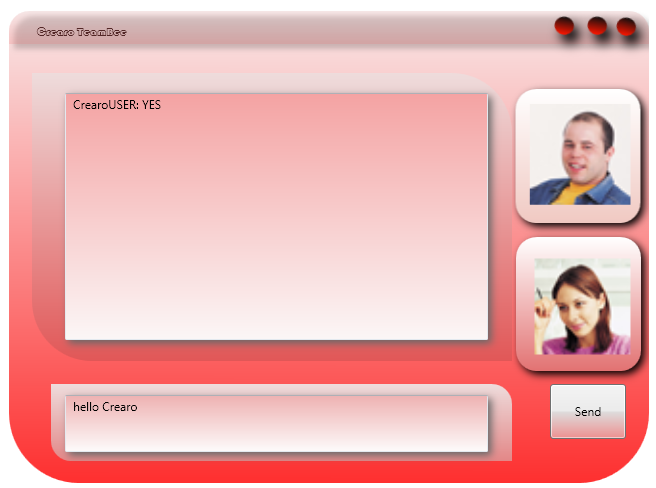
Crearo TeamBee as example :
Far of the functions and details we just care of the window desgin
Here we go for first with three windows layout
1- Login form
2- Users list form
3- And private chat form
XAML overview:
XAML (short for Extensible Application Markup Language,
markup language used to instantiate .NET objects. Although
applied to many different problem domains, its primary role
interfaces. In other words, XAML documents define the arrangement
controls that make up the windows in a WPF application.
A Simple Shaped Window
1. Set the Window.AllowsTransparency property to true.
2. Set the Window.WindowStyle property to None to hide the nonclient region of the window
(the blue border). If you don’t, you’ll get an InvalidOperationException when you
attempt to show the window.
3. Set the Background to be transparent (using the color Transparent, which has an alpha
value of 0). Or, set the Background to use an image that has transparent areas (regions
that are painted with an alpha value of 0).
with wpf we can design windows visually using blend or by code using VS2005 ~VS2010(xaml langauge)


