


摘要
把ASP.NET的Web应用程序,Project文件从
<Project ToolsVersion="12.0" DefaultTargets="Build" xmlns="http://schemas.microsoft.com/developer/msbuild/2003">
改为
<Project Sdk="Microsoft.NET.Sdk.Web">
之后,升级成了最新的格式之后,如何在Visual Studio中调试.aspx页面,成了头疼的问题。本文详细描述了升级项目文件之后,在Visual Studio 2022中如何调试ASP.NET Web应用程序。
为什么要升级项目文件的格式?
- 使用NuGet包的时候更清晰、优雅
主要为了把packages.config升级到PackageReference,前者当你引用一个包的时候,会自动添加一堆相关的包,后者就是极其优雅; - 使用最新的MSBuild技术,.csproj文件更清晰、简洁、易读。
1、在.csproj文件末尾追加复制任务
    ………省略………

	<Target Name="MoveBinContentToRoot" Condition="'$(Configuration)' == 'Debug'" AfterTargets="AfterBuild">
		<ItemGroup>
			<ResourceFiles Include="$(OutputPath)*.*" />
		</ItemGroup>

		<!-- 执行复制操作 -->
		<Copy SourceFiles="@(ResourceFiles)" DestinationFolder="X:\loda\GxHub\ordercenter\GX订单后台\GxHub.PurchaseOrders.Web\bin\" />
		<Exec Command="rmdir /S /Q $(OutputPath)" />
	</Target>

</Project>
MSBuild在生成之后执行上述Target,做两个动作:
- 把所有的dll从bin\Debug\net481拷贝到bin目录;
- 在bin\Debug\net481下递归删除所有文件及子目录。
1)为什么有这个步骤?
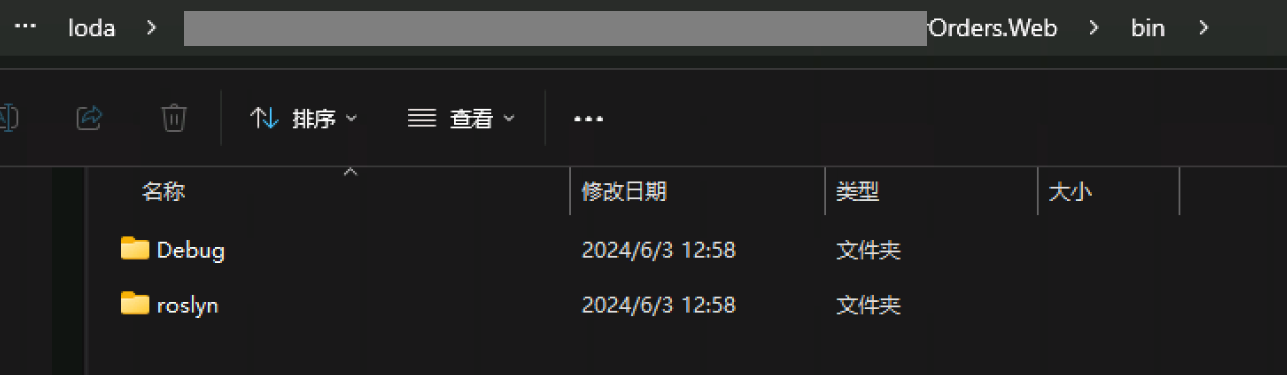
因为在Visual Studio 2022里生成解决方案或Web应用程序之后,在bin目录下会有roslyn文件夹:
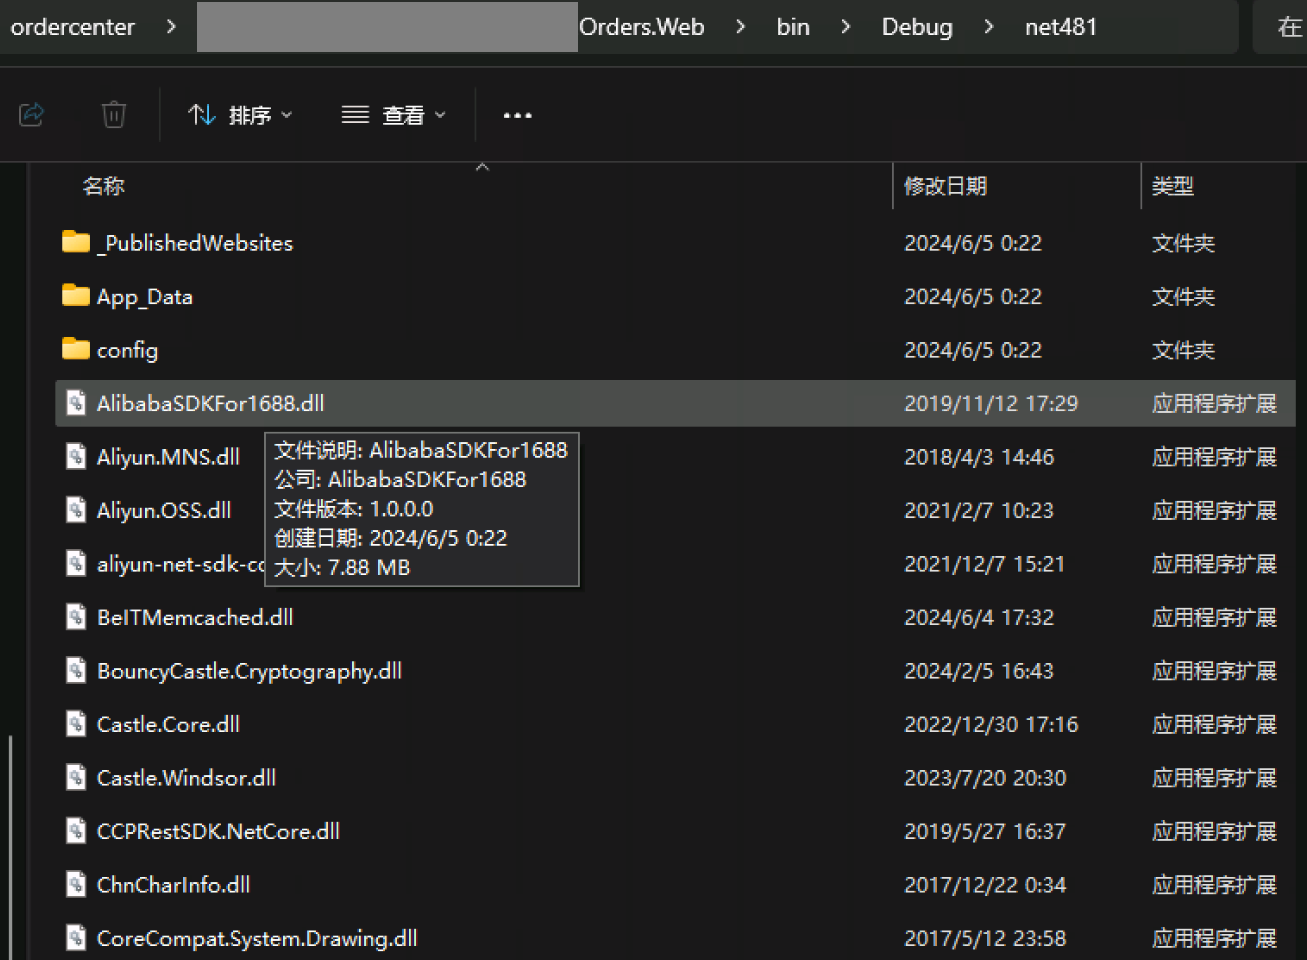
但是Web应用程序的dll,生成之后,总是放在bin\Debug\net481这么深的目录下:
2)我们有两种选择把Web应用程序跑起来:
- 以bin\Debug\net481为网站根目录
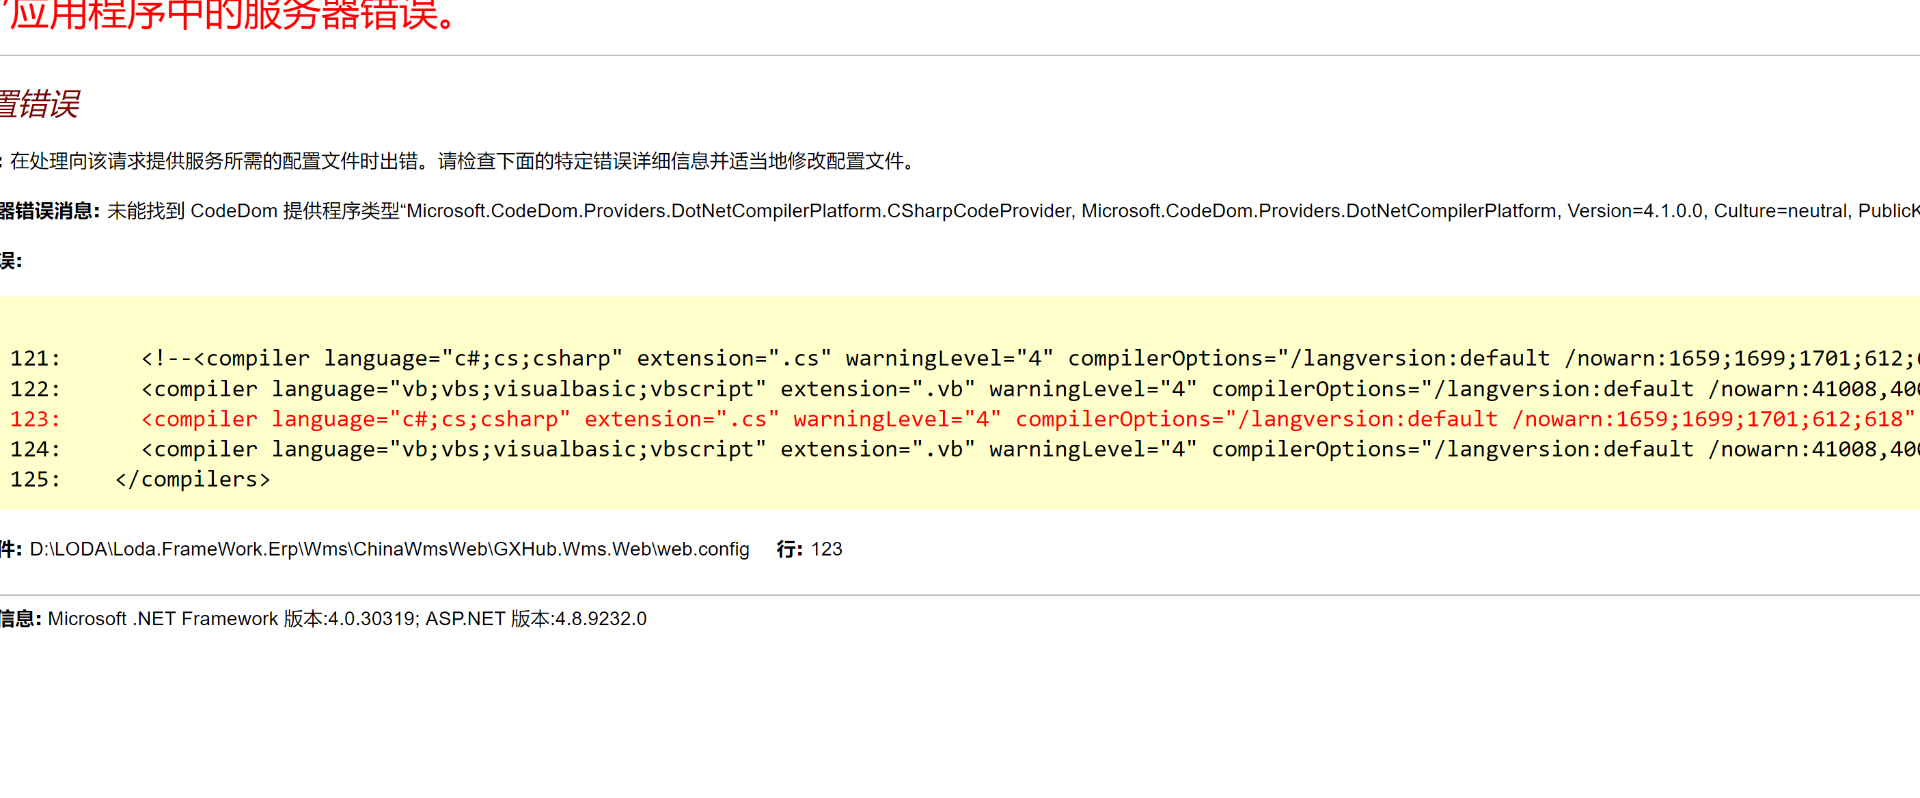
把roslyn文件夹,从bin拷贝到bin\Debug\net481,在.csproj中设置所有的.aspx和.ascx等文件都拷贝到输出目录。实践证明这个方式行不通,会报如下大黄页面:
- 以.csproj所在目录为网站根目录
只需要把bin\Debug\net481下的dll,复制到bin目录即可。所以我们在.csproj文件末尾,定义了一个复制任务,把dll文件从bin\Debug\net481拷贝到了bin目录下。这是最优雅的复制方式。
实践证明这个方式可行,这样就准备好进行下一步。
还有一个额外的设置:
    <ItemGroup>
        <Content Include="Global.asax">
            <CopyToPublishDirectory>Always</CopyToPublishDirectory>
        </Content>
        <!-- 包含子目录下的特定类型文件 -->
        <Content Include="**\*.aspx;**\*.ascx;**\*.master;**\*.png;**\*.gif;**\*.js;**\*.jpg;**\*.css;**\*.ico">
			<CopyToPublishDirectory>Always</CopyToPublishDirectory>
        </Content>
        <!-- 特殊处理,如果需要 -->
        <!-- 注意:确保构建系统支持双星号(**)作为递归通配符 -->
    </ItemGroup>
上述设置和前文有所不同,CopyToOutputDirectory会在每次“生成”都复制内容文件。CopyToPublishDirectory只有Publish网站的时候才做。因此我们平时在Visual Studio 2022中“生成”的时候,就不会把.aspx等各种内容再拷贝到bin\Debug\net481了。而Gitlab Runner在服务器上打包网站,是用的Publish,所以输出目录上会包含上述定义的内容文件。
2、把.csproj文件所在的目录设置为网站根目录
这里有两种做法:
1)在IIS Express配置文件中设置网站
IIS Express的配置,是放在“我的文档”下边
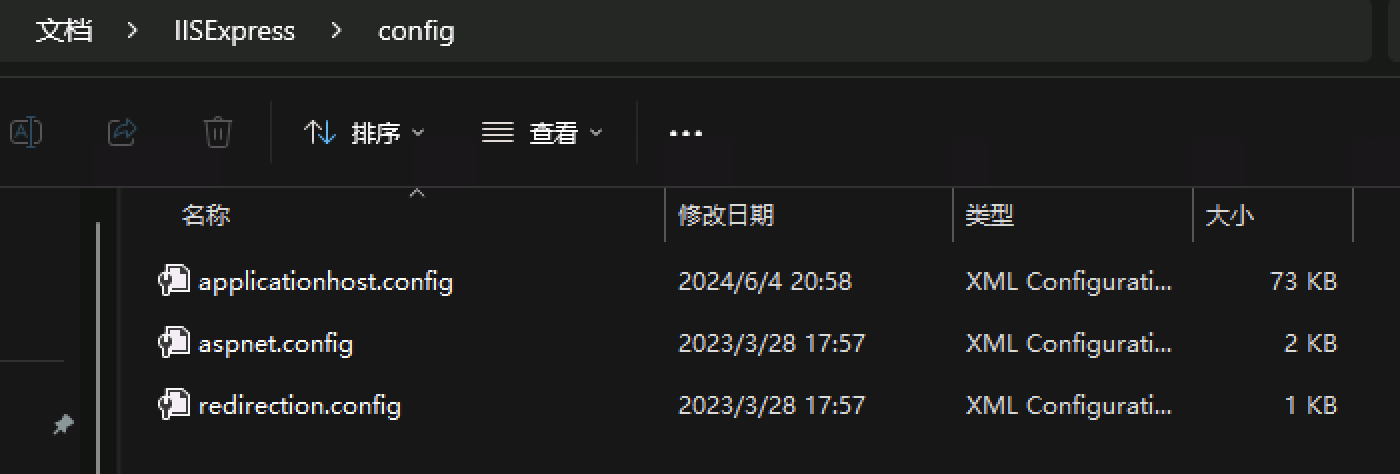
打开applicationhost.config,找到如下节点就是设置网站的:
<sites>
	<site name="WebSite1" id="1" serverAutoStart="true">
		<application path="/">
			<virtualDirectory path="/" physicalPath="%IIS_SITES_HOME%\WebSite1" />
		</application>
		<bindings>
			<binding protocol="http" bindingInformation=":8080:localhost" />
		</bindings>
	</site>
	<site name="Web" id="2">
		<application path="/" applicationPool="Clr4IntegratedAppPool">
			<virtualDirectory path="/" physicalPath="X:\loda\GxHub\ordercenter\GX订单后台\GxHub.PurchaseOrders.Web" />
		</application>
		<bindings>
			<binding protocol="http" bindingInformation="*:8002:localhost" />
			<binding protocol="https" bindingInformation="*:44301:localhost" />
		</bindings>
	</site>
	<siteDefaults>
		<!-- To enable logging, please change the below attribute "enabled" to "true" -->
		<logFile logFormat="W3C" directory="%AppData%\Microsoft\IISExpressLogs" enabled="true"/>
		<traceFailedRequestsLogging directory="%AppData%\Microsoft" enabled="true" maxLogFileSizeKB="1024" />
	</siteDefaults>
	<applicationDefaults applicationPool="Clr4IntegratedAppPool" />
	<virtualDirectoryDefaults allowSubDirConfig="true" />
</sites>
上述配置中,采购订单的Web程序启动后,监听http协议的8002端口和https协议的44301端口,而且都只能以localhost访问。
上述配置中,应用程序池applicationPool的值,是出现在这个配置文件的前边节点:
<system.applicationHost>

	<applicationPools>
		<add name="Clr4IntegratedAppPool" managedRuntimeVersion="v4.0" managedPipelineMode="Integrated" CLRConfigFile="%IIS_USER_HOME%\config\aspnet.config" autoStart="true" />
		<add name="Clr4ClassicAppPool" managedRuntimeVersion="v4.0" managedPipelineMode="Classic" CLRConfigFile="%IIS_USER_HOME%\config\aspnet.config" autoStart="true" />
		<add name="Clr2IntegratedAppPool" managedRuntimeVersion="v2.0" managedPipelineMode="Integrated" CLRConfigFile="%IIS_USER_HOME%\config\aspnet.config" autoStart="true" />
		<add name="Clr2ClassicAppPool" managedRuntimeVersion="v2.0" managedPipelineMode="Classic" CLRConfigFile="%IIS_USER_HOME%\config\aspnet.config" autoStart="true" />
		<add name="UnmanagedClassicAppPool" managedRuntimeVersion="" managedPipelineMode="Classic" autoStart="true" />
		<applicationPoolDefaults managedRuntimeVersion="v4.0">
			<processModel loadUserProfile="true" setProfileEnvironment="false" />
		</applicationPoolDefaults>
	</applicationPools>
有了上述配置,再要启动IIS Express的时候,在命令行中执行:
.\iisexpress /site:Web
site参数后,就是上述配置中site的name属性。
这里有两个知识点:
- 如果SSL证书失效了、麻烦了,用下边的命令重新生成SSL证书:
IisExpressAdminCmd.exe setupsslUrl -url:https://localhost:44301/ -UseSelfSigned
注意,上边的命令必须是管理员权限运行。
- SSL的端口范围必须是44301到44398之间
- 为什么要用SSL端口?
因为你的Chrome等浏览器可能非要求网站是https不可。否则就用http在本地调试,省去SSL的烦恼。
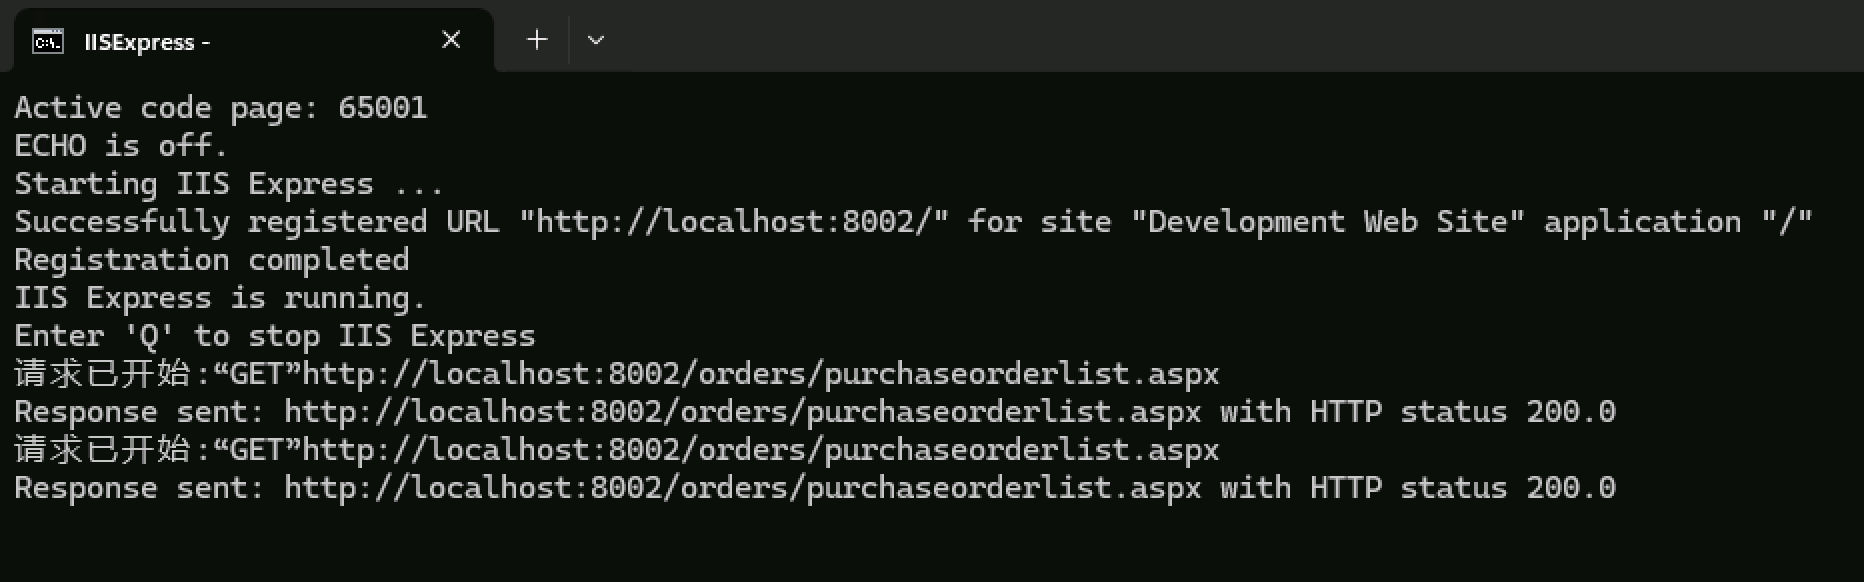
2)在任意位置用命令行启动IIS Express网站
推荐做法,还是在项目根目录放一个start.bat,内容如下
@echo off
chcp 65001
echo

iisexpress /path:X:\loda\GxHub\ordercenter\GX订单后台\GxHub.PurchaseOrders.Web /port:8002

ECHO.
ECHO.BIN and OBJ folders have been successfully deleted. Press any key to exit.
pause > nul
3、web.config中需要有针对IIS Express的设置
	<system.webServer>
		<validation validateIntegratedModeConfiguration="false" />
		<modules runAllManagedModulesForAllRequests="true">
		</modules>
		<handlers>
		</handlers>
	</system.webServer>
其实主要就是启用所有的托管模块.
4、访问某个.aspx页面
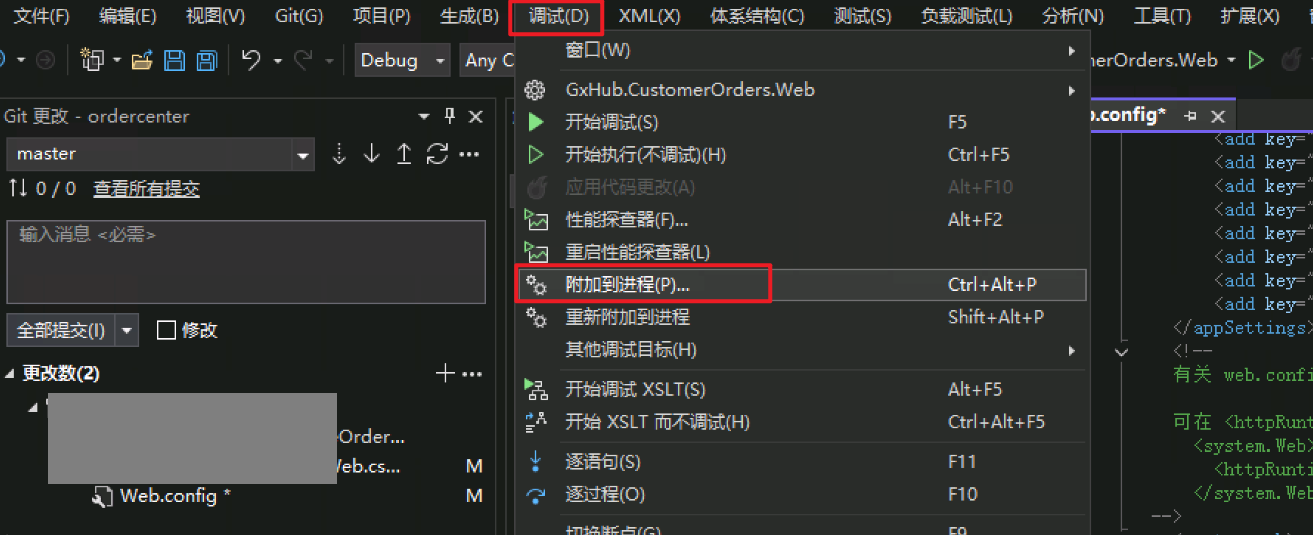
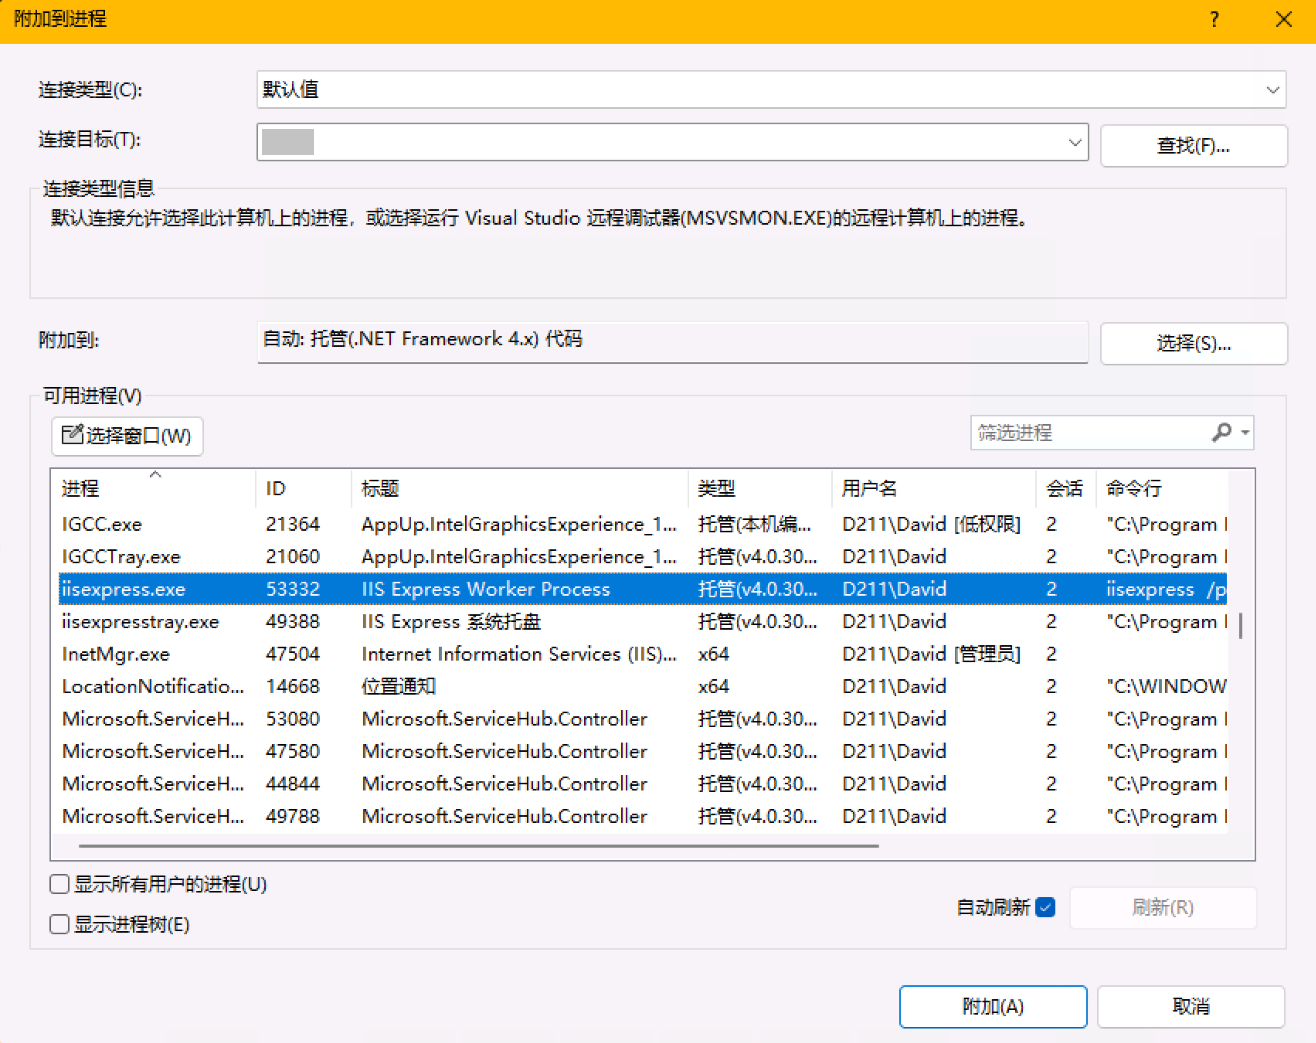
5、附加到进程
6、设置断点
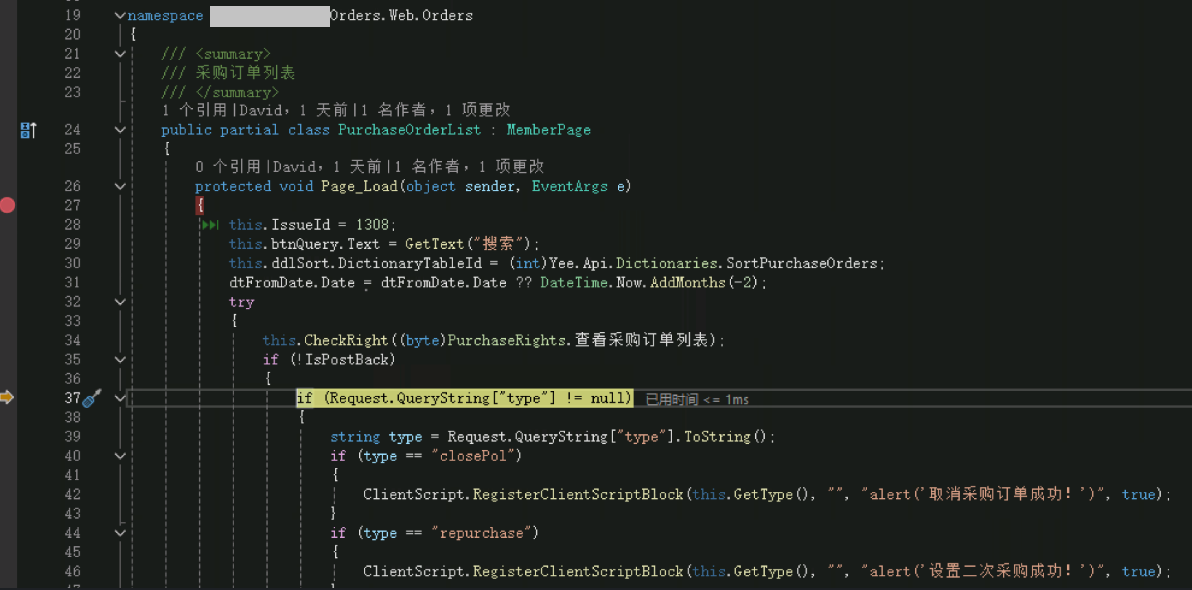
弄熟了一点都不麻烦.每次修改代码了,记得重新生成一遍Web项目就好.IIS Express网站启动一次以后,就不用管了.

【推荐】国内首个AI IDE,深度理解中文开发场景,立即下载体验Trae
【推荐】凌霞软件回馈社区,携手博客园推出1Panel与Halo联合会员
【推荐】轻量又高性能的 SSH 工具 IShell:AI 加持,快人一步