摘要
- 安装
- 设置密码
- 本地访问
- 远程访问
- 实现图形化管理
安装
Ubuntu 22.04 LTS安装很简单
apt install redis
设置密码访问
配置文件在/etc/redis文件夹下:
vi /etc/redis/redis.conf
查找requirepass,取消前边的注释,设置成自己的密码
# IMPORTANT NOTE: starting with Redis 6 "requirepass" is just a compatibility
# layer on top of the new ACL system. The option effect will be just setting
# the password for the default user. Clients will still authenticate using
# AUTH <password> as usually, or more explicitly with AUTH default <password>
# if they follow the new protocol: both will work.
#
requirepass myPassword
重新启动服务:
systemctl restart redis
在redis服务器上测试连接
root@cap-server:/etc/redis# redis-cli
127.0.0.1:6379> config rewrite
(error) NOAUTH Authentication required.
127.0.0.1:6379> auth myPassword
OK
127.0.0.1:6379>
在另外一台Linux访问刚才安装的redis
redis的命令行是可以单独安装的:
1、安装redis-tools
Ubuntu 22.04 LTS
apt install redis-tools
2、连接远程redis
根据官网文章,尝试访问:
root@dev-server:/mnt/disk5t/portainer-ce# redis-cli -h 192.168.3.201 -a myPassword
Warning: Using a password with '-a' or '-u' option on the command line interface may not be safe.
Could not connect to Redis at 192.168.3.201:6379: Connection refused
怀疑是redis不允许127.0.0.1之外的IP访问,接下来:
3、修改redis.conf
打开配置文件
vi /etc/redis/redis.conf
注释掉bind 127.0.0.1 ::1
################################## NETWORK #####################################

# By default, if no "bind" configuration directive is specified, Redis listens
# for connections from all available network interfaces on the host machine.
# It is possible to listen to just one or multiple selected interfaces using
# the "bind" configuration directive, followed by one or more IP addresses.
#
# Examples:
#
# bind 192.168.1.100 10.0.0.1
# bind 127.0.0.1 ::1
#
# ~~~ WARNING ~~~ If the computer running Redis is directly exposed to the
# internet, binding to all the interfaces is dangerous and will expose the
# instance to everybody on the internet. So by default we uncomment the
# following bind directive, that will force Redis to listen only on the
# IPv4 loopback interface address (this means Redis will only be able to
# accept client connections from the same host that it is running on).
#
# IF YOU ARE SURE YOU WANT YOUR INSTANCE TO LISTEN TO ALL THE INTERFACES
# JUST COMMENT OUT THE FOLLOWING LINE.
# ~~~~~~~~~~~~~~~~~~~~~~~~~~~~~~~~~~~~~~~~~~~~~~~~~~~~~~~~~~~~~~~~~~~~~~~~
# bind 127.0.0.1 ::1
重新启动redis
systemctl restart redis
4、再次连接远程redis
root@dev-server:/mnt/disk5t/portainer-ce# redis-cli -h 192.168.3.201 -a myPassword
Warning: Using a password with '-a' or '-u' option on the command line interface may not be safe.
192.168.3.201:6379>
Redis Insight
1、安装
根据官网文章编排出下述文件:
version: '3.3'
services:
  redis_insight:
    # 镜像                                                  #  ↓↓↓↓↓ --- 1、 修改镜像版本号,或者干脆写成latest
    image: redis/redisinsight:latest
    container_name: redis-insight # 容器名
    restart: always
    volumes:
      #   ↓↓↓↓↓ ------------------------------------------------------- 2、 修改数据库以及证书存储路径
      - ./data:/data
    ports: # 端口映射
      - "5540:5540"
    environment: # 环境变量
      - TZ=Asia/Shanghai
启动
docker-compose up -d
首次启动后报错,用docker logs查看原因是很清晰的:对data目录的权限不够
chmod -R 777 data
重新启动容器
docker-compose restart
2、使用
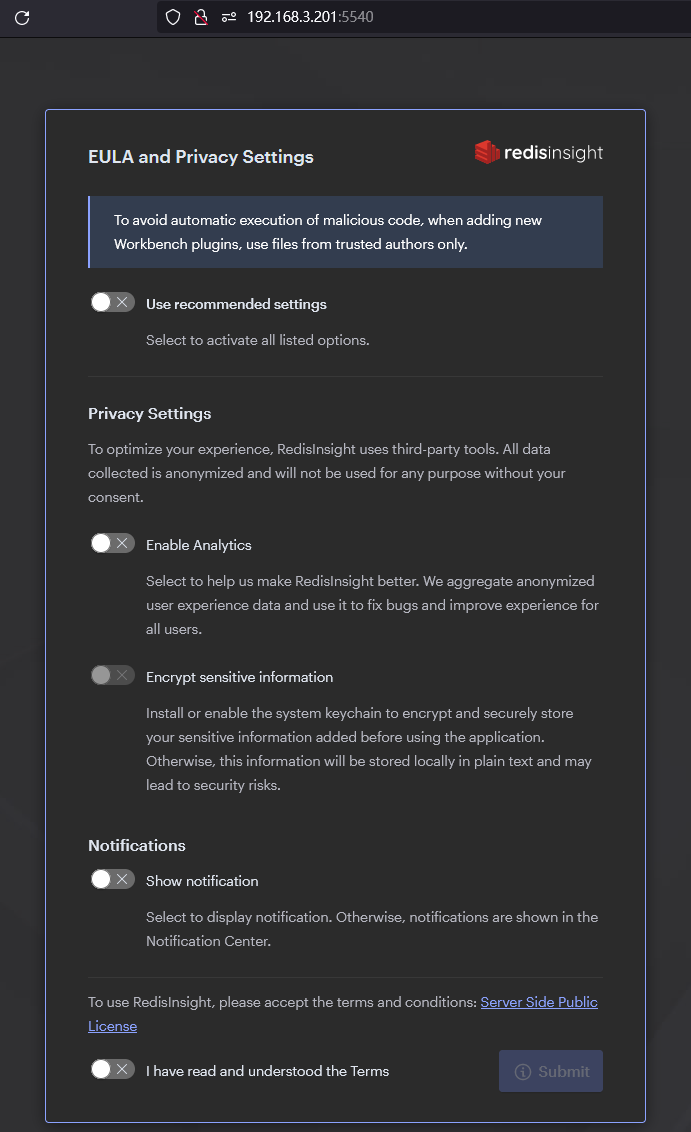
首次打开:

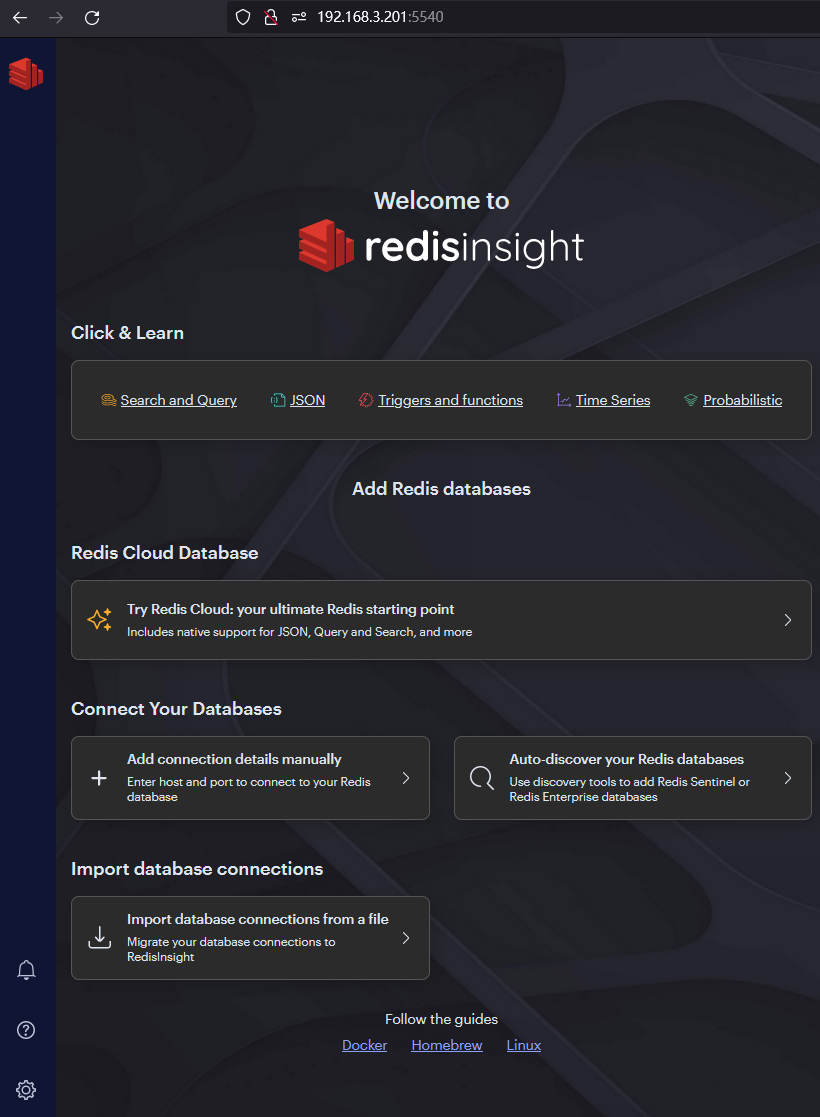
勾选了默认设置,并提交后:

添加第一个数据库
在上一个图片中,选择:

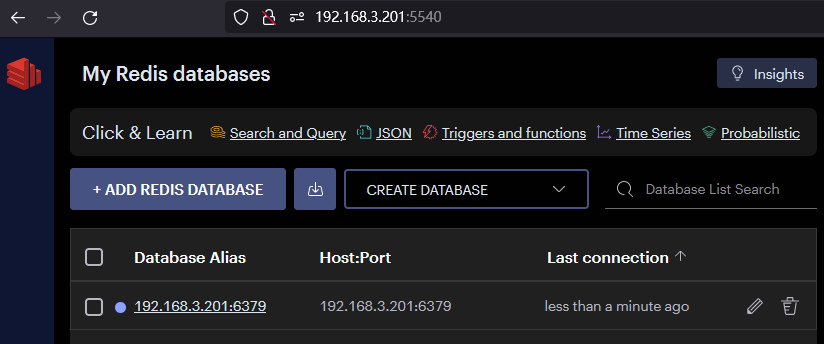
下图中要把127.0.0.1换掉,因为Redis Insight是运行在容器里,容器内部并没有安装Redis。我们的Redis是安装在物理主机,所以要把IP地址换成192.168.3.201

添加成功了:

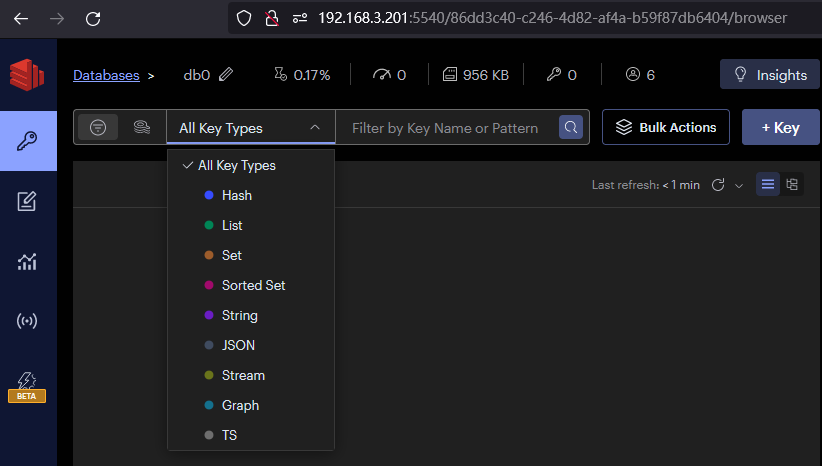
只贴一张图:

后记
这篇文章基本涵盖了redis入门级的方方面面,后续会不断完善这篇文章。
欢迎关注!
黑夜里不停折腾的代码行者。


【推荐】国内首个AI IDE,深度理解中文开发场景,立即下载体验Trae
【推荐】编程新体验,更懂你的AI,立即体验豆包MarsCode编程助手
【推荐】抖音旗下AI助手豆包,你的智能百科全书,全免费不限次数
【推荐】轻量又高性能的 SSH 工具 IShell:AI 加持,快人一步
· TypeScript + Deepseek 打造卜卦网站:技术与玄学的结合
· 阿里巴巴 QwQ-32B真的超越了 DeepSeek R-1吗?
· 【译】Visual Studio 中新的强大生产力特性
· 【设计模式】告别冗长if-else语句:使用策略模式优化代码结构
· AI与.NET技术实操系列(六):基于图像分类模型对图像进行分类