springBoot整合ssm
SpringBoot SSM整合
一、Spring Boot整合Web开发
1.默认静态资源配置
WebMvcAutoConfiguration该类下找到属性:ResourceProperties进入可查看到:Spring Boot 默认将 /** 所有访问映射到以下目录:
classpath:/static
classpath:/public
classpath:/resources
classpath:/META-INF/resources
如:在src/main/resources目录下新建 public、resources、static 三个目录,并分别放入 a.jpg b.jpg c.jpg 图片
均能正常访问相应的图片资源。那么说明,Spring Boot 默认会挨个从 public resources static 里面找是否存在相应的资源,如果有则直接返回。
2.在application配置
在application.properties中添加配置:
注意:通过spring.mvc.static-path-pattern这种方式配置,会使Spring Boot的默认配置失效,也就是说,/public /resources 等默认配置不能使用。配置中配置了静态模式为/static/,就只能通过/static/来访问。
spring
3. 配置主页面
WebMvcAutoConfiguration:默认:index.html
在静态资源下 public、resources、static可直接访问
二、SpringBoot整合MyBatis
1、新建SpringBoot工程
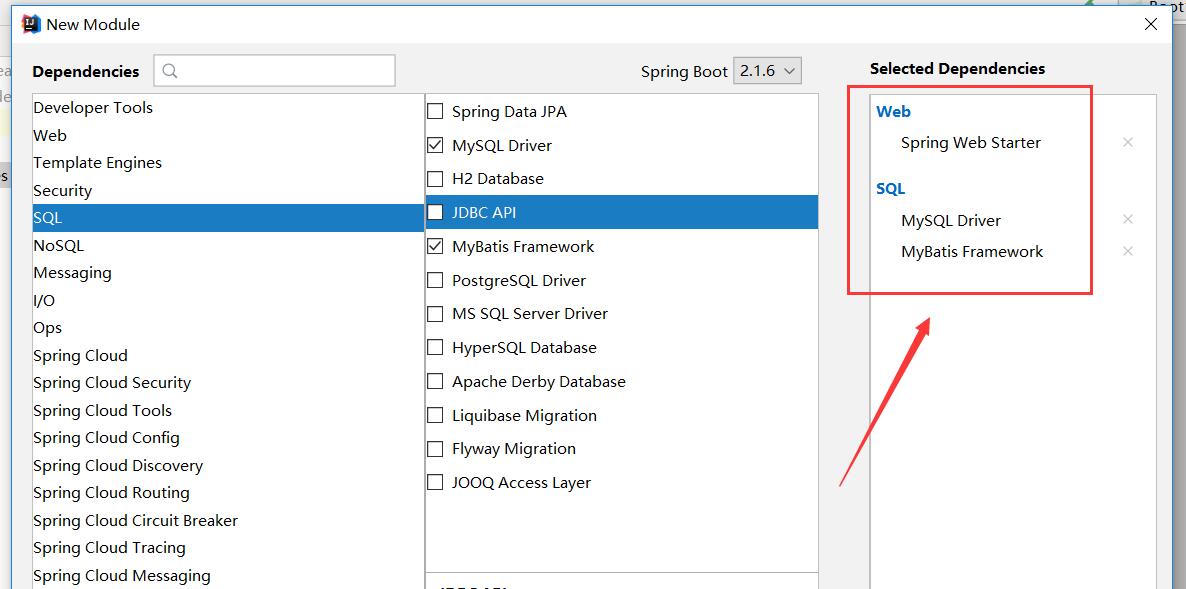
2、POM.XML SSM
<dependencies>
<!-- spring web mvc-->
<dependency>
<groupId>org.springframework.boot</groupId>
<artifactId>spring-boot-starter-web</artifactId>
</dependency>
<!-- spring mybatis -->
<dependency>
<groupId>org.mybatis.spring.boot</groupId>
<artifactId>mybatis-spring-boot-starter</artifactId>
<version>2.1.0</version>
</dependency>
<!-- mysql 驱动-->
<dependency>
<groupId>mysql</groupId>
<artifactId>mysql-connector-java</artifactId>
<scope>runtime</scope>
</dependency>
<!-- 热部署 -->
<dependency>
<groupId>org.springframework.boot</groupId>
<artifactId>spring-boot-devtools</artifactId>
<optional>true</optional>
</dependency>
<!-- 单元测试 -->
<dependency>
<groupId>org.springframework.boot</groupId>
<artifactId>spring-boot-starter-test</artifactId>
<scope>test</scope>
</dependency>
</dependencies>
 <!-- druid 数据源连接池 -->
        <dependency>
            <groupId>com.alibaba</groupId>
            <artifactId>druid-spring-boot-starter</artifactId>
            <version>1.1.10</version>
        </dependency>
3、bean代码
4、mapper代码
5、application.yml配置
server:
port: 8080
context-path: /boot
spring:
#数据源连接配置
datasource:
name: test
type: com.alibaba.druid.pool.DruidDataSource
druid: #druid相关配置
url: jdbc:mysql://localhost:3306/school?serverTimezone=UTC&useUnicode=true&characterEncoding=utf-8&useSSL=false
driver-class-name: com.mysql.cj.jdbc.Driver
username: root
password: root
#监控统计拦截的filters
filters: stat
#配置初始化大小/最小/最大
initial-size: 1
min-idle: 1
max-active: 20
#获取连接等待超时时间
max-wait: 60000
#间隔多久进行一次检测,检测需要关闭的空闲连接
time-between-eviction-runs-millis: 60000
#一个连接在池中最小生存的时间
min-evictable-idle-time-millis: 300000
validation-query: SELECT 'x'
test-while-idle: true
test-on-borrow: false
test-on-return: false
#打开PSCache,并指定每个连接上PSCache的大小。oracle设为true,mysql设为false。分库分表较多推荐设置为false
pool-prepared-statements: false
max-pool-prepared-statement-per-connection-size: 20
#整合myBatis
mybatis:
mapper-locations: classpath:mapper/*.xml # mapper映射对应的配置文件位置.xml
type-aliases-package: com.qfjy.bean # 对应的实体类的包名
6、启动类 Application
注意:@MapperScan(value="com.qfjy.mapper") 或接口上@Mapper各选一个
7、异常注意事项
Loading class `com.mysql.jdbc.Driver'. This is deprecated. The new driver class is `com.mysql.cj.jdbc.Driver'. The driver is automatically registered via the SPI and manual loading of the driver class is generally unnecessary.
2019-07-24 19:24:52.225 ERROR 8704 --- [ restartedMain] com.alibaba.druid.pool.DruidDataSource : init datasource error, url: jdbc:mysql://localhost:3306/maven_ssm
java.sql.SQLException: The server time zone value '�й���ʱ��' is unrecognized or represents more than one time zone. You must configure either the server or JDBC driver (via the serverTimezone configuration property) to use a more specifc time zone value if
.................
使用Idea做jdbc的时候用了最新的mysql-connector-java-8.0.11库发现编码没有异常但是运行时出现了两个异常,如下
意思是 mysql.jdbc.driver被弃用了新的驱动类是“com.mysql.cjdbc.driver”。驱动程序通过SPI自动注册,而手动加载类通常是不必要的,解决方案如下:
把com.mysql.jdbc.Driver 改为com.mysql.cj.jdbc.Driver 即可
第二个异常是时区的错误,因此只你需要设置为你当前系统时区即可
?serverTimezone=GMT%2B8
完整如下:
spring:
  #数据源连接配置
  datasource:
    name: test
    type: com.alibaba.druid.pool.DruidDataSource
    druid: #druid相关配置
      url: jdbc:mysql://localhost:3306/maven_ssm?serverTimezone=GMT%2B8
      driver-class-name: com.mysql.cj.jdbc.Driver
      username: root
      password: root

 浙公网安备 33010602011771号