docker构建实例 —— jupyter-cpp、nginx、mysql、pgsql
jupyter notebook
本文目标:构建一个可以在 jupyter notebook 中运行 cpp 的 docker 容器
基础环境:
docker image: python:3.9.9
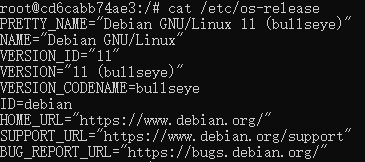
os: Debian 11(bullseye)
容器运行:
docker run -it --name jp-cpp -p 8888:8888 -p 8889:8889 python:3.9.9 /bin/bash
环境补充:
1、更新 apt: apt update -y
2、安装vim:apt install -y vim
容器备份:
docker export jp-cpp > jp-cpp.tar
安装 miniconda
1、安装
curl --output Miniconda3-py39_4.10.3-Linux-x86_64.sh https://repo.anaconda.com/miniconda/Miniconda3-py39_4.10.3-Linux-x86_64.sh

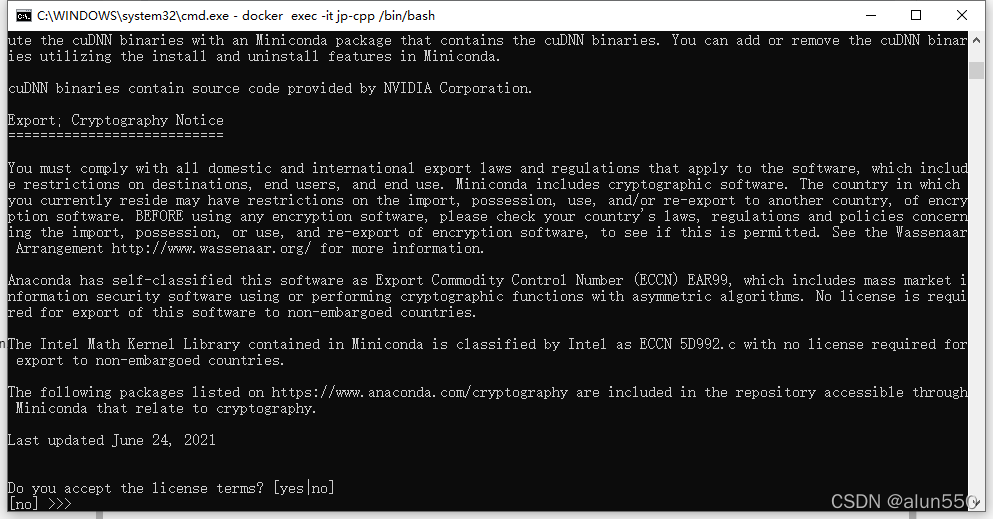
bash ./Miniconda3-py39_4.10.3-Linux-x86_64.sh


2、添加 conda 到 /usr/bin/
2.1 找到 conda 位置
find / -name conda

2.2 复制 conda
cp /root/miniconda3/bin/canda /usr/bin/conda
3、创建并激活虚拟环境
conda create -n cling
conda activate cling
4、安装 jupyter 和 xeus-cling
conda install jupyter notebook
conda install xeus-cling -c conda-forge
5、查看是否成功安装 kernel
jupyter kernelspec list
7、创建目录 /jupyter_home
mkdir /jupyter_home
8、生成 jupyter_notebook_config.py
jupyter notebook --generate-config
9、执行如下代码:
$ ipython
from notebook.auth import passwd
passwd()

10、将上一步的密码值替换到最下方的 .password 中,并将下方内容追加到 jupyter_notebook_config.py 的末尾
c.NotebookApp.ip = '*'
c.NotebookApp.port = 8888
c.NotebookApp.open_browser = False
c.NotebookApp.notebook_dir = '/jupyter_home/'
c.NotebookApp.allow_root = True
c.NotebookApp.password = 'argon2:$argon2id$v=19$m=10240,t=10,p=8$UAeGGB6Ev5hb+ZdRTOmwkA$CbVV2G0GKZTMsIvIE8GjpA'
vim /root/.jupyter/jupyter_notebook_config.py
11、运行 jupyter notebook
jupyter notebook
12、登陆并创建代码
nginx
docker run --name mynginx -it -p 8531:8531 -v /nginx_data/html:/usr/share/nginx/html:rw nginx /bin/bash
DataBase
postgresql
docker run -it --name pg -p 5432:5432 -e POSTGRES_PASSWORD=0403 -d postgres
mysql
docker run -p 3306:3306 --name mysql -e MYSQL_ROOT_PASSWORD=0403 -d mysql


