JavaFX
1、JavaFX
javafx学习笔记
1.1、JavaFX应用程序架构
基本架构
一个窗口/舞台(stage)只能有一个场景(scene),一个场景里可以放根节点(一般都是布局),布局可以相互嵌套,布局里面存放节点,比如:label、button等

代码实例
代码运行顺序,main方法--》Application的launch()方法--》start方法
package com.akkacloud;
import javafx.application.Application;
import javafx.scene.Scene;
import javafx.scene.control.Label;
import javafx.scene.layout.BorderPane;
import javafx.stage.Stage;
public class Main extends Application {
public static void main(String[] args) {
/*main函数调用Application*/
Application.launch(args);
}
/*程序开始时运行*/
@Override
public void start(Stage primaryStage) throws Exception {
/*标签*/
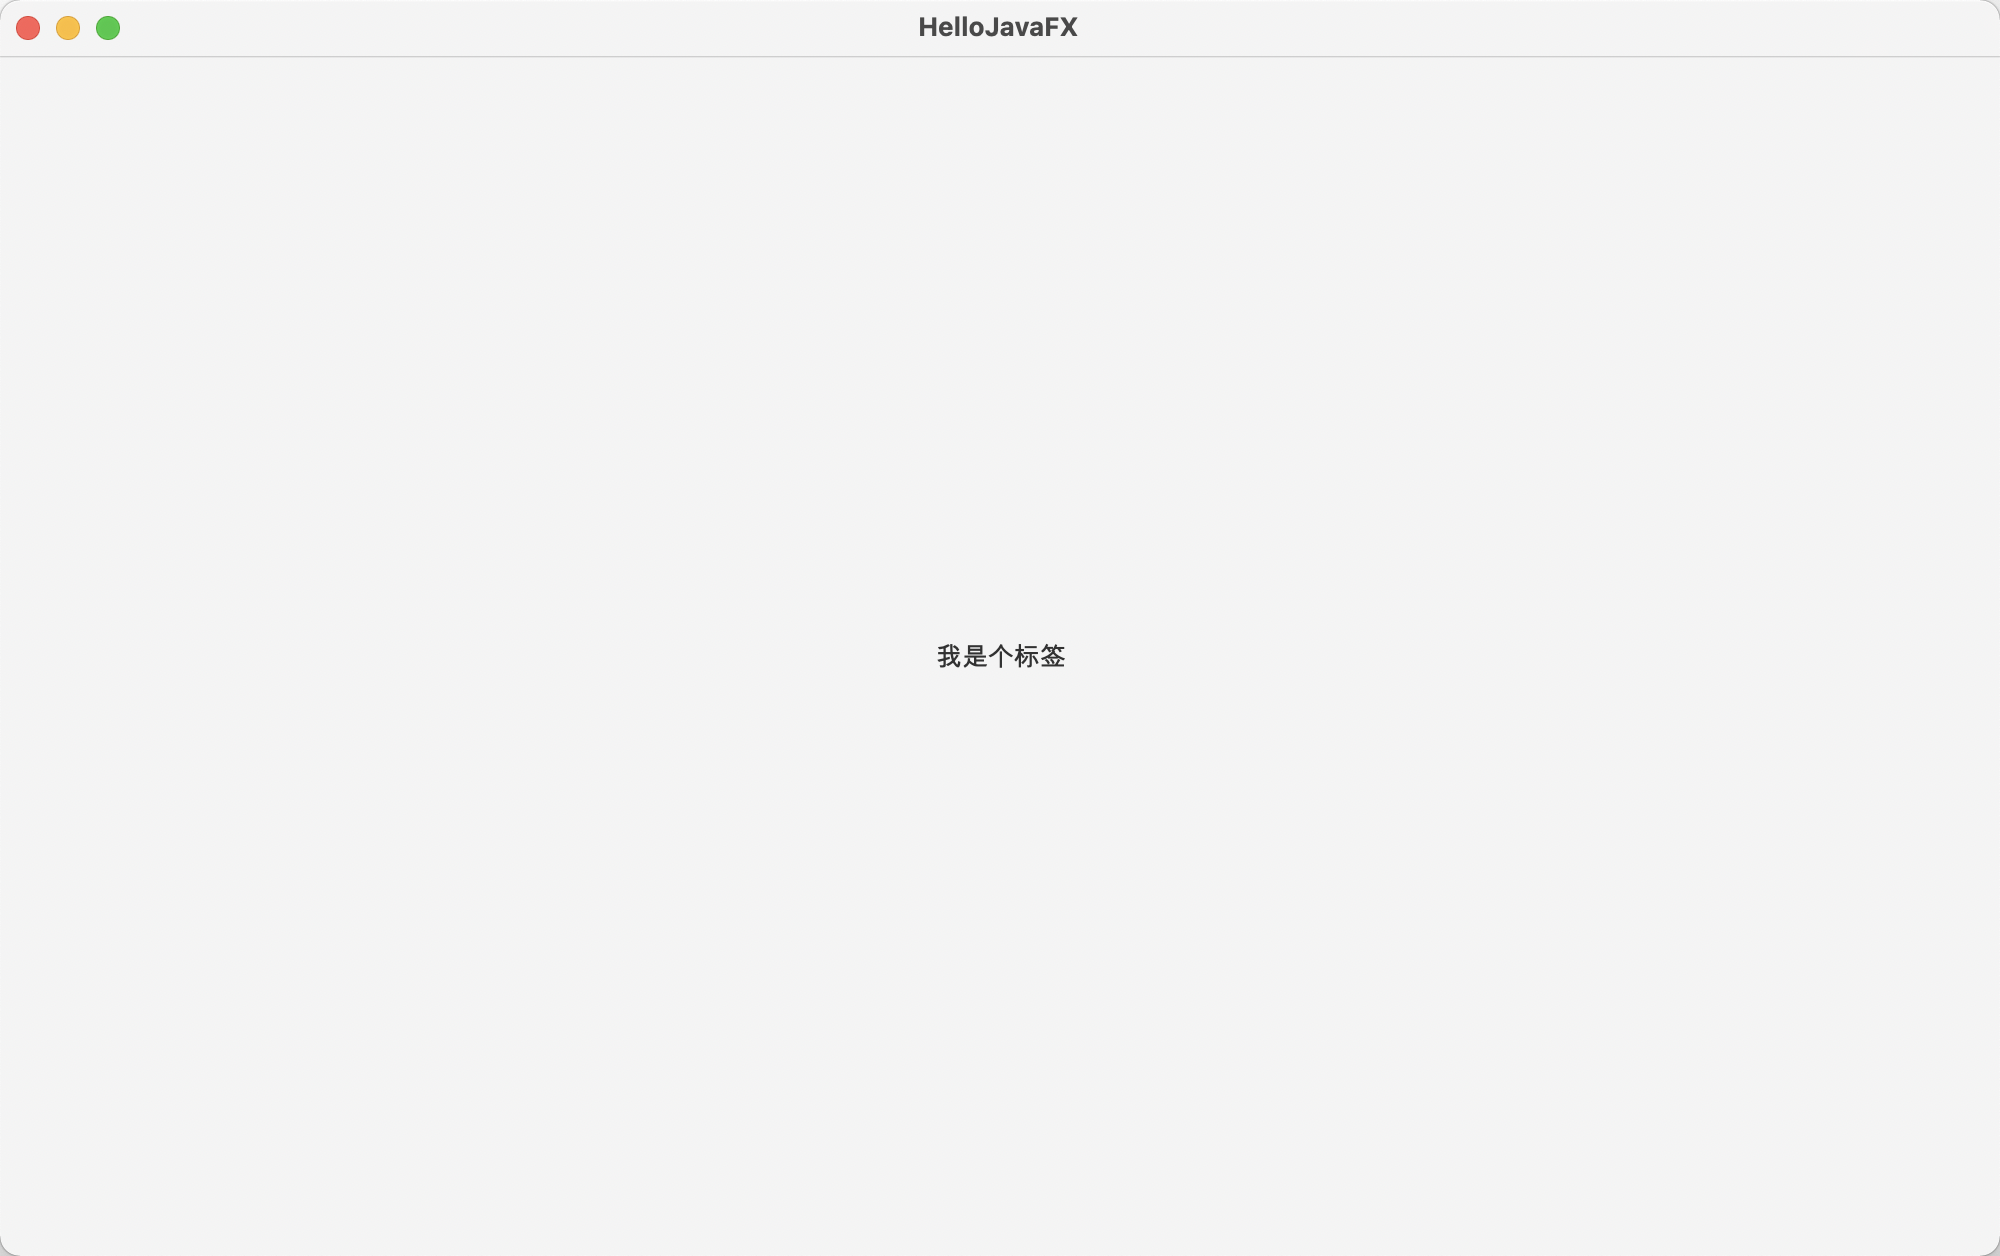
Label label = new Label("我是个标签");
/*布局*/
BorderPane borderPane = new BorderPane(label);//borderPane布局会把场景分成上下左右中,默认放在中间
/*场景*/
Scene scene = new Scene(borderPane,1000,600);
/*主要的舞台/窗口*/
primaryStage.setTitle("HelloJavaFX");
/*窗口设置场景*/
primaryStage.setScene(scene);
primaryStage.show();
}
}
运行结果
1.2、JavaFX的stage
Stage类是一个窗口
常用类
/*主要的舞台/窗口*/
primaryStage.setTitle("HelloJavaFX");
/*设置icon*/
primaryStage.getIcons().add(new Image("images/icon.png"));
/*窗口设置场景*/
primaryStage.setScene(scene);
primaryStage.show();
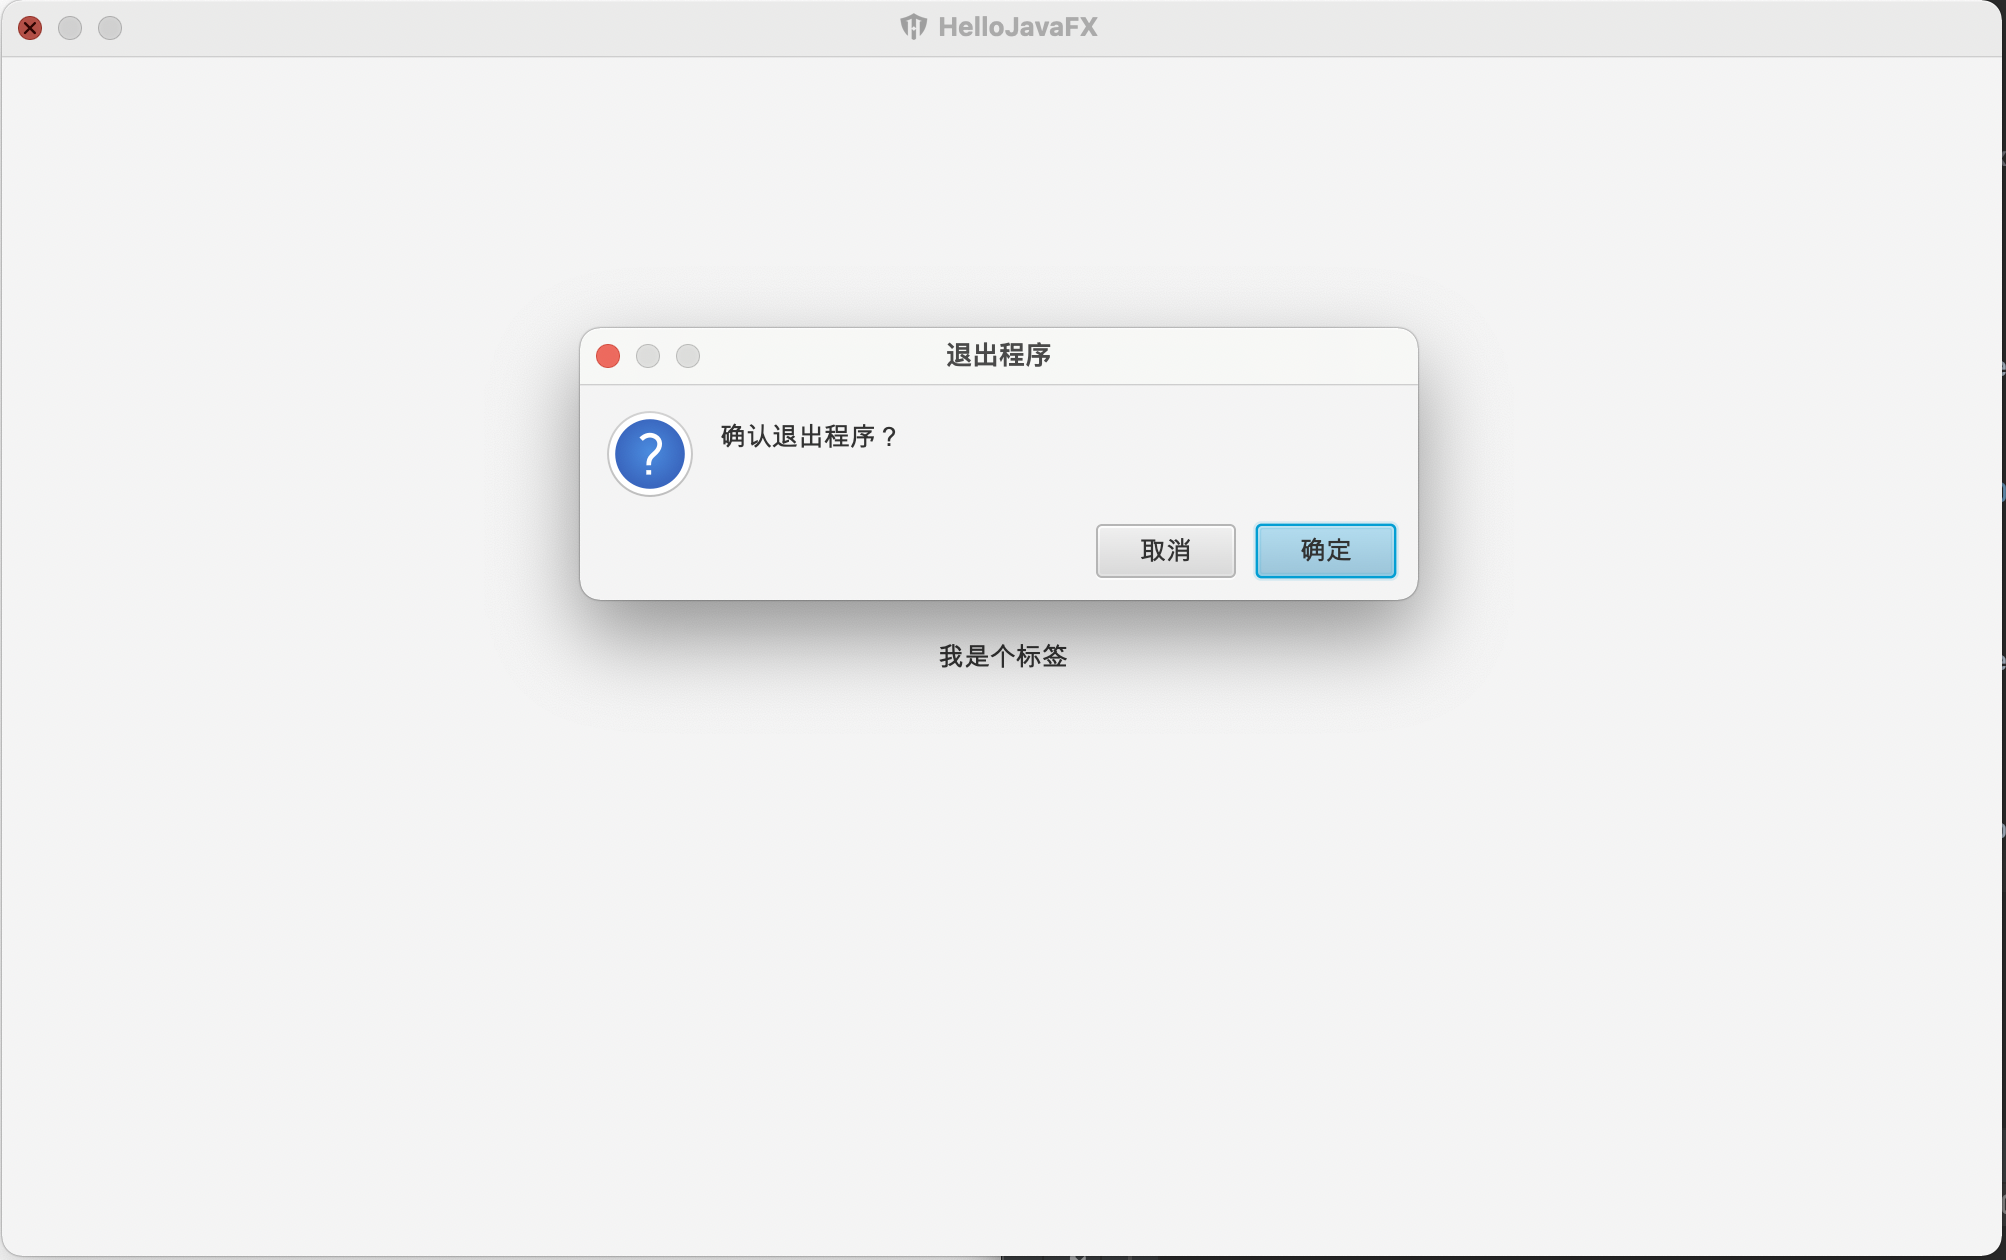
设置关闭窗口是询问是否关闭
primaryStage.setOnCloseRequest(event -> {
  event.consume();
  Alert alert = new Alert(Alert.AlertType.CONFIRMATION);
  alert.setTitle("退出程序");
  alert.setHeaderText(null);
  alert.setContentText("确认退出程序?");
  Optional<ButtonType> result = alert.showAndWait();
  if(result.get()==ButtonType.OK){
    Platform.exit();
  }
});
1.3、JavaFX的scene
场景
Scene scene = new Scene(borderPane,1000,600);//在一个场景放入一个节点树的根节点(布局),然后是宽高
然后放入舞台/窗口后才可以显示
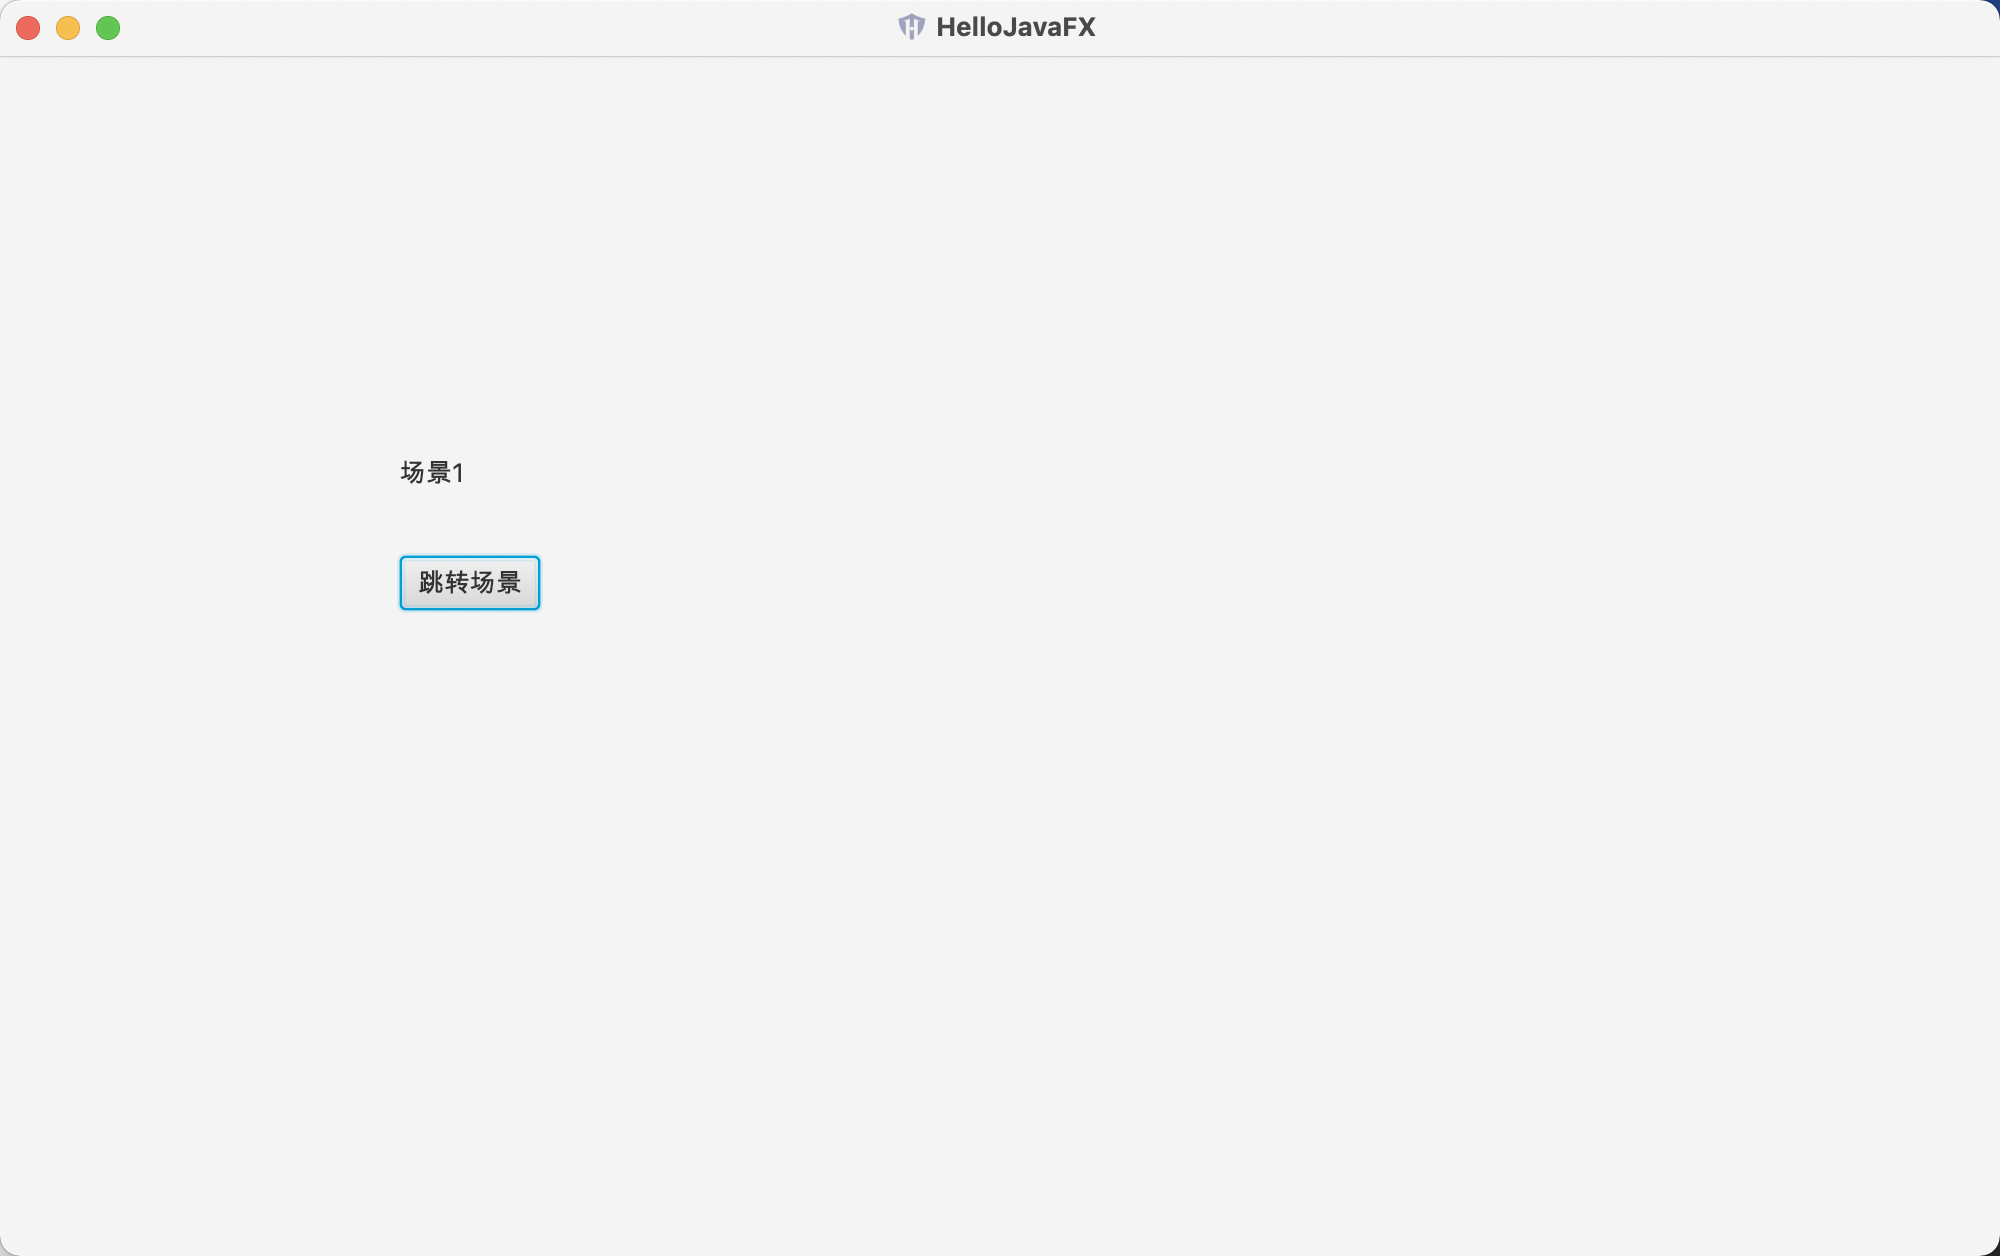
使用案例
点击button跳转到新的场景
package com.akkacloud;
import javafx.application.Application;
import javafx.application.Platform;
import javafx.scene.Scene;
import javafx.scene.control.Alert;
import javafx.scene.control.Button;
import javafx.scene.control.ButtonType;
import javafx.scene.control.Label;
import javafx.scene.image.Image;
import javafx.scene.layout.AnchorPane;
import javafx.scene.layout.BorderPane;
import javafx.stage.Stage;
import java.awt.*;
import java.util.Optional;
public class Main extends Application {
public static void main(String[] args) {
/*main函数调用Application*/
Application.launch(args);
}
/*程序开始时运行*/
@Override
public void start(Stage primaryStage) throws Exception {
/*标签*/
Label label = new Label("场景1");
label.setLayoutX(200);
label.setLayoutY(200);
Button button = new Button("跳转场景");
button.setLayoutX(200);
button.setLayoutY(250);
/*标签*/
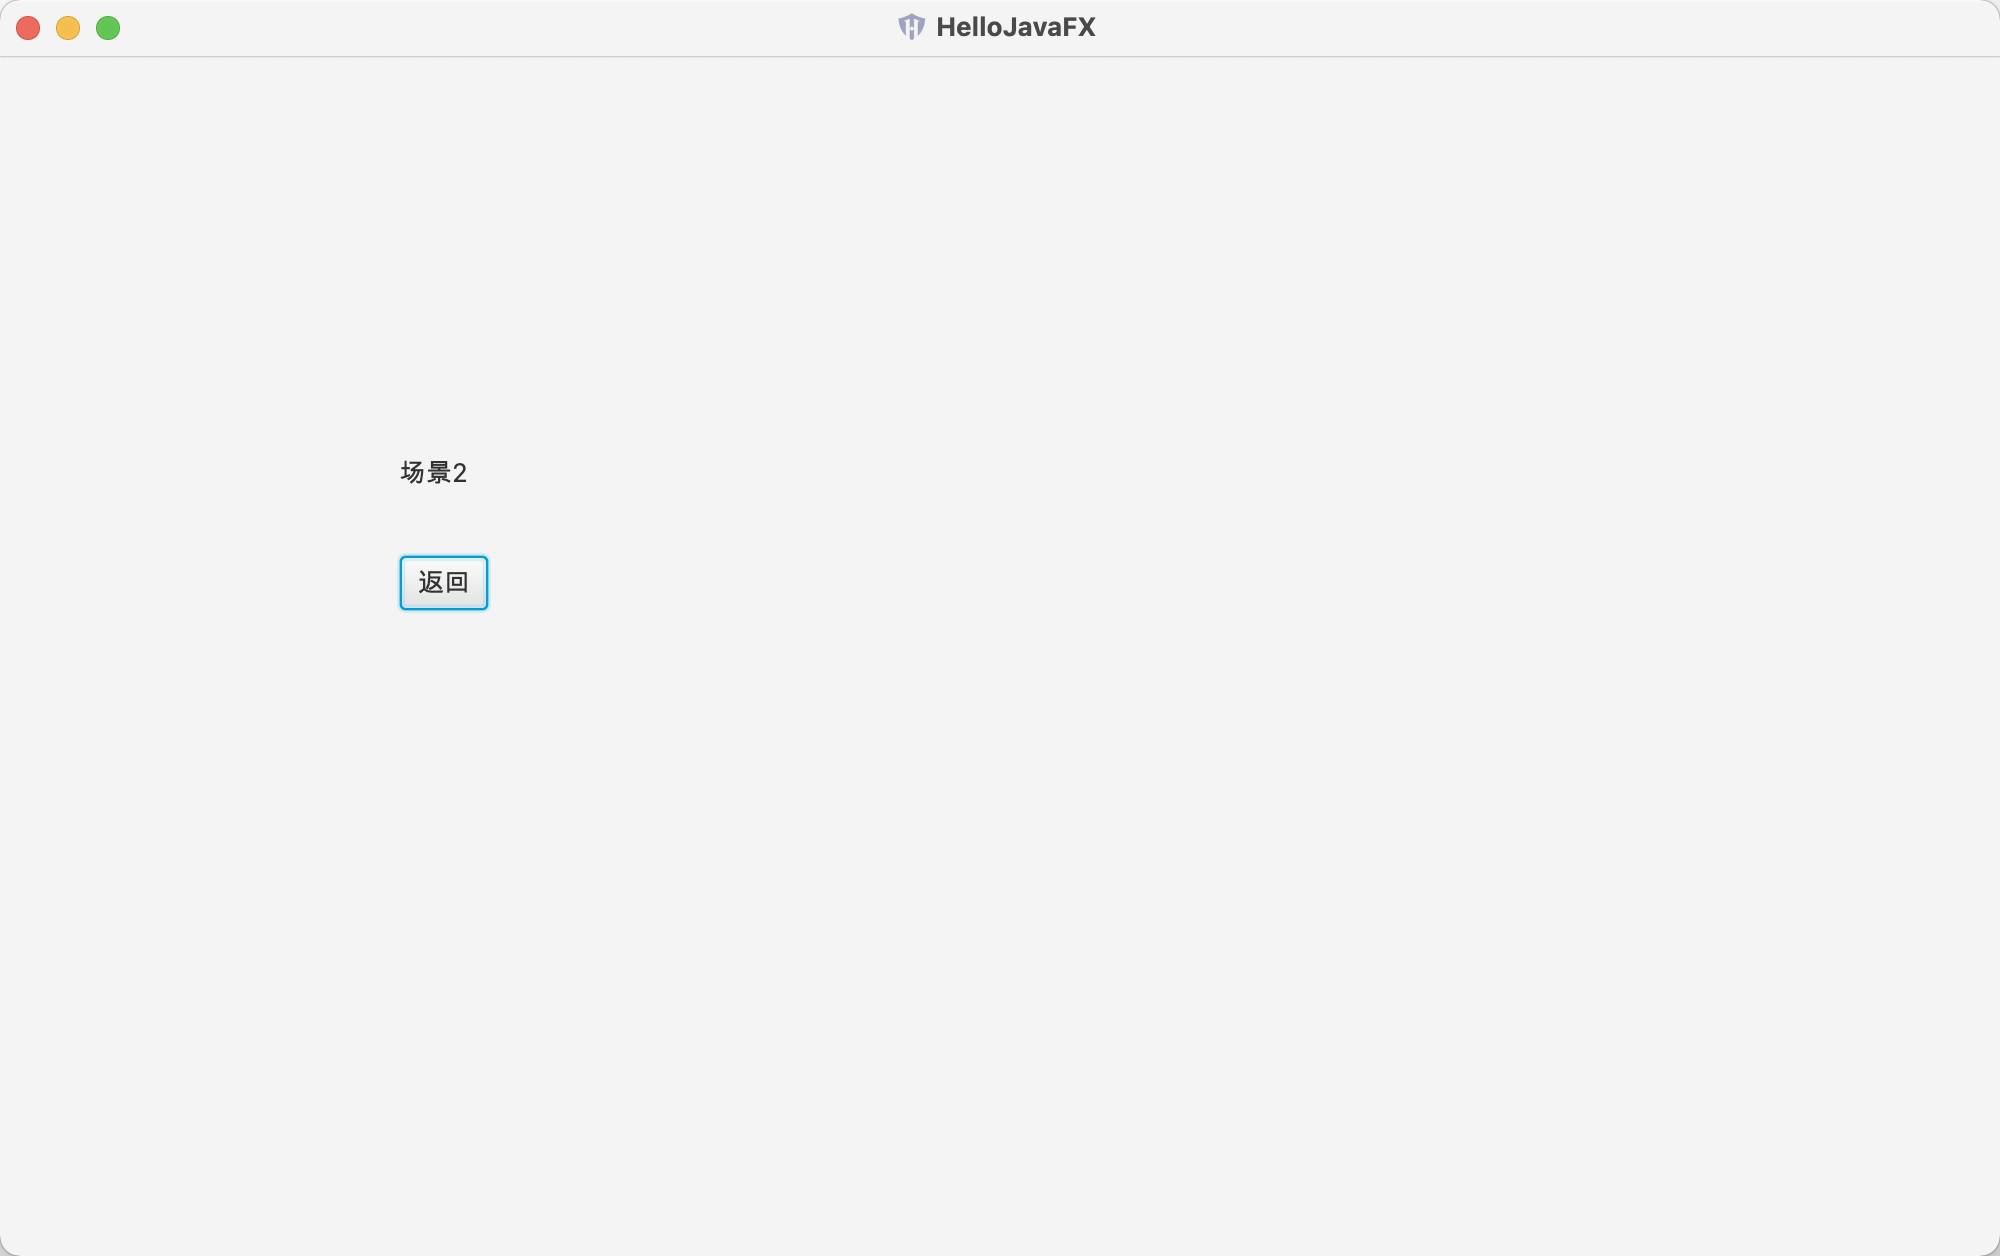
Label label1 = new Label("场景2");
label1.setLayoutX(200);
label1.setLayoutY(200);
Button button1 = new Button("返回");
button1.setLayoutX(200);
button1.setLayoutY(250);
/*布局*/
AnchorPane root = new AnchorPane();
root.getChildren().addAll(label,button);
/*场景*/
Scene scene = new Scene(root,1000,600);
/*布局*/
AnchorPane newroot = new AnchorPane();
newroot.getChildren().addAll(label1,button1);
Scene newscene = new Scene(newroot,1000,600);
button1.setOnAction(event -> {
primaryStage.setScene(scene);
});
button.setOnAction(event -> {
primaryStage.setScene(newscene);
});
/*主要的舞台/窗口*/
primaryStage.setTitle("HelloJavaFX");
/*设置icon*/
primaryStage.getIcons().add(new Image("images/icon.png"));
/*窗口设置场景*/
primaryStage.setScene(scene);
primaryStage.show();
}
}
案例
1.4、JavaFX的Pane
Pane
布局的父类,使用坐标定位,类似绝对布局,子控件使用layoutX,layoutY定位

BorderPane边框布局
将界面分割成上中下,中间部分又分成左中右,一共五部分,通过<top><left><center><right><bottom>来设置内容。

HBox 水平布局
将控件水平排列,不换行。

VBox 垂直布局
将控件垂直排列,不换行。

FlowPane 流式布局
默认水平排列,排满一行之后会换行,提供属性设置水平还是垂直

GridPane 网格布局
类似HTML的table布局,按表格分布,可以合并单元格,  columnConstraints定义列,rowConstraints定义行。

AnchorPane 锚点布局
类似相对布局,可以指定子控件在布局的左下角等位置,可设置相对距离

ScrollPane 滚动布局
提供滚动内容。

StackPane 堆栈布局
所有子控件叠加在一起,可单独指定某个子控件位置。

TilePane 磁贴布局
把所有子控件放在一个网格中,每格大小一样,节点可以按水平或垂直排列,排到边界处会自动换行。

DialogPane 对话布局
弹窗。
1.5、JavaFX的Note
Note本身为抽象类,不可以直接使用,应该调用其子类使用,如:Label、Button
note通用属性设置
/*标签*/
Label label = new Label("场景1");
label.setLayoutX(200);
label.setLayoutY(200);
label.setStyle("-fx-background-color: blue;-fx-border-color: red;-fx-border-width: 2px");
/*设置节点的长宽*/
label.setPrefWidth(200);
label.setPrefHeight(50);
/*设置节点内容居中*/
label.setAlignment(Pos.CENTER);
/*设置透明度*/
label.setOpacity(0.5);
1.6、JavaFX的事件驱动
setOnAction方法
鼠标点击事件,该方法的参数需要EventHandler<ActionEvent>()对象
setOnKeyReleased
键盘释放事件
package com.akkacloud;

import javafx.application.Application;
import javafx.event.ActionEvent;
import javafx.event.EventHandler;
import javafx.scene.Scene;
import javafx.scene.control.Button;
import javafx.scene.control.Label;
import javafx.scene.input.KeyCode;
import javafx.scene.input.KeyEvent;
import javafx.scene.layout.AnchorPane;
import javafx.stage.Stage;


public class Main extends Application {
    public static void main(String[] args) {
        /*main函数调用Application*/
        Application.launch(args);
    }
    /*程序开始时运行*/
    @Override
    public void start(Stage primaryStage) throws Exception {

        Label text = new Label("text");
        text.setLayoutX(200);
        text.setLayoutY(200);
        Button button = new Button("向上移动");
        button.setLayoutX(400);
        button.setLayoutY(200);
        AnchorPane root = new AnchorPane();


        root.getChildren().addAll(text,button);
        Scene scene = new Scene(root,900,600);


        /*按钮点击事件*/
        button.setOnAction(new EventHandler<ActionEvent>() {
            @Override
            public void handle(ActionEvent event) {
                text.setLayoutY(text.getLayoutY() - 10);
            }
        });

        /*场景设置当键盘释放时触发事件*/
        scene.setOnKeyReleased(new EventHandler<KeyEvent>() {
            @Override
            public void handle(KeyEvent event) {
                /*获取键盘事件*/
                KeyCode keyCode = event.getCode();
                /*判断是不是向下*/
                if(keyCode.equals(keyCode.DOWN)){
                    text.setLayoutY(text.getLayoutY() + 10);
                }
            }
        });


        primaryStage.setScene(scene);
        primaryStage.show();


    }
}
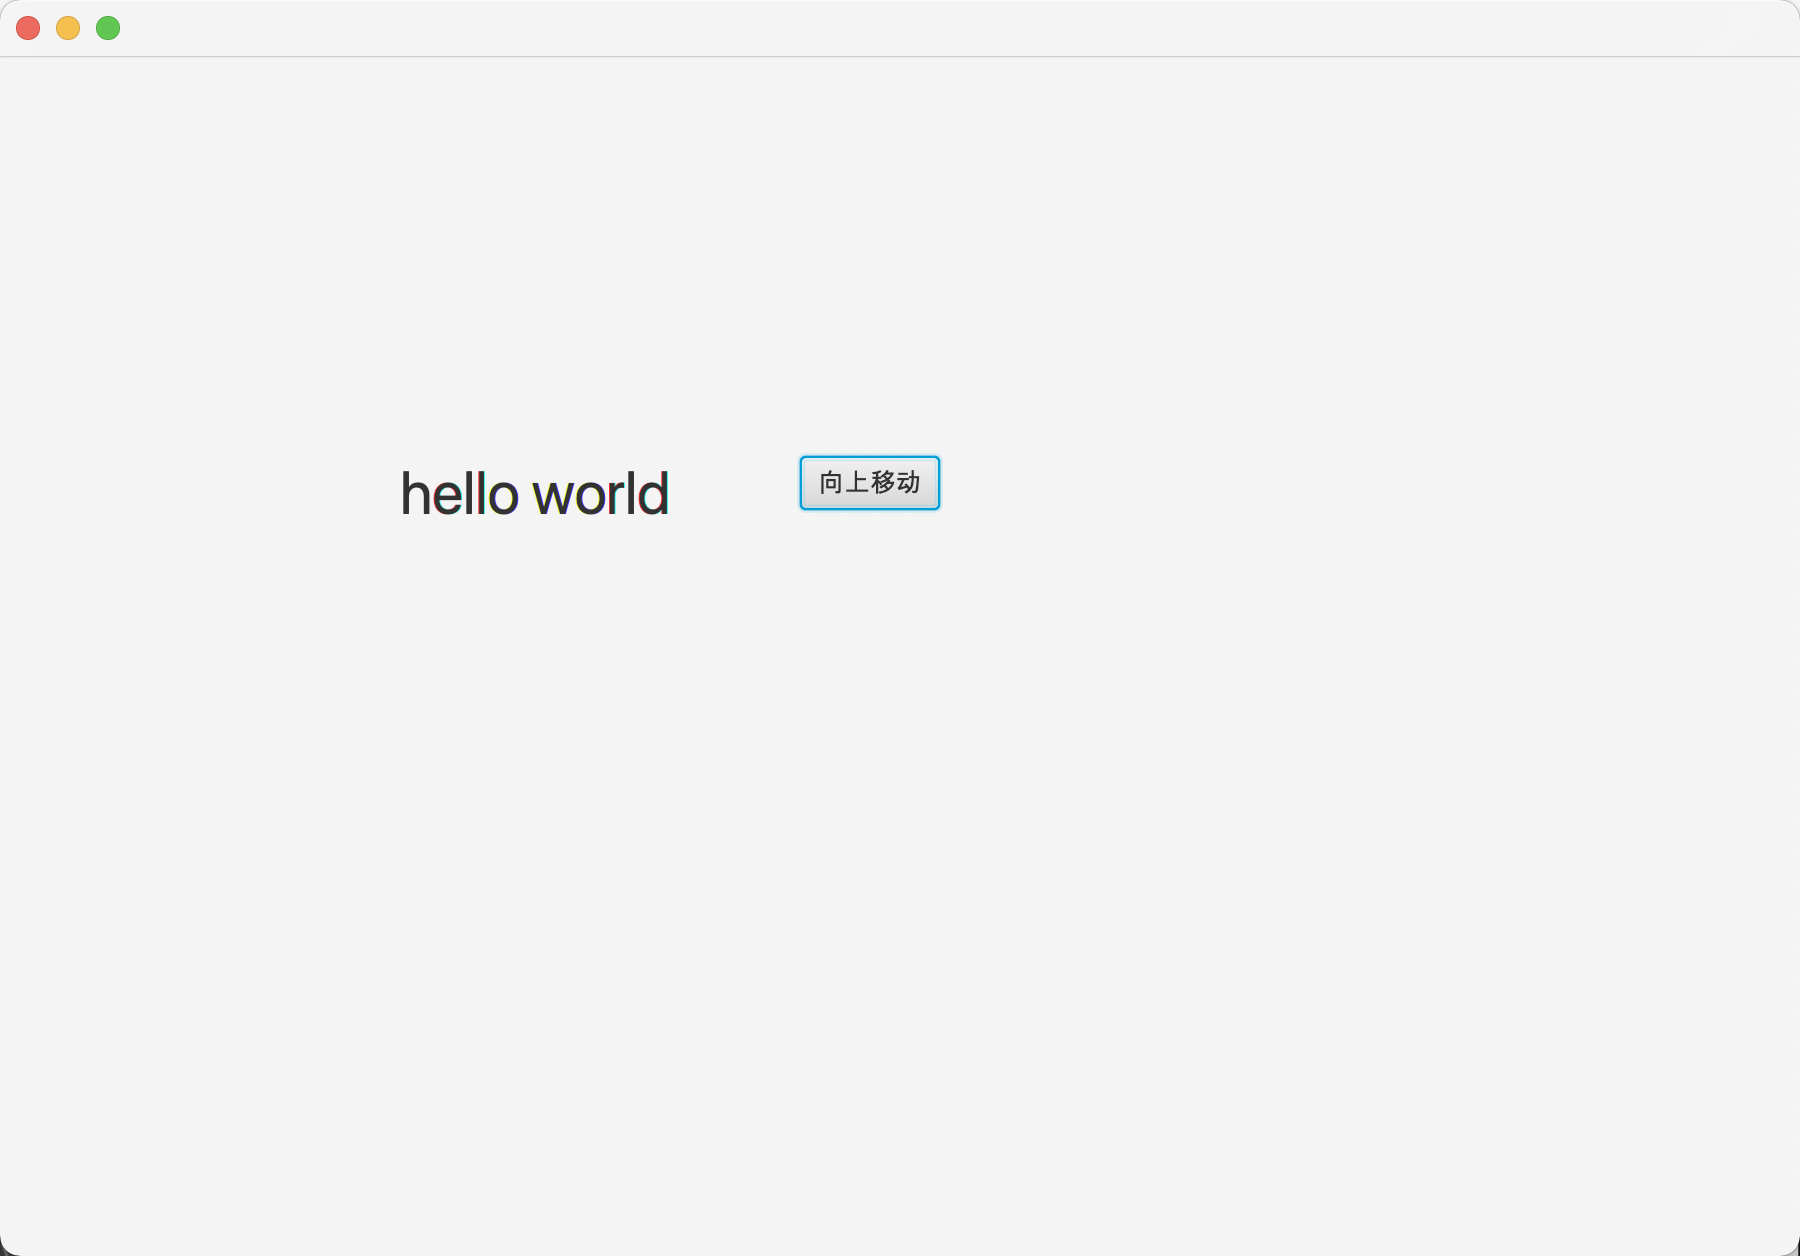
1.7、javafx的fxml布局使用
1.7.1、原部署方式
package com.akkacloud;

import javafx.application.Application;
import javafx.event.ActionEvent;
import javafx.event.EventHandler;
import javafx.scene.Scene;
import javafx.scene.control.Button;
import javafx.scene.control.Label;
import javafx.scene.layout.AnchorPane;
import javafx.scene.text.Font;
import javafx.stage.Stage;


public class Main extends Application {
    public static void main(String[] args) {
        /*main函数调用Application*/
        Application.launch(args);
    }
    /*程序开始时运行*/
    @Override
    public void start(Stage primaryStage) throws Exception {

        Label labeltext = new Label("hello world");
        labeltext.setLayoutX(200);
        labeltext.setLayoutY(200);
        labeltext.setFont(new Font(30));
        Button button = new Button("向上移动");
        button.setLayoutX(400);
        button.setLayoutY(200);


        AnchorPane root = new AnchorPane();
        root.getChildren().addAll(labeltext,button);
        Scene scene = new Scene(root,900,600);


        /*按钮点击事件*/
        button.setOnAction(new EventHandler<ActionEvent>() {
            @Override
            public void handle(ActionEvent event) {
                labeltext.setLayoutY(labeltext.getLayoutY() - 10);
            }
        });


        primaryStage.setScene(scene);
        primaryStage.show();


    }
}
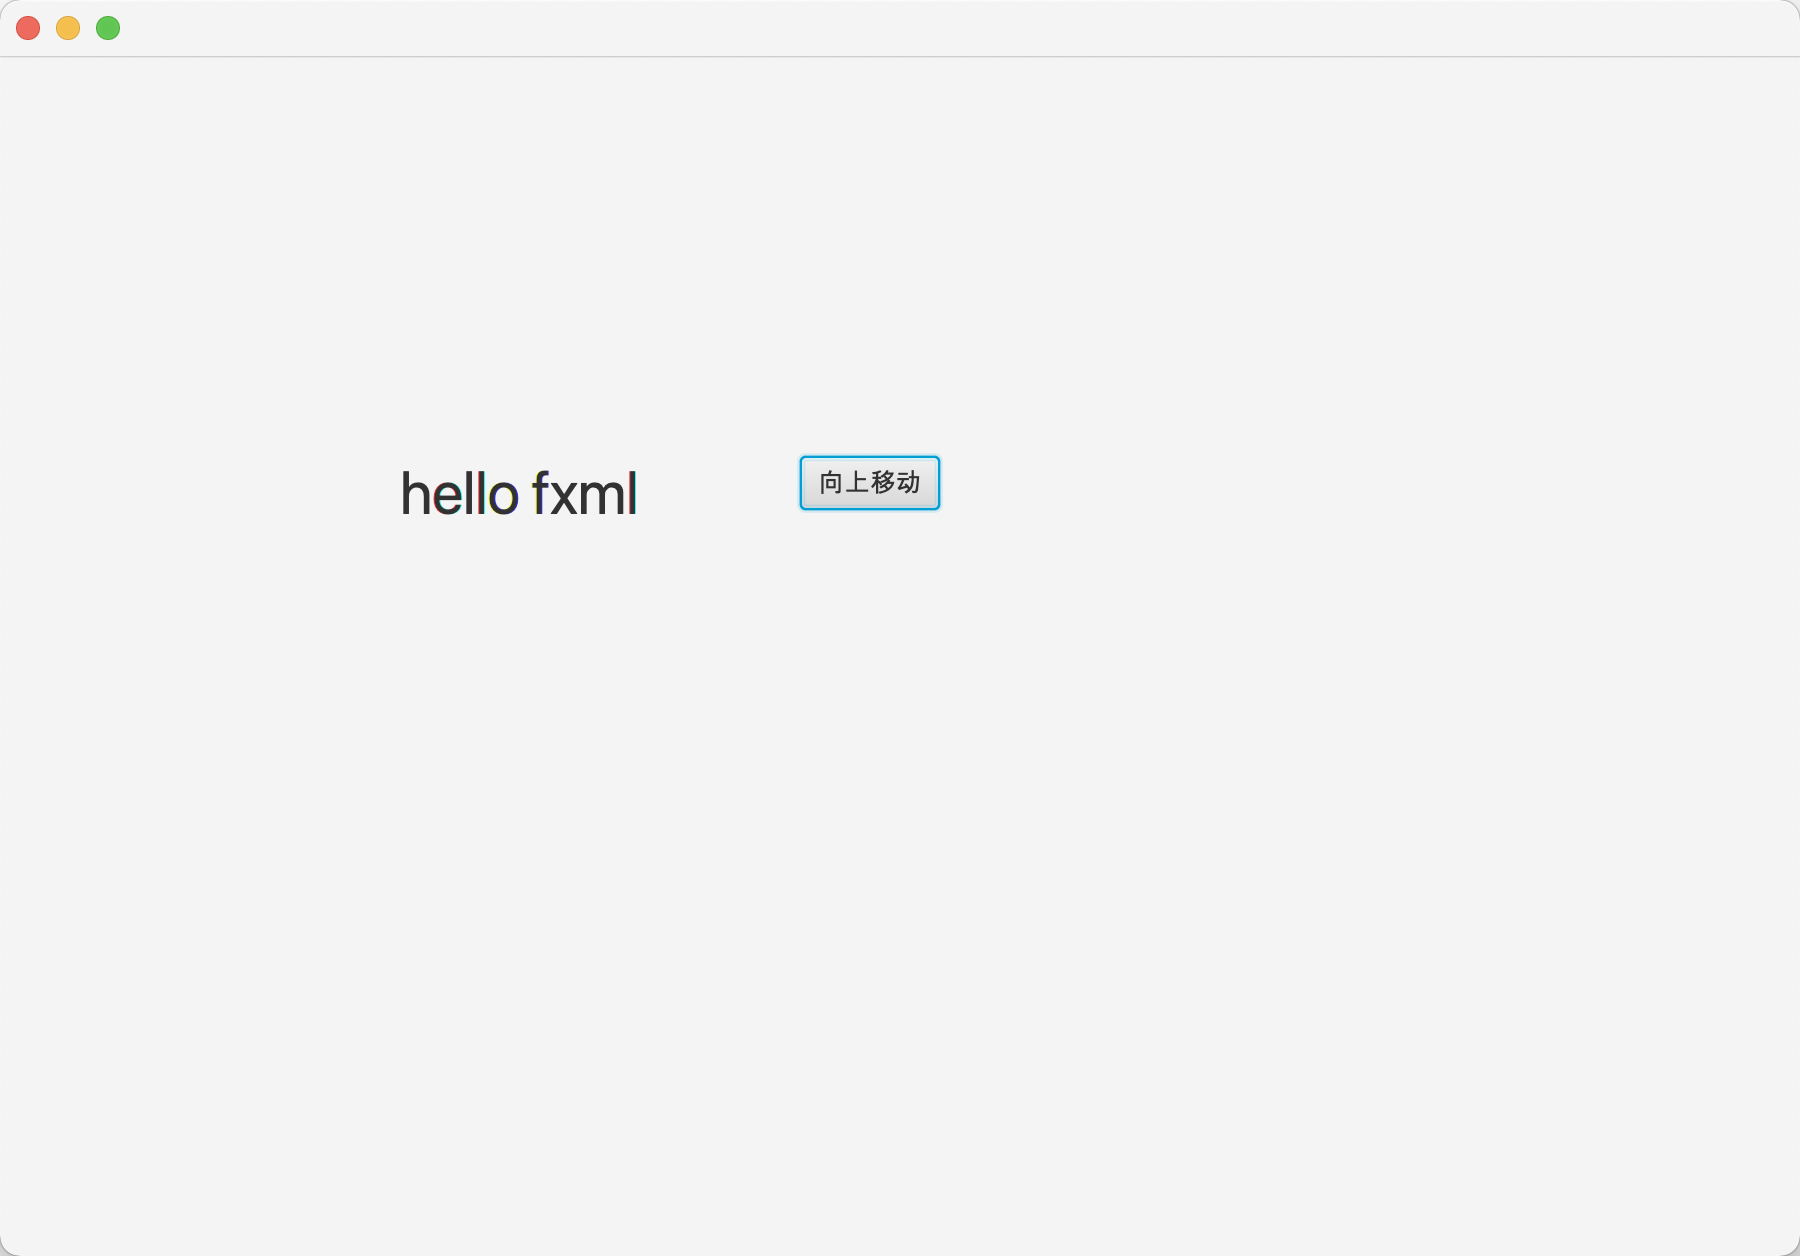
1.7.2、fxml布局
fxml可以把视图层和控制层分离,方便管理和维护
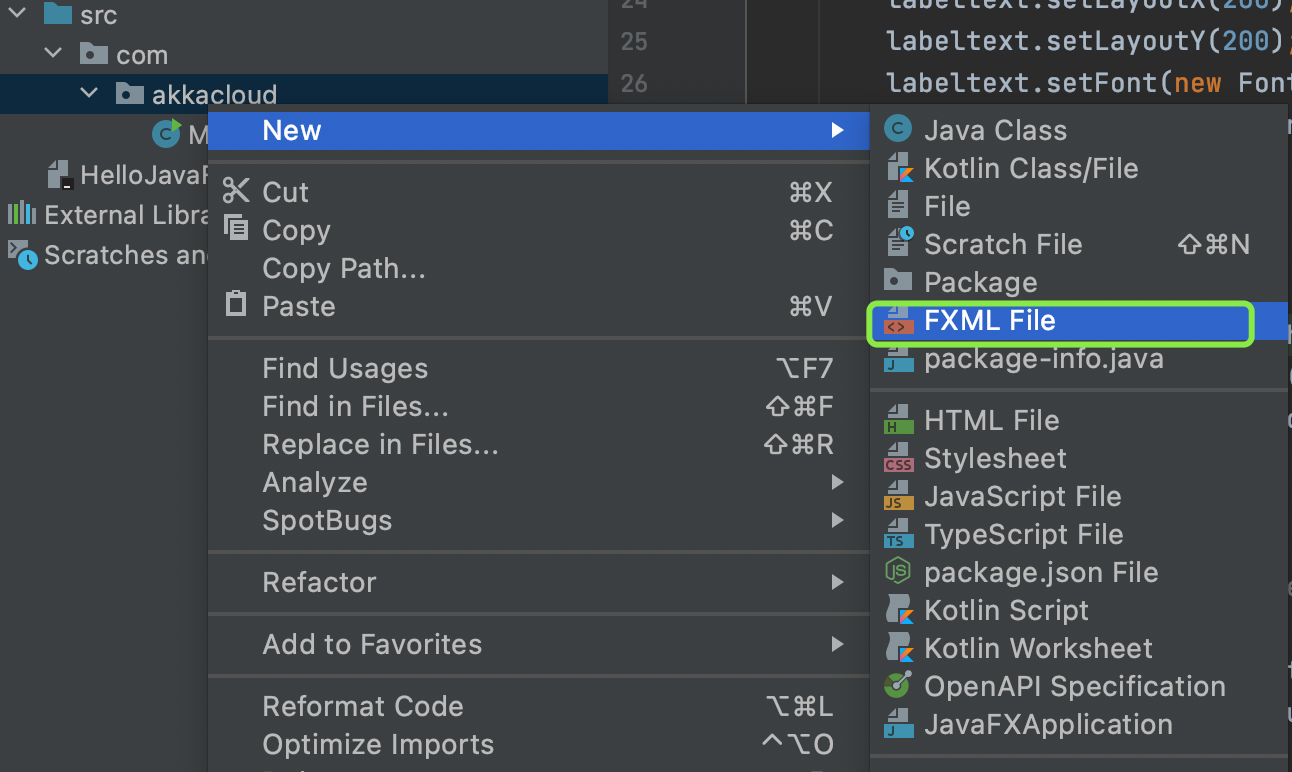
1.新建fxml文件
2.编写视图层
此处还没写controller
<?xml version="1.0" encoding="UTF-8"?>

<?import java.lang.*?>
<?import java.util.*?>
<?import javafx.scene.*?>
<?import javafx.scene.control.*?>
<?import javafx.scene.layout.*?>

<?import javafx.scene.text.Font?>
<AnchorPane xmlns="http://javafx.com/javafx"
            xmlns:fx="http://javafx.com/fxml"
            fx:controller="com.akkacloud.DemoController"
            prefHeight="400.0" prefWidth="600.0">


    <children>
        <!--标签名对应对象名,id为属性名-->
        <Label fx:id="la" text="hello fxml" layoutX="200" layoutY="200">
            <font>
                <Font size="30"></Font>
            </font>
        </Label>

        <!--onAction里用#指定controller类的方法名-->
        <Button fx:id="bu" text="向上移动" layoutX="400" layoutY="200" onAction="#onUp"></Button>

    </children>

</AnchorPane>
3.编写主类
package com.akkacloud;

import javafx.application.Application;
import javafx.event.ActionEvent;
import javafx.event.EventHandler;
import javafx.fxml.FXML;
import javafx.fxml.FXMLLoader;
import javafx.scene.Scene;
import javafx.scene.layout.Pane;
import javafx.stage.Stage;


public class Main extends Application {
    public static void main(String[] args) {
        /*main函数调用Application*/
        Application.launch(args);
    }
    /*程序开始时运行*/
    @Override
    public void start(Stage primaryStage) throws Exception {

        Pane root = FXMLLoader.load(getClass().getResource("demo.fxml"));

        Scene scene = new Scene(root,900,600);
        primaryStage.setScene(scene);
        primaryStage.show();


    }
}
4.编写Controller层
package com.akkacloud;

import javafx.event.ActionEvent;
import javafx.fxml.FXML;
import javafx.scene.control.Button;
import javafx.scene.control.Label;

public class DemoController {

    @FXML
    Label la;//对应fxml文件的节点id为la

    @FXML
    Button bu;//对应fxml文件的节点id为la

    public void onUp(ActionEvent actionEvent) {//对应fxml点击事件的方法名,
        la.setLayoutY(la.getLayoutY()-5);
    }
}
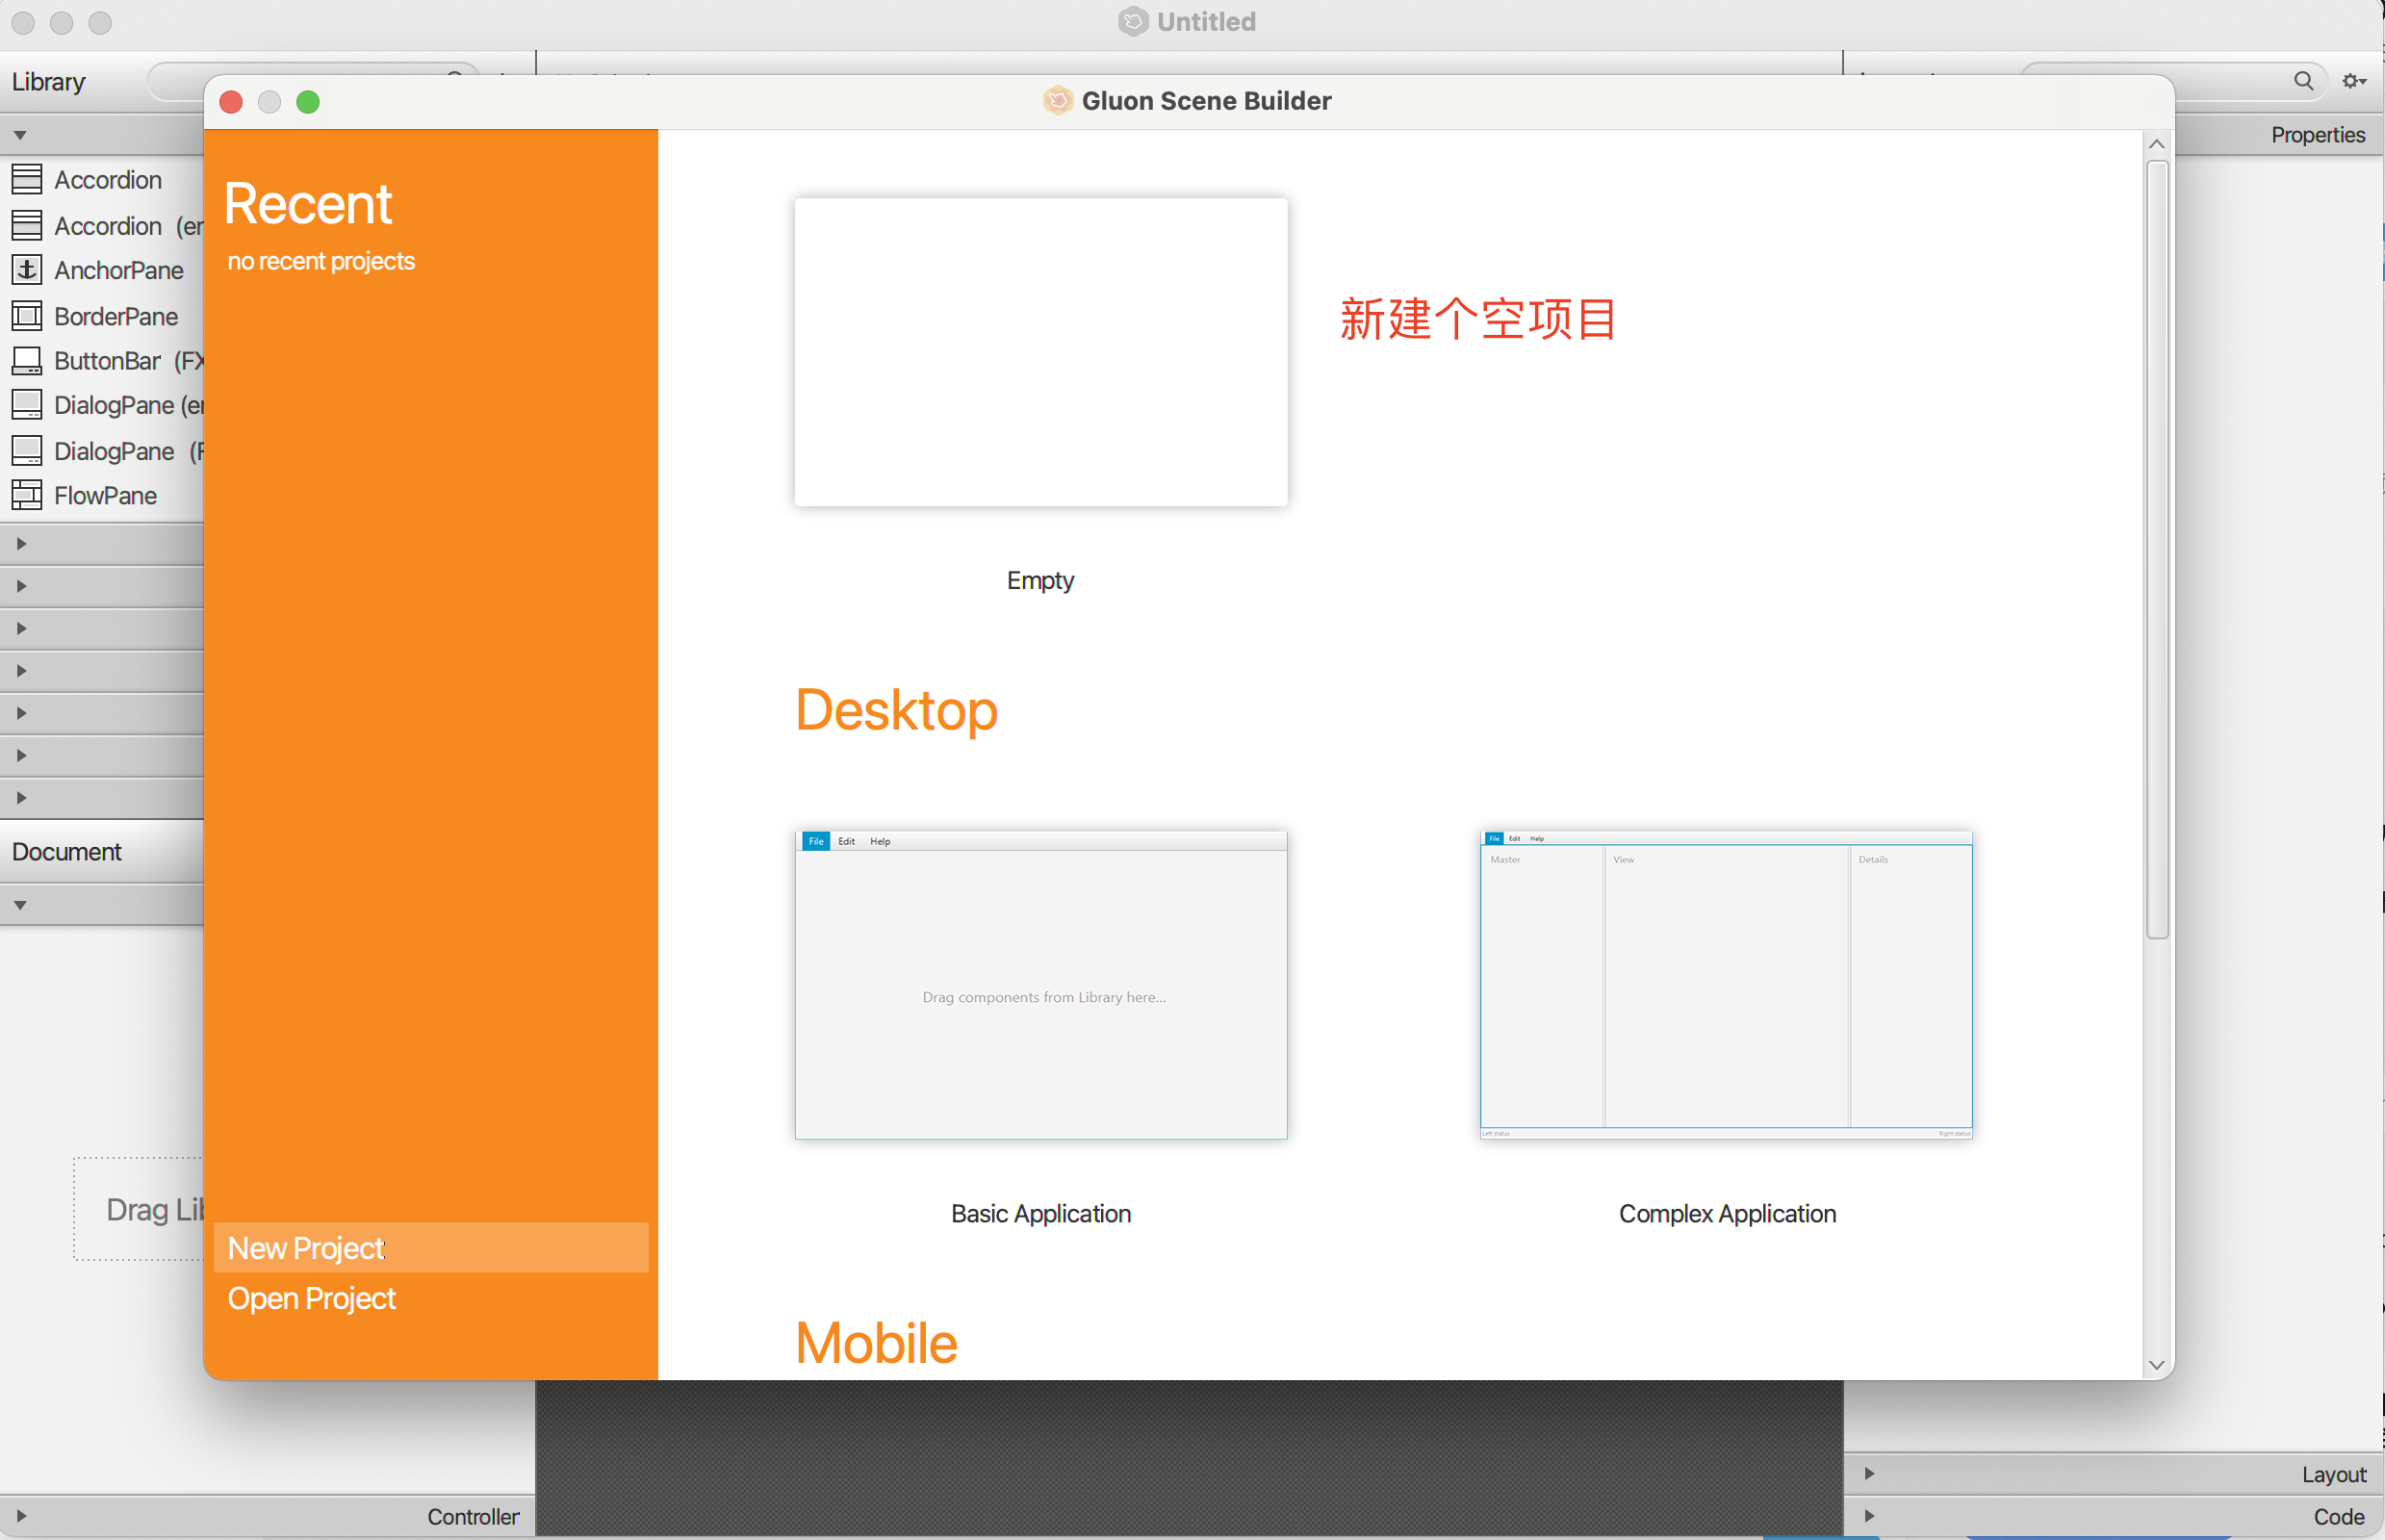
1.7.3、Scene Builder使用
1.安装下载
https://openjfx.cn/scene-builder/#download
2.创建空项目
3.拖入布局
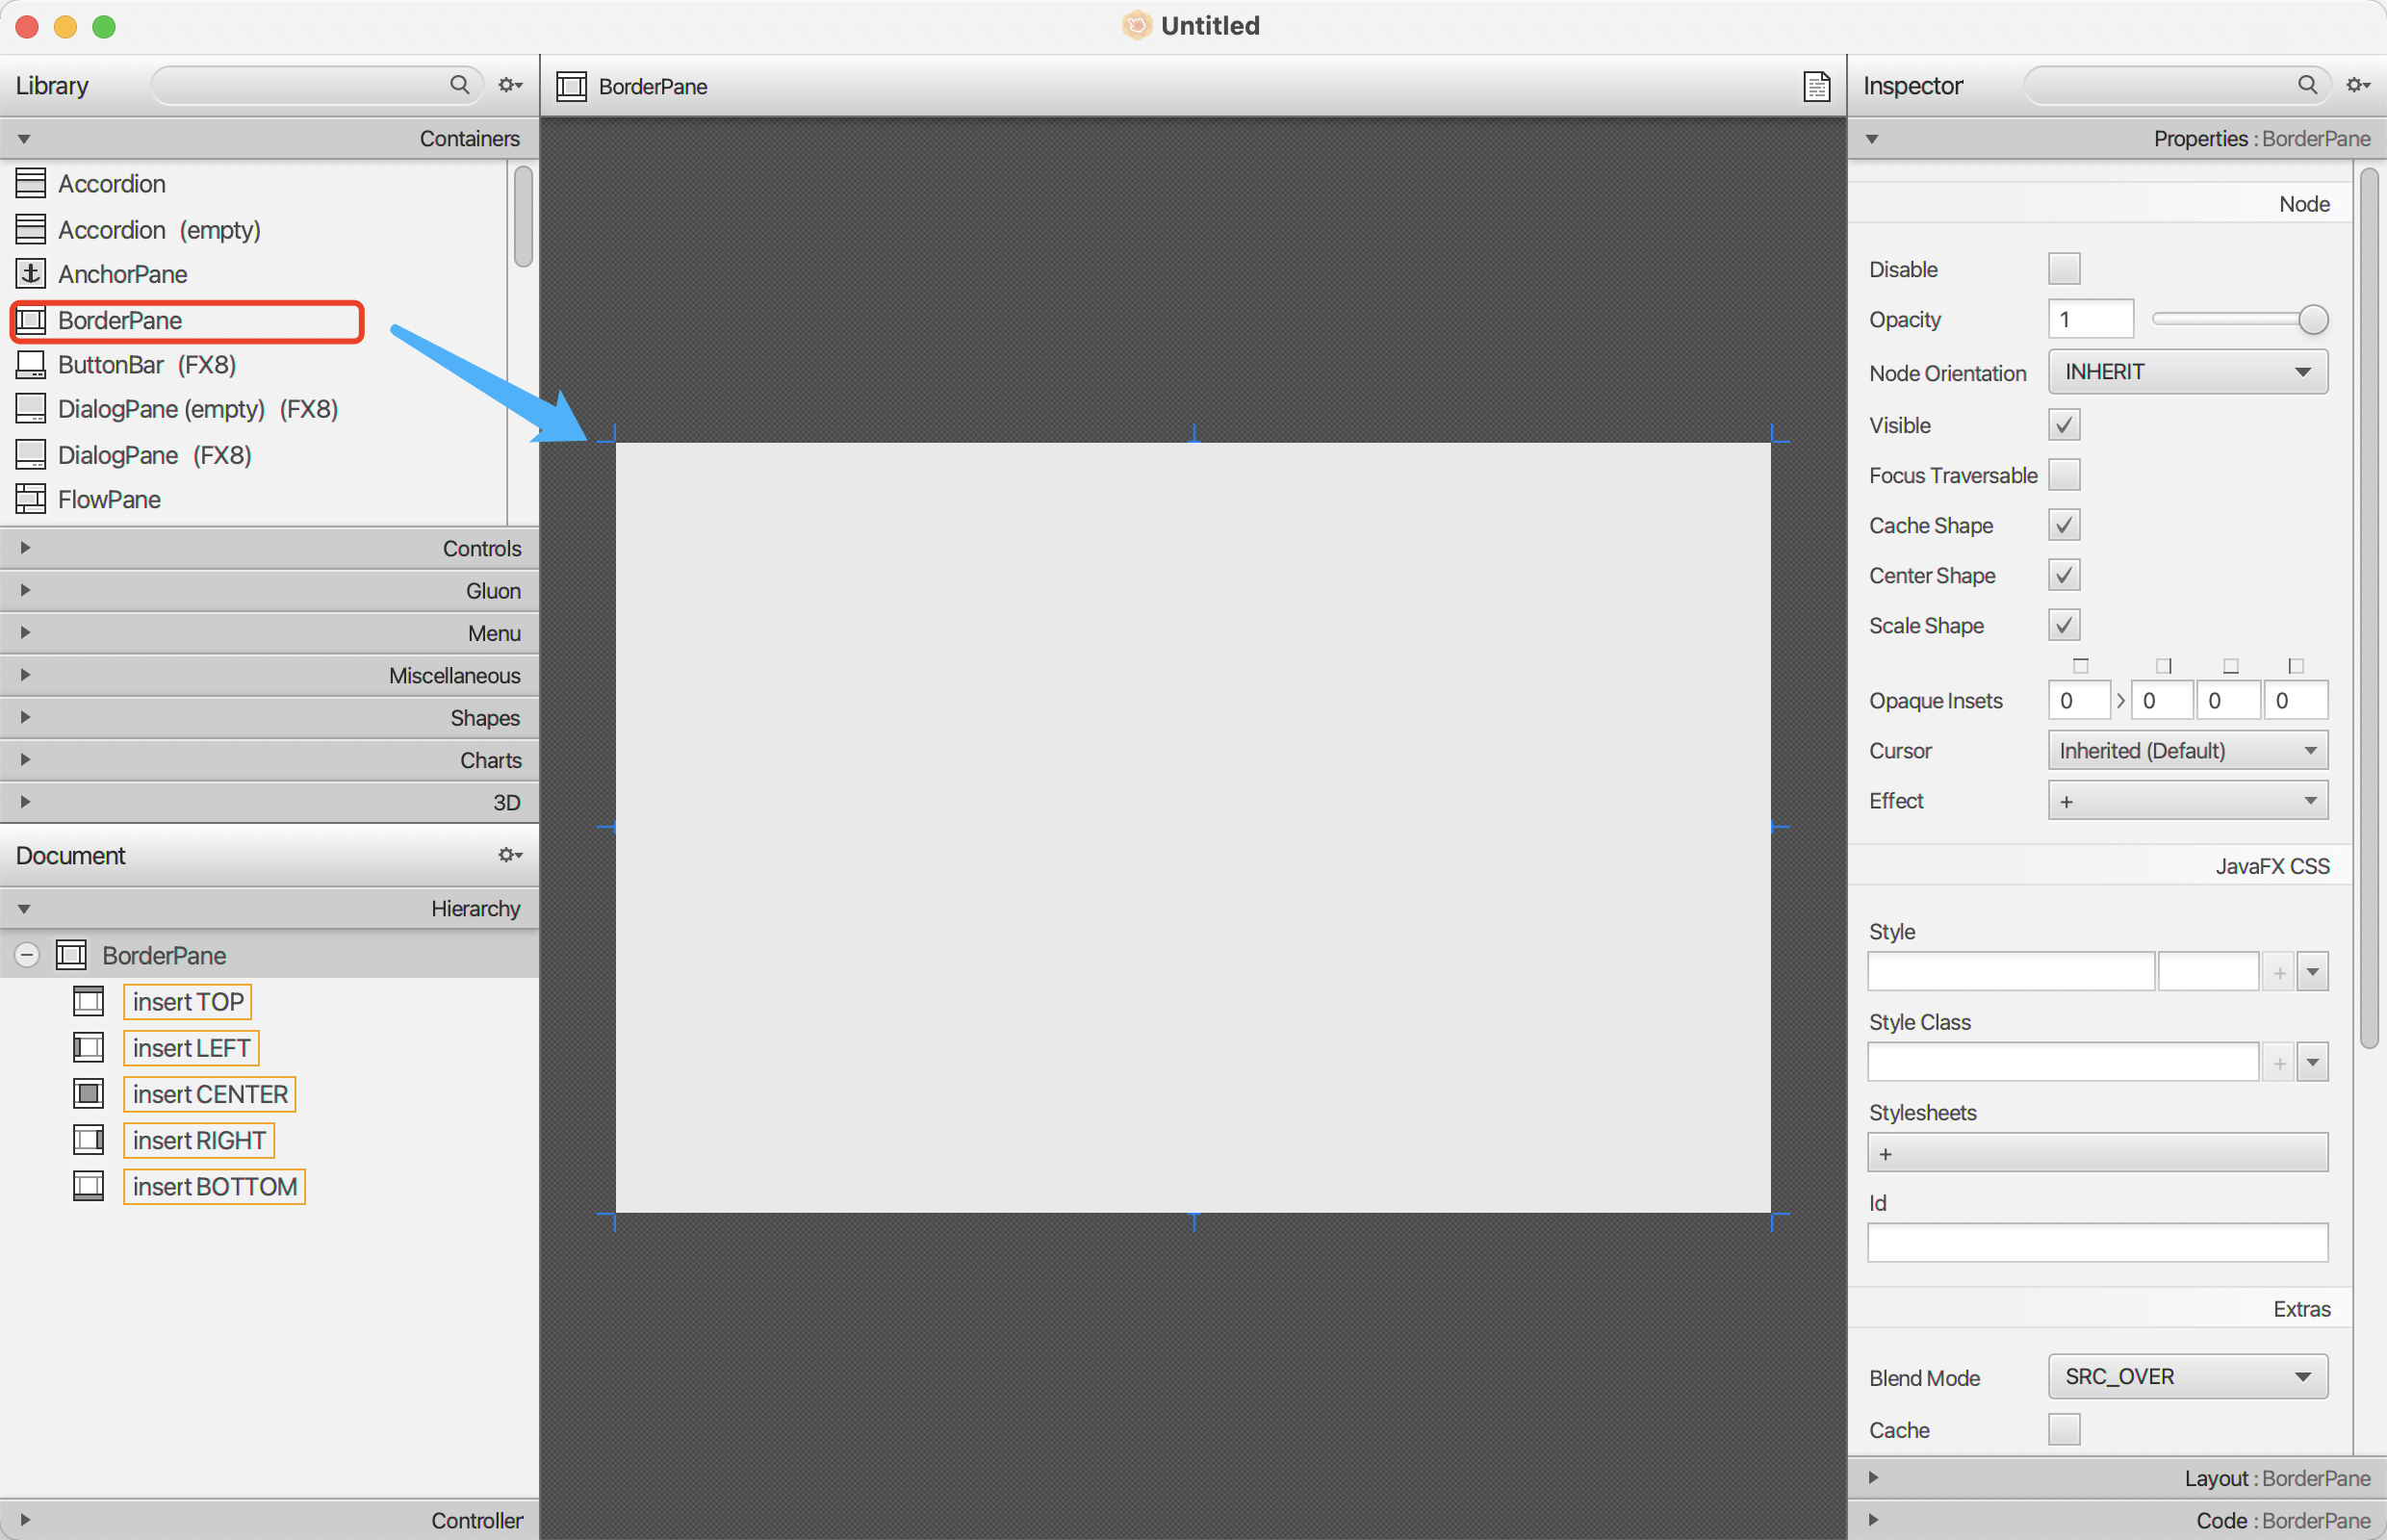
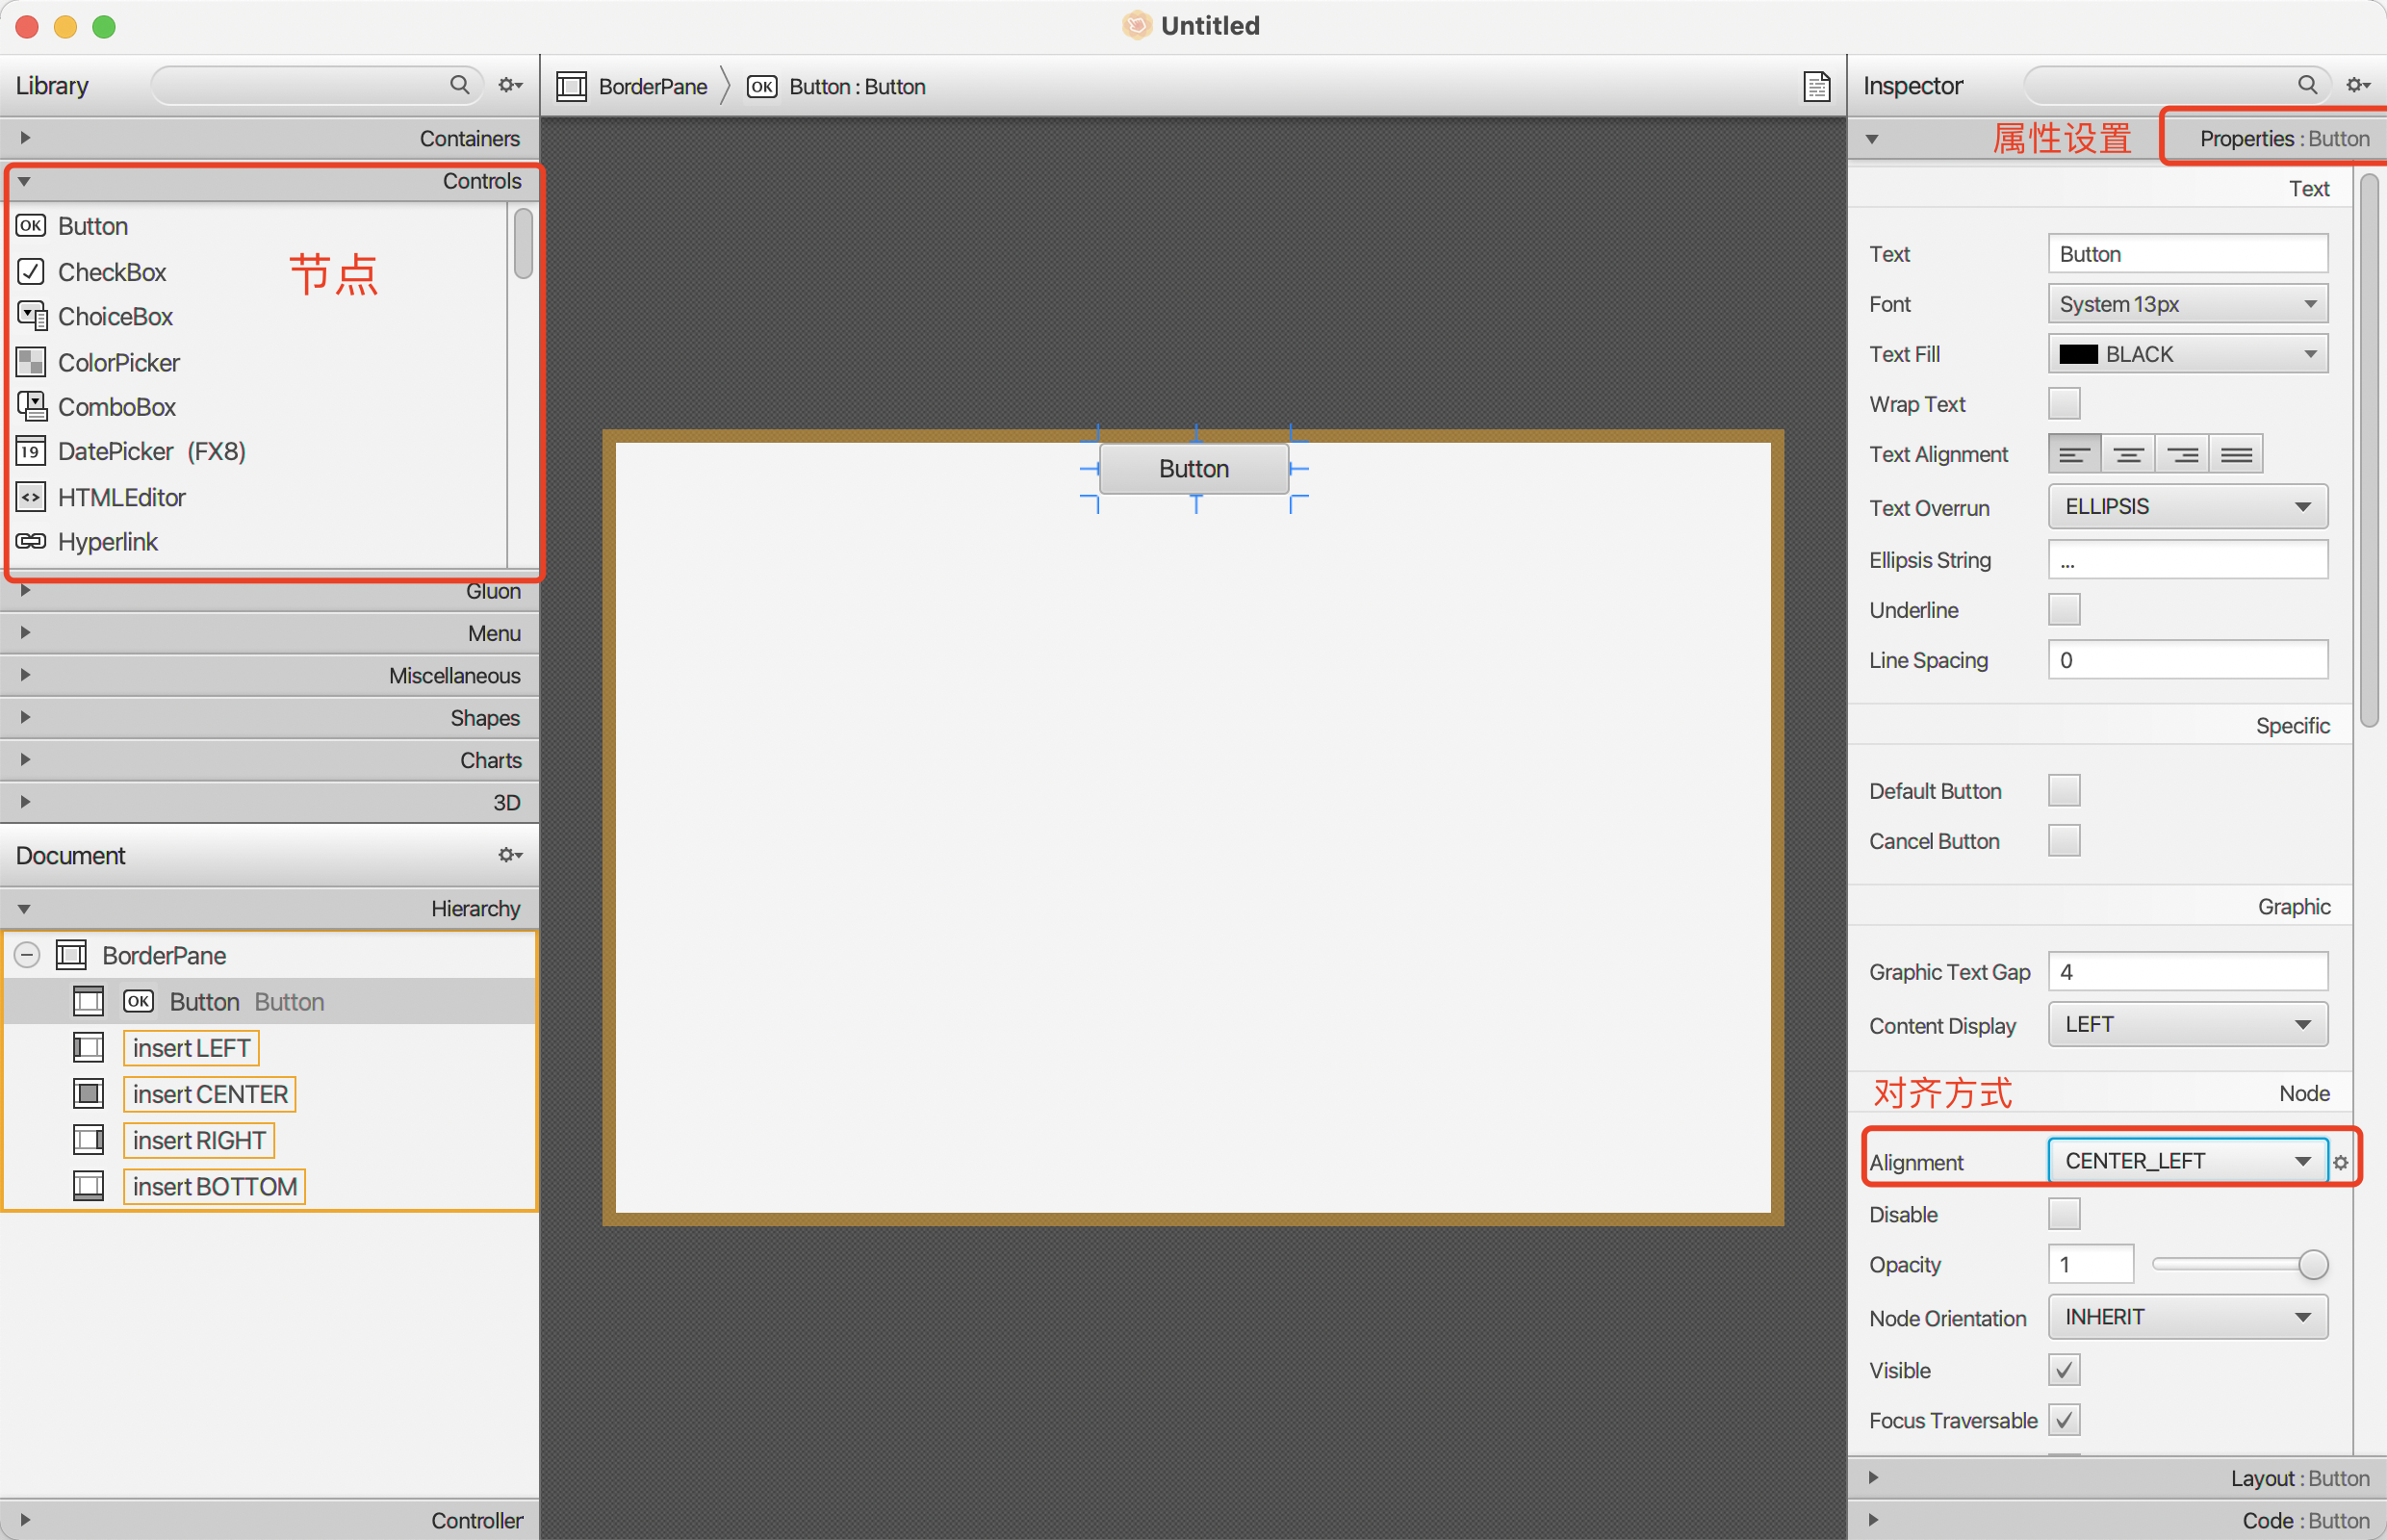
4.常用节点设置
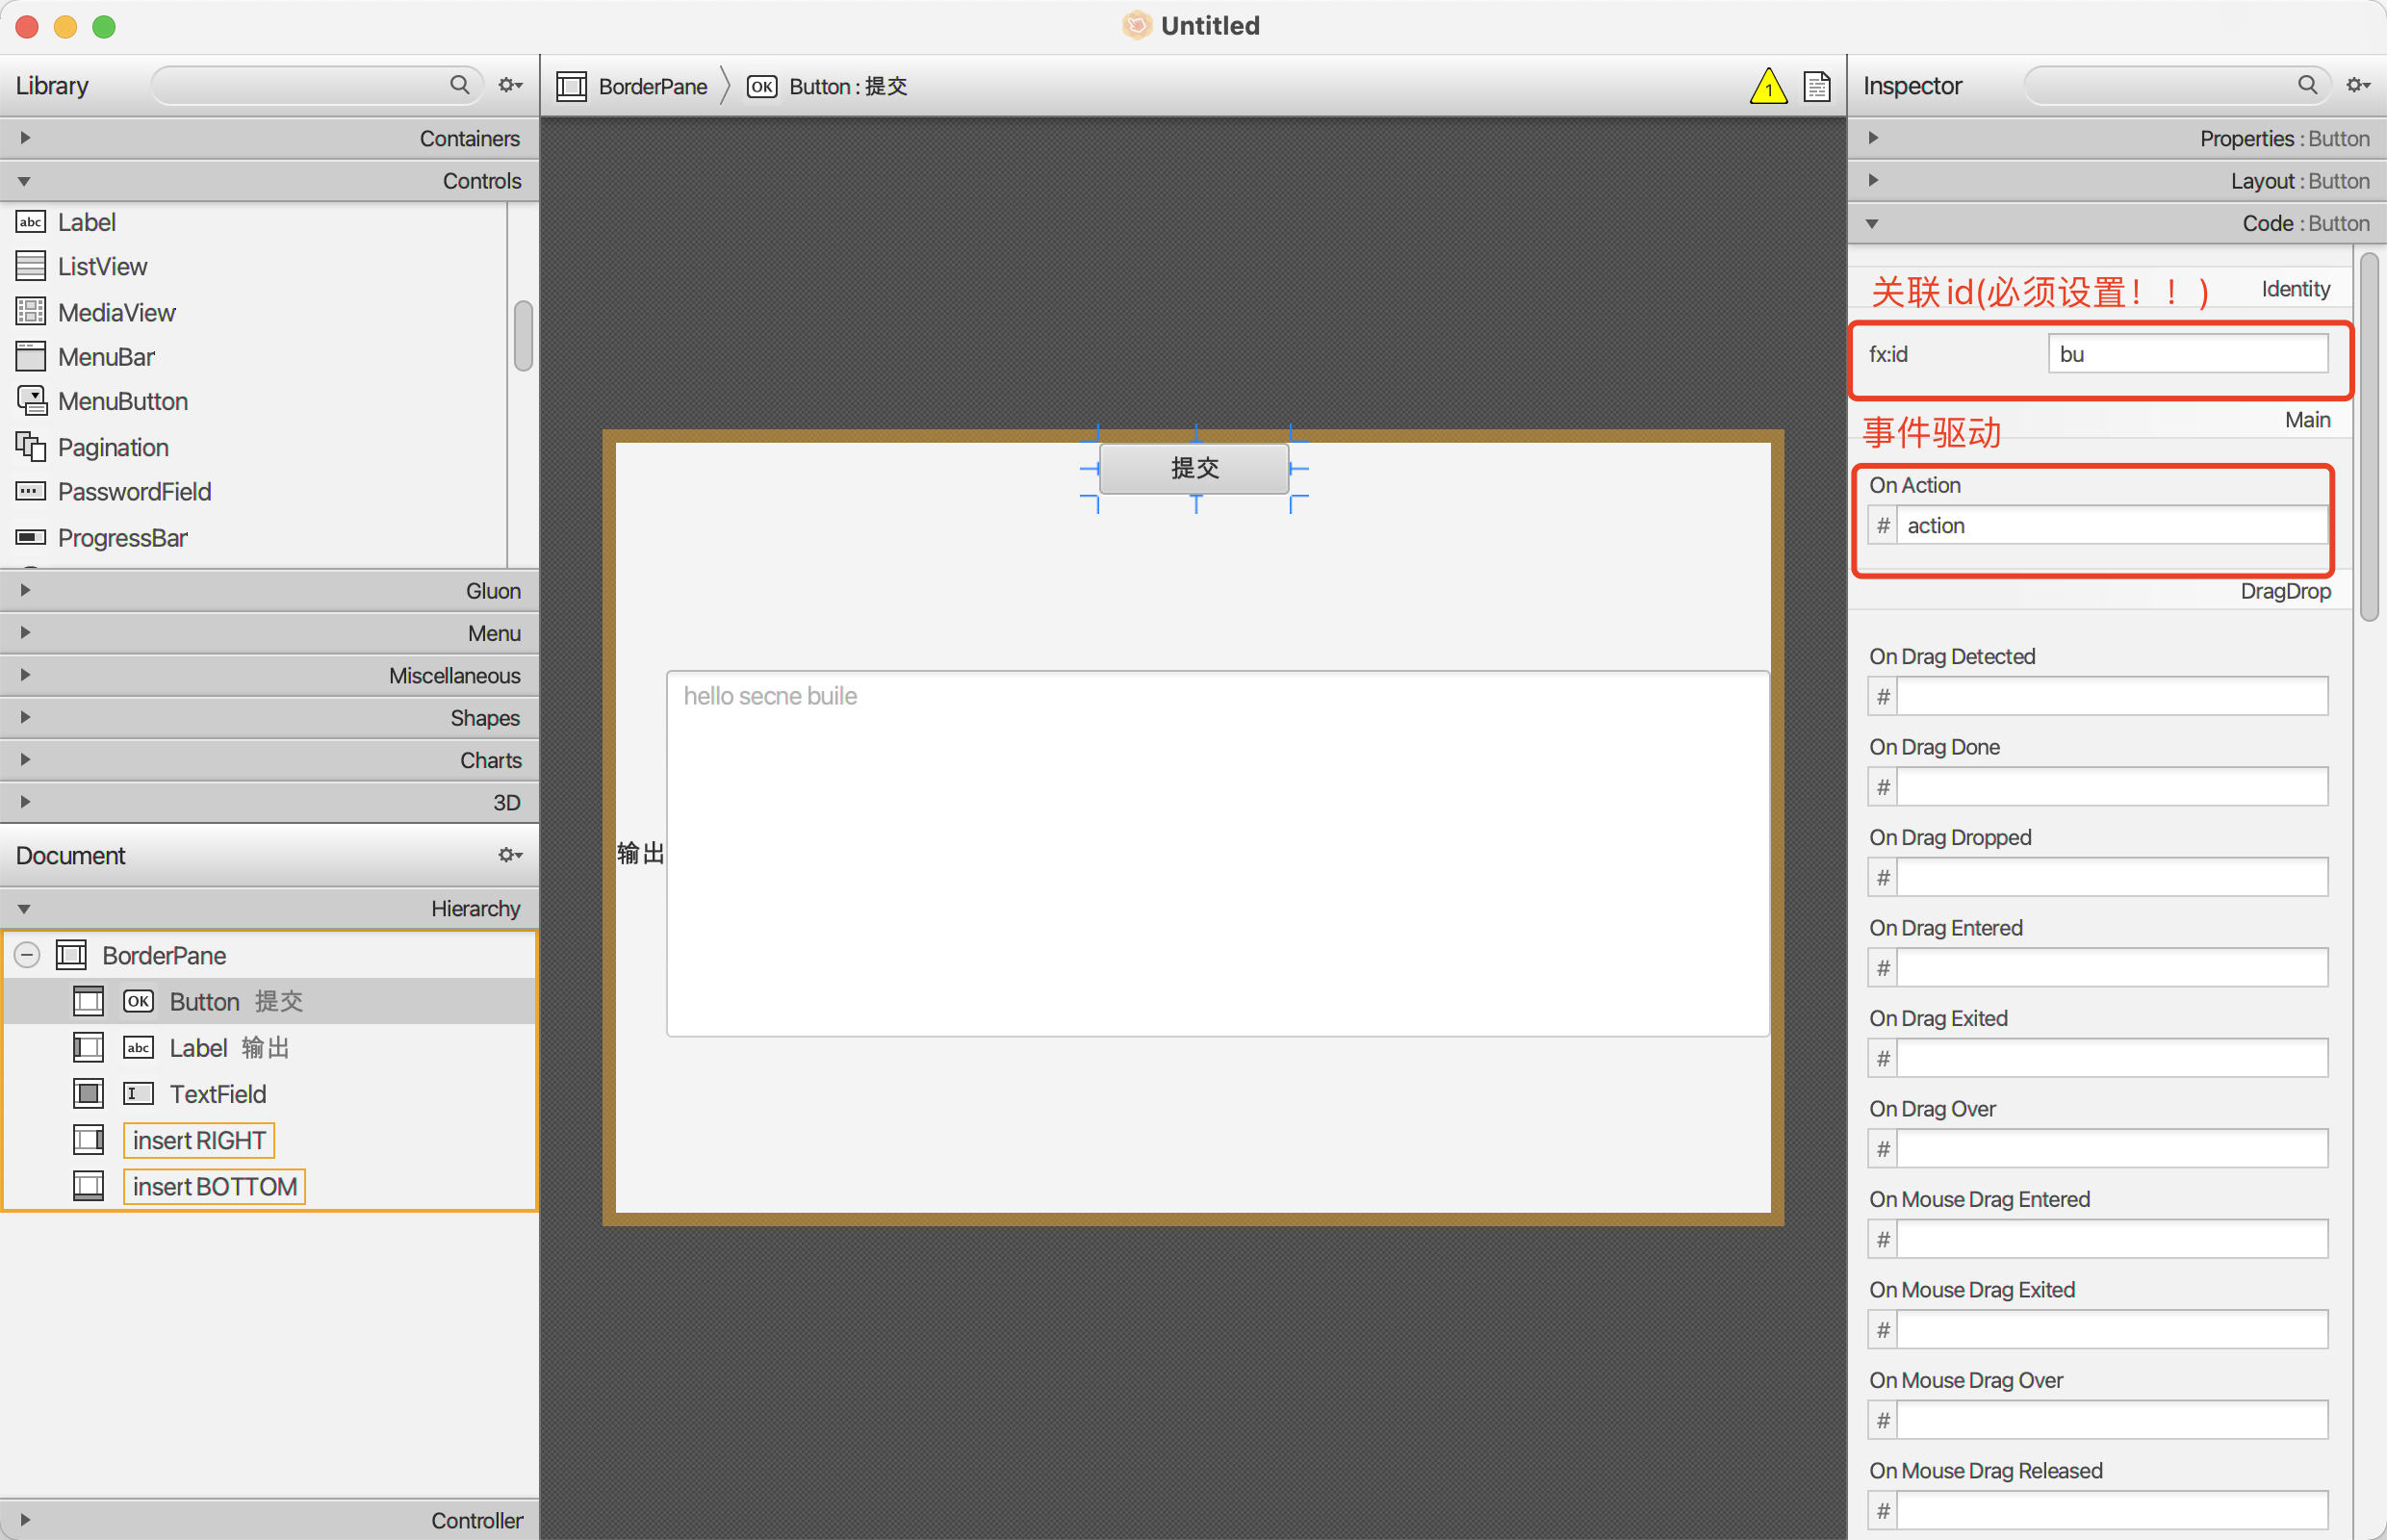
5.id和驱动设置
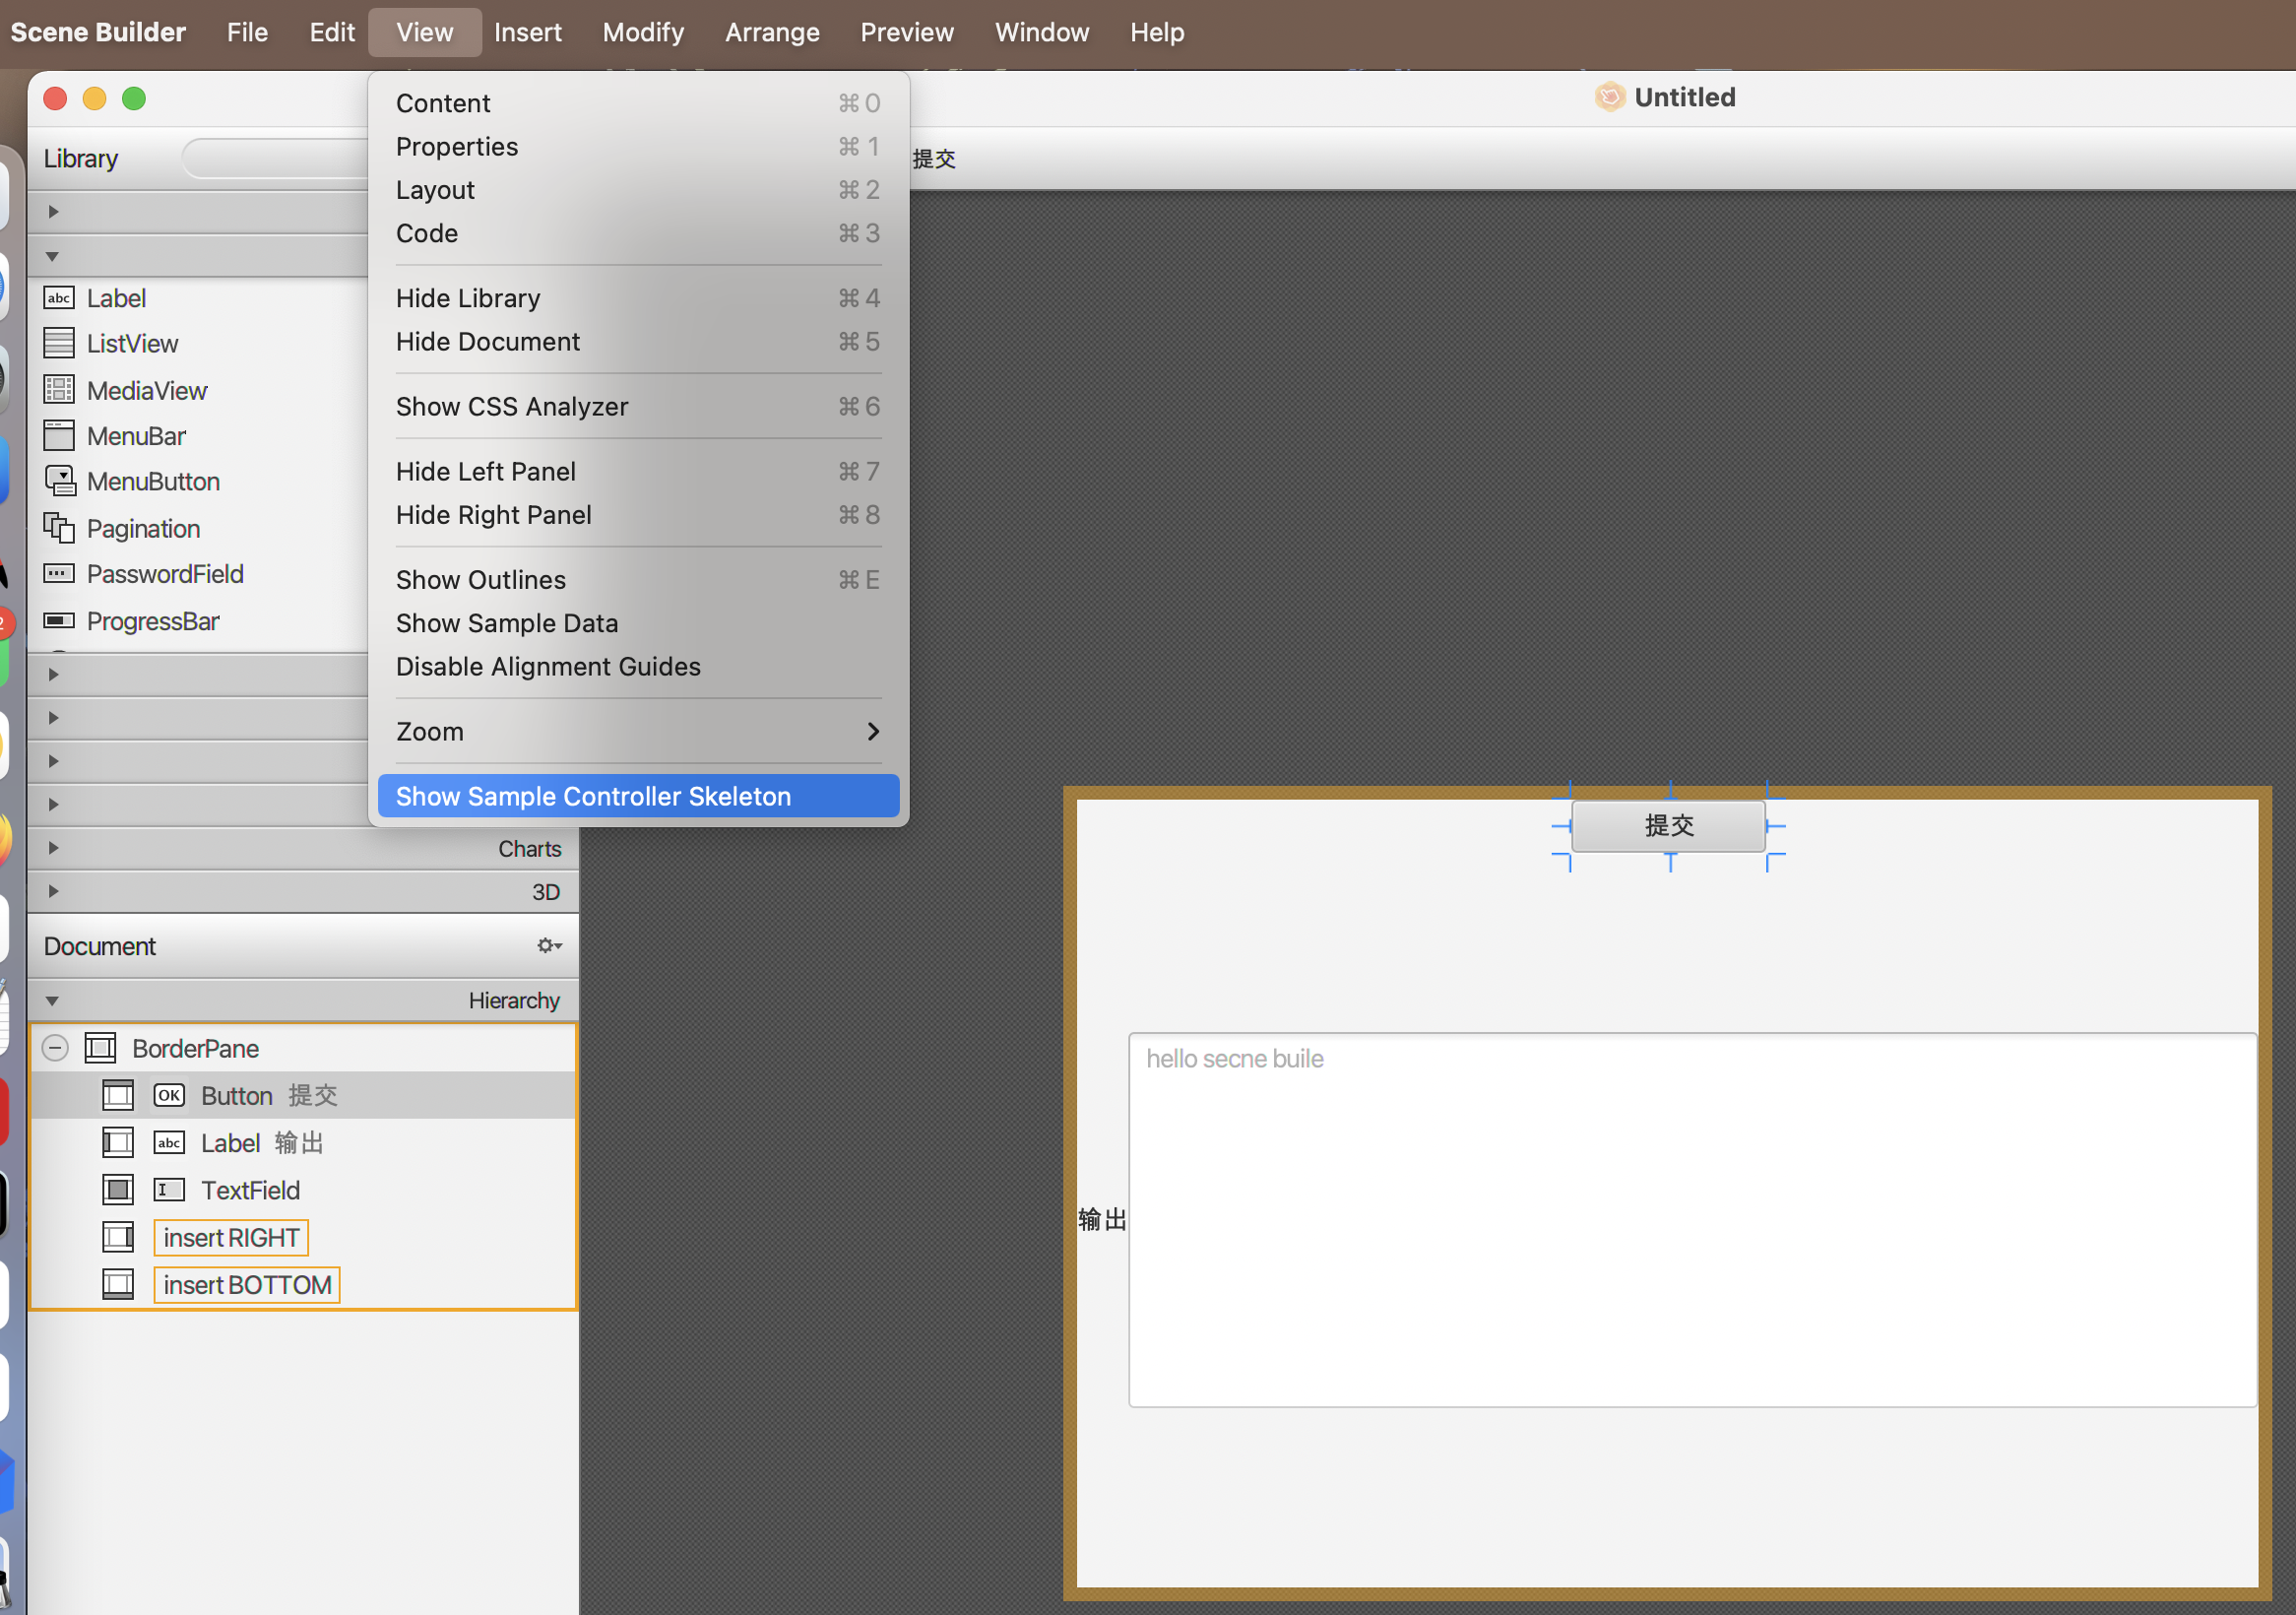
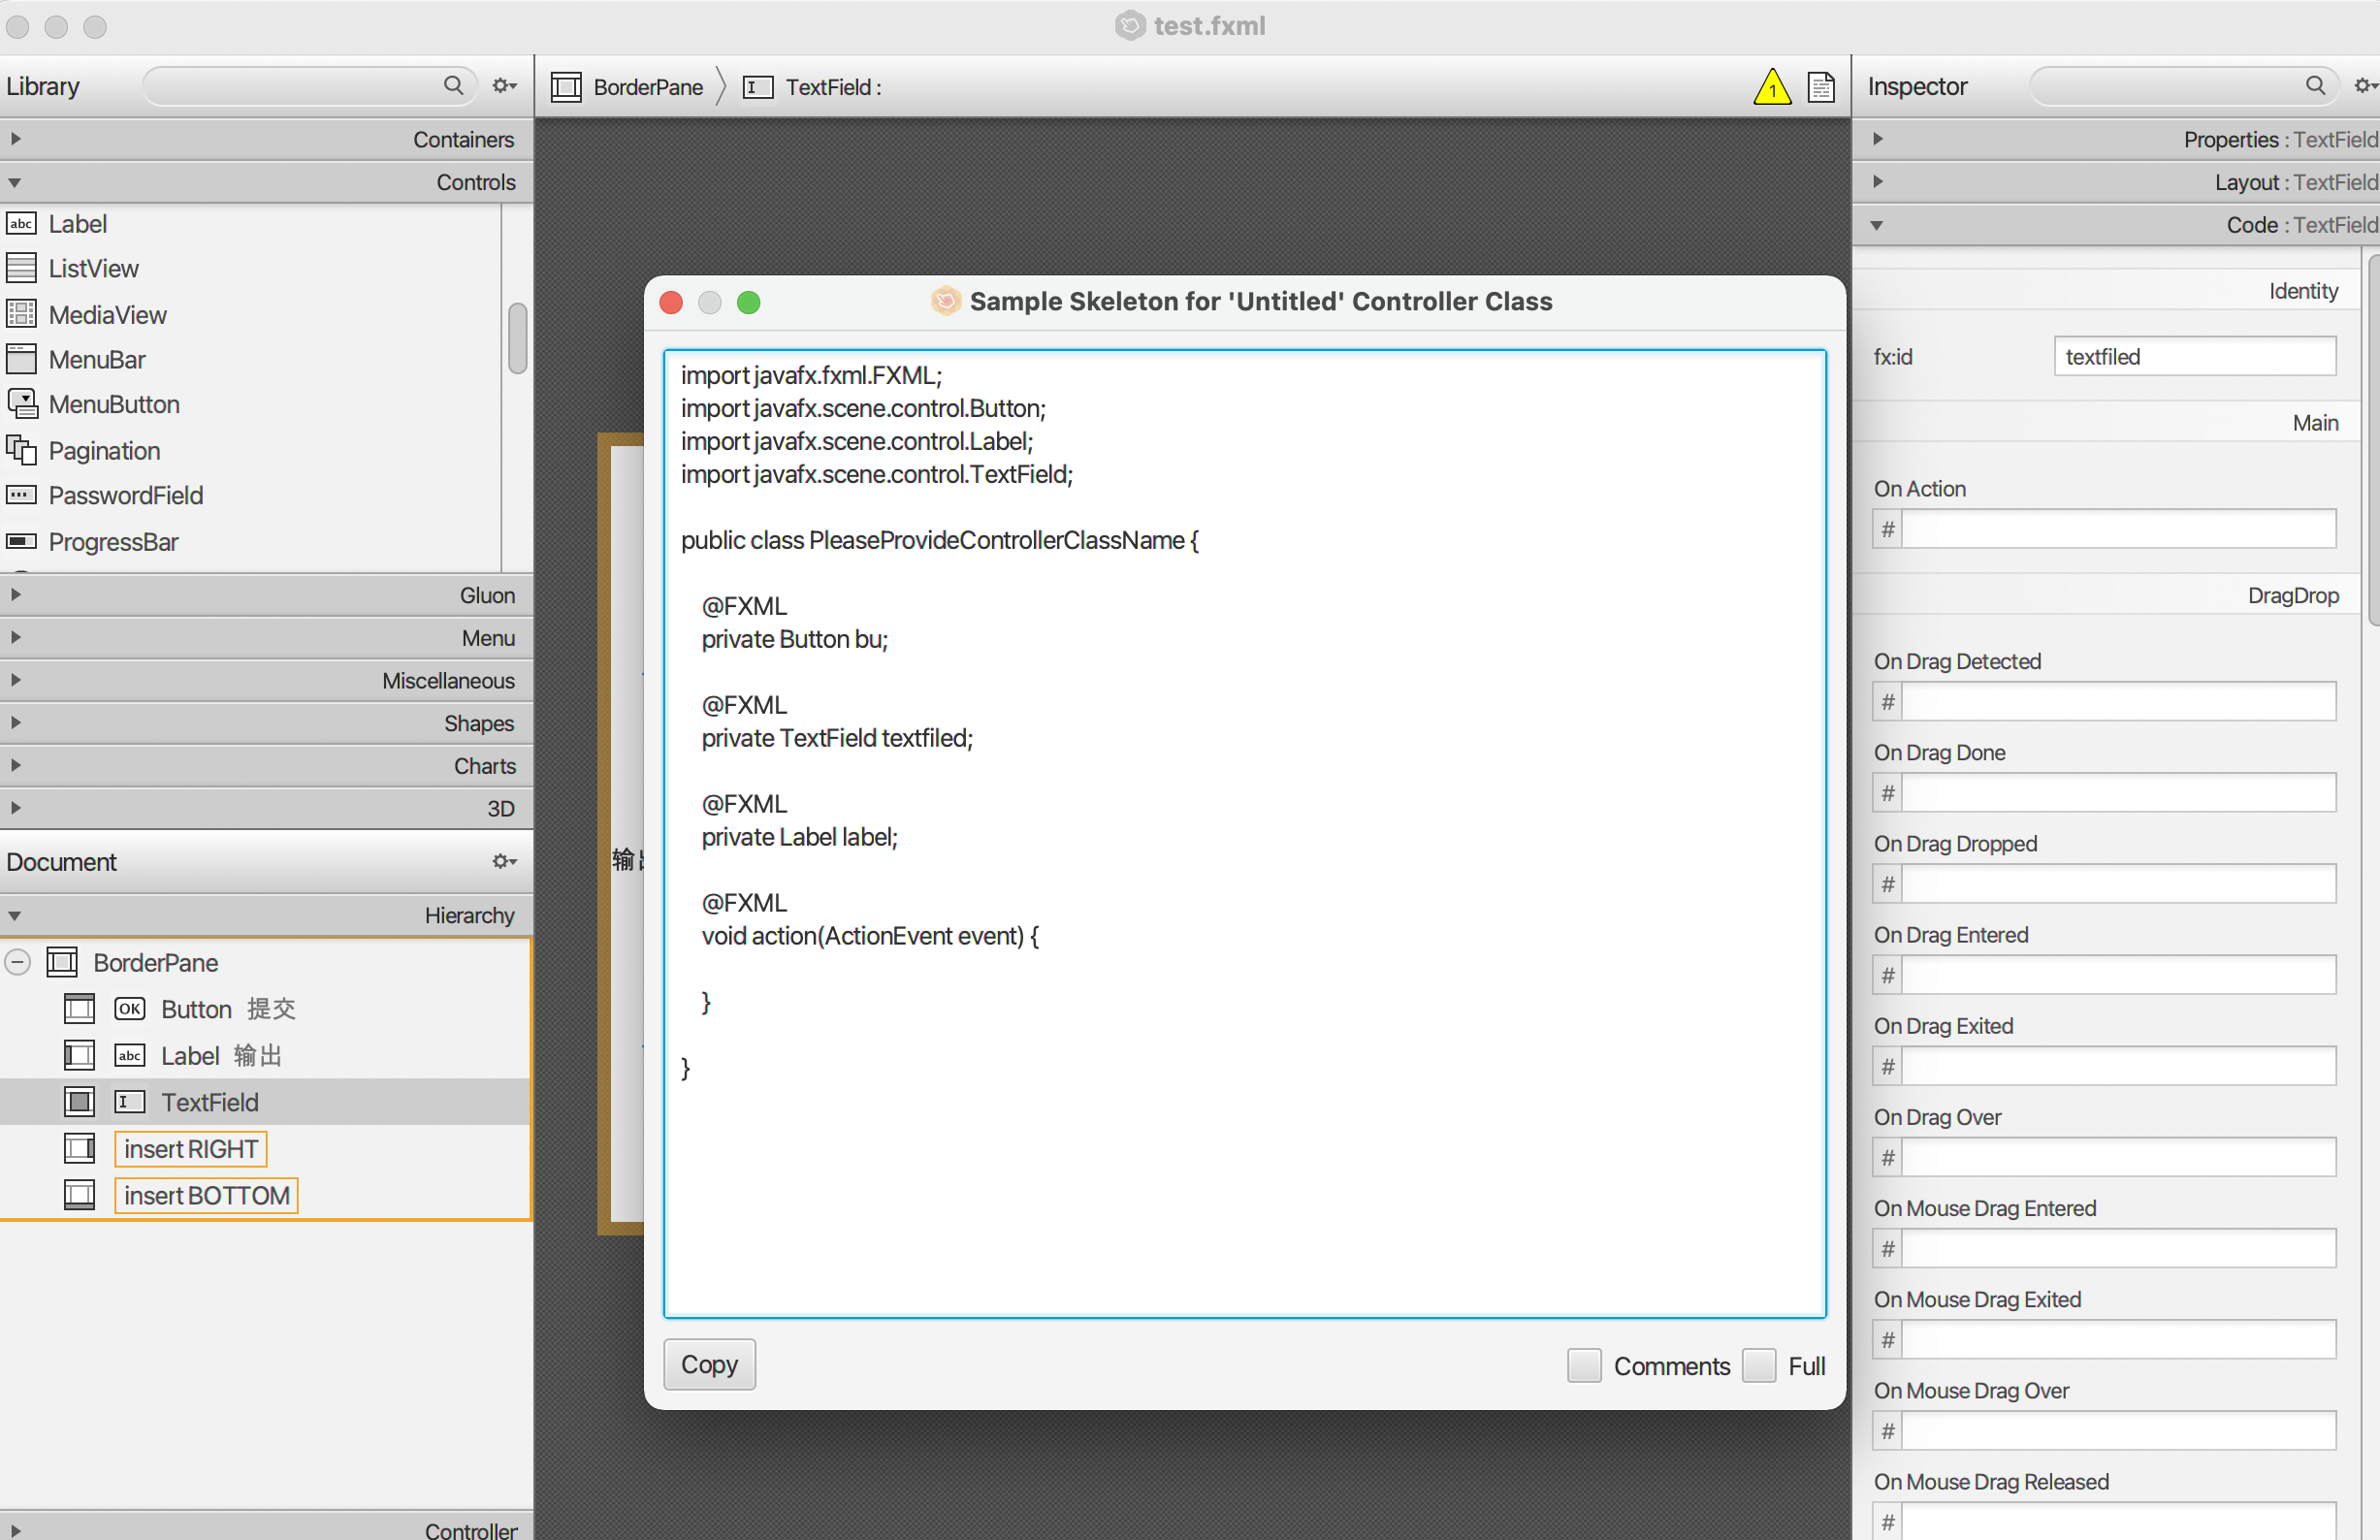
6.导出Controller代码
7.导出fxml
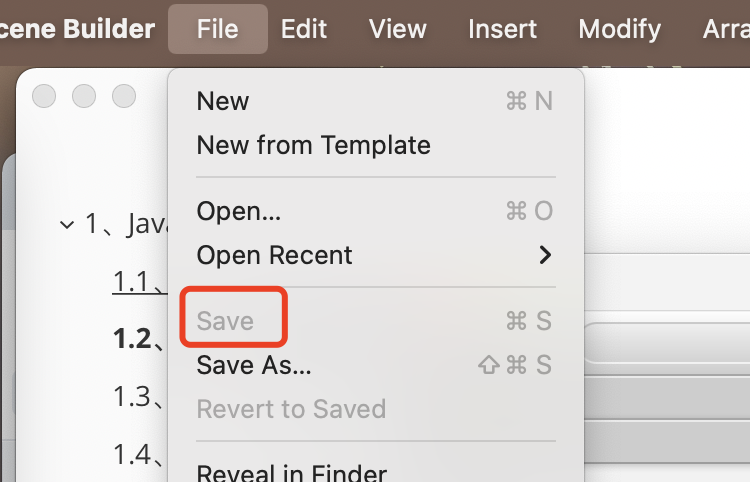
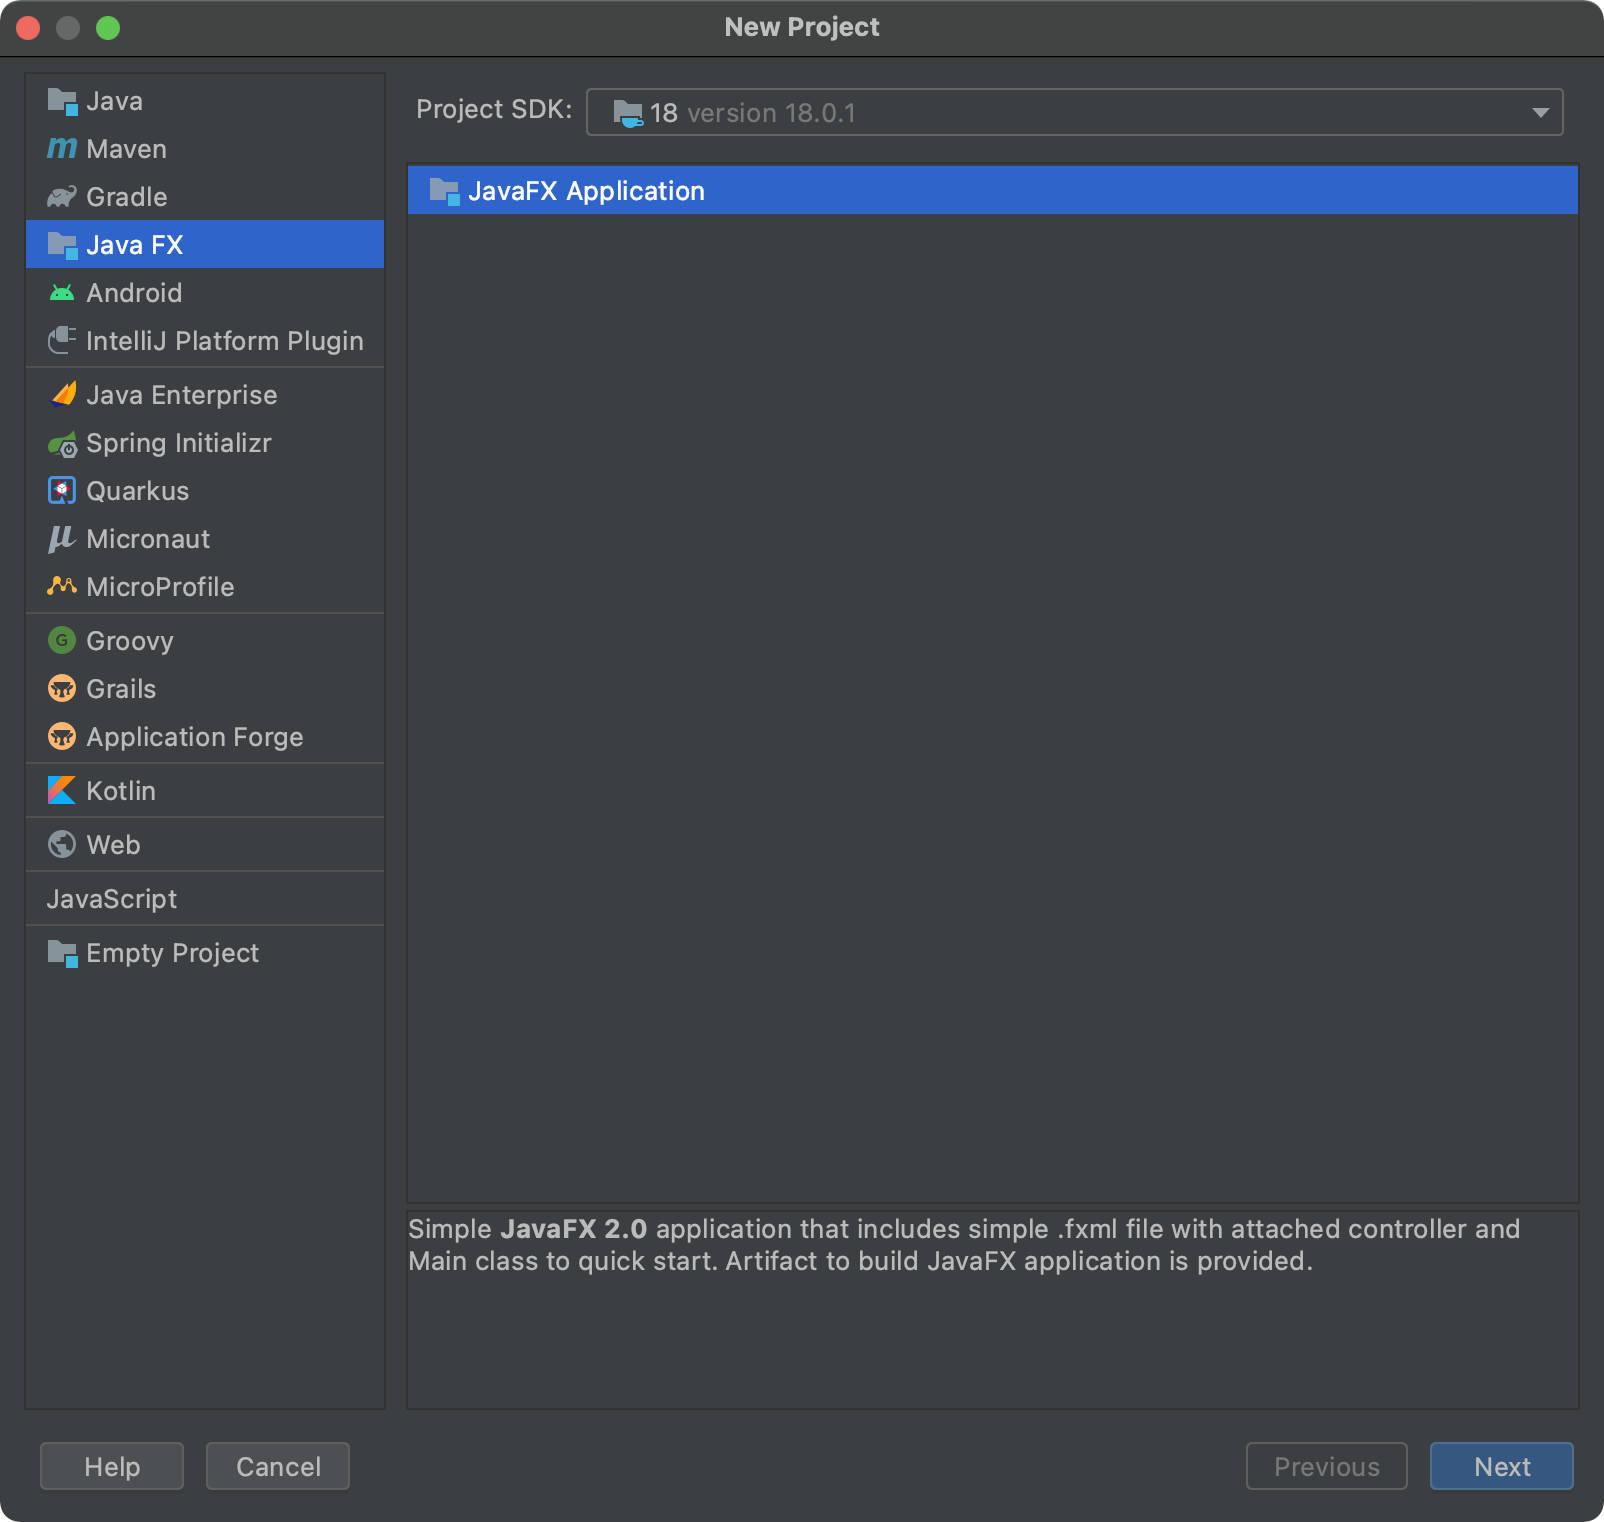
1.7.4、配合idea使用
1.idea创建javafx项目
2.项目导入视图fxml文件
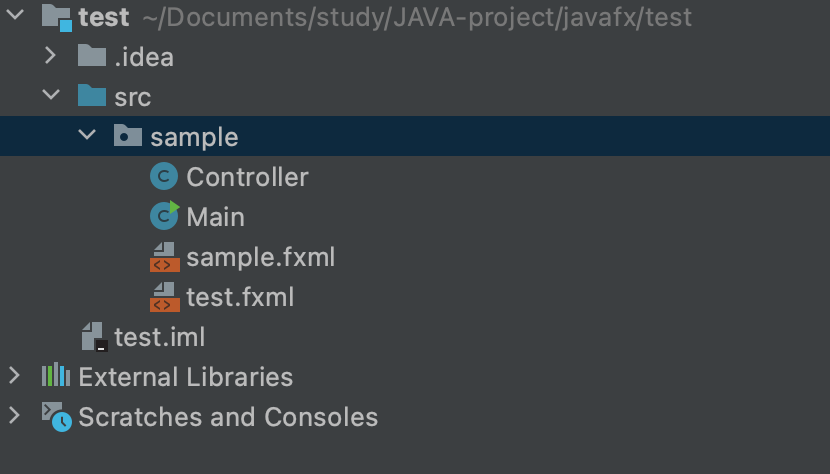
3.修改Main文件引用的fxml
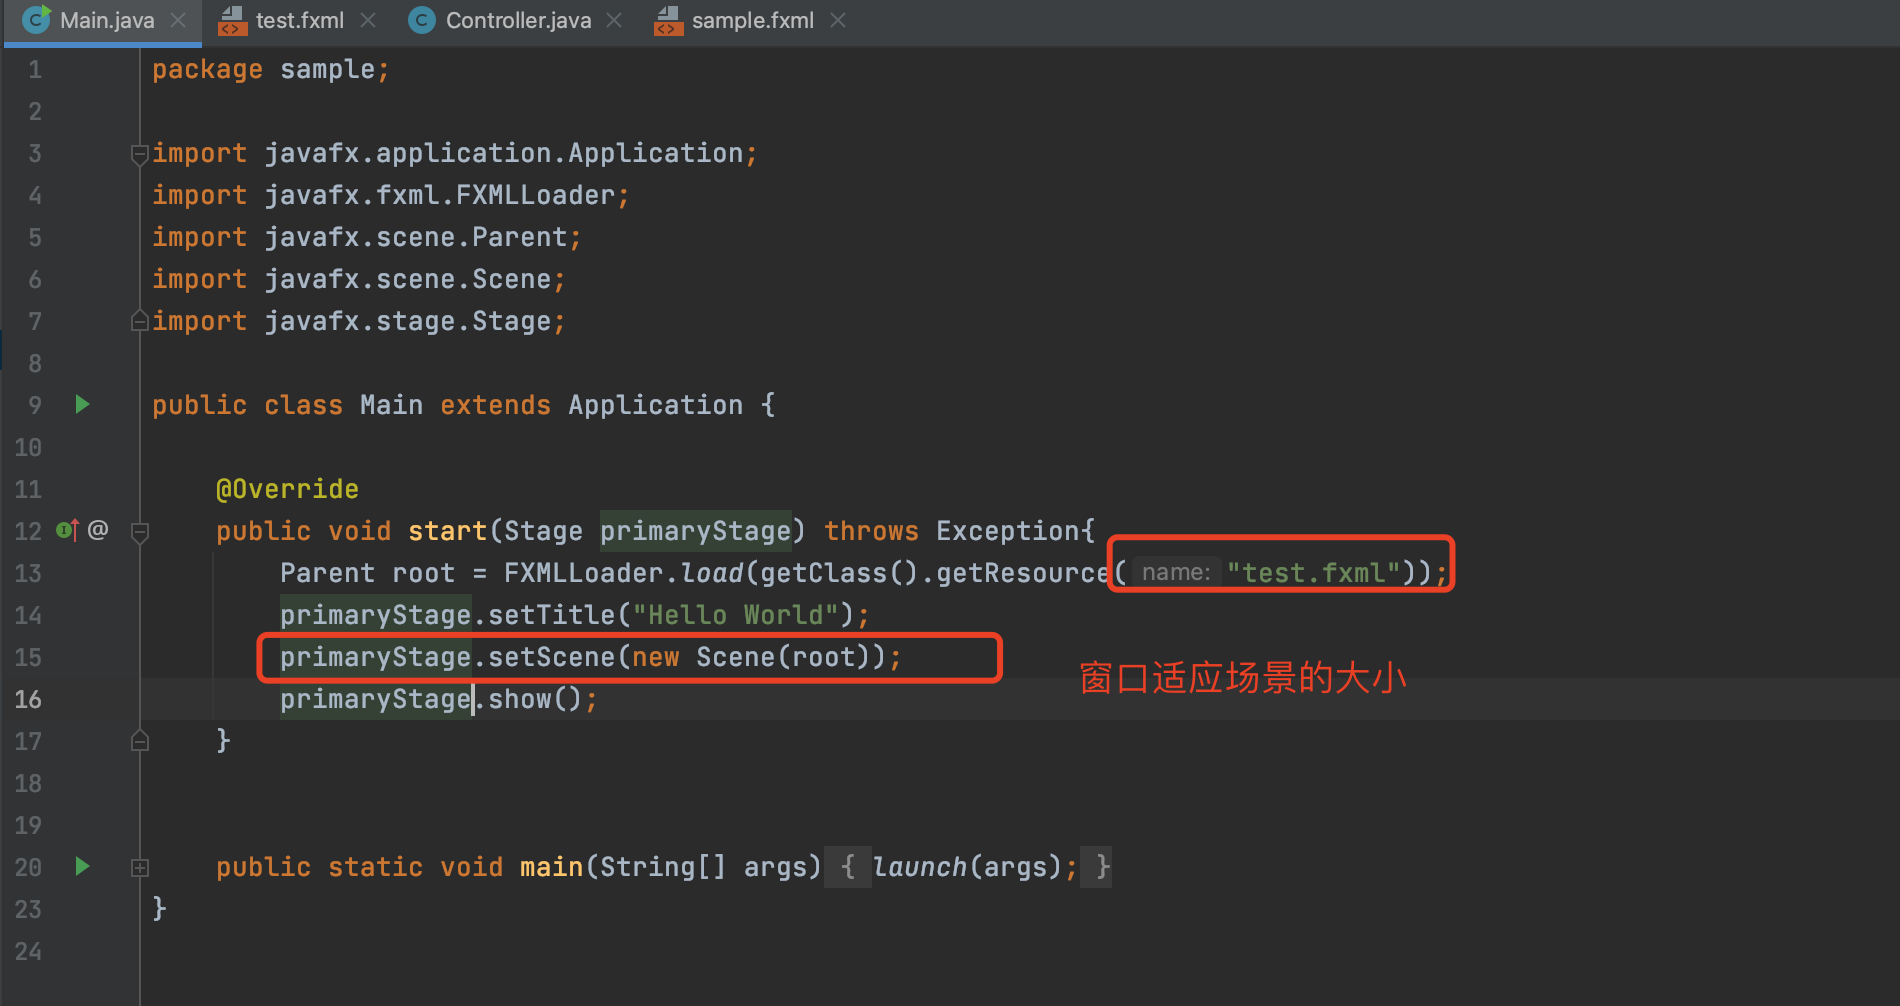
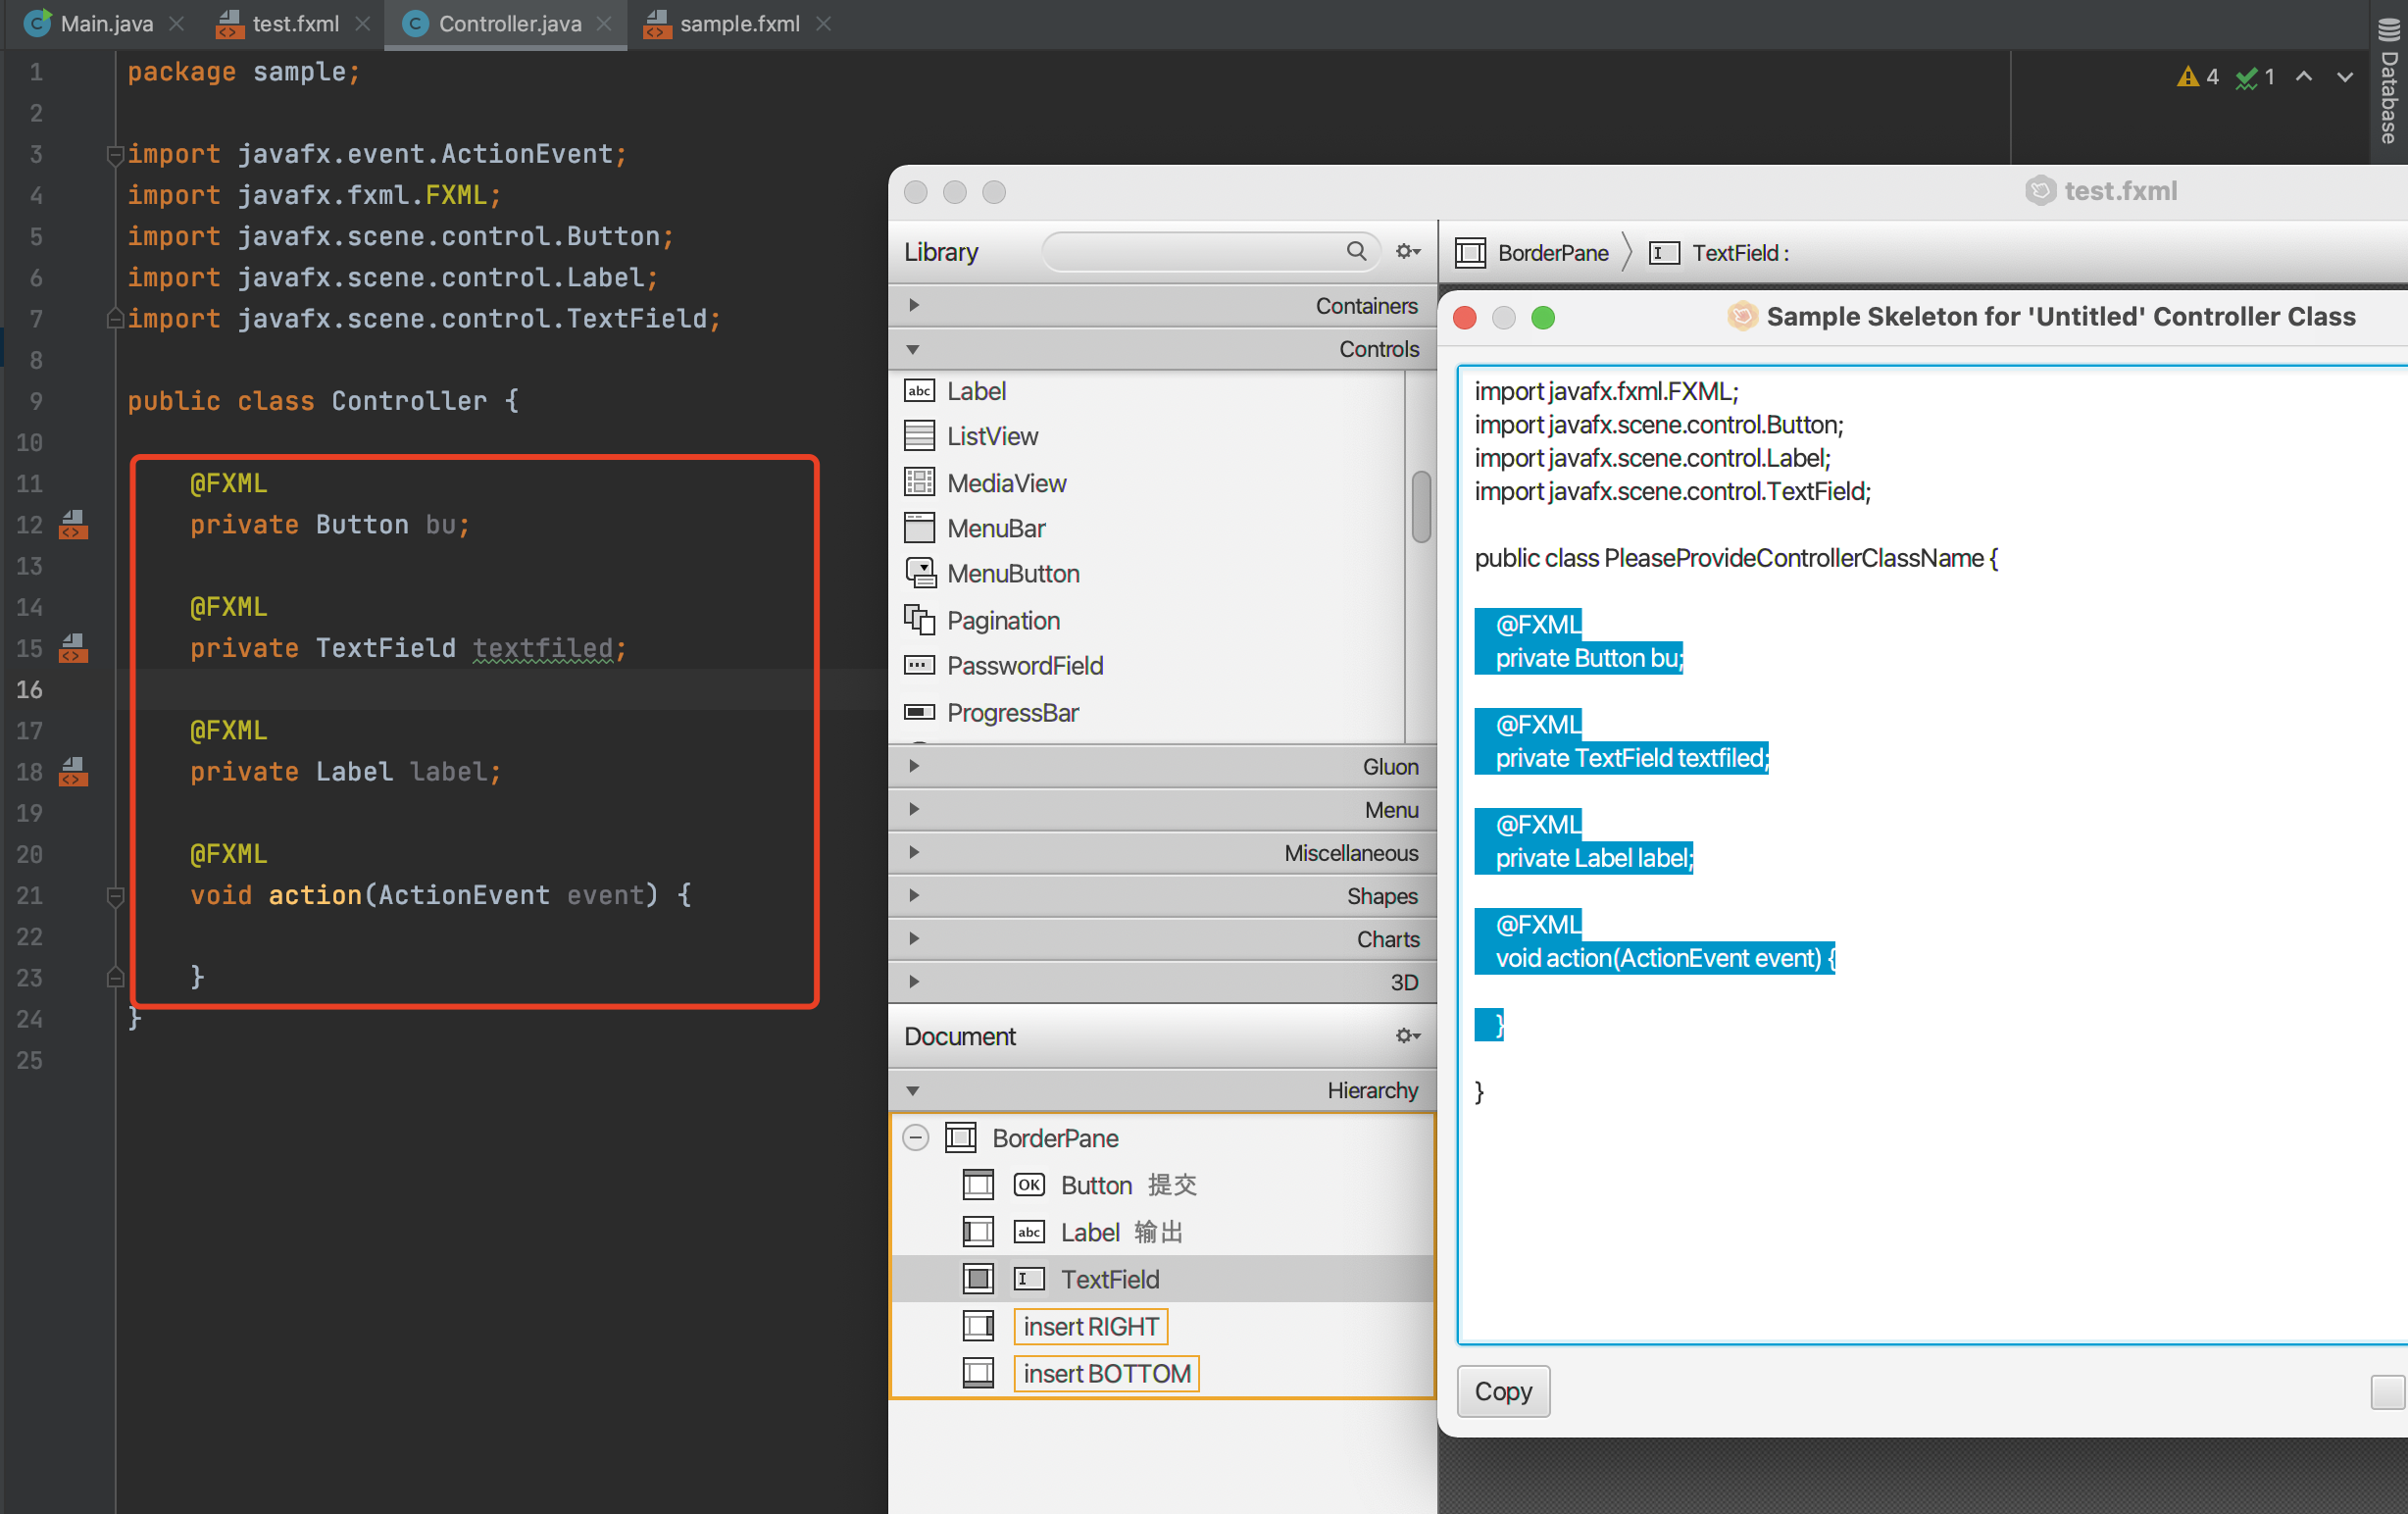
4.修改fxml,添加controller控制代码

5.修改controller,贴入scene Builder 生成的代码
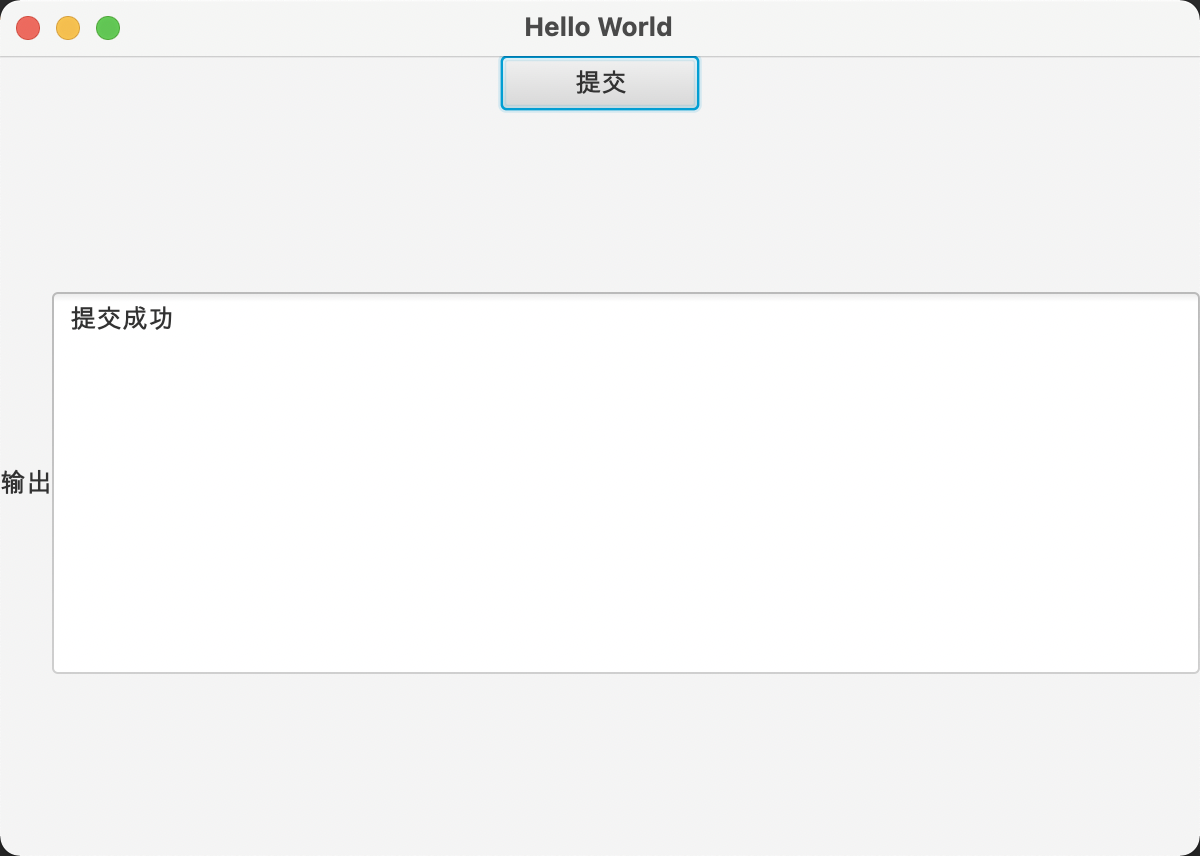
6.添加action代码逻辑操作语句
package sample;

import javafx.event.ActionEvent;
import javafx.fxml.FXML;
import javafx.scene.control.Button;
import javafx.scene.control.Label;
import javafx.scene.control.TextField;

public class Controller {

    @FXML
    private Button bu;

    @FXML
    private TextField textfiled;

    @FXML
    private Label label;

    @FXML
    void action(ActionEvent event) {
        textfiled.setText("提交成功");
    }
}
7.启动测试
1.8、Controller的initialize方法
在绑定组件后会调用该方法,常用于加载静态文件的内容
1.实体类编写(展示在表格中的类)
package sample;

public class Person {
    private String name;
    private Integer age;

		Getter、setter、constructor....
}
2.scene Builder创建视图(fxml设置对应的controller)
<?xml version="1.0" encoding="UTF-8"?>

<?import javafx.scene.control.TableColumn?>
<?import javafx.scene.control.TableView?>
<?import javafx.scene.layout.AnchorPane?>


<AnchorPane fx:controller="sample.Controller" maxHeight="-Infinity" maxWidth="-Infinity" minHeight="-Infinity" minWidth="-Infinity" prefHeight="400.0" prefWidth="600.0" xmlns="http://javafx.com/javafx/8.0.171" xmlns:fx="http://javafx.com/fxml/1">
   <children>
      <TableView fx:id="tableview" layoutX="1.0" layoutY="-4.0" prefHeight="407.0" prefWidth="600.0">
        <columns>
          <TableColumn fx:id="name" prefWidth="75.0" text="name" />
          <TableColumn fx:id="age" prefWidth="75.0" text="age" />
        </columns>
      </TableView>
   </children>
</AnchorPane>
3.controller导入和逻辑编写(initialize)
package sample;
import javafx.collections.FXCollections;
import javafx.collections.ObservableList;
import javafx.fxml.FXML;
import javafx.scene.control.TableColumn;
import javafx.scene.control.TableView;
import javafx.scene.control.cell.PropertyValueFactory;
public class Controller {
@FXML
private TableView<Person> tableview;
@FXML
private TableColumn<Person,String> name;
@FXML
private TableColumn<Person, Integer> age;
public void initialize(){
ObservableList<Person> celldata = FXCollections.observableArrayList();
name.setCellValueFactory(new PropertyValueFactory<Person,String>("name"));
age.setCellValueFactory(new PropertyValueFactory<Person,Integer>("age"));
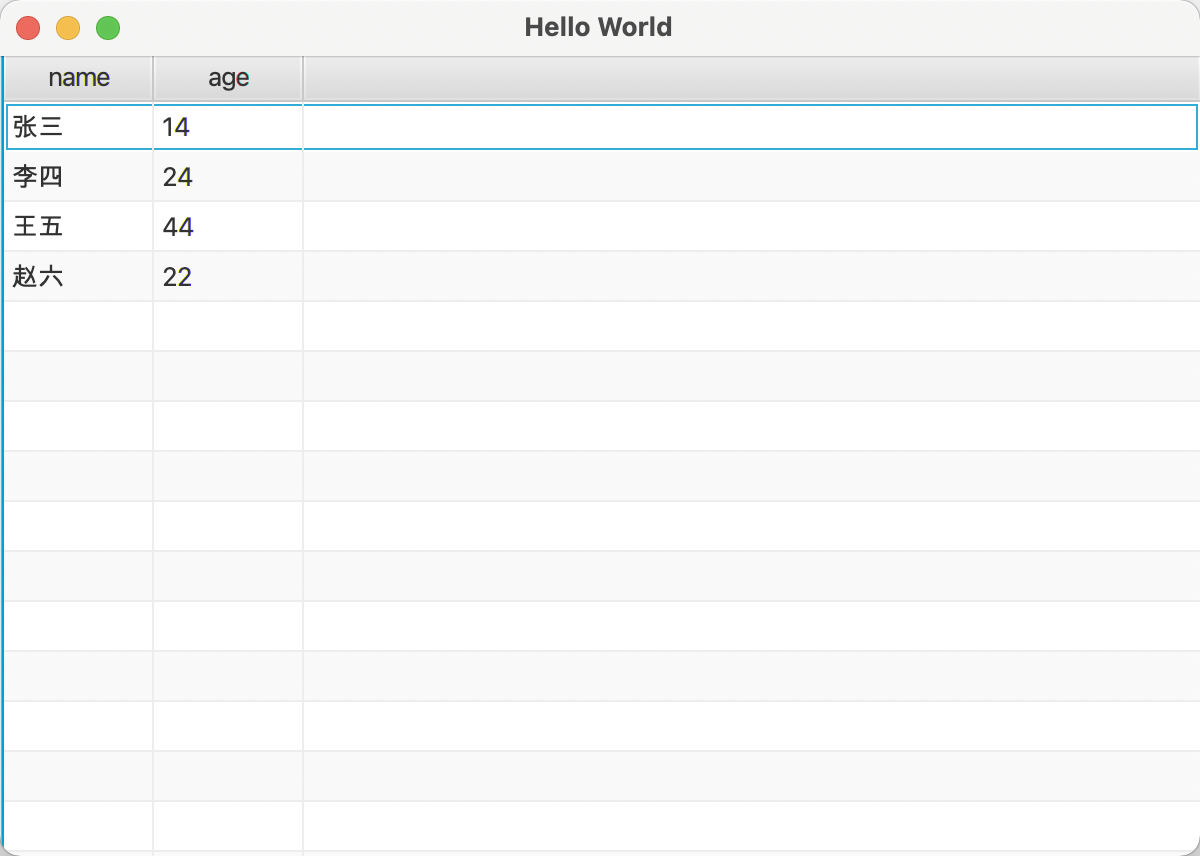
celldata.add(new Person("张三",14));
celldata.add(new Person("李四",24));
celldata.add(new Person("王五",44));
celldata.add(new Person("赵六",22));
tableview.setItems(celldata);
}
}
4.修改主类导入对应fxml
package sample;

import javafx.application.Application;
import javafx.fxml.FXMLLoader;
import javafx.scene.Parent;
import javafx.scene.Scene;
import javafx.stage.Stage;

public class Main extends Application {

    @Override
    public void start(Stage primaryStage) throws Exception{
        Parent root = FXMLLoader.load(getClass().getResource("test.fxml"));
        primaryStage.setTitle("Hello World");
        primaryStage.setScene(new Scene(root));
        primaryStage.show();
    }


    public static void main(String[] args) {
        launch(args);
    }
}
5.搞定
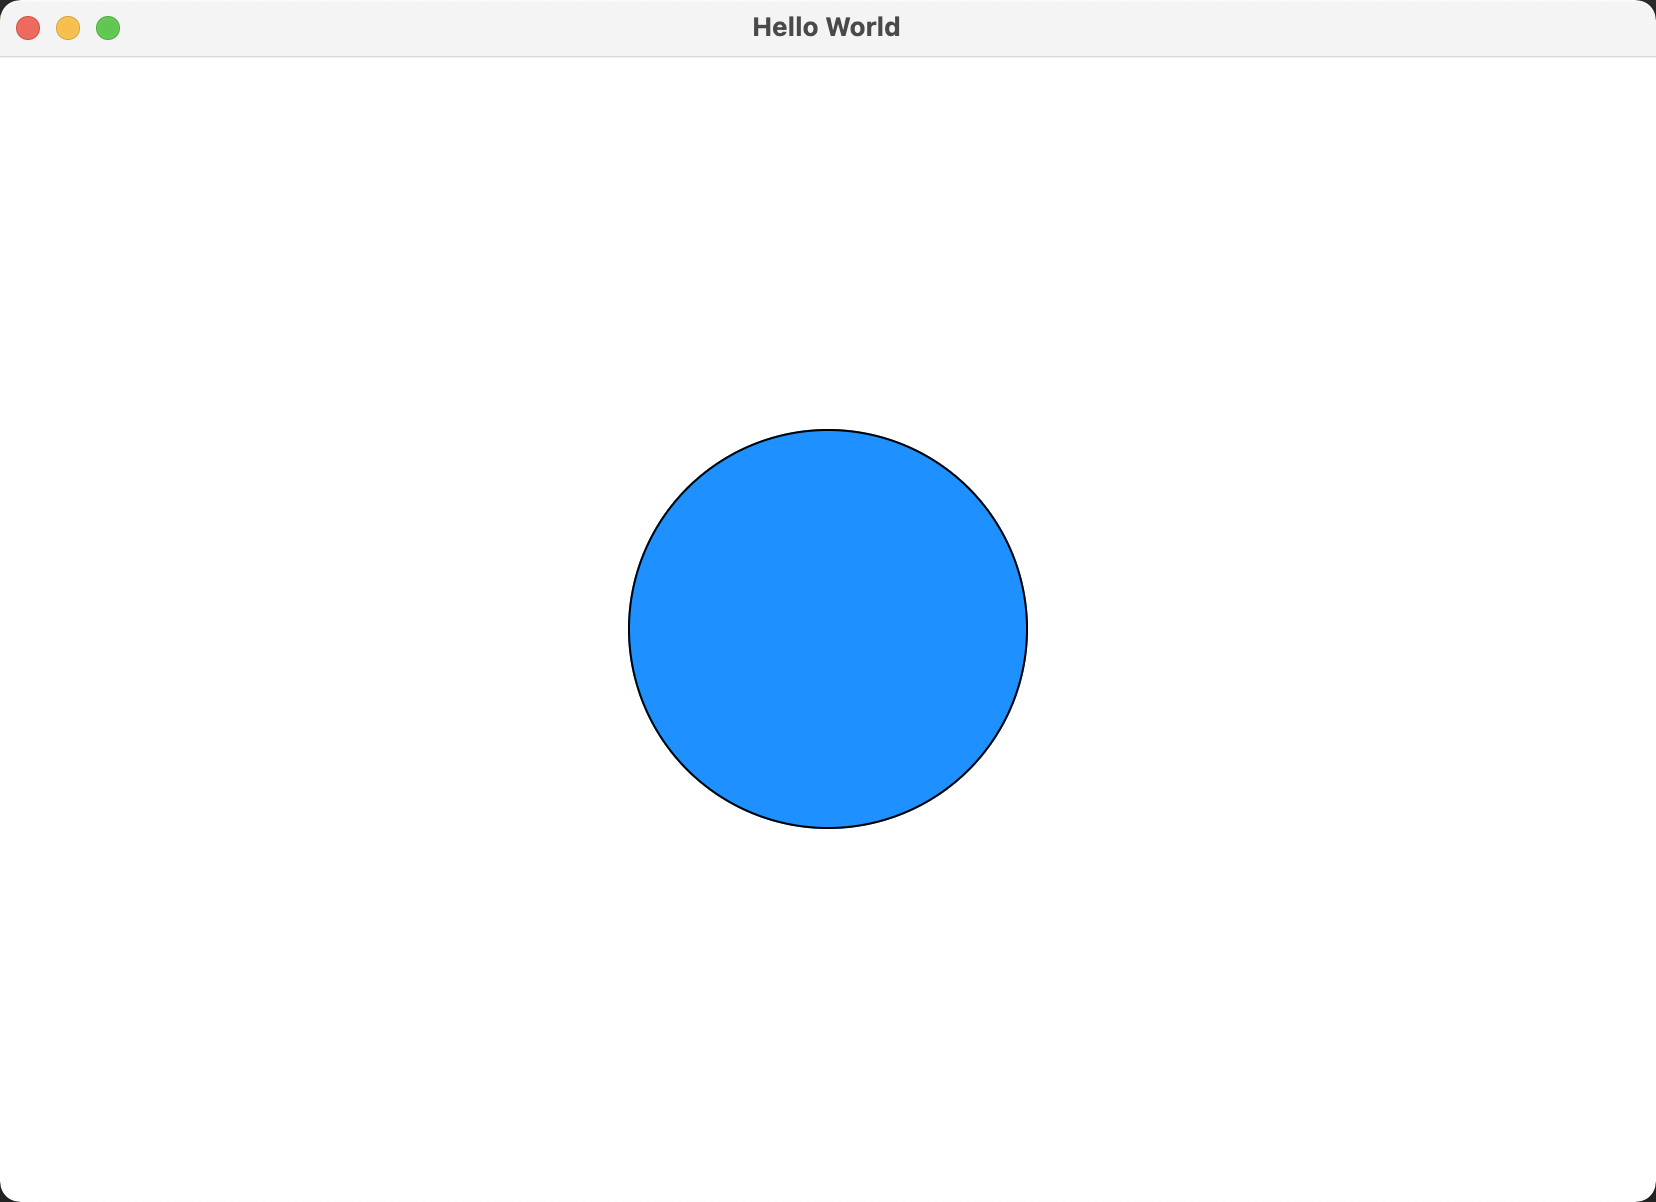
1.9、Application里调用Controller
实现场景的内的note随边框的变化而变化大小
1.scene Builder里创建视图,导入fxml
  <?xml version="1.0" encoding="UTF-8"?>

  <?import javafx.scene.layout.AnchorPane?>
  <?import javafx.scene.shape.Circle?>

  <AnchorPane maxHeight="-Infinity" maxWidth="-Infinity" minHeight="-Infinity" minWidth="-Infinity" prefHeight="400.0" prefWidth="600.0" xmlns="http://javafx.com/javafx/8.0.171" xmlns:fx="http://javafx.com/fxml/1" fx:controller="sample.Controller">
     <children>
        <Circle fx:id="ci" centerX="250.0" centerY="250.0" fill="DODGERBLUE" radius="100.0" stroke="BLACK" strokeType="INSIDE" />
     </children>
  </AnchorPane>
2.设置controller
package sample;

import javafx.fxml.FXML;
import javafx.scene.Scene;
import javafx.scene.shape.Circle;

public class Controller {

    @FXML
    private Circle ci;

    public void CircleCenterBind(Scene scene){
        /*绑定的中心点为场景的宽度除2*/
        ci.centerXProperty().bind(scene.widthProperty().divide(2));
        ci.centerYProperty().bind(scene.heightProperty().divide(2));
    }

}
3.设置Application类(Main)
package sample;

import javafx.application.Application;
import javafx.fxml.FXMLLoader;
import javafx.scene.Parent;
import javafx.scene.Scene;
import javafx.stage.Stage;

public class Main extends Application {

    @Override
    public void start(Stage primaryStage) throws Exception{

        FXMLLoader fxmlLoader = new FXMLLoader();
        /*导入fxml视图*/
        fxmlLoader.setLocation(getClass().getResource("test.fxml"));

        /*获取根节点*/
        Parent root  = fxmlLoader.load();
        /*创建场景放入根节点(布局)*/
        Scene scene = new Scene(root);

        /*获取controller*/
        Controller controller = fxmlLoader.getController();
        /*调用controller方法设置节点*/
        controller.CircleCenterBind(scene);

        primaryStage.setTitle("Hello World");
        primaryStage.setScene(scene);
        primaryStage.show();
    }


    public static void main(String[] args) {
        launch(args);
    }
}

 浙公网安备 33010602011771号