
Spring17_配置数据源6
一、数据源(连接池)的作用
- 数据源(连接池)是为提高程序性能而出现的
- 事先实例化数据源,初始化部分连接资源
- 使用连接资源时从数据源中获取
- 使用完毕后将连接资源归还给数据源
常见的数据源(连接池):DBCP、C3P0、BoneCP、Druid等
二、数据源开发步骤
1. 导入数据源的坐标和数据库驱动坐标
2. 创建数据源对象
3. 设置数据源的基本连接数据
4. 使用数据源获取连接资源和归还连接资源
三、数据源的手动创建
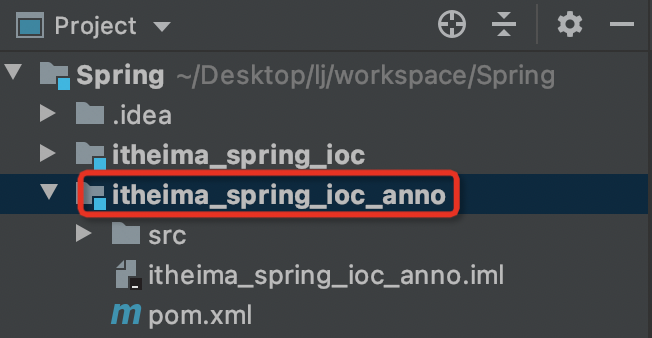
新建一个module,groupId=com.itheima,artifactId=itheima_spring_ioc_anno
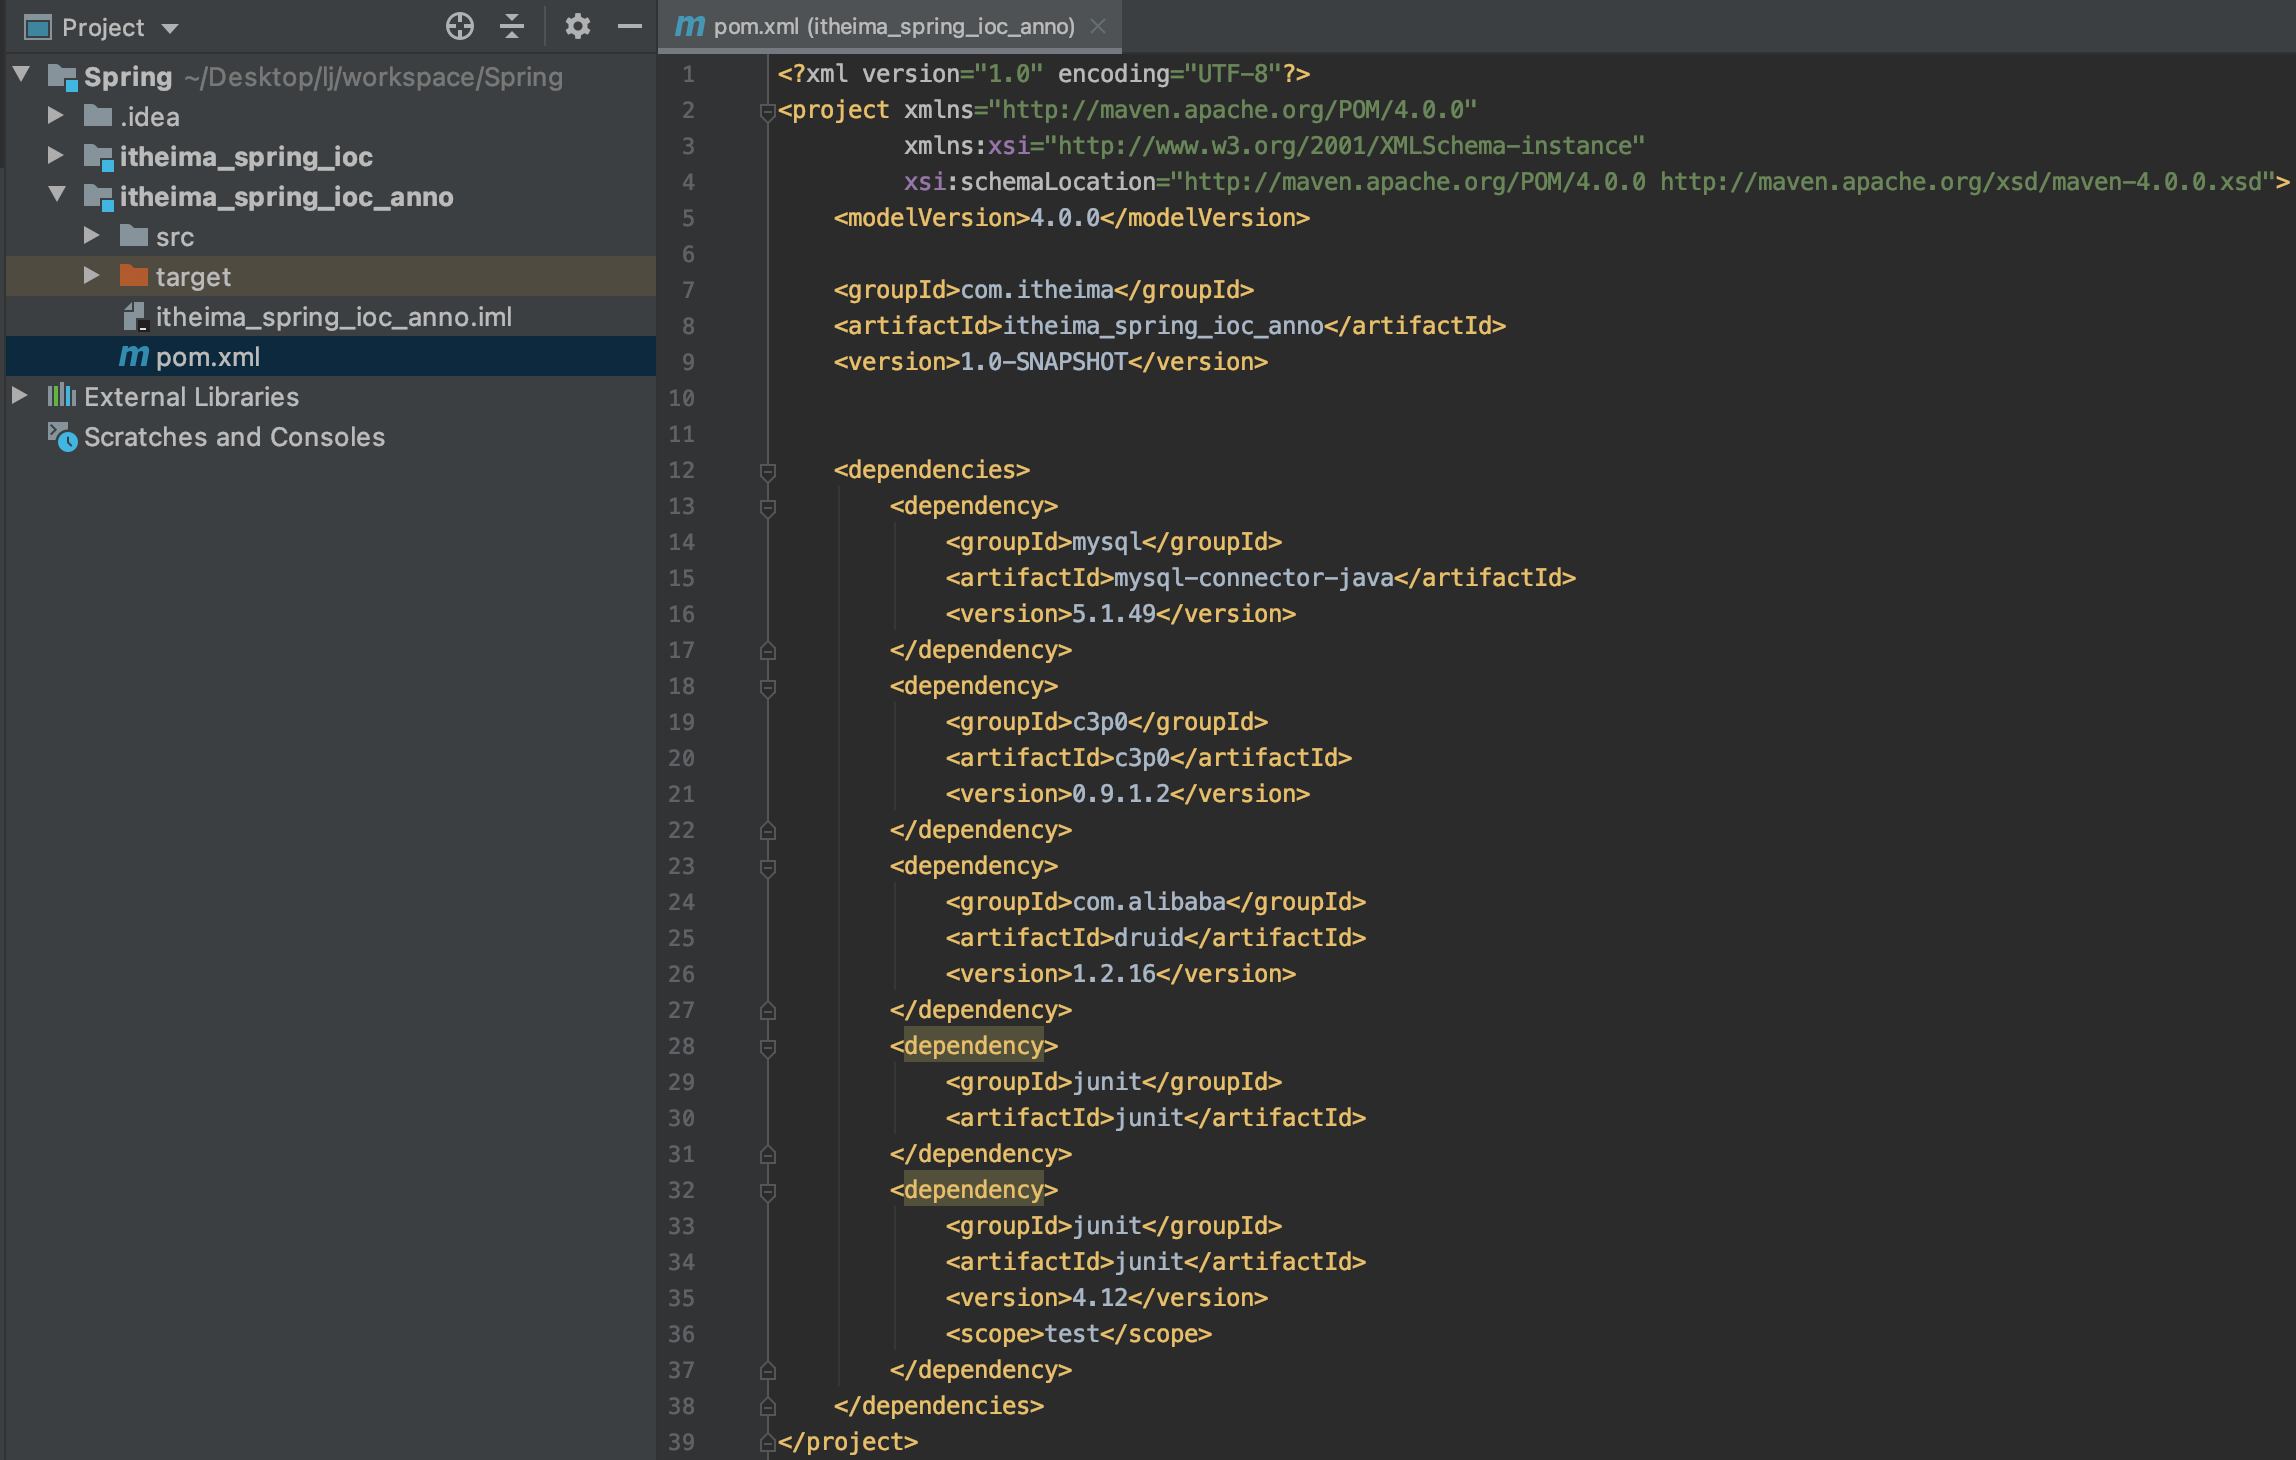
1. 导入c3p0、druid和mysql数据库驱动的坐标
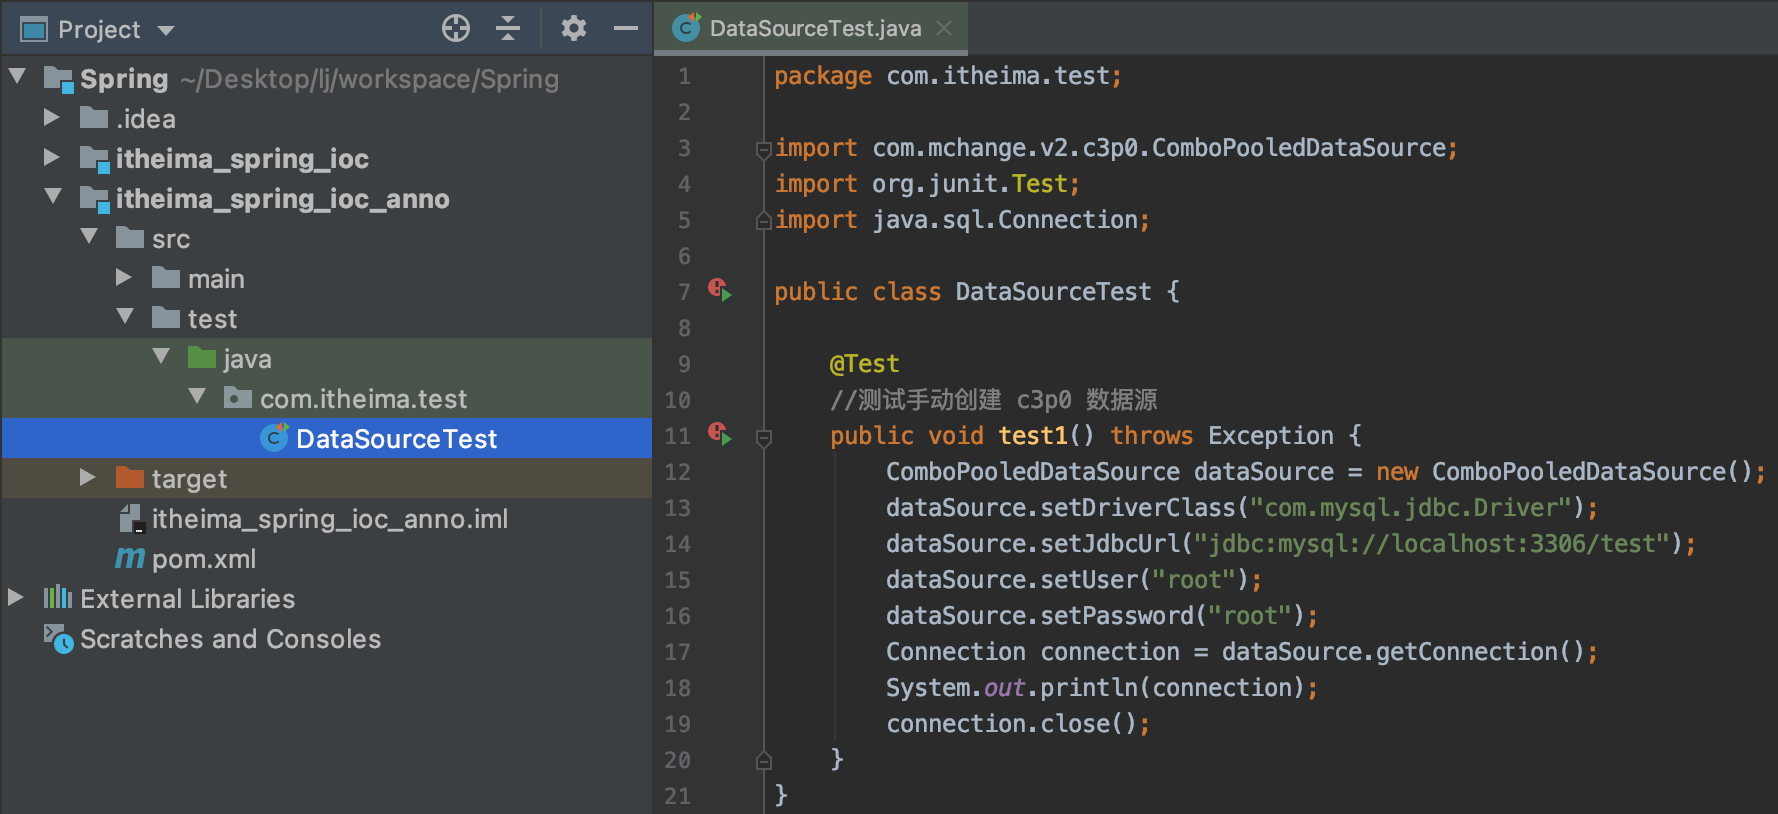
2. 创建c3p0连接池
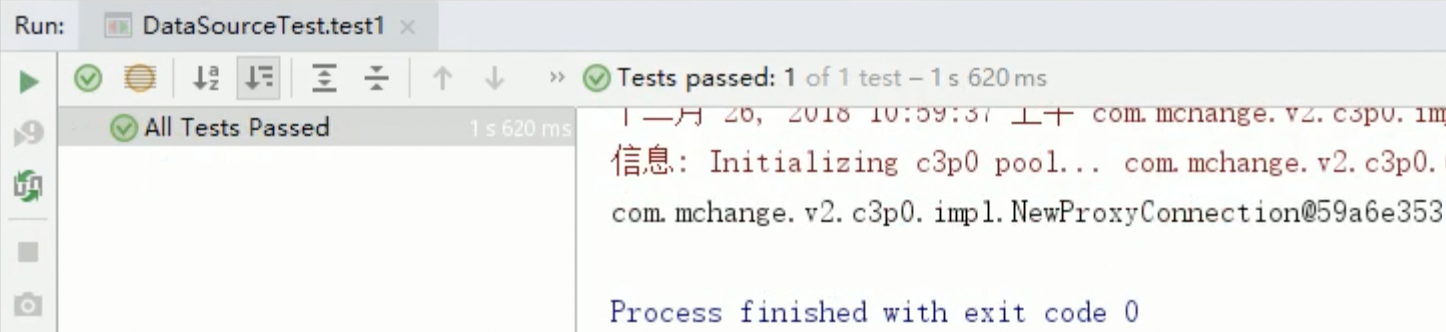
执行test1,查看结果:
2. 创建druid连接池
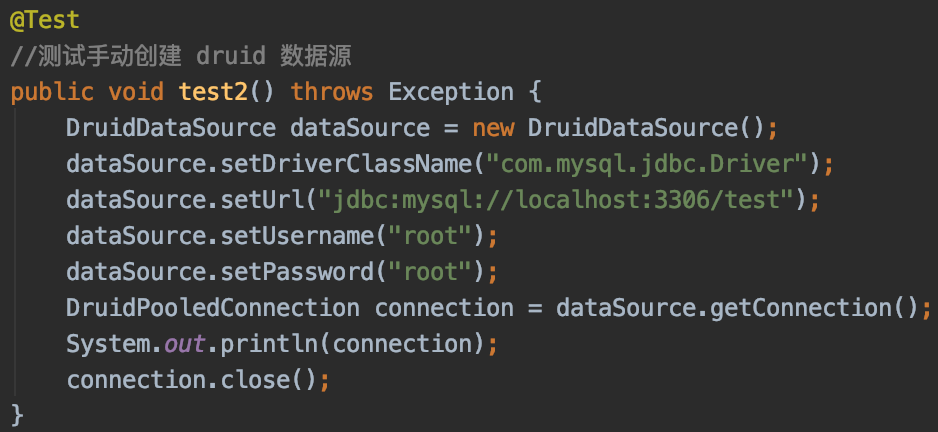
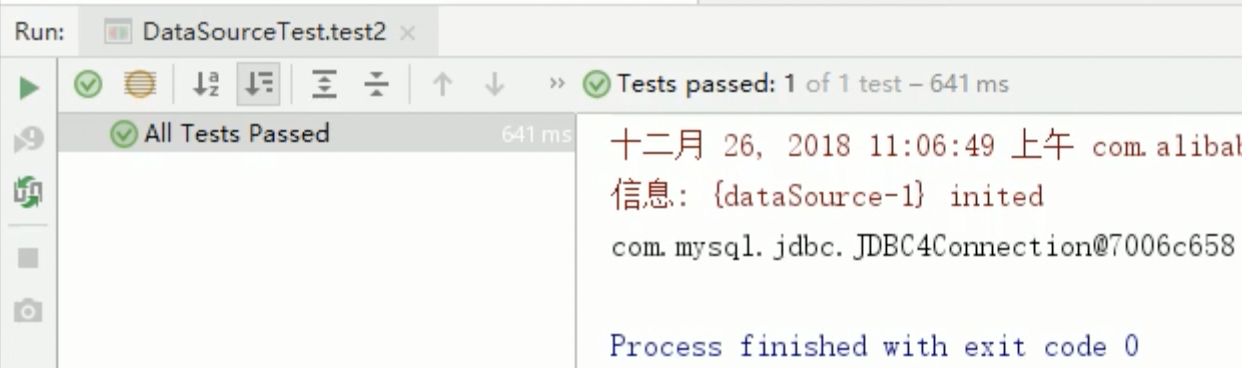
执行test2,查看结果:
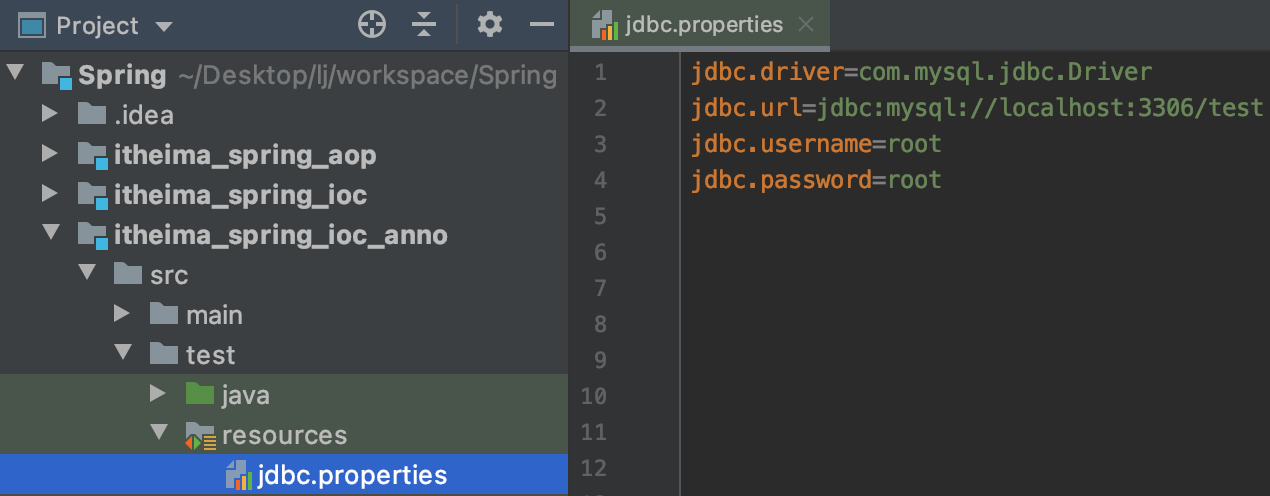
3. 抽取jdbc.properties文件

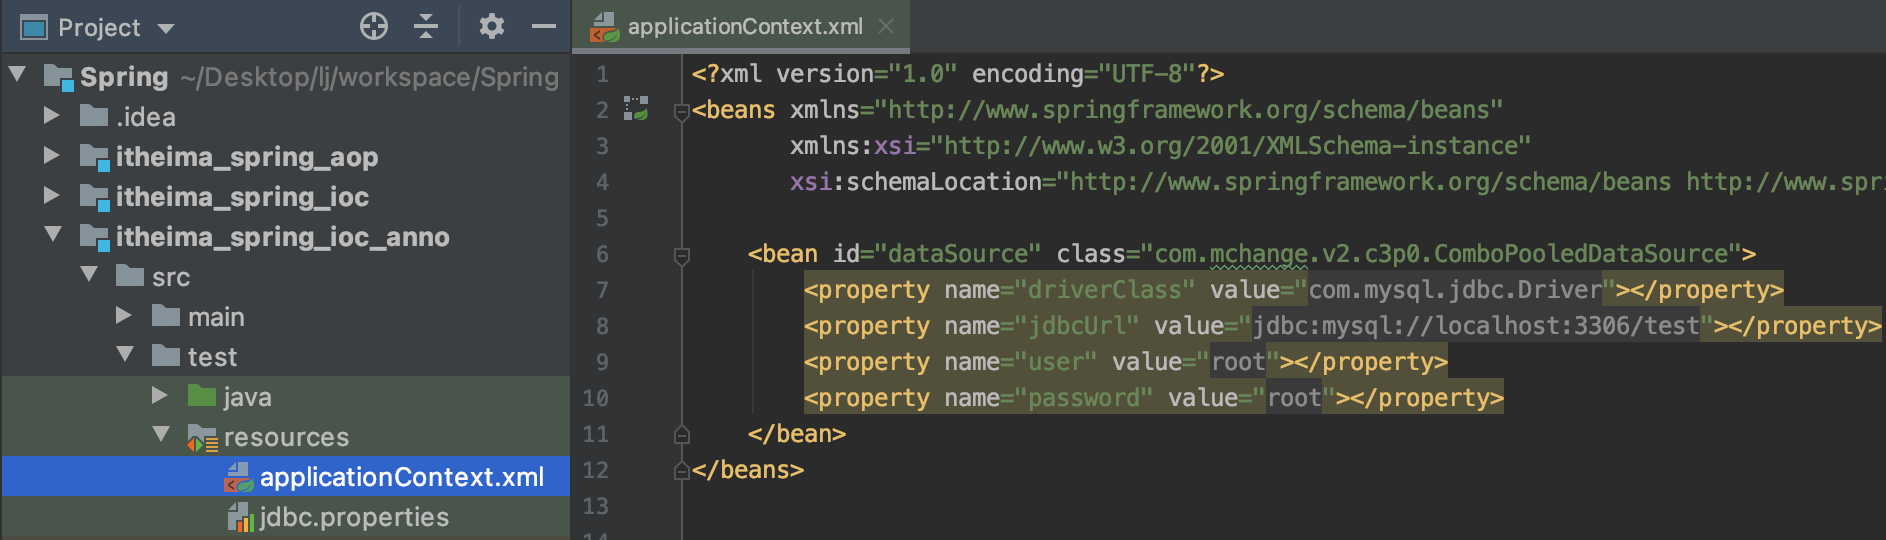
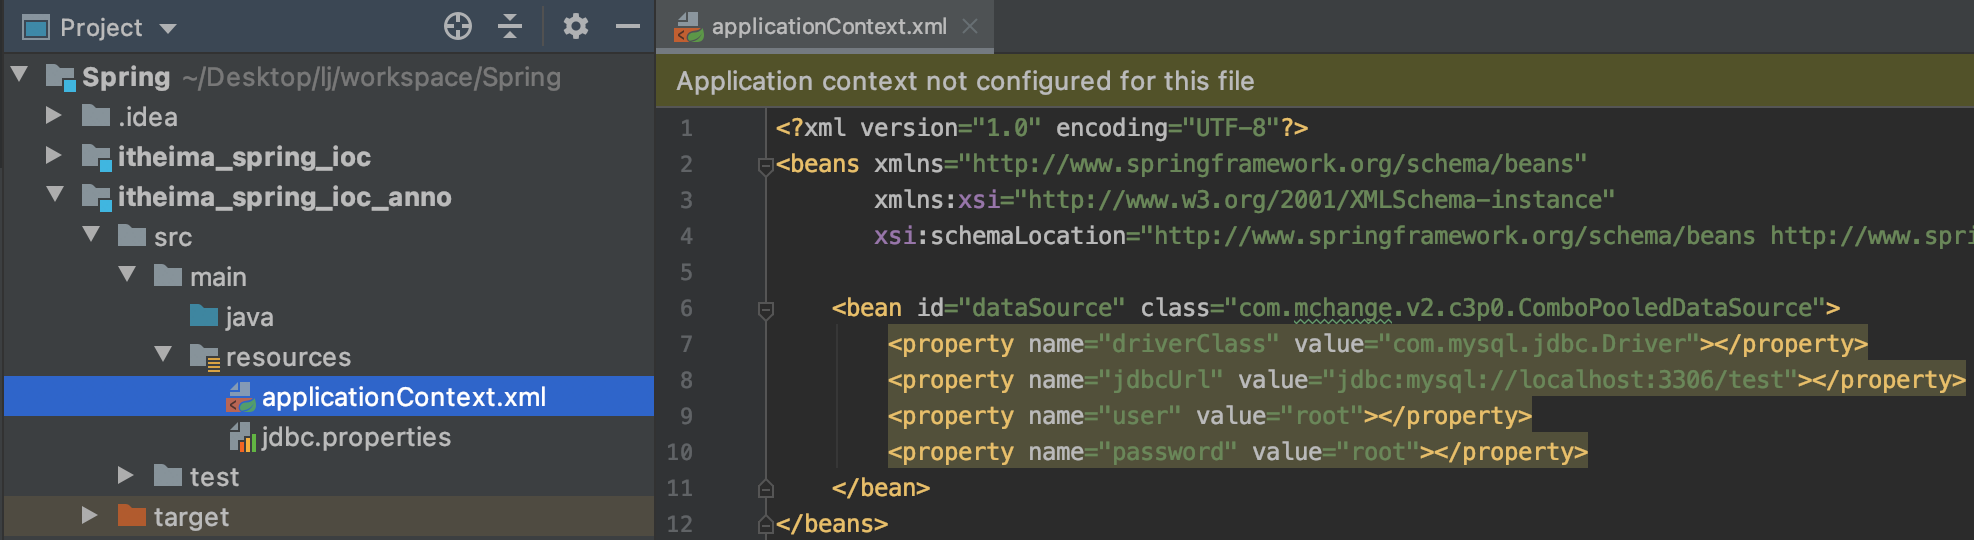
四、Spring配置数据源
可以将DataSource的创建权交由Spring容器去完成。
DataSource有无参构造方法,而Spring默认就是通过无参构造方法实例化对象的。
DataSource要想使用需要通过set方法设置数据库连接信息,而Spring可以通过set方法进行字符串注入
    @Test
    //测试 Spring 容器产生数据源对象
    public void test4() throws Exception {
        ClassPathXmlApplicationContext applicationContext = new ClassPathXmlApplicationContext("applicationContext.xml");
        DataSource dataSource = applicationContext.getBean(DataSource.class);
        Connection connection = dataSource.getConnection();
        System.out.println(connection);
        connection.close();
    }
五、抽取jdbc配置文件
applicationContext.xml加载jdbc.properties配置文件获得连接信息
首先,需要引入context命名空间和约束路径:
命名空间: xmlns:context="http://www.springframework.org/schema/context"
约束路径: http://www.springframework.org/schema/context http://www.springframework.org/schema/context/spring-context.xsd
修改applicationContext.xml:
<?xml version="1.0" encoding="UTF-8"?>
<beans xmlns="http://www.springframework.org/schema/beans"
       xmlns:xsi="http://www.w3.org/2001/XMLSchema-instance"
       xmlns:context="http://www.springframework.org/schema/context"
       xsi:schemaLocation=
               "http://www.springframework.org/schema/beans http://www.springframework.org/schema/beans/spring-beans.xsd
                http://www.springframework.org/schema/context http://www.springframework.org/schema/context/spring-context.xsd">

    <!--加载外部的properties文件-->
    <context:property-placeholder location="jdbc.properties"/>

    <bean id="dataSource" class="com.mchange.v2.c3p0.ComboPooledDataSource">
        <property name="driverClass" value="${jdbc.driver}"></property>
        <property name="jdbcUrl" value="${jdbc.url}"></property>
        <property name="user" value="${jdbc.username}"></property>
        <property name="password" value="${jdbc.password}"></property>
    </bean>
</beans>
总结:Spring容器加载properties文件
<context:property-placeholder location="xx.properties"/>
<property name="" value="${key}"/>

 浙公网安备 33010602011771号