yolov5+deepsort用于目标跟踪
从github下载安装包
https://github.com/mikel-brostrom/Yolov5_DeepSort_Pytorch
新建环境
cd到项目下
第一步,安装依赖
安装依赖
pip install -r requirements.txt
依赖安装完成检查自己的GPU是否可用
In [1]: import torch

In [2]: torch.cuda.current_device()

Out[2]: 0

In [3]: torch.cuda.device(0)

Out[3]: <torch.cuda.device at 0x7efce0b03be0>

In [4]: torch.cuda.device_count()

Out[4]: 1

In [5]: torch.cuda.get_device_name(0)

Out[5]: 'GeForce GTX 950M'

In [6]: torch.cuda.is_available()

Out[6]: True
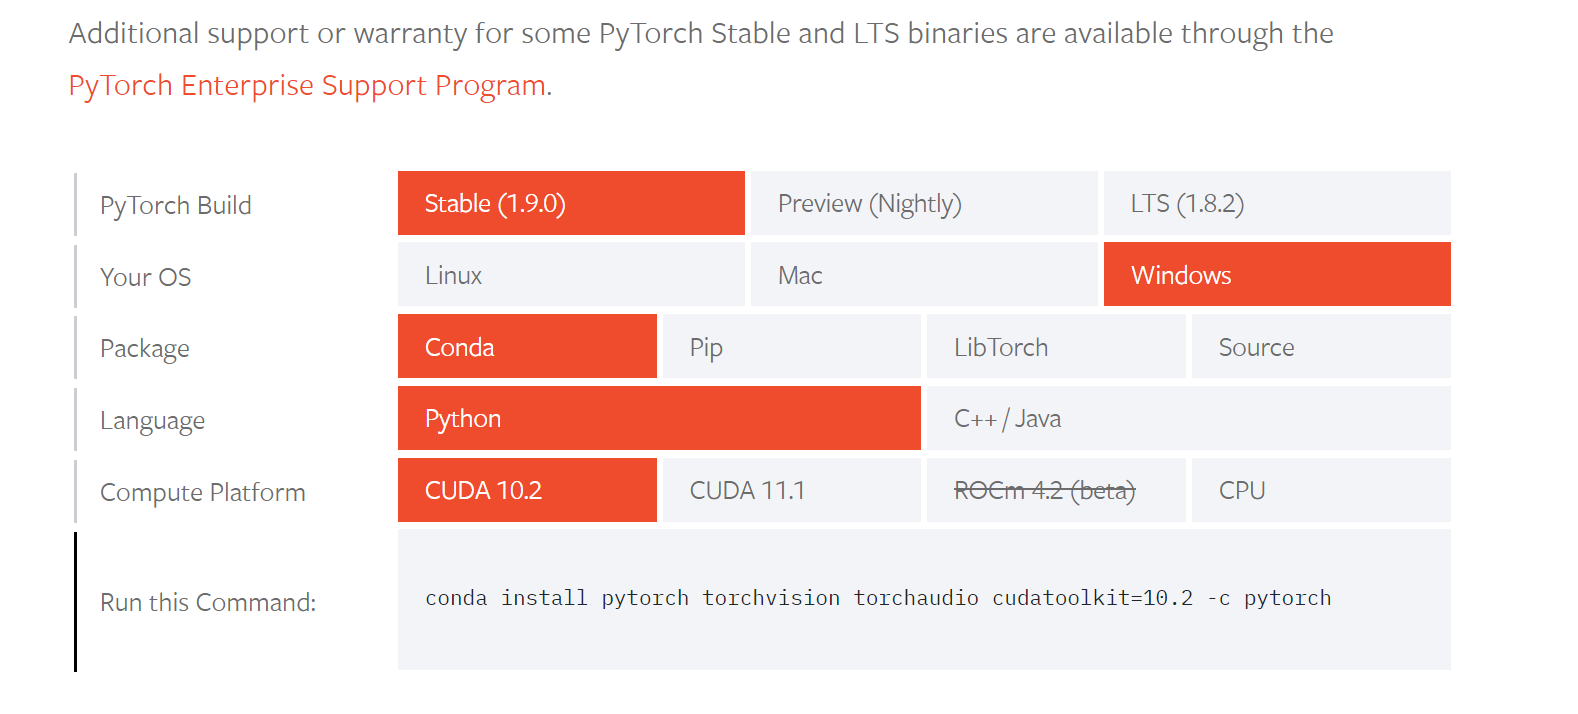
可以检测到就行。如果检测不到GPU,可能是安装的cpu版本的pytorch..这时候需要手动安装pytorch的GPU版本
官网https://pytorch.org/get-started/locally/


复制下面的安装命令行就行。找适合自己设备的cuda版本
conda install pytorch torchvision torchaudio cudatoolkit=10.2 -c pytorch
第二步,运行项目
从github 下载https://github.com/wudashuo/yolov5压缩包,
解压放在项目的yolov5文件夹下面,运行
python track.py --source ... --show-vid # show live inference results as well
Video: --source file.mp4 # python track.py --source="011.mp4" --show-vid
Webcam: --source 0
RTSP stream: --source rtsp://170.93.143.139/rtplive/470011e600ef003a004ee33696235daa
HTTP stream: --source http://wmccpinetop.axiscam.net/mjpg/video.mjpg
至此,项目完成。source 0表示摄像头。
PS这个过程走了很多弯路,原因是用了另一位博主的yolov5文件夹里的东西,模型不匹配,最后搞了一下午终于发现用原官网的就可以解决。
有问题欢迎留言区讨论。
越努力越幸运


