

Centos安装nginx 并设置分发
安装
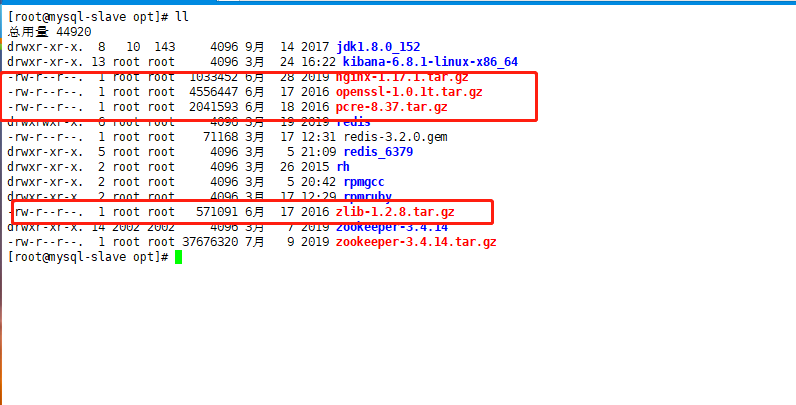
1:准备安装包

2:上传到opt下
3:首先需要安装gcc g++的环境
可以使用yum安装:yum install -y gcc gcc-c++
4:解压这四个文件
tar -zxvf 文件名
4:进入pcre文件夹,执行如下命令
是一个Perl库,包括 perl 兼容的正则表达式库。Pcre用来解决C语言中使用正则表达式的问题。效率高。
./configure
运行完成后 再执行如下命令
make && make install
进入openssl-1.0.1t文件夹 执行如下命令
OpenSSL是一个开放源代码的软件库包,应用程序可以使用这个包来进行安全通信,避免窃听,同时确认另一端连接者的身份。
./config
完成后,执行如下命令
make && make install
进入zlib-1.2.8,执行如下命令
./configure
完成后 再运行如下命令
make && make install
进入nginx文件夹,执行如下命令
./configure
完成后,再执行下面的命令
make && make install
完成后,目录:/usr/local/nginx/ 可以查看相关配置
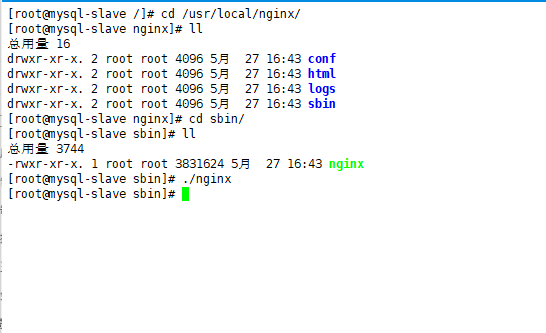
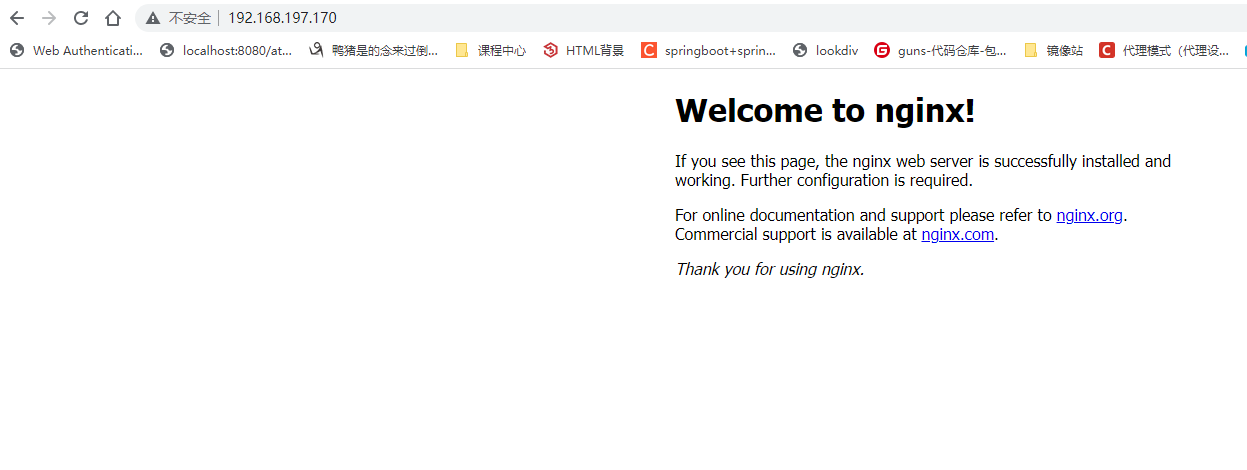
通过nginx命令,启动 通过浏览器访问,如果出现如下页面 说明启动成功
停止命令
nginx -s stop
配置和分发
主要看配置中增加了备注的即可
1:普通的代理服务:关键的配置进行了注释,其他不相干的配置暂时清理掉,太多了
进入
/usr/local/nginx/conf
编辑nginx.config文件

  1
  2 #user  nobody;
  3 worker_processes  8; //工作进程数,一般跟当前系统核数一样即可
  4
  5 #error_log  logs/error.log;
  6 #error_log  logs/error.log  notice;
  7 #error_log  logs/error.log  info;
  8
  9 #pid        logs/nginx.pid;
 10
 11
 12 events {
 13     worker_connections  1024; //连接数
 14 }
 15
 16
 17 http {
 18     include       mime.types;
 19     default_type  application/octet-stream;
 20
 21     #log_format  main  '$remote_addr - $remote_user [$time_local] "$request" '
 22     #                  '$status $body_bytes_sent "$http_referer" '
 23     #                  '"$http_user_agent" "$http_x_forwarded_for"';
 24
 25     #access_log  logs/access.log  main;
 26
 27     sendfile        on;
 28     #tcp_nopush     on;
 29
 30     #keepalive_timeout  0;
 31     keepalive_timeout  65;
 32
 33     #gzip  on;
 34
 35     server {
 36         listen       80; //默认监听端口
 37         server_name  localhost;
 38
 39         #charset koi8-r;
 40
 41         #access_log  logs/host.access.log  main;
 42       // 拦截80端口下所有的请求,如果下面没有合适的请求处理,那么就使用这个来处理请求
 43         location / {
 44            # root   html;
 45            # index  index.html index.htm;
proxy_pass http://192.168.197.135:8016; //访问路径将会访问这个服务的数据
proxy_connect_timeout 30;//超时时间为30秒
46         }
 47
 48         #error_page  404              /404.html;
 49
 50         # redirect server error pages to the static page /50x.html
 51         #
 52         error_page   500 502 503 504  /50x.html;
 53         location = /50x.html {
 54             root   html;
 55         }
 56
 57         # proxy the PHP scripts to Apache listening on 127.0.0.1:80
 58         #
2:负载均衡配置
思想:把上面反向代理的地址,改为一个变量,然后根据策略 不同的分发
 2 #user  nobody;
  3 worker_processes  4;
  4
  5 #error_log  logs/error.log;
  6 #error_log  logs/error.log  notice;
  7 #error_log  logs/error.log  info;
  8
  9 #pid        logs/nginx.pid;
 10
 11
 12 events {
 13     worker_connections  1024;
 14 }
 15
 16
 17 http {
 18     include       mime.types;
 19     default_type  application/octet-stream;
 20
 21     #log_format  main  '$remote_addr - $remote_user [$time_local] "$request" '
 22     #                  '$status $body_bytes_sent "$http_referer" '
 23     #                  '"$http_user_agent" "$http_x_forwarded_for"';
 24
 25     #access_log  logs/access.log  main;
 26
 27     sendfile        on;
 28     #tcp_nopush     on;
 29
 30     #keepalive_timeout  0;
 31     keepalive_timeout  65;
 32
 33     #gzip  on;
 34
#抽取的变量,分配了三台服务器,做了负载
 35    upstream selfservcer{
 36
 37         server 192.168.197.160:8016;
 38         server 192.168.197.135:8016;
 39         server 192.168.197.137:8016;
 40     }
 41
 42     server {
 43         listen       80;
 44         server_name  localhost;
 45
 46         #charset koi8-r;
 47
 48         #access_log  logs/host.access.log  main;
 49
 50         location / {
 51           #  root   html;
 52           #  index  index.html index.htm;
 53           #
 54           proxy_pass http://selfservcer;//引用上面的变量即可
 55           proxy_connect_timeout 30;
 56         }
 57
 58         #error_page  404              /404.html;
 59
 60         # redirect server error pages to the static page /50x.html
 61         #
 62         error_page   500 502 503 504  /50x.html;
 63         location = /50x.html {
 64             root   html;
 65         }
 66 89     }
 90 114
3:保存后重新加载一下
nginx -s reload
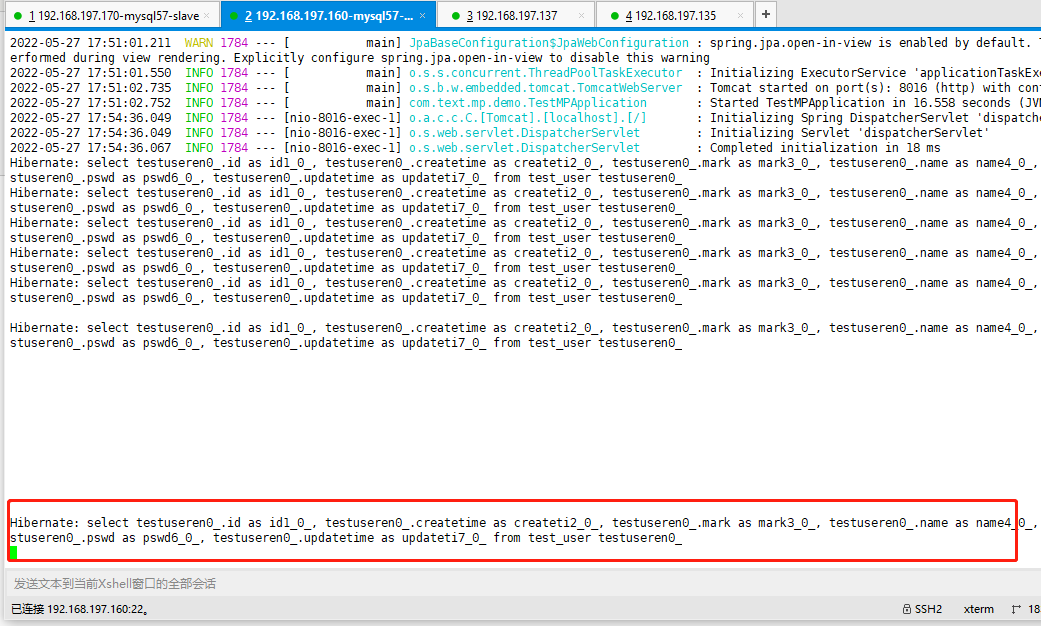
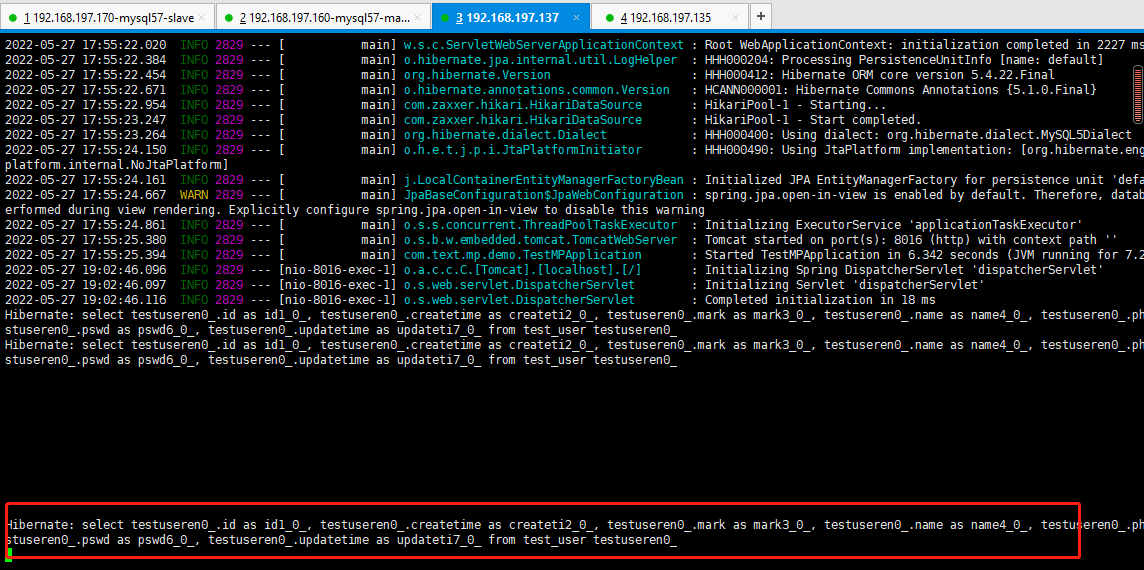
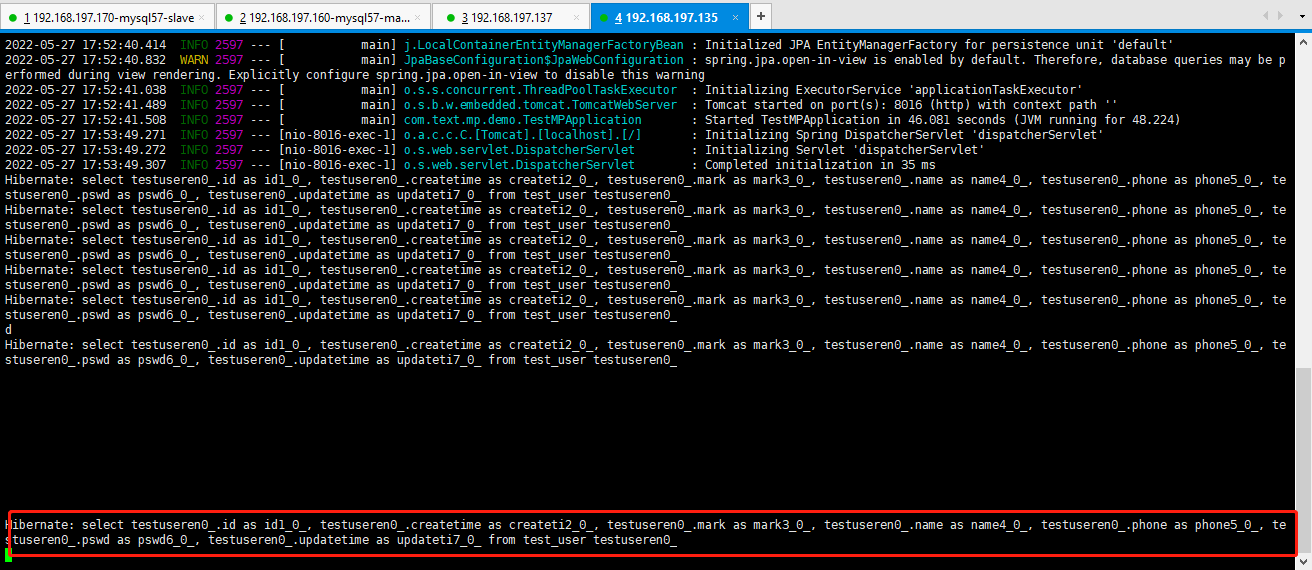
访问主机的接口 nginx部署在70上面的
http://192.168.197.170/demo/testuser/list
然后查看三台服务器的日志打印
下面三张图,是因为访问了三次,每个服务器处理了一次请求


【推荐】国内首个AI IDE,深度理解中文开发场景,立即下载体验Trae
【推荐】编程新体验,更懂你的AI,立即体验豆包MarsCode编程助手
【推荐】抖音旗下AI助手豆包,你的智能百科全书,全免费不限次数
【推荐】轻量又高性能的 SSH 工具 IShell:AI 加持,快人一步
· Manus重磅发布:全球首款通用AI代理技术深度解析与实战指南
· 被坑几百块钱后,我竟然真的恢复了删除的微信聊天记录!
· 没有Manus邀请码?试试免邀请码的MGX或者开源的OpenManus吧
· 园子的第一款AI主题卫衣上架——"HELLO! HOW CAN I ASSIST YOU TODAY
· 【自荐】一款简洁、开源的在线白板工具 Drawnix