Nginx利用lua剪辑FastDFS图片
Nginx利用lua剪辑FastDFS中的图片
我们经常用FastDFS来做图片服务器,通过nginx来上传或者获取图片。本文要实现的功能是,当客户端要获取不同尺寸的图片是,lua根据url中的尺寸大小调用GraphicsMagick 的gm命令来剪辑图片。
1、软件准备:
GraphicsMagick-1.3.21.tar.gz
LuaJIT-2.0.2.tar.gz
nginx-1.4.2.tar.gz
ngx_devel_kit-0.2.18.tar.gz
v0.8.6.tar.gz(lua-nginx-module-0.8.6)
2、安装配置:
首先安装LuaJIT(lua解释器)
tar zxvf LuaJIT-2.0.2.tar.gz
cd LuaJIT-2.0.2
make && make install
配置环境变量
export LUAJIT_LIB=/usr/local/lib
export LUAJIT_INC=/usr/local/include/luajit-2.0
安装GraphicsMagick(剪辑图片的工具)
tar zxvf GraphicsMagick-1.3.21.tar.gz
cd GraphicsMagick
./configure --prefix=/data/local/GraphicsMagick --enable-shared
make && make install
查看GraphicsMagick支持的文件类型:
/data/local/GraphicsMagick/bin/gm -version
显示如下:
Feature Support:
  Native Thread Safe       yes
  Large Files (> 32 bit)   yes
  Large Memory (> 32 bit)  yes
  BZIP                     yes
  DPS                      no
  FlashPix                 no
  FreeType                 no
  Ghostscript (Library)    no
  JBIG                     no
  JPEG-2000                no
  JPEG                     yes
  Little CMS               no
  Loadable Modules         no
  OpenMP                   yes (201107)
  PNG                      yes
  TIFF                     no
  TRIO                     no
  UMEM                     no
  WebP                     no
  WMF                      no
  X11                      no
  XML                      no
  ZLIB                     yes

Host type: x86_64-unknown-linux-gnu
若jpeg、zlib等不支持,需要先安装库文件:
yum install -y libjpeg libjpeg-devel libpng libpng-devel giflib giflib-devel freetype freetype-devel
在编译的时候需要加入参数,如添加xml支持:
./configure --prefix=/data/local/GraphicsMagick --with-xml=yes...
安装Nginx及lua扩展
解压lua模块
ngx_devel_kit-0.2.18.tar.gz
v0.8.6.tar.gz(lua-nginx-module-0.8.6
安装Nginx
tar zxvf nginx-1.4.2.tar.gz
cd nginx-1.4.2
./configure —prefix=/usr/local/nginx --add-module=lua-nginx-module-0.8.6 --add-module=ngx_devel_kit-0.2.18
make && make install
接下来配置nginx:
测试nginx扩展lua是否成功
nginx.conf server中添加一个location,匹配test:
location /test {
    default_type text/html;
    content_by_lua '
        ngx.say("hello world")
        ngx.log(ngx.ERR,"err err")
    ';
}
浏览器请求localhost/test时,返回hello world 则扩展成功。
启动nginx报错如下:
/usr/local/nginx/sbin/nginx: error while loading shared libraries: libluajit-5.1.so.2: cannot open shared object file: No such file or directory
解决:
find / -name libluajit-5.1.so.2

ln -s /usr/local/lib/libluajit-5.1.so.2 /usr/lib64/libluajit-5.1.so.2
剪辑图片的lua脚本ImageResizer.lua:
local command = "/data/local/GraphicsMagick/bin/gm convert " .. ngx.var.request_filepath .. " -resize " .. ngx.var.width .. "x" .. ngx.var.height .. " +profile \"*\" " .. ngx.var.request_filepath .. "_" .. ngx.var.width .. "x" .. ngx.var.height .. "." ..
ngx.var.ext;os.execute(command);
ngx.exec(ngx.var.request_uri);
nginx.conf:
server {
        listen       80;
        server_name  localhost;

        #access_log  logs/host.access.log  main;

        location / {
            root /data/images/00/00;(图片根目录)
        }

        location ~* ^(.+\.(jpg|jpeg|gif|png))_(\d+)x(\d+)\.(jpg|jpeg|gif|png)$ {
            root /data/images/00/00;
            if (!-f $request_filename) {    # 如果文件不存在时才需要裁剪
                add_header X-Powered-By 'Lua GraphicsMagick';
                add_header file-path $request_filename;
                lua_code_cache off;
                set $request_filepath /data/images/00/00$1;# 设置原始图片路径,如:/data/images/00/00/xxx.gif
                set $width $3;     # 设置裁剪/缩放的宽度
                set $height $4;    # 设置裁剪/缩放的高度
                set $ext $5;         # 图片文件格式后缀
                content_by_lua_file conf/lua/ImageResizer.lua; #调用外部lua脚本
            }
   }
}
如上配置后,浏览器请求图片验证。
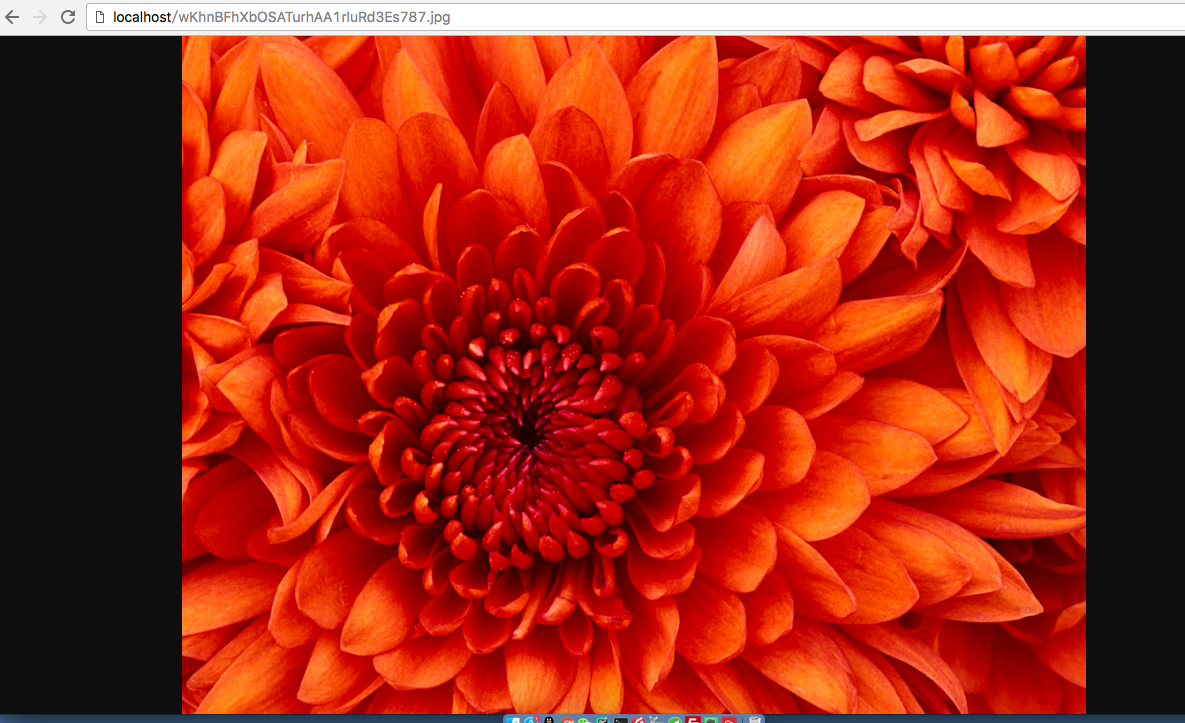
如http://localhost/1.jpg时,返回原图片:

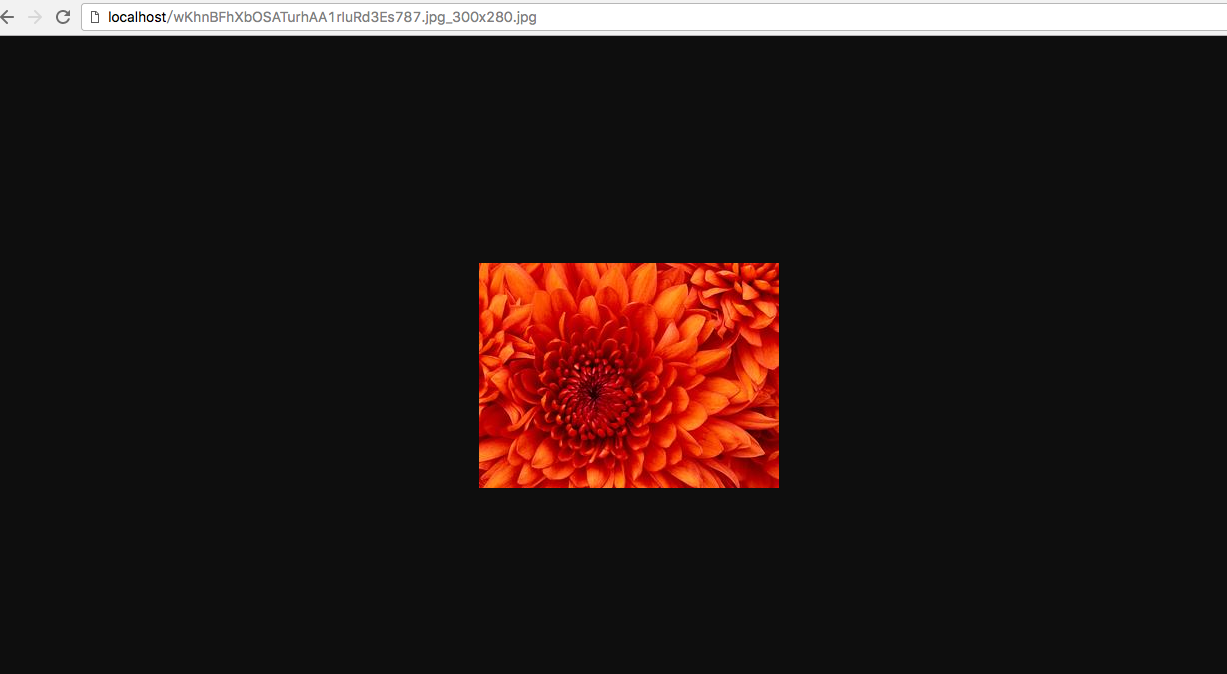
请求http://localhost/1.jpg_300x280.jpg时,就返回300x280大小的图片了:

参考文章:
标签:
Linux


【推荐】编程新体验,更懂你的AI,立即体验豆包MarsCode编程助手
【推荐】凌霞软件回馈社区,博客园 & 1Panel & Halo 联合会员上线
【推荐】抖音旗下AI助手豆包,你的智能百科全书,全免费不限次数
【推荐】博客园社区专享云产品让利特惠,阿里云新客6.5折上折
【推荐】轻量又高性能的 SSH 工具 IShell:AI 加持,快人一步
· 为什么说在企业级应用开发中,后端往往是效率杀手?
· 用 C# 插值字符串处理器写一个 sscanf
· Java 中堆内存和栈内存上的数据分布和特点
· 开发中对象命名的一点思考
· .NET Core内存结构体系(Windows环境)底层原理浅谈
· 为什么说在企业级应用开发中,后端往往是效率杀手?
· 本地部署DeepSeek后,没有好看的交互界面怎么行!
· DeepSeek 解答了困扰我五年的技术问题。时代确实变了!
· 趁着过年的时候手搓了一个低代码框架
· 推荐一个DeepSeek 大模型的免费 API 项目!兼容OpenAI接口!
2016-08-10 Django中的权限系统