

SpringBoot2.5.6 + Swagger2.9.2
Swagger
POM.xml
高版本的springboot需要做些调整。
    <parent>
        <groupId>org.springframework.boot</groupId>
        <artifactId>spring-boot-starter-parent</artifactId>
        <version>2.5.6</version>
        <relativePath/> <!-- lookup parent from repository -->
    </parent>

    <properties>
        <java.version>1.8</java.version>
    </properties>
    <dependencies>
        <dependency>
            <groupId>org.springframework.boot</groupId>
            <artifactId>spring-boot-starter-web</artifactId>
        </dependency>
        <dependency>
            <groupId>org.springframework.boot</groupId>
            <artifactId>spring-boot-devtools</artifactId>
            <scope>runtime</scope>
            <optional>true</optional>
        </dependency>
        <dependency>
            <groupId>org.springframework.boot</groupId>
            <artifactId>spring-boot-starter-tomcat</artifactId>
            <scope>provided</scope>
        </dependency>
        <dependency>
            <groupId>org.springframework.boot</groupId>
            <artifactId>spring-boot-starter-test</artifactId>
            <scope>test</scope>
        </dependency>

        <!--swagger-->
        <dependency>
            <groupId>io.springfox</groupId>
            <artifactId>springfox-swagger2</artifactId>
            <version>2.9.2</version>
        </dependency>
        <dependency>
            <groupId>io.springfox</groupId>
            <artifactId>springfox-swagger-ui</artifactId>
            <version>2.9.2</version>
        </dependency>

    </dependencies>
启用swagger
启动器上新增@EnableSwagger2注解。
@SpringBootApplication
@EnableSwagger2
public class SwaggerApplication {
    public static void main(String[] args) {
        SpringApplication.run(SwaggerApplication.class, args);
    }
}
写一个测试Controller
package com.autumn.controller;

import io.swagger.annotations.Api;
import io.swagger.annotations.ApiOperation;
import org.springframework.web.bind.annotation.*;

@RestController
@RequestMapping("/user")
@Api(value = "用户api", tags = "权限api")
public class UserController {

    @PostMapping("/add")
    @ResponseBody
    @ApiOperation(value = "添加信息")
    private String add(){
        return true?"数据新增":"数据新增失败";
    }


    @GetMapping("/delete")
    @ResponseBody
    private String delete(){
        return false?"数据删除成功":"数据删除失败";
    }

    @GetMapping("/update")
    @ResponseBody
    private String update(){
        return true?"数据更新成功":"数据更新失败";
    }

    @GetMapping("/query")
    @ResponseBody
    private String query(){
        return "获取列表!";
    }

}
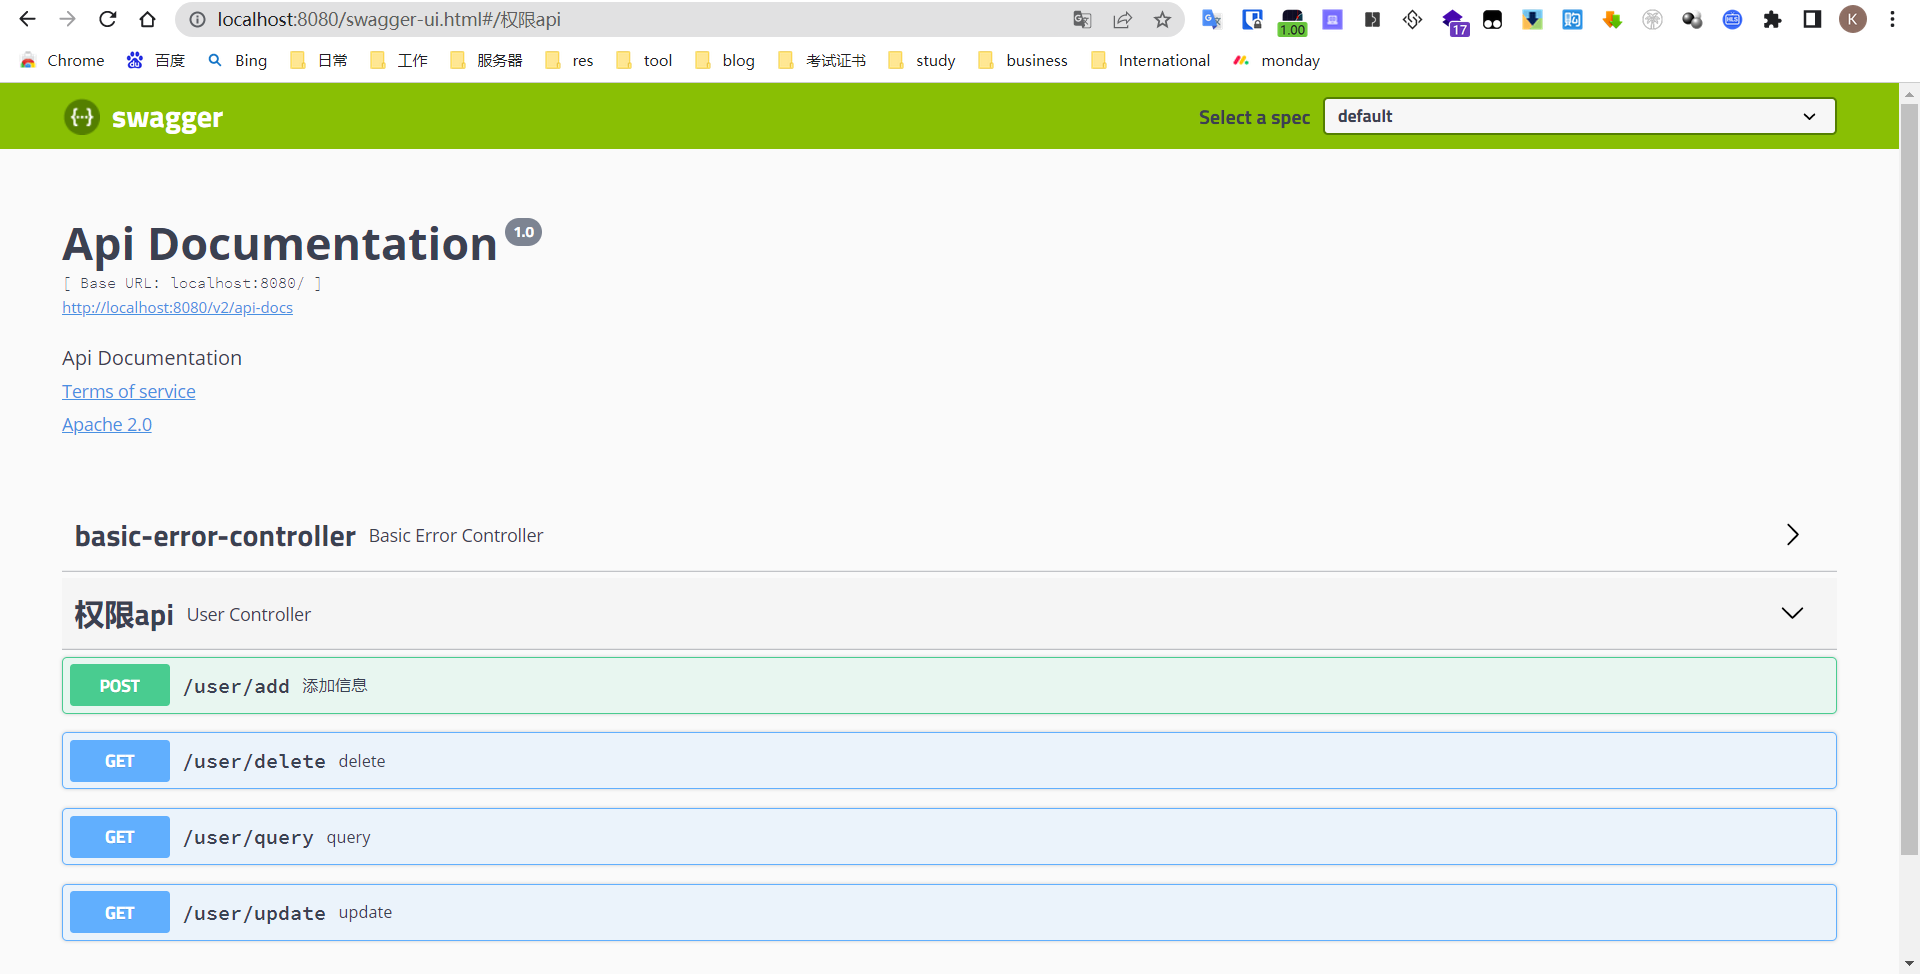
访问swagger
这样是最简单的swagger使用方式,只需要引用坐标,然后使用注解就可以了。
http://localhost:8080/swagger-ui.html
配置Swagger
SwaggerConfig.java中使用@EnableSwagger2注解后,SpringBootApplication就可以把@EnableSwagger2注解去掉了。
SwaggerConfig.java
package com.autumn.swagger;

import io.swagger.annotations.ApiOperation;
import org.springframework.beans.factory.annotation.Value;
import org.springframework.context.annotation.Bean;
import org.springframework.context.annotation.Configuration;
import springfox.documentation.builders.ApiInfoBuilder;
import springfox.documentation.builders.PathSelectors;
import springfox.documentation.builders.RequestHandlerSelectors;
import springfox.documentation.service.ApiInfo;
import springfox.documentation.service.Contact;
import springfox.documentation.spi.DocumentationType;
import springfox.documentation.spring.web.plugins.Docket;
import springfox.documentation.swagger2.annotations.EnableSwagger2;

@EnableSwagger2
@Configuration
public class SwaggerConfig {

    // Boolean 优于 boolean (必须要存在该配置项,否则启动报错)
    @Value("${swagger.enable}")
    private Boolean enable;

    @Bean
    public Docket createRestApi() {
        //swagger设置,基本信息,要解析的接口及路径等
        return new Docket(DocumentationType.SWAGGER_2)
                .enable(enable)
                .apiInfo(apiInfo())
                .select()
                //设置通过什么方式定位需要自动生成文档的接口,这里定位方法上的@ApiOperation注解
                .apis(RequestHandlerSelectors.withMethodAnnotation(ApiOperation.class))
                //接口URI路径设置,any是全路径,也可以通过PathSelectors.regex()正则匹配
                .paths(PathSelectors.any())
                .build();
    }

    //生成接口信息,包括标题、联系人,联系方式等
    private ApiInfo apiInfo() {
        return new ApiInfoBuilder()
                .title("Swagger2接口文档")
                .description("如有疑问,请联系开发工程师")
                .contact(new Contact("autumn", "https://www.cnblogs.com/aeolian/", ""))
                .version("1.0")
                .build();
    }
}
application.properties
swagger.enable=true
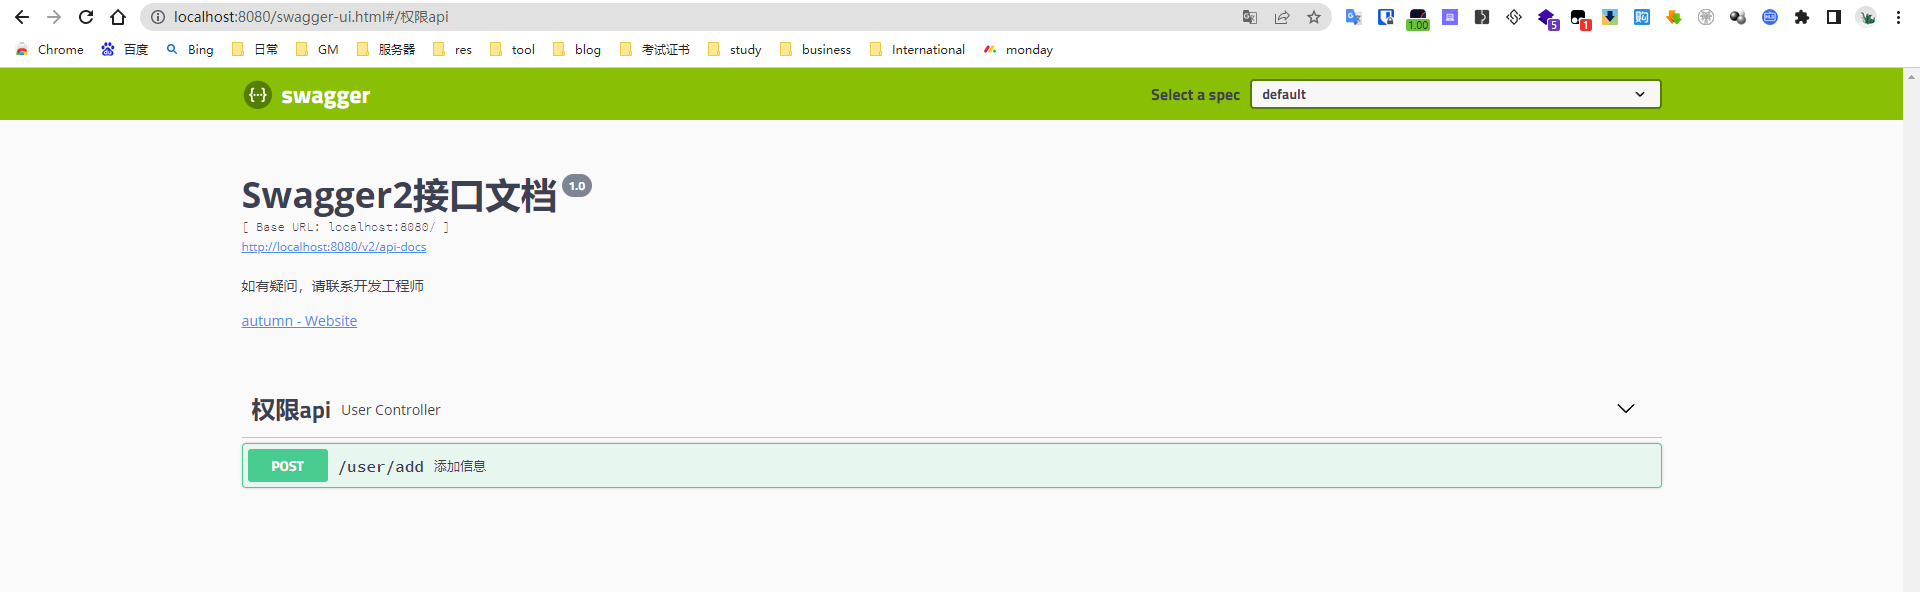
访问swagger
这样是最简单的swagger使用方式,只需要引用坐标,然后使用注解就可以了。
http://localhost:8080/swagger-ui.html
SwaggerConfig起作用,只有一个使用了ApiOperation注解的接口显示出来。
其他样式
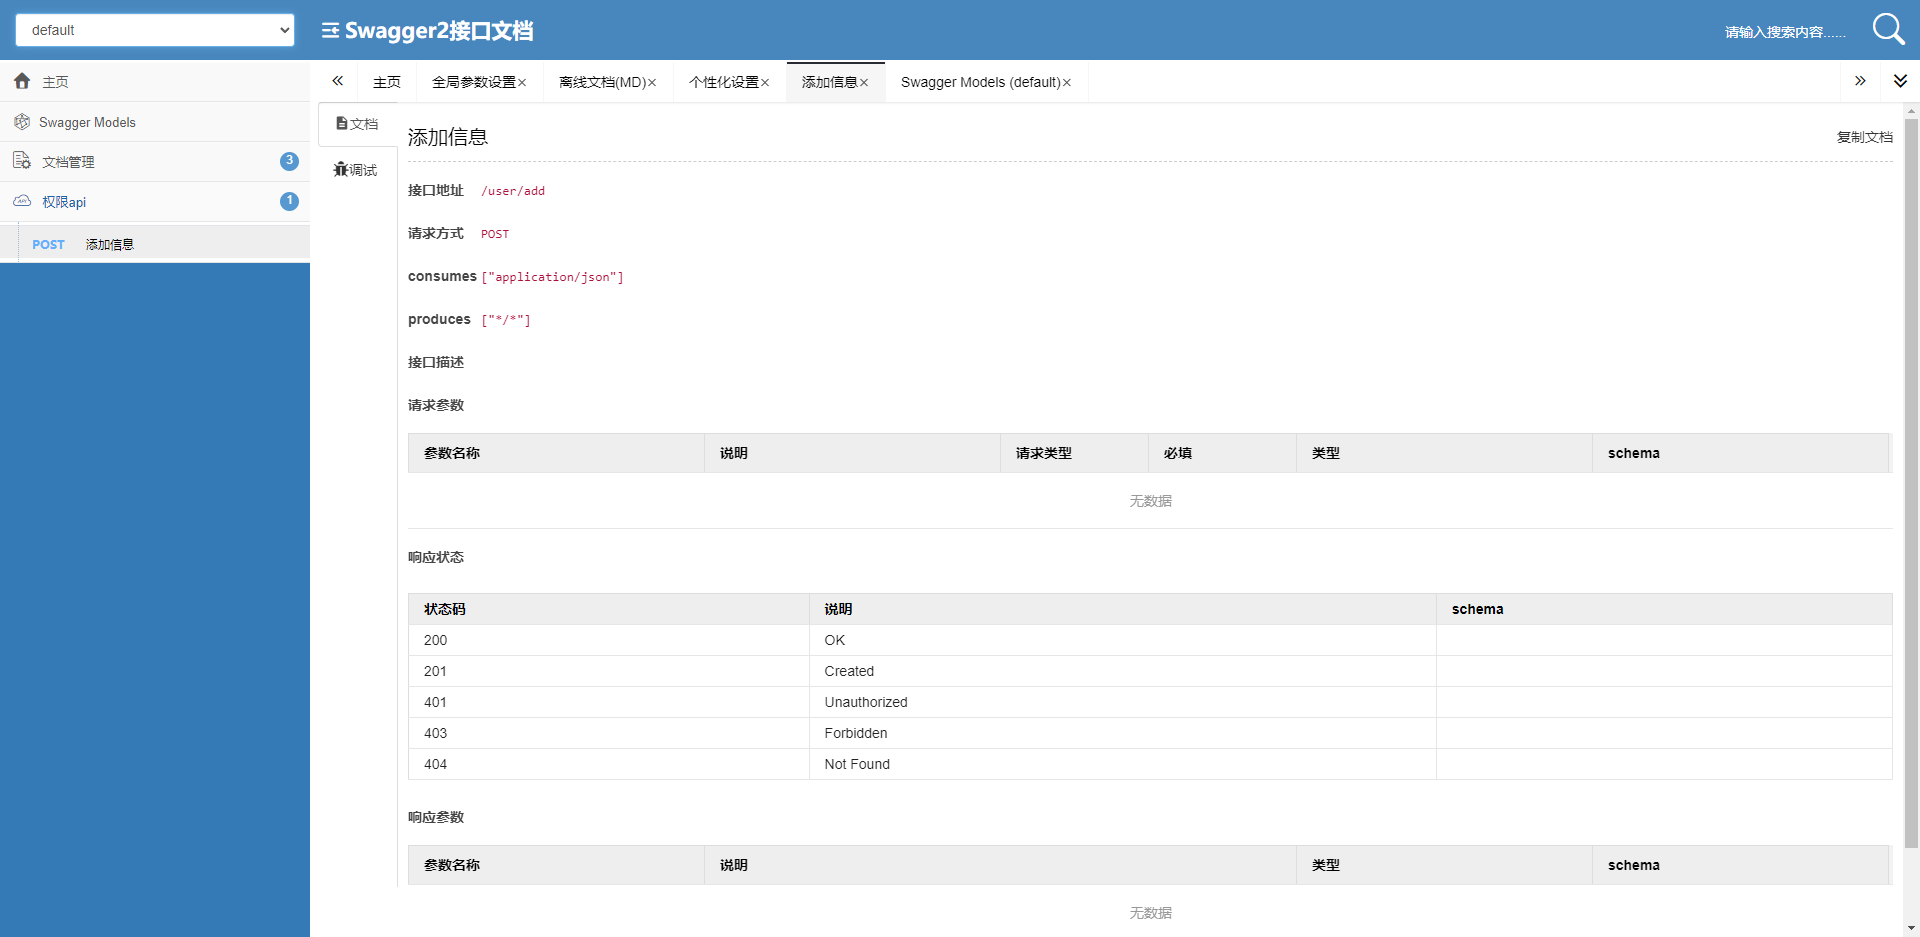
bootstrap-ui(推荐)
<!-- 引入swagger-bootstrap-ui包 /doc.html-->
<dependency>
   <groupId>com.github.xiaoymin</groupId>
   <artifactId>swagger-bootstrap-ui</artifactId>
   <version>1.9.1</version>
</dependency>
http://localhost:8080/doc.html
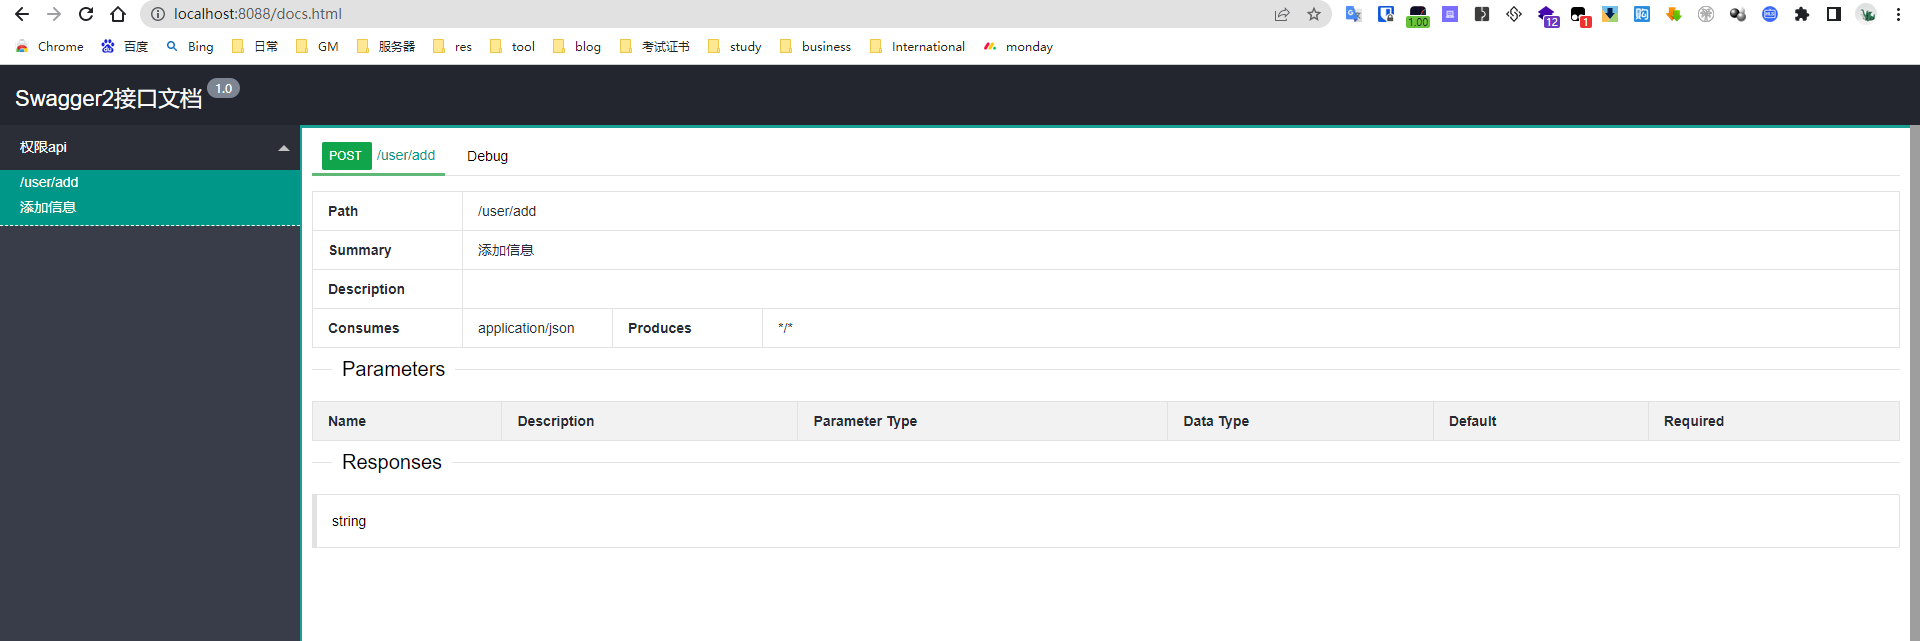
Layui-ui
<!-- 引入swagger-ui-layer包 /docs.html-->
<dependency>
   <groupId>com.github.caspar-chen</groupId>
   <artifactId>swagger-ui-layer</artifactId>
   <version>1.1.3</version>
</dependency>
http://localhost:8080/docs.html
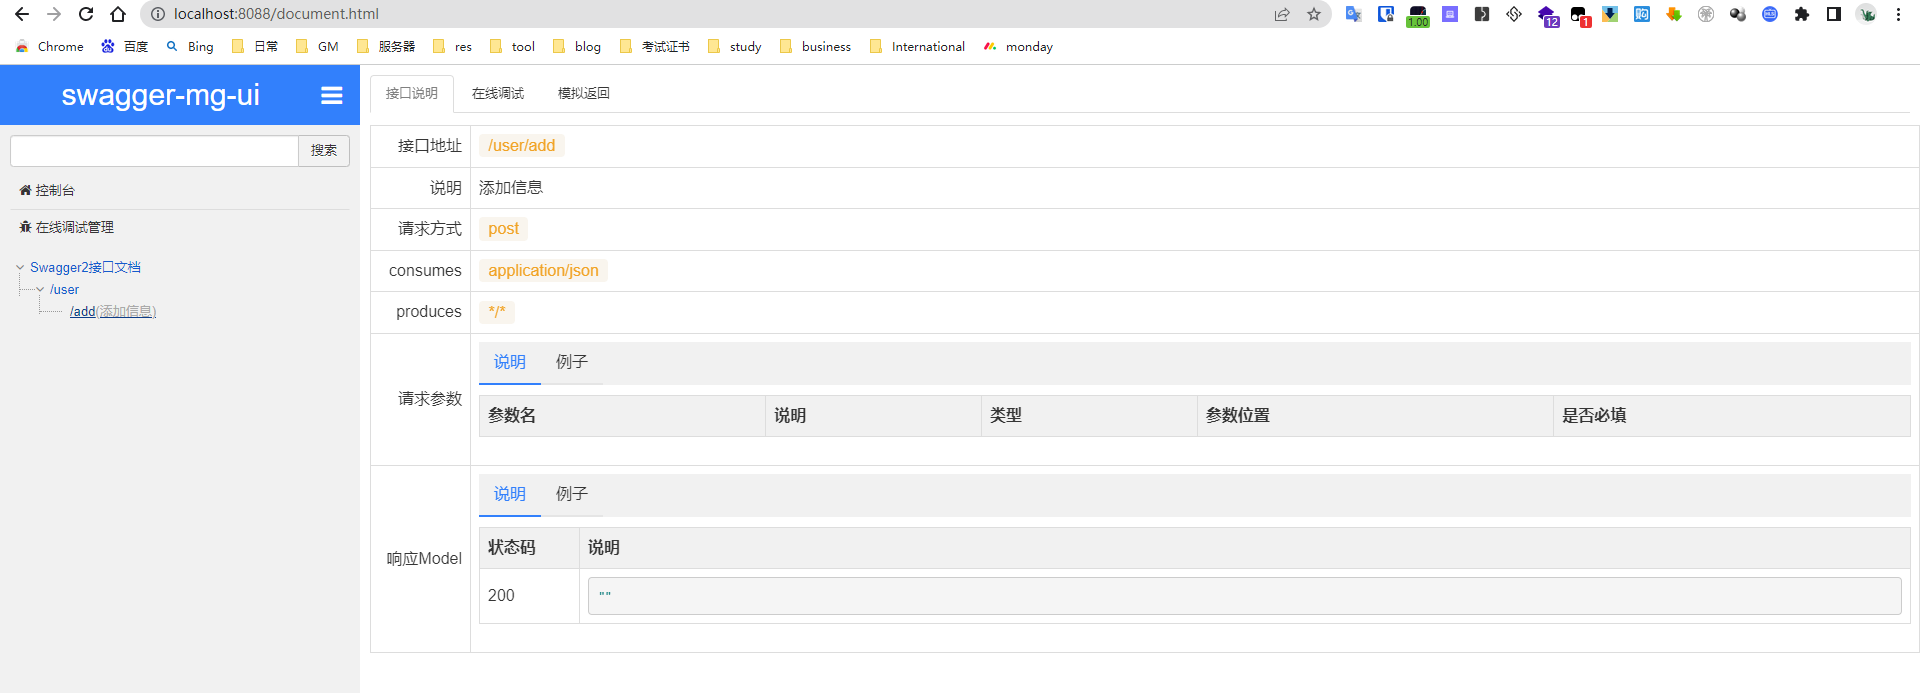
mg-ui
<!-- 引入swagger-ui-layer包 /document.html-->
<dependency>
   <groupId>com.zyplayer</groupId>
   <artifactId>swagger-mg-ui</artifactId>
   <version>1.0.6</version>
</dependency>
http://localhost:8080/document.html
其他问题
SpringBoot2.6.X
如果使用高版本springboot2.6.2,需要在application.properties再加一个配置
spring.mvc.pathmatch.matching-strategy=ant_path_matcher
No mapping for GET /swagger-ui.html
请求http://localhost:8080/swagger-ui.html ,后显示404,后台显示No mapping for GET /swagger-ui.html,原因是项目中有配置注解类(@Configuration)继承了WebMvcConfigurationSupport,导致默认的Swagger静态资源被覆盖,而缺失了配置。
在该继承了WebMvcConfigurationSupport的配置类中添加如下内容即可。
@Override
public void addResourceHandlers(ResourceHandlerRegistry registry) {
    registry.addResourceHandler("doc.html")
            .addResourceLocations("classpath:/META-INF/resources/");
    registry.addResourceHandler("swagger-ui.html")
            .addResourceLocations("classpath:/META-INF/resources/");
    registry.addResourceHandler("/webjars/**")
            .addResourceLocations("classpath:/META-INF/resources/webjars/");
}
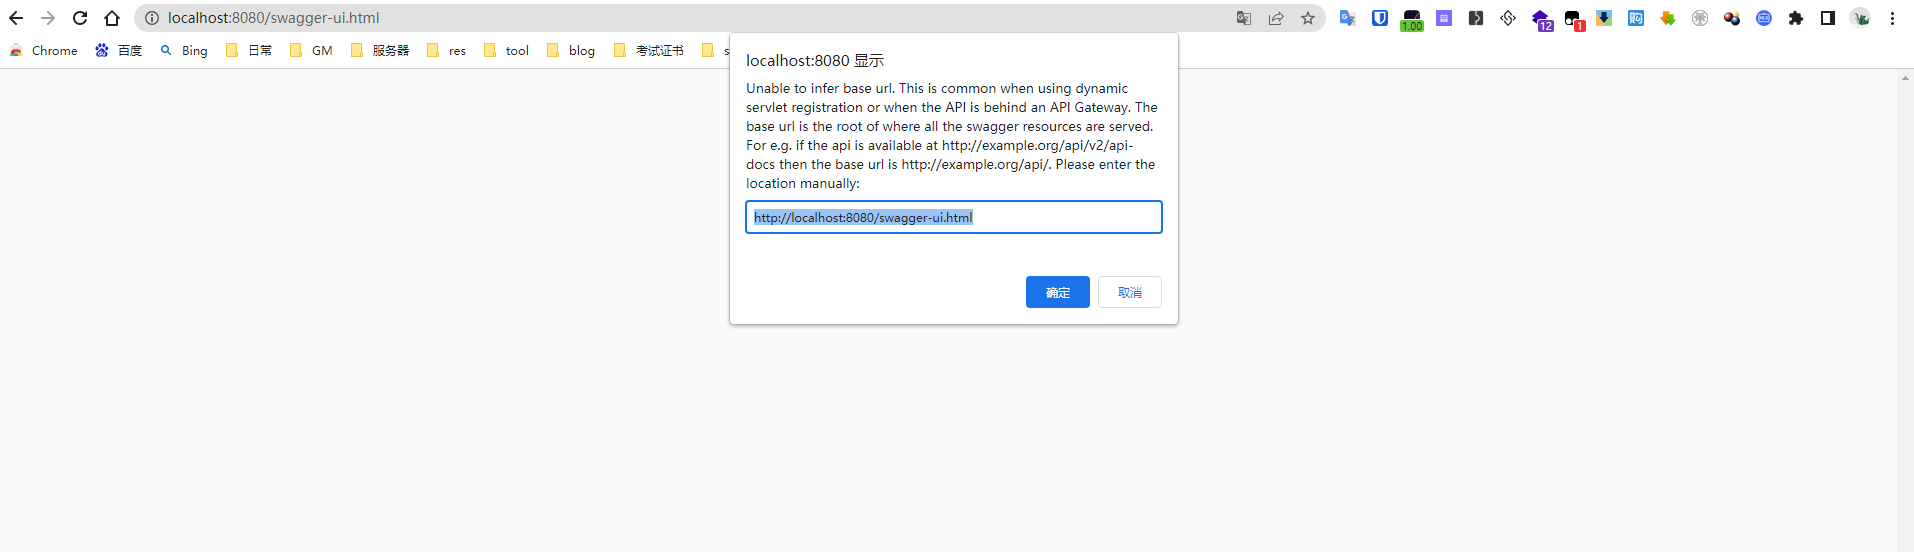
访问弹框
http://localhost:8080/swagger-ui.html
访问后弹框
Unable to infer base url. This is common when using dynamic servlet registration or when the API is behind an API Gateway. The base url is the root of where all the swagger resources are served.
后台显示
No mapping for GET /null/swagger-resources
No mapping for GET /null/swagger-resources/configuration/ui
No mapping for GET /null/swagger-resources/configuration/security
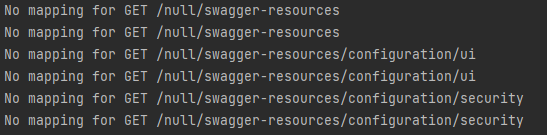
原因分析,登录shiroconfig权限配置那里没有放开。
/*swagger放行*///放行Swagger2页面,需要放行这些
filterChain.put("/swagger-ui.html","anon");
filterChain.put("/swagger/**","anon");
filterChain.put("/webjars/**", "anon");
filterChain.put("/swagger-resources/**","anon");
filterChain.put("/v2/**","anon");
filterChain.put("/static/**", "anon");
添加后还是不行,最后发现居然是filterChainDefinitionMap实例化是用了无序的HashMap(最后一条/** 跑到前面来了,所有请求就先匹配了这个),改为有序的LinkedHashMap就好了。
HashMap<String,String> filterChainDefinitionMap = new LinkedHashMap<>();


 浙公网安备 33010602011771号