
nexus-2.14.2-01-bundle构建maven私服
一、下载nexus
地址:https://sonatype-download.global.ssl.fastly.net/nexus/oss/nexus-2.14.2-01-bundle.zip
二、启动服务
解压nexus-2.14.2-01-bundle.zip
在bin/jsw下有不同的版本,这里我选择window 64位操作系统的版本。
console-nexus.bat 是以命令窗口的形式启动,关闭后服务停止
install-nexus.bat 是设置开机启动,在服务中可以看成到该服务为开机自动启动(推荐使用这种方式启动)
stop-nexus.bat 是停止服务
uninstall-nexus.bat 是卸载nexus

三、服务配置
启动后输入:http://localhost:8081/nexus 进入在右上角Login登录,初始用户名:admin 密码:admin123
1、修改登录密码

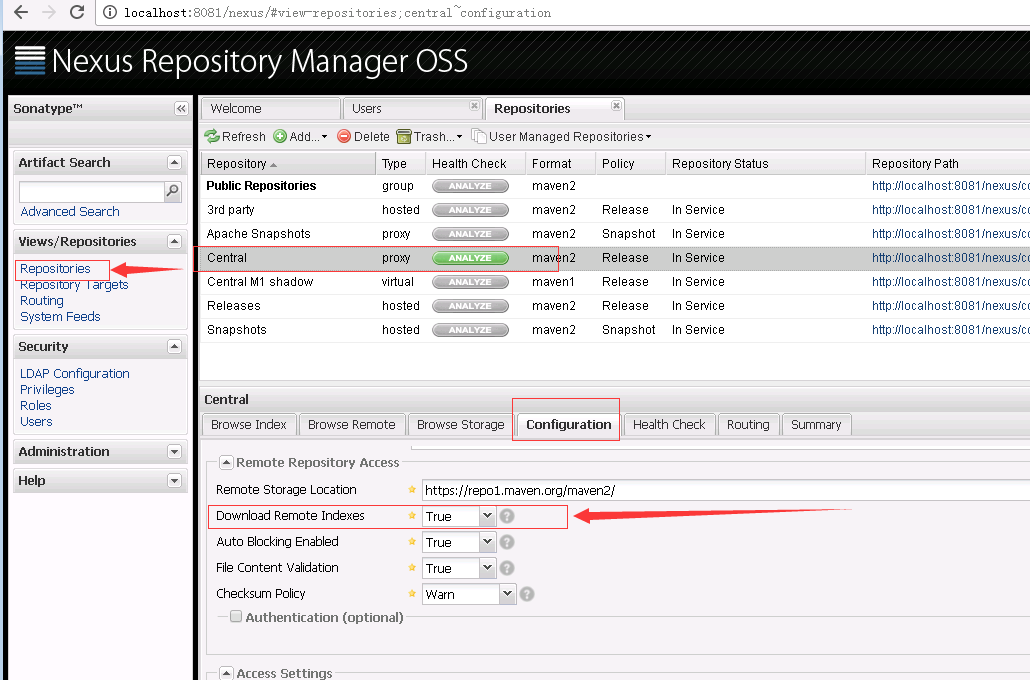
2、配置参数,将Download Remote Indexes 设置为true
3、添加第三方jar包
3.1、选择和填写参数(groupId、artifactId、version)都要填写

3.2、选择上传的jar包

三、项目调用方法
1、配置maven的settings.xml文件
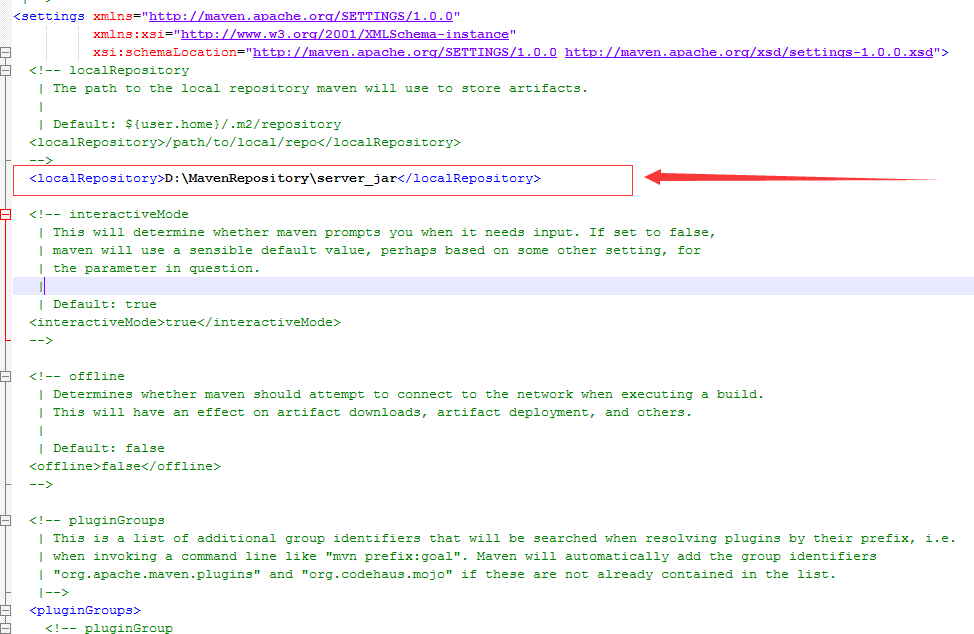
1.1、设置jar包保存的本地目录(我设置的是D盘)
<localRepository>D:\MavenRepository\server_jar</localRepository>
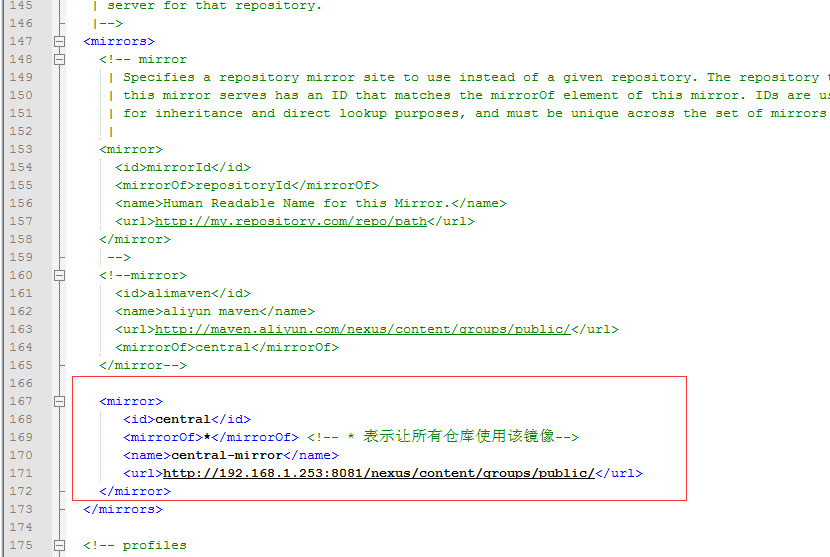
1.2、设置私服地址
<mirror>
       <id>central</id>
       <mirrorOf>*</mirrorOf> <!-- * 表示让所有仓库使用该镜像-->
       <name>central-mirror</name>
       <url>http://192.168.1.253:8081/nexus/content/groups/public/</url>
</mirror>
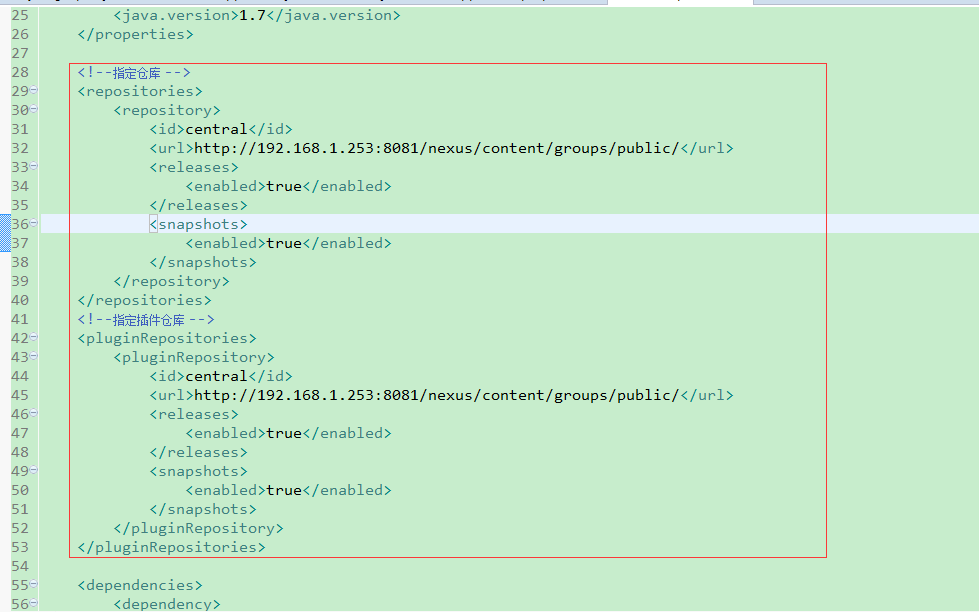
1.3在maven项目的POM.xml文件中增加配置
<!--指定仓库 -->
    <repositories>
        <repository>
            <id>central</id>
            <url>http://192.168.1.253:8081/nexus/content/groups/public/</url>
            <releases>
                <enabled>true</enabled>
            </releases>
            <snapshots>
                <enabled>true</enabled>
            </snapshots>
        </repository>
    </repositories>
    <!--指定插件仓库 -->
    <pluginRepositories>
        <pluginRepository>
            <id>central</id>
            <url>http://192.168.1.253:8081/nexus/content/groups/public/</url>
            <releases>
                <enabled>true</enabled>
            </releases>
            <snapshots>
                <enabled>true</enabled>
            </snapshots>
        </pluginRepository>
    </pluginRepositories>
多看一行书,就少写一行代码,记录点滴,用心生活。

 浙公网安备 33010602011771号