
scrapy实现异步下载zcool网站图片
任务目标: 下载“编辑精选”下所有页面所有文章内的图片,保存到指定文件夹
打开zcool主页,点击“发现”,出现“编辑精选”标签,下载该标签下所有页面所有文章内的图片。
通过查看翻页url以及文章详情url发现,这两个url都符合一定的规则,且都可以在网页源代码中找到,因此选择scrapy的CrawlSpider进行数据爬取。
翻页url格式: https://www.zcool.com.cn/discover/0!0!0!0!0!!!!2!0!3 最后一位数字3表示“编辑精选”的第三页,改为其他数字即表示其他页
文章详情url: https://www.zcool.com.cn/work/ZNDg4OTExNTI=.html ZNDg4OTExNTI=表示文章的代号,不同文章之间只有这一部分不一样
实现步骤:
第一步:新建scrapy项目及对应爬虫文件
在想要创建项目的文件夹下 shift + 鼠标右键,点击在此处打开命令窗口,新建一个scrapy项目zcoolImagesDownload: scrapy startproject zcoolImagesDownload
进入zcoolImagesDownload目录下: cd zcoolImagesDownload
新建爬虫文件zcolSpider.py: scrapy genspider -t crawl zcolSpider www.zcool.com.cn
第二步:编写url爬取规则,编写图片下载规则
scrapy框架有自己的一套图片下载处理规则:
- 在items.py中定义两个字段,images和image_urls,images字段由scrapy自动处理,image_urls用来存储图片的链接,是需要在爬虫文件中添加的
- 使用scrapy.pipelines.images.ImagesPipeline作为数据保存的pipeline
- 在settings.py中定义IMAGES_STORE来定义图片下载的路径
- 如果有复杂的图片路径需求,可以重写ImagePipeline的file_path方法,这个方法用来返回每个图片的保存路径
由以上规则进行代码的编写,首先是items.py:
import scrapy

class ZcoolimagesdownloadItem(scrapy.Item):
    images = scrapy.Field()
    image_urls = scrapy.Field()
    title = scrapy.Field()
settings.py
import os

ROBOTSTXT_OBEY = False
DEFAULT_REQUEST_HEADERS = {
  'Accept': 'text/html,application/xhtml+xml,application/xml;q=0.9,*/*;q=0.8',
  'Accept-Language': 'en',
  'User-Agent': 'Mozilla/5.0 (Windows NT 6.1; Win64; x64) AppleWebKit/537.36 (KHTML, like Gecko) Chrome/85.0.4183.121 Safari/537.36'
}

IMAGES_STORE = os.path.join(os.path.dirname(__file__), 'images')
ITEM_PIPELINES = {
   'scrapy.pipelines.images.ImagesPipeline': 1
}
再根据翻页和文章详情的url格式以及分析文章详情页图片url信息后编写 zcolSpider.py:
# -*- coding: utf-8 -*-
from scrapy.spiders import CrawlSpider, Rule
from scrapy.linkextractors import LinkExtractor
from ..items import ZcoolimagesdownloadItem


class ZcolspiderSpider(CrawlSpider):
    name = 'zcolSpider'
    allowed_domains = ['zcool.com.cn']
    start_urls = ['https://www.zcool.com.cn/discover/0!0!0!0!0!!!!2!0!1']

    rules = (
        Rule(LinkExtractor(allow=r'.+0!0!0!0!0!!!!2!0!\d+'), follow=True),
        Rule(LinkExtractor(allow=r'.+/work/.+html'), callback='parse_detail', follow=False)
    )

    def parse_detail(self, response):
        zitem = ZcoolimagesdownloadItem()
        zitem['image_urls'] = response.xpath('//div[@class="photo-information-content"]/img/@src').getall()
        zitem['title'] = "".join(response.xpath('//div[@class="details-contitle-box"]/h2/text()').getall()).strip()
        return zitem
第三步:优化存储路径,编写pipelines.py
项目到现在已经可以成功运行并保存图片了,但所有的图片均保存在images文件夹下的full文件夹下,我们无法得知哪一部分图片出自同一篇文章,也不知道图片想要展现的主题或内容是什么,因此需要重写ImagePipeline的file_path方法,来更改每一篇文章下的图片保存路径,使每一篇文章都有一个该标题命名的文件夹,文件夹内保存该文章下的所有图片,所有的文件夹都保存在images文件夹下,这样条理才会更加清晰。
代码实现pipelines.py
import os
import re
from zcoolImagesDownload import settings
from scrapy.pipelines.images import ImagesPipeline


class ZcoolimagesdownloadPipeline(ImagesPipeline):

    def get_media_requests(self, item, info):
        media_requests = super(ZcoolimagesdownloadPipeline, self).get_media_requests(item, info)
        for media_request in media_requests:
            media_request.item = item
        return media_requests

    def file_path(self, request, response=None, info=None):
        origin_path = super(ZcoolimagesdownloadPipeline, self).file_path(request, response, info)
        base_path = settings.IMAGES_STORE
        title = re.sub(r'[/\\:\*\?<>\|"]', '', request.item['title'])
        images_path = os.path.join(base_path, title)
        print('origin_path: {}\nbase_path: {}\nimages_path: {}\n'.format(origin_path, base_path, images_path))
        if not os.path.exists(images_path):
            os.mkdir(images_path)
        img_name = origin_path.replace('full/', '')
        return '{}/{}'.format(images_path, img_name)
在上述代码中除了重写file_path外,还重写了get_media_requests,因为在file_path中我们想要获取到item中的title属性值,用来命名文件夹,而file_path并没有传item进来,只传了一个request进来,所以需要将item绑定到request上,查看ImagesPipeline源代码可知,get_media_requests方法传入了item并返回了request列表,所以可以通过此方法将item绑定到request上,方便在file_path中使用。
查看源代码中的file_path可知,函数返回的是'full/%s.jpg' % (image_guid),即 full/图片名称,full指图片保存的文件夹,在源代码中被写死为full
因此我们想要保存到以item中的title命名的文件夹,图片名称不变,就可以使用上面代码的方式。由于命名文件夹时不能出现 /\😗?<>|" 这些字符,因此在代码中也对title进行了一些处理。
不要忘记在settings.py中修改pipeline的配置:
ITEM_PIPELINES = {
   'zcoolImagesDownload.pipelines.ZcoolimagesdownloadPipeline': 300,
   #  'scrapy.pipelines.images.ImagesPipeline': 1
}
第四步:编写主文件main.py,运行程序,查看结果
编写爬虫运行程序main.py:
from scrapy import cmdline

cmdline.execute('scrapy crawl zcolSpider'.split())
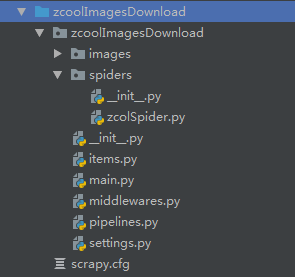
项目目录层级结构如下:
运行结果如下:
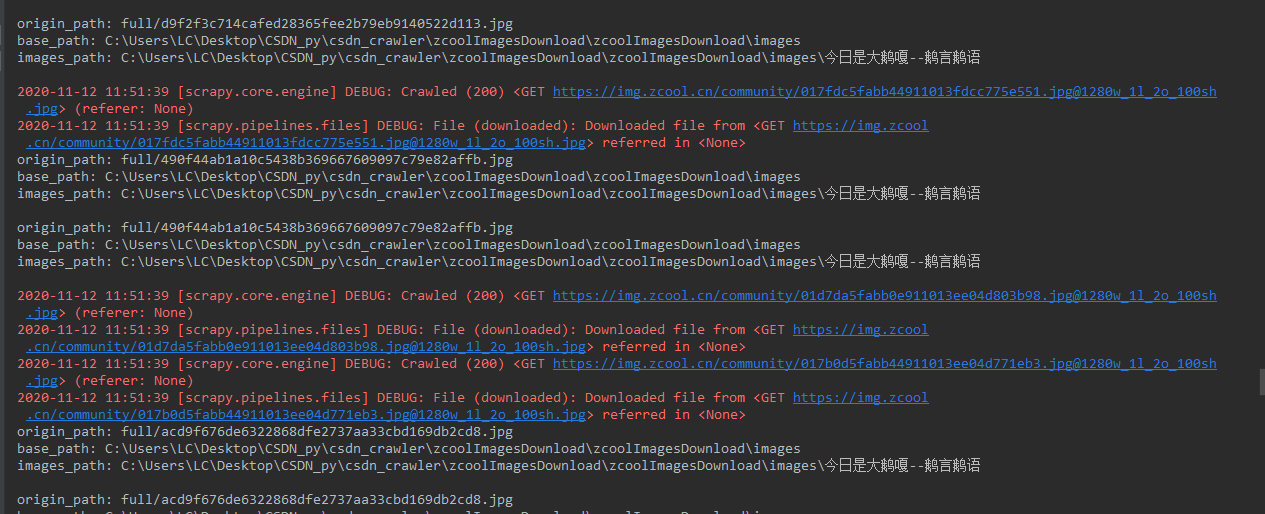
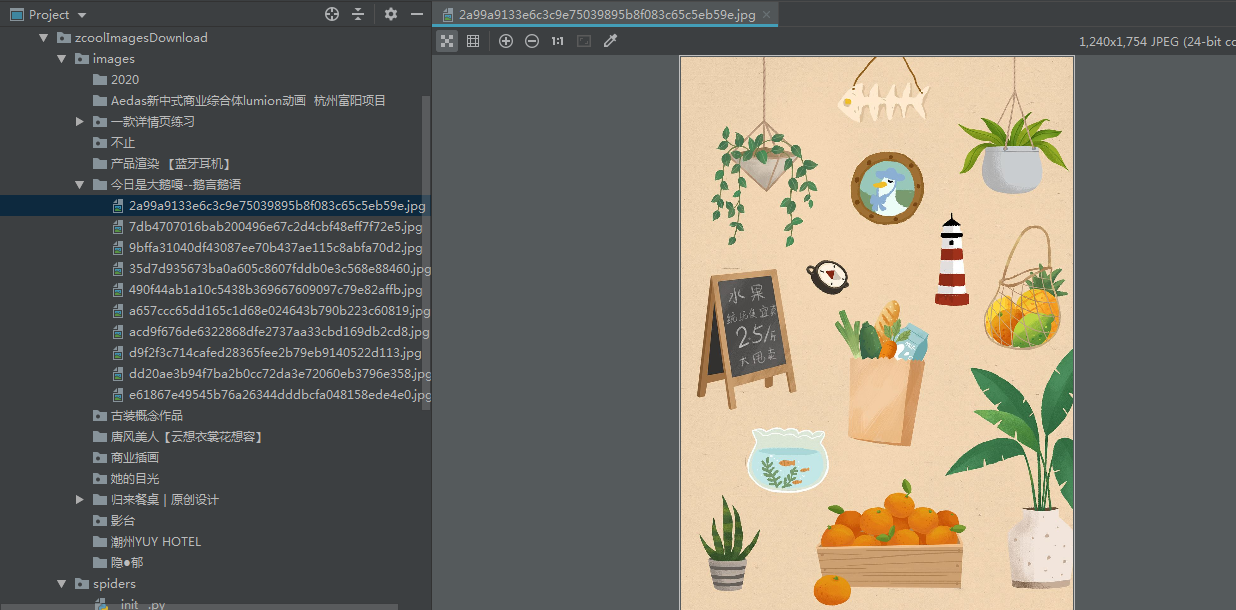
可以看到,成功抓取到了图片数据,且成功的按照我们想要的路径保存。


【推荐】国内首个AI IDE,深度理解中文开发场景,立即下载体验Trae
【推荐】编程新体验,更懂你的AI,立即体验豆包MarsCode编程助手
【推荐】抖音旗下AI助手豆包,你的智能百科全书,全免费不限次数
【推荐】轻量又高性能的 SSH 工具 IShell:AI 加持,快人一步
· 如何编写易于单元测试的代码
· 10年+ .NET Coder 心语,封装的思维:从隐藏、稳定开始理解其本质意义
· .NET Core 中如何实现缓存的预热?
· 从 HTTP 原因短语缺失研究 HTTP/2 和 HTTP/3 的设计差异
· AI与.NET技术实操系列:向量存储与相似性搜索在 .NET 中的实现
· 地球OL攻略 —— 某应届生求职总结
· 周边上新:园子的第一款马克杯温暖上架
· Open-Sora 2.0 重磅开源!
· 提示词工程——AI应用必不可少的技术
· .NET周刊【3月第1期 2025-03-02】