
从零开始学生信-基本环境配置
【登录集群】上一篇已经讲述了怎么自己搭建一个新的集群。
【配置集群环境】现在所处的是一个什么也没有的集群环境。
apt install git # 下载git
cd #进入home目录
git clone https://github.com/Yuan-SW-F/home.git # 下载配置文件
apt install vim # 安装vim (没想到vim系统都不自带)
cd home; cp .bash_profile .bashrc .dir_colors .vimrc ..; cd .. # 将配置文件拷贝至home目录
source .bashrc # 激活环境
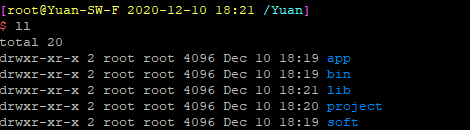
规划目录,新建5个文件:
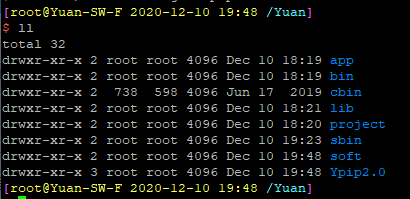
下载常用工具:
wget https://github.com/Yuan-SW-F/ComBin/raw/main/locbin.tar.gz
tar zxvf locbin.tar.gz
mv locbin cbin
mkdir $Ypip; cd $Ypip
git clone https://github.com/Yuan-SW-F/Ybin.git
将其中的sbin.tar.gz文件解压到Yuan
安装conda
为了节省空间,这里安装miniconda:https://docs.conda.io/en/latest/miniconda.html
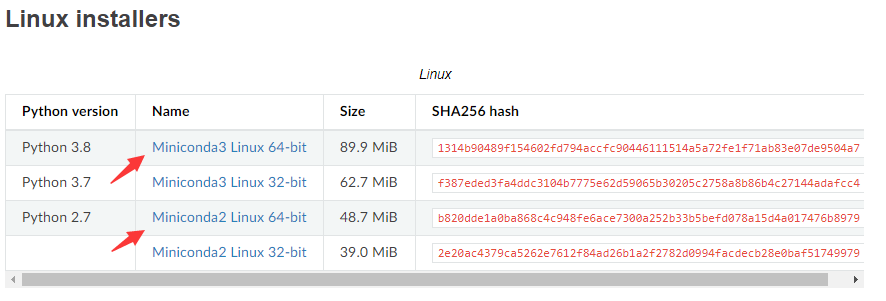
两个都要。
wget https://repo.anaconda.com/miniconda/Miniconda2-latest-Linux-x86_64.sh
wget https://repo.anaconda.com/miniconda/Miniconda3-latest-Linux-x86_64.sh

sh Miniconda2-latest-Linux-x86_64.sh
更改安装目录为/Yuan/app/miniconda2
conda3同理,/Yuan/app/miniconda3。

最后选no。

默认为conda3,如果不用的话可以在~/.bashrc中将conda3注释掉。

添加镜像源:
conda config --add channels https://mirrors.tuna.tsinghua.edu.cn/anaconda/pkgs/free/
conda config --add channels https://mirrors.tuna.tsinghua.edu.cn/anaconda/pkgs/main/
conda config --add channels https://mirrors.tuna.tsinghua.edu.cn/anaconda/cloud/bioconda/ # 必须配置
conda config --add channels https://mirrors.tuna.tsinghua.edu.cn/anaconda/cloud/conda-forge/
conda config --add channels https://mirrors.tuna.tsinghua.edu.cn/anaconda/cloud/msys2/
conda config --add channels https://mirrors.tuna.tsinghua.edu.cn/anaconda/cloud/menpo/
conda config --add channels https://mirrors.tuna.tsinghua.edu.cn/anaconda/cloud/pytorch/
conda config --set show_channel_urls yes
至此,集群的基本配置安装完成。
以上,
abyss

posted on 2020-12-11 11:51 Yuan-SW-F(abysw) 阅读(390) 评论(0) 收藏 举报

 浙公网安备 33010602011771号