springboot 把图片上传到七牛云上并且取得外链存入到数据库内
1:添加依赖
在porm.xml上添加七牛云的依赖
    <!-- 七牛云 -->
        <dependency>
            <groupId>com.qiniu</groupId>
            <artifactId>qiniu-java-sdk</artifactId>
            <version>[7.2.0, 7.2.99]</version>
        </dependency>
2:在controller上把uptoken获取好
@RequestMapping("/openAddCompany")
    public ModelAndView openAddCompany(){
        ModelAndView mv=new ModelAndView();
        String accessKey = "accessKey ";
        String secretKey = " secretKey";
        String bucket = "bucket";
        Auth auth = Auth.create(accessKey, secretKey);
        String upToken = auth.uploadToken(bucket);
        mv.addObject("upToken",upToken);
        mv.setViewName("/addcompany.btl");
        return mv;
    }
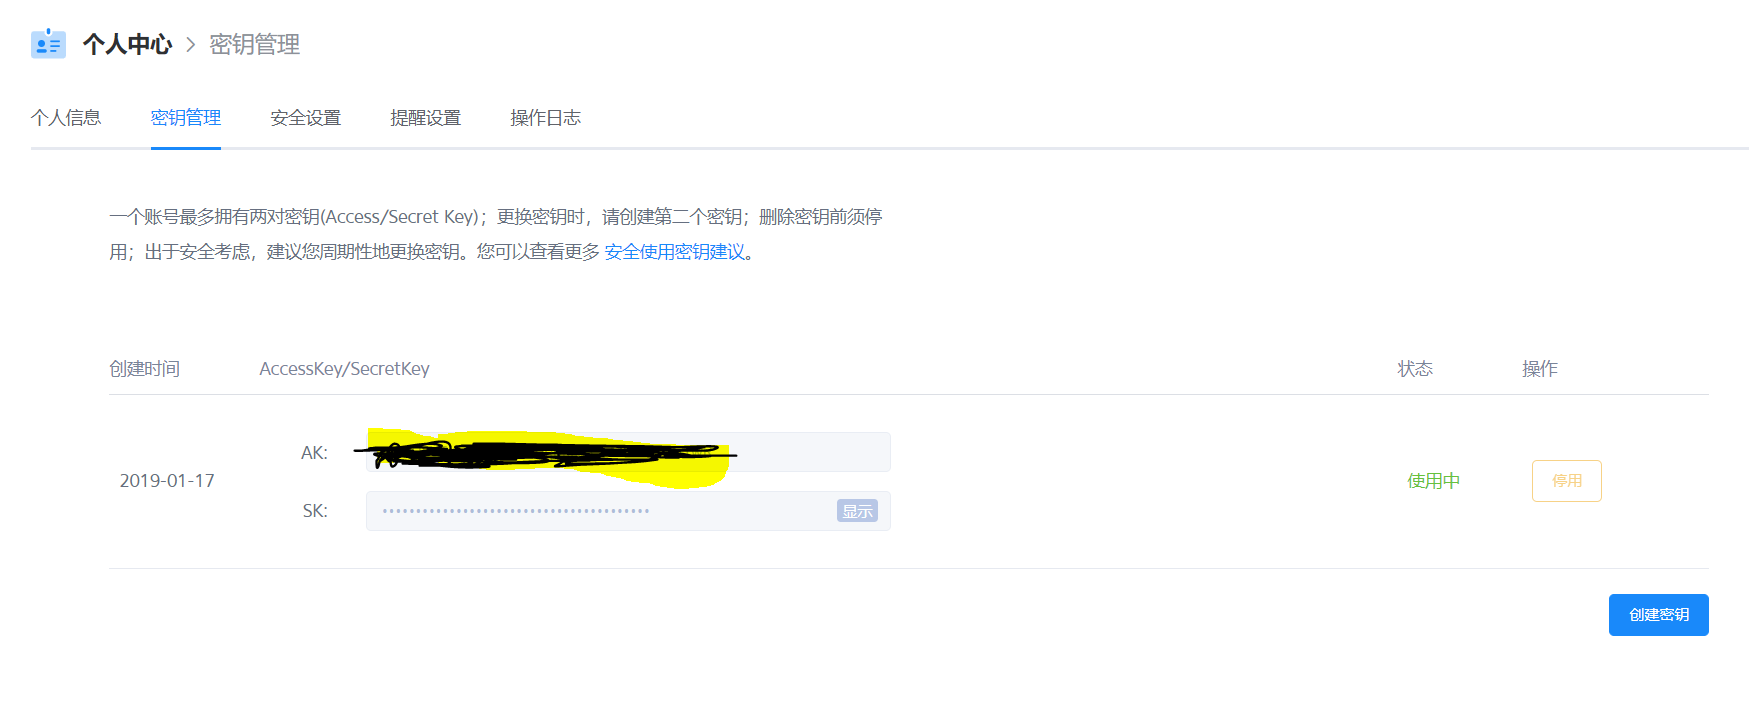
accessKey 和secretKey都可以在密钥管理中获得

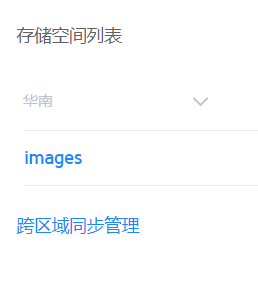
bucket 就是你存储的空间名称


3:前端获取token以后就行传输,有多种方式可以参考七牛云的文档:https://developer.qiniu.com/kodo/manual/1234/upload-types
我用的是js异步上传:可以参考:http://jsfiddle.net/gh/get/jquery/1.9.1/icattlecoder/jsfiddle/tree/master/ajaxupload
我的代码
function sentPhoto(){
              var Qiniu_UploadUrl = "http://upload-z2.qiniup.com";
              //普通上传
              var Qiniu_upload = function(f, token, key) {
                  var xhr = new XMLHttpRequest();
                  xhr.open('POST', Qiniu_UploadUrl, true);
                  var formData, startDate;
                  formData = new FormData();
                  if (key !== null && key !== undefined) formData.append('key', key);
                  formData.append('token', token);
                  formData.append('file', f);
                  var taking;
                  xhr.upload.addEventListener("progress", function(evt) {
                      if (evt.lengthComputable) {
                          var nowDate = new Date().getTime();
                          taking = nowDate - startDate;
                          var x = (evt.loaded) / 1024;
                          var y = taking / 1000;
                          var uploadSpeed = (x / y);
                          var formatSpeed;
                          if (uploadSpeed > 1024) {
                              formatSpeed = (uploadSpeed / 1024).toFixed(2) + "Mb\/s";
                          } else {
                              formatSpeed = uploadSpeed.toFixed(2) + "Kb\/s";
                          }
                          var percentComplete = Math.round(evt.loaded * 100 / evt.total);
                          // progressbar.progressbar("value", percentComplete);
                          // console && console.log(percentComplete, ",", formatSpeed);
                      }
                  }, false);

                  xhr.onreadystatechange = function(response) {
                      if (xhr.readyState == 4 && xhr.status == 200 && xhr.responseText != "") {
                          var blkRet = JSON.parse(xhr.responseText);
                          document.getElementById("companylogo").value=blkRet.key;
                          console && console.log(blkRet);
                      } else if (xhr.status != 200 && xhr.responseText) {

                      }
                  };
                  startDate = new Date().getTime();

                  xhr.send(formData);
              };
              var token = $("#token").val();
              if ($("#file")[0].files.length > 0 && token != "") {
                  Qiniu_upload($("#file")[0].files[0], token, $("#key").val());
              } else {
                  console && console.log("form input error");
              }

      }
我通过onchange触发这个方法,把图片上传到七牛云后,再把key值付给一个input,通过form表单提交后台接受
   <div class="form-group">
                                      <label class="control-label col-md-3 col-sm-3 col-xs-12">公司Logo</label>
                                      <div class="col-md-6 col-sm-6 col-xs-12">
                                          <input id="file" class="form-control col-md-7 col-xs-12"
                                                 required="required" type="file" name="file" onchange="sentPhoto()">

                                      </div>
                                      <input type="hidden" id="token" name="token" value=${upToken} >
                                      <input type="hidden" id="companylogo" name="companylogo">
                                      <div id="progressbar"><div class="progress-label"></div></div>
                                  </div>
4:把外链存入数据库:
    @RequestMapping("/saveCompany")
    public String saveCompany(company company){

        String url="xxx";
        company.setCompanylogo(url+company.getCompanylogo());
        companyRepository.save(company);

        return "redirect:/company/companylog";

        }
url是你的外链默认域名 它与上传图片成功传回的key值就组成了该图片的外链

这样你就可以获得你上传到七牛云图片的外链了,存入数据库后就可以通过<a>标签直接访问


