vue实现登陆单页面
一 实现页面的布局#

1. 首先在components里建一个login.vue#


<template>
    <div class=login_container>
         登陆组件
    </div>
</template>

<script>
    export default {

    }
</script>


<style>
</style>
2. 路由的设置 router下的index.js#
import Vue from 'vue'
import VueRouter from 'vue-router'
// 导入login路劲
import login from '@/components/login'


Vue.use(VueRouter)


export default new VueRouter({
       /* 设置路由 */
    routes:[
        { path: '/',redirect:'/login'},
        { path: '/login',component: login}
    ]
})
3. App.vue#
<template>
    <div id="app">
                // *********
        <router-view></router-view>
    </div>
</template>

<script>
    export default {
                name: 'app',
        components:{

        }

    }
</script>

<style>
</style>
4. 整体样式#
在assets新建一个global.css
html,body,#app{
    height: 100%;
    margin: 0;
    padding: 0;
}
在main.js导入
import './assets/css/global.css'
5. 修改login.vue#
<template>
    <div class=login_container>
         登陆组件
         <div class="login_box"></div>
    </div>
</template>

<script>
    export default {

    }
</script>


<style>

.login_container{
    height: 100%;
    background-color: #2b4b6b;
}
.login_box{
    width: 450px;
    height: 300px;
    background-color: #fff;
    border-radius: 3px;
    position: absolute;
    left: 50%;
    top:50%;
    transform: translate(-50%,-50%);

}
</style>
二 页面绘制头像#
<template>
    <div class=login_container>
         登陆组件
         <div class="login_box">
             <!-- 头像 -->
             <div class="avatar_box">
                 <img src="../assets/logo.png" alt="">
             </div>

         </div>
    </div>
</template>

<script>
    export default {

    }
</script>


<style>

.login_container{
    height: 100%;
    background-color: #2b4b6b;
}
.login_box{
    width: 450px;
    height: 300px;
    background-color: #fff;
    border-radius: 3px;
    position: absolute;
    left: 50%;
    top:50%;
    transform: translate(-50%,-50%);

}
/* 头像样式开始 */
.avatar_box{
        height: 130px;
        width: 130px;
        border: 1px solid #eee;
        border-radius: 50%;
        padding: 10px;
        box-shadow: 0 0 10px #ddd;
        position: absolute;
        left:50%;
        transform: translate(-50%,-50%);
        background-color: #fff;
    }
.avatar_box img{
            width: 100%;
            height: 100%;
            border-radius: 50%;
            background-color: #eee;
        }
/* 头像样式结束 */
</style>
三 绘制登陆表单#
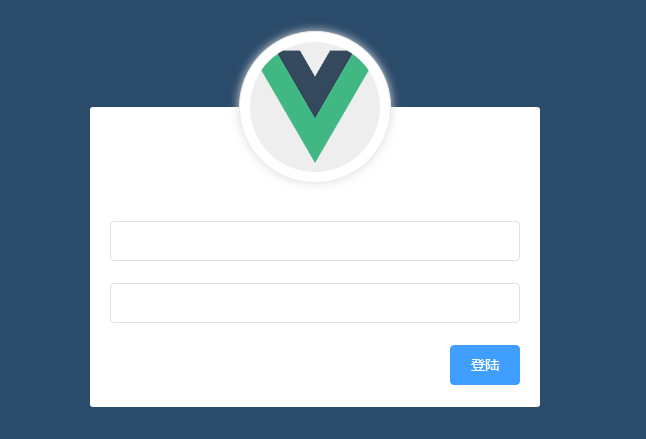
其实要实现上面的样子 我们就用到了 element-ui 组件
有Button Input Form FormItem 组件
我们是按需要导入
我们在plugins文件下的element.js
import Vue from 'vue'
import { Button } from 'element-ui'
import { Input } from 'element-ui'
import { Form, FormItem } from 'element-ui'


Vue.use(Button)
Vue.use(Input)
Vue.use(Form)
Vue.use(FormItem)
在回到 login.vue
<template>
    <div class=login_container>
         登陆组件
         <div class="login_box">
             <!-- 头像 -->
             <div class="avatar_box">
                 <img src="../assets/logo.png" alt="">
             </div>
             <!-- 表单 -->
             <el-form class="login_form">
                 <!-- 用户名 -->
               <el-form-item>
                 <el-input></el-input>
               </el-form-item>
               <!-- 密码 -->
               <el-form-item>
                 <el-input></el-input>
               </el-form-item>
               <!-- 按钮 -->
               <el-form-item class="btns">
                   <el-button type="primary">登陆</el-button>
               </el-form-item>
            </el-form>
         </div>
    </div>
</template>

<script>
    export default {

    }
</script>


<style>

.login_container{
    height: 100%;
    background-color: #2b4b6b;
}
.login_box{
    width: 450px;
    height: 300px;
    background-color: #fff;
    border-radius: 3px;
    position: absolute;
    left: 50%;
    top:50%;
    transform: translate(-50%,-50%);

}
/* 头像样式开始 */
.avatar_box{
        height: 130px;
        width: 130px;
        border: 1px solid #eee;
        border-radius: 50%;
        padding: 10px;
        box-shadow: 0 0 10px #ddd;
        position: absolute;
        left:50%;
        transform: translate(-50%,-50%);
        background-color: #fff;
    }
.avatar_box img{
            width: 100%;
            height: 100%;
            border-radius: 50%;
            background-color: #eee;
        }
/* 头像样式结束 */

.btns{
/*     position: absolute;
    right: 0; */
    display: flex;
    justify-content: flex-end;
    }
.login_form{
    position: absolute;
    bottom: 0;
    /* 占满全屏 */
    width: 100%;
    /* 边距会超出 用后面那句 box-sizing: border-box; */
    padding: 0 20px;
    box-sizing: border-box;
}
</style>
分类:
vue


【推荐】国内首个AI IDE,深度理解中文开发场景,立即下载体验Trae
【推荐】编程新体验,更懂你的AI,立即体验豆包MarsCode编程助手
【推荐】抖音旗下AI助手豆包,你的智能百科全书,全免费不限次数
【推荐】轻量又高性能的 SSH 工具 IShell:AI 加持,快人一步
· AI与.NET技术实操系列:基于图像分类模型对图像进行分类
· go语言实现终端里的倒计时
· 如何编写易于单元测试的代码
· 10年+ .NET Coder 心语,封装的思维:从隐藏、稳定开始理解其本质意义
· .NET Core 中如何实现缓存的预热?
· 分享一个免费、快速、无限量使用的满血 DeepSeek R1 模型,支持深度思考和联网搜索!
· 基于 Docker 搭建 FRP 内网穿透开源项目(很简单哒)
· 25岁的心里话
· ollama系列01:轻松3步本地部署deepseek,普通电脑可用
· 按钮权限的设计及实现
2018-02-24 python函数
2018-02-24 python函数-装饰器
2018-02-24 python函数-函数进阶
2018-02-24 python函数-函数初识
2018-02-24 python文件操作