

1、环境
8核/16G内存/500G硬盘
2、安装依赖
# 安装依赖
dnf install -y curl policycoreutils openssh-server perl postfix

# 启动邮件服务
systemctl enable --now postfix
3、安装源配置(或者离线下载)
# 配置安装源
# vim /etc/yum.repos.d/gitlab-ce.repo
[gitlab-ce]
name=Gitlab CE Repository
baseurl=https://mirror.nju.edu.cn/gitlab-ce/yum/el$releasever/
gpgcheck=0
enabled=1

# 离线下载
wget https://mirror.nju.edu.cn/gitlab-ce/yum/el9/gitlab-ce-16.8.3-ce.0.el9.x86_64.rpm
4、安装Gitlab(这里通过离线下载方式安装)
dnf localinstall gitlab-ce-16.8.3-ce.0.el9.x86_64.rpm -y
5、修改配置文件
# 备份配置
cp -a /etc/gitlab/gitlab.rb /etc/gitlab/gitlab.rb.org

# 修改配置
# vim /etc/gitlab/gitlab.rb
...
external_url 'http://10.32.161.130'
gitlab_rails['time_zone'] = 'Asia/Shanghai'
gitlab_rails['gravatar_plain_url'] = 'http://www.gravatar.com/avatar/%{hash}?s=%{size}&d=identicon'
gitlab_rails['backup_path'] = "/data/gitlab/backups"
gitlab_rails['backup_keep_time'] = 604800
...

# 创建备份目录
mkdir /data/gitlab/backups -p
6、使配置生效
gitlab-ctl reconfigure
7、查看Gitlab运行状态
gitlab-ctl status
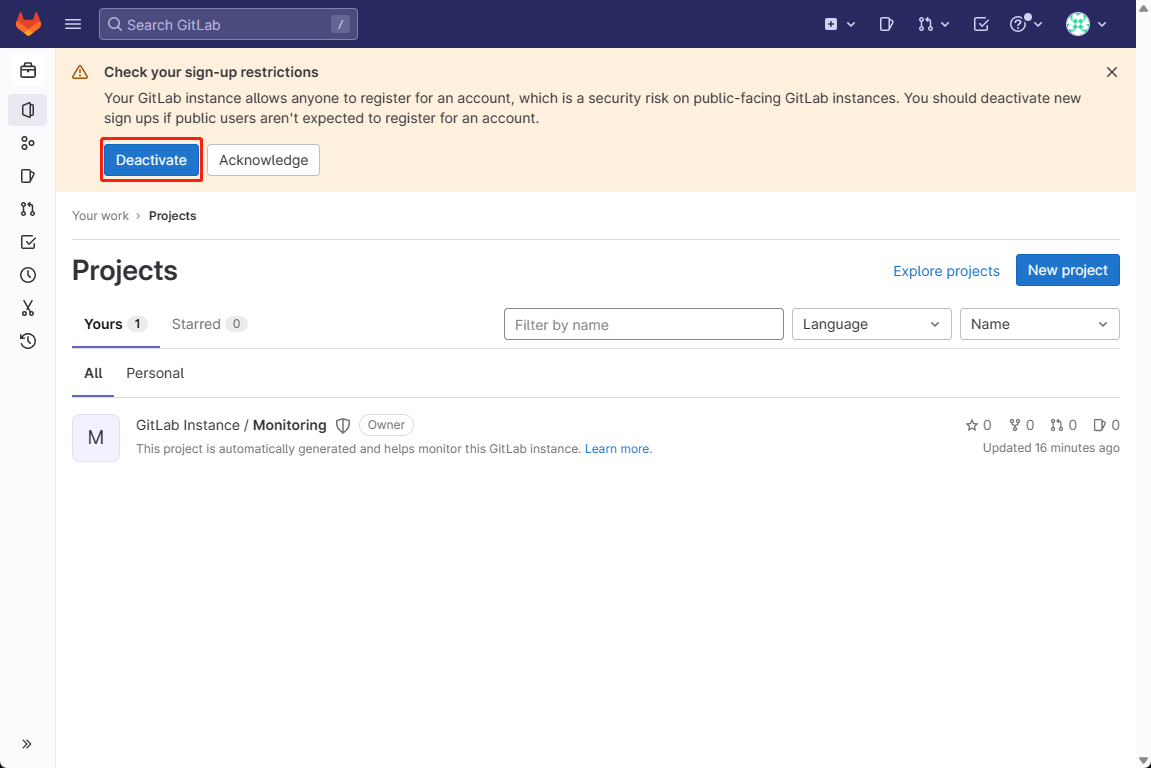
8、Web访问
访问地址:http://部署主机IP
默认账号:root
初始密码查看/etc/gitlab/initial_root_password内容


参考:
https://mirror.nju.edu.cn/mirrorz-help/gitlab-ce/?mirror=NJU
https://mirrors.tuna.tsinghua.edu.cn/help/gitlab-ce/
https://packages.gitlab.com/gitlab/gitlab-ce/install#bash-rpm
