


1、环境
| 服务器名称 | IP地址 | 备注 |
| stack-161-131 | 10.32.161.131 | |
| stack-161-132 | 10.32.161.132 | |
| stack-161-133 | 10.32.161.133 |
2、安装源配置
# cat > /etc/yum.repos.d/elasticsearch.repo <<EOF
[elasticsearch-8.x]
name=Elasticsearch repository for 8.x packages
baseurl=https://artifacts.elastic.co/packages/8.x/yum
gpgcheck=1
gpgkey=https://artifacts.elastic.co/GPG-KEY-elasticsearch
enabled=1
autorefresh=1
type=rpm-md
EOF
3、安装(所有节点)
update-crypto-policies --set DEFAULT:SHA1
dnf -y install elasticsearch
4、修改第一个节点配置并生成注册令牌
# 修改配置
# vim /etc/elasticsearch/elasticsearch.yml
...
cluster.name: elastic-cluster    #17行
network.host: 0.0.0.0    #56行
...

# 启动服务
systemctl enable --now elasticsearch

# 生成注册令牌
# /usr/share/elasticsearch/bin/elasticsearch-create-enrollment-token -s node --url "https://10.32.161.131:9200"
eyJ2ZXIiOiI4LjcuMCIsImFkciI6WyIxMC4zMi4xNjEuMTMxOjkyMDAiXSwiZmdyIjoiNzBmNmM0YmM5MDJkNTJmNWFjMWFlOTU3NjViYmIyMjZmNmMxNzIxZTFhNTI0NDYxMzMxYTllY2UxMTczMzYxNSIsImtleSI6IjZ4Yi1rWWNCeTVBTUczUnNKNm5aOmxNZC1FQ0FvUkpxOWFfSjJ3dU5EN0EifQ==
5、查看ES安装后的状态
# curl -u elastic --cacert /etc/elasticsearch/certs/http_ca.crt https://127.0.0.1:9200
Enter host password for user 'elastic':    #输入ES安装完成后自动生成的密码
{
  "name" : "stack-161-131",
  "cluster_name" : "elastic-cluster",
  "cluster_uuid" : "7t7SeeweR-WOQtfAVjmFqA",
  "version" : {
    "number" : "8.7.0",
    "build_flavor" : "default",
    "build_type" : "rpm",
    "build_hash" : "09520b59b6bc1057340b55750186466ea715e30e",
    "build_date" : "2023-03-27T16:31:09.816451435Z",
    "build_snapshot" : false,
    "lucene_version" : "9.5.0",
    "minimum_wire_compatibility_version" : "7.17.0",
    "minimum_index_compatibility_version" : "7.0.0"
  },
  "tagline" : "You Know, for Search"
}
6、通过第一个节点生成的注册令牌将其他节点加入集群
# 通过令牌加入集群
# /usr/share/elasticsearch/bin/elasticsearch-reconfigure-node --enrollment-token \
> eyJ2ZXIiOiI4LjcuMCIsImFkciI6WyIxMC4zMi4xNjEuMTMxOjkyMDAiXSwiZmdyIjoiNzBmNmM0YmM5MDJkNTJmNWFjMWFlOTU3NjViYmIyMjZmNmMxNzIxZTFhNTI0NDYxMzMxYTllY2UxMTczMzYxNSIsImtleSI6IjZ4Yi1rWWNCeTVBTUczUnNKNm5aOmxNZC1FQ0FvUkpxOWFfSjJ3dU5EN0EifQ==

This node will be reconfigured to join an existing cluster, using the enrollment token that you provided.
This operation will overwrite the existing configuration. Specifically:
  - Security auto configuration will be removed from elasticsearch.yml
  - The [certs] config directory will be removed
  - Security auto configuration related secure settings will be removed from the elasticsearch.keystore
Do you want to continue with the reconfiguration process [y/N]y

# 修改配置
# vim /etc/elasticsearch/elasticsearch.yml
...
cluster.name: elastic-cluster    #17行
network.host: 0.0.0.0    #56行
...

# 启动服务
systemctl enable --now elasticsearch
7、查看集群状态
# curl -u elastic --cacert /etc/elasticsearch/certs/http_ca.crt https://10.32.161.131:9200/_cat/nodes?v
Enter host password for user 'elastic': #输入ES安装完成后自动生成的密码
ip heap.percent ram.percent cpu load_1m load_5m load_15m node.role master name
10.32.161.132 2 61 0 0.04 0.11 0.09 cdfhilmrstw - stack-161-132
10.32.161.131 4 61 0 0.05 0.08 0.08 cdfhilmrstw * stack-161-131
10.32.161.133 2 61 0 0.01 0.18 0.14 cdfhilmrstw - stack-161-133
# curl -u elastic --cacert /etc/elasticsearch/certs/http_ca.crt https://10.32.161.131:9200/_cluster/health?pretty
Enter host password for user 'elastic': #输入ES安装完成后自动生成的密码
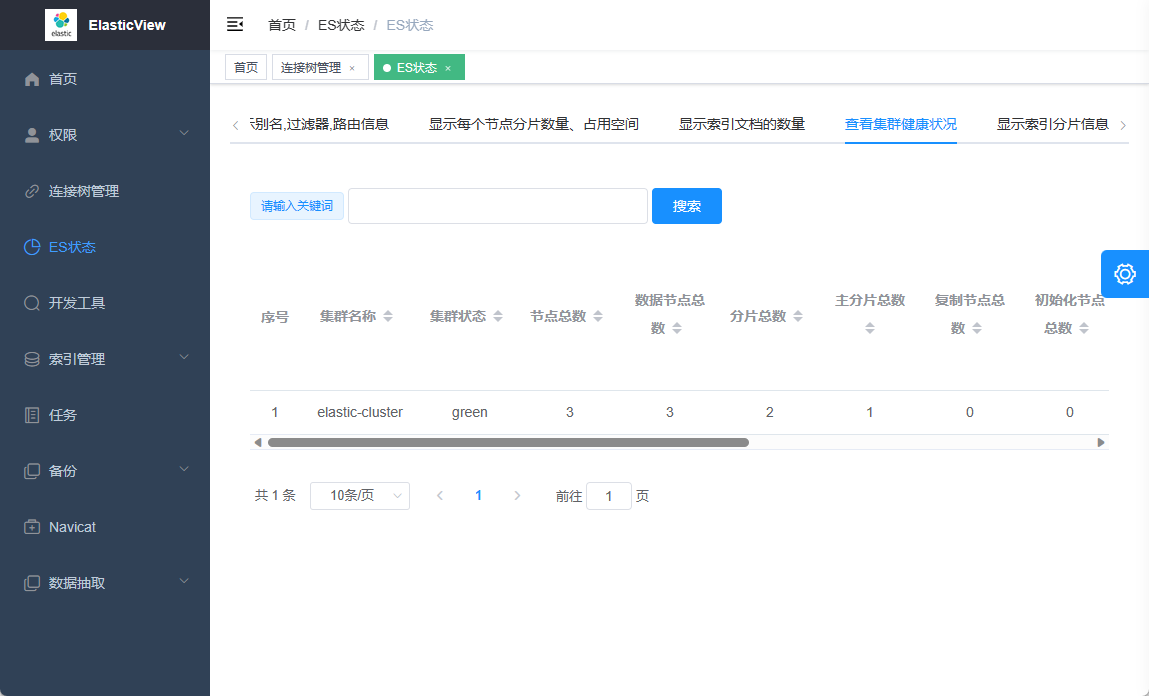
{
"cluster_name" : "elastic-cluster",
"status" : "green",
"timed_out" : false,
"number_of_nodes" : 3,
"number_of_data_nodes" : 3,
"active_primary_shards" : 1,
"active_shards" : 2,
"relocating_shards" : 0,
"initializing_shards" : 0,
"unassigned_shards" : 0,
"delayed_unassigned_shards" : 0,
"number_of_pending_tasks" : 0,
"number_of_in_flight_fetch" : 0,
"task_max_waiting_in_queue_millis" : 0,
"active_shards_percent_as_number" : 100.0
}
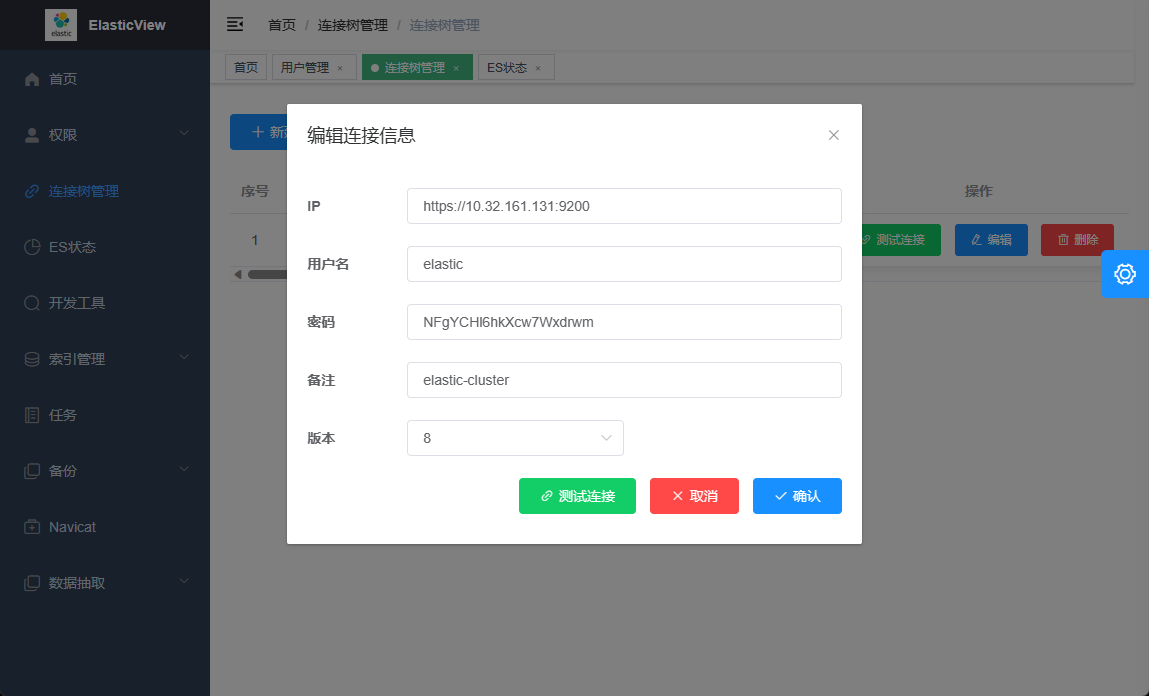
8、ElasticView管理工具安装
# 下载程序
wget https://github.com/1340691923/ElasticView/releases/download/v1.8.7/ElasticViewLinux.zip -P /usr/local/src

# 创建目录并解压
mkdir /data/elasticview -p
unzip ElasticViewLinux.zip -d /data/elasticview

# 启动服务
cd /data/elasticview/
chmod +x ElasticViewLinux
nohup ./ElasticViewLinux > ElasticView.log &

# 控制台访问
访问地址:http://10.32.161.131:8090/
默认账号:admin
默认密码:admin

# 参考
https://github.com/1340691923/ElasticView
参考:https://www.elastic.co/guide/en/elasticsearch/reference/current/rpm.html

