2018-2019-2 20175235 实验二《Java面向对象程序设计》实验报告
实验内容:
1. 初步掌握单元测试和TDD
2. 理解并掌握面向对象三要素:封装、继承、多态
3. 初步掌握UML建模
4. 熟悉S.O.L.I.D原则
5. 了解设计模式
一.单元测试
1伪代码
百分制转五分制:
   如果成绩小于60,转成“不及格”
   如果成绩在60与70之间,转成“及格”
   如果成绩在70与80之间,转成“中等”
   如果成绩在80与90之间,转成“良好”
   如果成绩在90与100之间,转成“优秀”
   其他,转成“错误”
2产品代码
public class MyUtil{
   public static String percentage2fivegrade(int grade){
       //如果成绩小于60,转成“不及格”
       if (grade < 60)
           return "不及格";
       //如果成绩在60与70之间,转成“及格”
       else if (grade < 70)
           return "及格";
       //如果成绩在70与80之间,转成“中等”
       else if (grade < 80)
           return "中等";
       //如果成绩在80与90之间,转成“良好”
       else if (grade < 90)
           return "良好";
       //如果成绩在90与100之间,转成“优秀”
       else if (grade < 100)
           return "优秀";
       //其他,转成“错误”
       else
           return "错误";
   }
}
3.测试代码
为了检测代码的健硕性,避免出现bug需要对代码进行测试,这个时候就需要使用测试代码。
编写测试代码
①一般情况测试代码,结果如下:
②边界测试对输入为“0,60,70,80,90,100”这些边界情况进行测试的代码,得到如下结果。
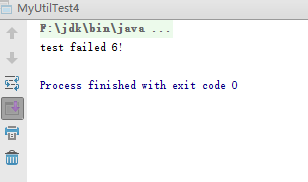
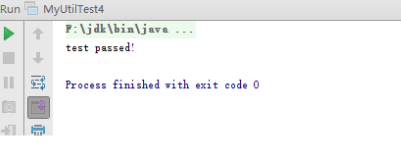
③出现了问题,对这个问题进行修复,得到代码2,再次进行测试,得到如下结果。
二.TDD(Test Driven Devlopment, 测试驱动开发)
TDD的一般步骤如下:
①明确当前要完成的功能,记录成一个测试列表
②快速完成编写针对此功能的测试用例
③测试代码编译不通过(没产品代码呢)
④编写产品代码
⑤测试通过
⑥对代码进行重构,并保证测试通过(重构下次实验练习)
⑦循环完成所有功能的开发
三.使用TDD
TDD的编码节奏是:
①增加测试代码,JUnit出现红条
②修改产品代码
③JUnit出现绿条,任务完成
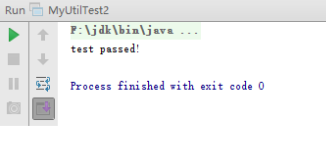
通过TDD完成了本次实验任务的1,2和4,在这里给出通过TDD学习的代码链接并且测试通过的截图
第一个实验题目的产品代码测试代码以及结果截图:
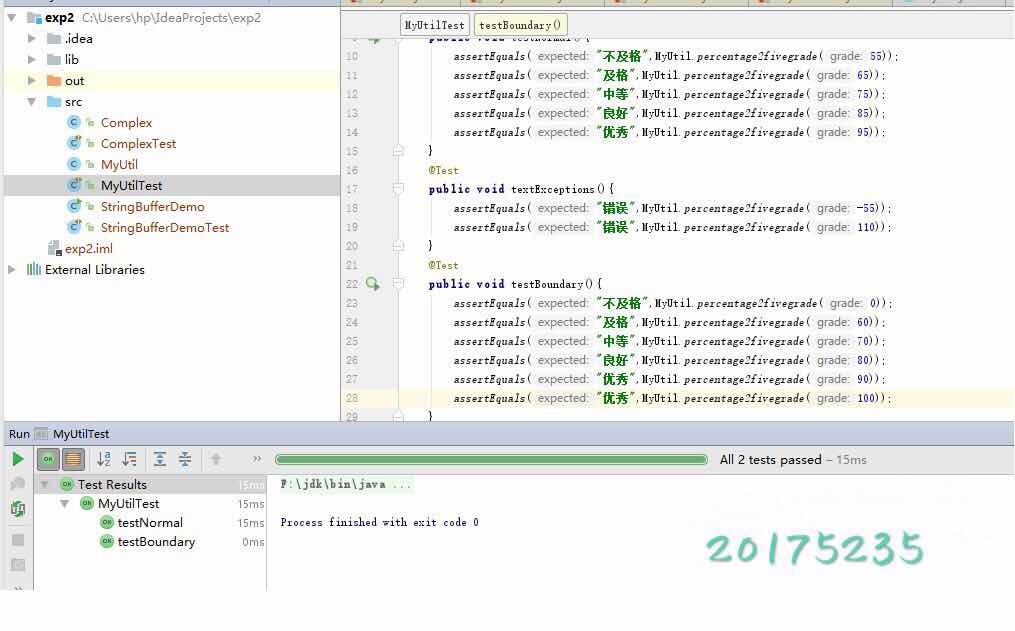
第二个实验题目的产品代码,测试代码以及结果截图:
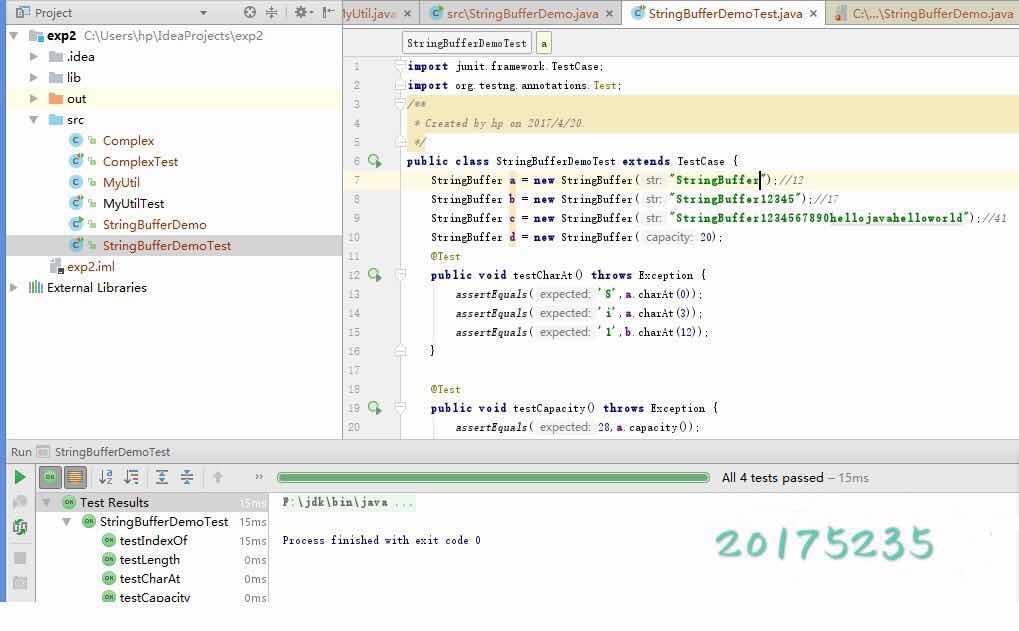
第四个实验题目的产品代码,测试代码,以及运行结果截图:

(二)面向对象三要素
(1)抽象
抽象一词的本意是指人在认识思维活动中对事物表象因素的舍弃和对本质因素的抽取。抽象是人类认识复杂事物和现象时经常使用的思维工具,抽象思维能力在程序设计中非常重要,"去粗取精、化繁为简、由表及里、异中求同"的抽象能力很大程度上决定了程序员的程序设计能力。
抽象就是抽出事物的本质特征而暂时不考虑他们的细节。对于复杂系统问题人们借助分层次抽象的方法进行问题求解;在抽象的最高层,可以使用问题环境的语言,以概括的方式叙述问题的解。在抽象的较低层,则采用过程化的方式进行描述。在描述问题解时,使用面向问题和面向实现的术语。
程序设计中,抽象包括两个方面,一是过程抽象,二是数据抽象。
(2)封装、继承与多态
面向对象(Object-Oriented)的三要素包括:封装、继承、多态。
面向对象的思想涉及到软件开发的各个方面,如面向对象分析(OOA)、面向对象设计(OOD)、面向对象编程实现(OOP)。
OOD中建模会用图形化的建模语言UML(Unified Modeling Language),UML是一种通用的建模语言
通过次数的学习完成了实验的第五个内容。
步骤如下:
1.下载安装 StarUML,并学习使用。
2.学习教程中的代码
public abstract class Animal {
    private String color;
    public String getColor() {
        return color;
    }
    public void setColor(String color) {
        this.color = color;
    }
    public abstract String shout();
}
public class Cat extends Animal{
    public String shout(){
        return "喵喵";
    }
    public String toString(){
        return "The Cat's color is " + this.getColor() +", and it shouts "+ this.shout() + "!";
    }
}
public class Dog extends Animal{
    public String shout(){
        return "汪汪";
    }
    public String toString(){
        return "The Dog's color is " + this.getColor() +", and it shouts "+ this.shout() + "!";
    }
}
3.利用StarUML完成建模,得到如下图所示

(三)设计模式初步
(1)S.O.L.I.D原则
SRP(Single Responsibility Principle,单一职责原则)
OCP(Open-Closed Principle,开放-封闭原则)
对扩充开放,对修改封闭:抽象和继承;面向接口编程
LSP(Liskov Substitusion Principle,Liskov替换原则)
ISP(Interface Segregation Principle,接口分离原则)
DIP(Dependency Inversion Principle,依赖倒置原则)
(2)设计模式
Pattern name:描述模式,便于交流,存档
Problem:描述何处应用该模式
Solution:描述一个设计的组成元素,不针对特例
Consequence:应用该模式的结果和权衡(trade-offs)
(四)练习
练习1:让系统支持Double类,并在MyDoc类中添加测试代码表明添加正确,提交测试代码和运行结的截图,加上学号水印
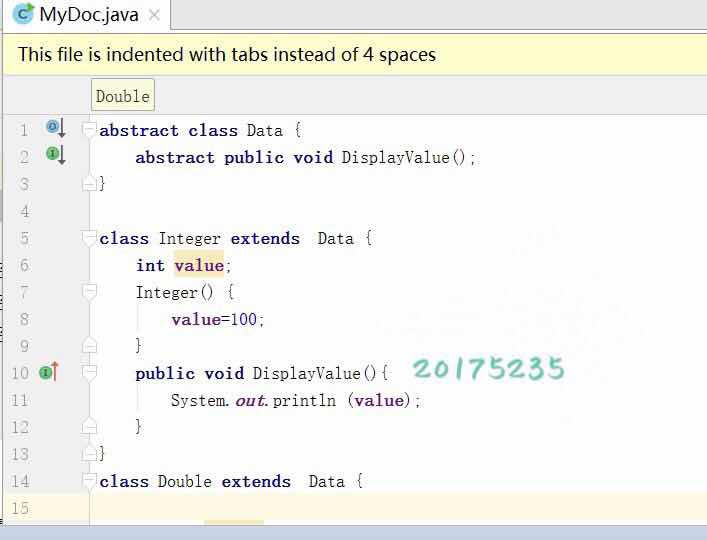
测试结果

练习2:使用TDD的方式设计关实现复数类Complex。
1伪代码
Complex类
定义实部以及虚部;
方法Set设置实部,以及虚部:public  double setRealPart(),public double setImagePart();
方法Get取得实部,以及虚部:public  double getRealPart(),public double getImagePart();
方法加法Complex ComplexAdd(Complex a)
方法减法Complex ComplexSub(Complex a)
方法乘法Complex ComplexMultib(Complex a)
方法除法Complex ComplexDiv(Complex a)
方法toString()控制输出格式
2产品代码
public class Complex {
    double RealPart;
    double ImagePart;
    public Complex(){
        this.ImagePart=0;
        this.RealPart=0;
    }
    public Complex(double RealPart, double ImagePart) {
        this.RealPart = RealPart;
        this.ImagePart = ImagePart;
    }
    public  double getRealPart(){
        return this.RealPart;
    }
    public double getImagePart(){
        return this.ImagePart;
    }

    public double setRealPart(double R){
        this.RealPart = R;
        return R;
    }
    public double setImagePart(double I){
        this.ImagePart = I;
        return I;
    }
    Complex ComplexAdd(Complex a){
        double R = a.getRealPart();
        double I = a.getImagePart();
        double cr = R + this.RealPart;
        double ci = I + this.ImagePart;
        Complex c = new Complex(cr,ci);
        return c;
    }
    Complex ComplexSub(Complex a){
        double R = a.getRealPart();
        double I = a.getImagePart();
        double cr = R - this.RealPart;
        double ci = I - this.ImagePart;
        Complex c = new Complex(cr,ci);
        return c;
    }
    Complex ComplexMultib(Complex a){
        double R = a.getRealPart();
        double I = a.getImagePart();
        double cr = R * this.RealPart;
        double ci = I * this.ImagePart;
        Complex c = new Complex(cr,ci);
        return c;
    }
    Complex ComplexDiv(Complex a){
        double R = a.getRealPart();
        double I = a.getImagePart();
        double cr = R / this.RealPart;
        double ci = I / this.ImagePart;
        Complex c = new Complex(cr,ci);
        return c;
    }
    public String toString() {
        String complex=new String();
        if (ImagePart > 0)
            complex = "(" + RealPart + "+" + ImagePart + "i" + ")";
        if (ImagePart == 0)
            complex = "(" + RealPart + ")" ;
        if (ImagePart < 0)
            complex = "(" + RealPart + "-" + ImagePart + "i" + ")";
        return complex;
    }
}
3测试代码
import junit.framework.TestCase;
import org.testng.annotations.Test;
import java.math.BigDecimal;

/**
 * Created by hp on 2019/4/20.
 */
public class ComplexTest extends TestCase {
    Complex a=new Complex(14,4);
    Complex b=new Complex(5,-2);
    Complex c=new Complex(2,1);
    Complex d=new Complex(4,0);
    Complex m=new Complex();
    @Test
    public void testGetRealPart() throws Exception {
        assertEquals(14.0,a.getRealPart());
        assertEquals(5.0,b.getRealPart());
    }

    @Test
    public void testGetImagePart() throws Exception {
        assertEquals(4.0,a.getImagePart());
        assertEquals(-2.0,b.getImagePart());
    }

    @Test
    public void testSetRealPart() throws Exception {
        m.setRealPart(1);
        assertEquals(1.0,m.getRealPart());
    }

    @Test
    public void testSetImagePart() throws Exception {
        m.setImagePart(4);
        assertEquals(4.0,m.getImagePart());
    }

    @Test
    public void testComplexAdd() throws Exception {
        m=a.ComplexAdd(b);
        assertEquals("(19.0+2.0i)",m.toString());
        m=a.ComplexAdd(c);
        assertEquals("(16.0+5.0i)",m.toString());
    }

    @Test
    public void testComplexSub() throws Exception {
        m=b.ComplexSub(a);
        assertEquals("(9.0+6.0i)",m.toString());
        m=c.ComplexSub(b);
        assertEquals("(3.0--3.0i)",m.toString());
    }

    @Test
    public void testComplexMultib() throws Exception {
        m=a.ComplexMultib(b);
        assertEquals("(70.0--8.0i)",m.toString());
        m=a.ComplexMultib(c);
        assertEquals("(28.0+4.0i)",m.toString());

    }
    @Test
    public void testComplexDiv() throws Exception {
        m=c.ComplexDiv(a);
        assertEquals("(7.0+4.0i)",m.toString());
        m=c.ComplexDiv(b);
        assertEquals("(2.5--2.0i)",m.toString());

    }

}
4测试通过截图

实验总结:
本次实验相较于第一次实验明显提高了难度。通过本次实验,我了解了伪代码产品代码测试代码三种代码的区别,并且在Idea中运用了Juint对测试代码进行了很好的运用;对设计模式示例进行了扩充,体会了OCP原则和DIP原则;用TDD实现了负数类Complex,最后运用StarUML对面向对象三要素有了更深的理解。
我的PSP时间
步骤 耗时 百分比
需求分析 10min 8
设计 20min 15
代码实现 50min 39
测试 30min 23
分析总结 20min 15


