【WCH蓝牙系列芯片】-基于CH32V208开发板—TMOS系统说明(二)
-------------------------------------------------------------------------------------------------------------------------------------
利用TMOS自己建立一个自定义的任务事件例程:
先是建立一个"tmos_demo_task.c" 和 “tmos_demo_task.h”如下:
#include "tmos_demo_task.h"

//存储 当前task id 的全局变量
tmosTaskID  demo_task_id = INVALID_TASK_ID;


//系统消息处理的函数

//task的event处理回调函数,需要在注册task时候,传进去
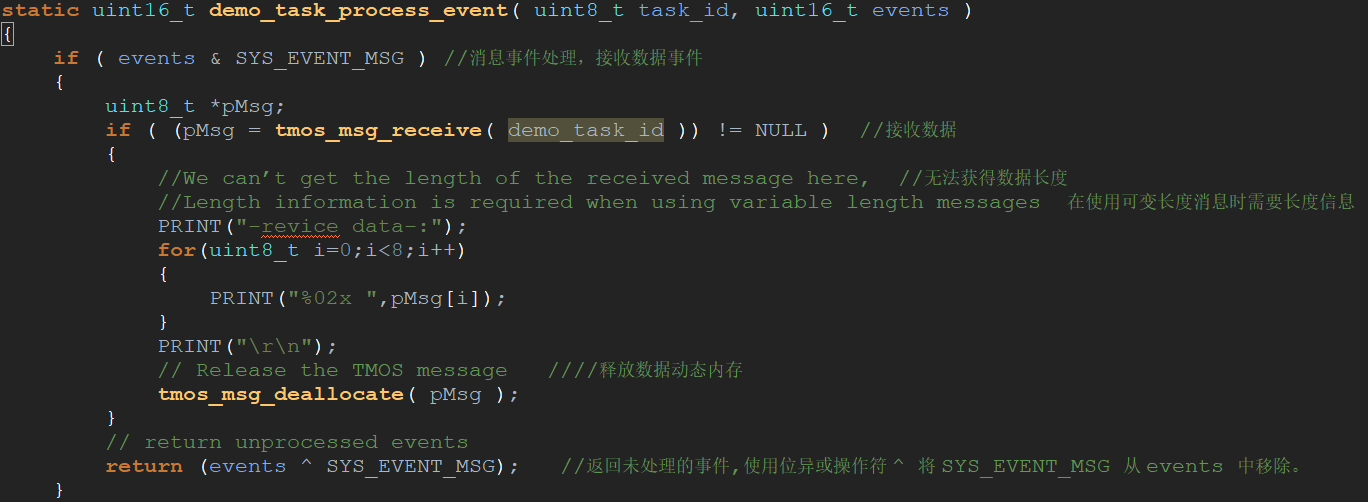
static uint16_t demo_task_process_event( uint8_t task_id, uint16_t events )
{
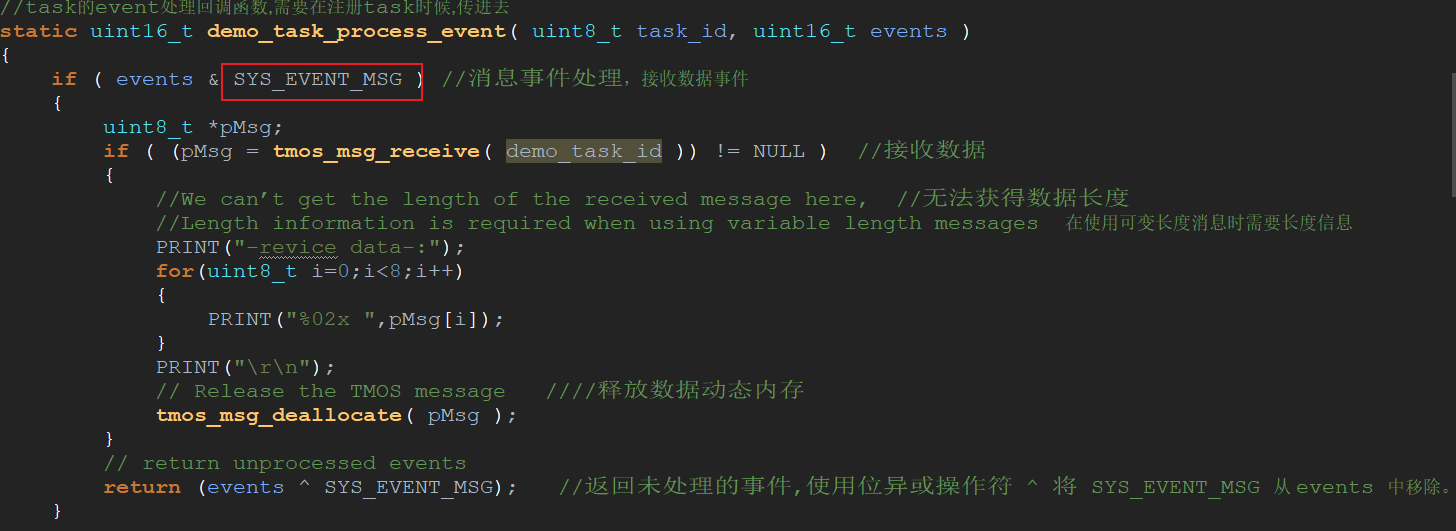
    if ( events & SYS_EVENT_MSG ) //消息事件处理,接收数据事件
    {
        uint8_t *pMsg;
        if ( (pMsg = tmos_msg_receive( demo_task_id )) != NULL )  //接收数据
        {
            //We can’t get the length of the received message here,  //无法获得数据长度
            //Length information is required when using variable length messages  在使用可变长度消息时需要长度信息
            PRINT("-revice data-:");
            for(uint8_t i=0;i<8;i++)
            {
                PRINT("%02x ",pMsg[i]);
            }
            PRINT("\r\n");
            // Release the TMOS message   ////释放数据动态内存
            tmos_msg_deallocate( pMsg );
        }
        // return unprocessed events
        return (events ^ SYS_EVENT_MSG);   //返回未处理的事件,使用位异或操作符 ^ 将 SYS_EVENT_MSG 从 events 中移除。
    }

    //event1 处理
    if(events & DEMO_TASK_TMOS_EVT_TEST_1)
    {
        PRINT("****TMOS_EVT_TEST_1****\r\n");
        return (events ^ DEMO_TASK_TMOS_EVT_TEST_1);
    }

    //event2 处理
    if(events & DEMO_TASK_TMOS_EVT_TEST_2)
    {
        tmos_start_task(demo_task_id, DEMO_TASK_TMOS_EVT_TEST_3, 1600);   // 1600 = 1s
        PRINT("!!!!TMOS_EVT_TEST_2!!!!\r\n");
        return (events ^ DEMO_TASK_TMOS_EVT_TEST_2);
    }

    //event3 处理
    if(events & DEMO_TASK_TMOS_EVT_TEST_3)
    {
        tmos_start_task(demo_task_id, DEMO_TASK_TMOS_EVT_TEST_3, 1600);   // 1600 = 1s
        PRINT(">>>>TMOS_EVT_TEST_3<<<<\r\n");

        uint8_t test_data[] = {0x01,0x02,0x03,0x04,0x05,0x06,0x07,0x08};

        PRINT("tmos send fixed length data test\r\n");   //发送固定长度
        tmos_demo_task_send_msg(demo_task_id, test_data, 8);  //发送数据任务事件
        return (events ^ DEMO_TASK_TMOS_EVT_TEST_3);
    }
    // Discard unknown events
    return 0;
}


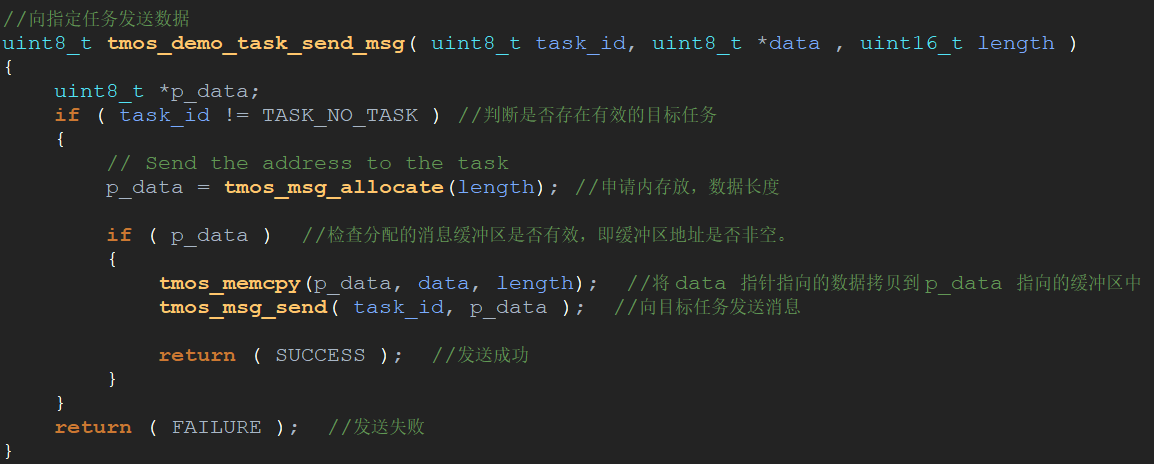
//向指定任务发送数据
uint8_t tmos_demo_task_send_msg( uint8_t task_id, uint8_t *data , uint16_t length )
{
    uint8_t *p_data;
    if ( task_id != TASK_NO_TASK ) //判断是否存在有效的目标任务
    {
        // Send the address to the task
        p_data = tmos_msg_allocate(length); //申请内存放,数据长度

        if ( p_data )  //检查分配的消息缓冲区是否有效,即缓冲区地址是否非空。
        {
            tmos_memcpy(p_data, data, length);  //将 data 指针指向的数据拷贝到 p_data 指向的缓冲区中
            tmos_msg_send( task_id, p_data );  //向目标任务发送消息

            return ( SUCCESS );  //发送成功
        }
    }
    return ( FAILURE );  //发送失败
}


//初始化task
//包括注册函数,可以注册后去开启event
void demo_task_init( void )
{
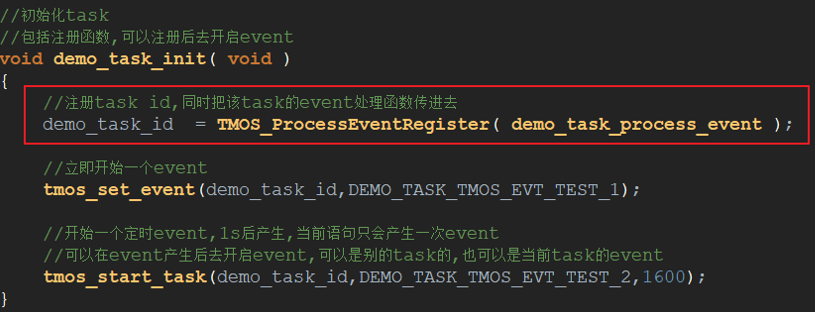
    //注册task id,同时把该task的event处理函数传进去
    demo_task_id  = TMOS_ProcessEventRegister( demo_task_process_event );

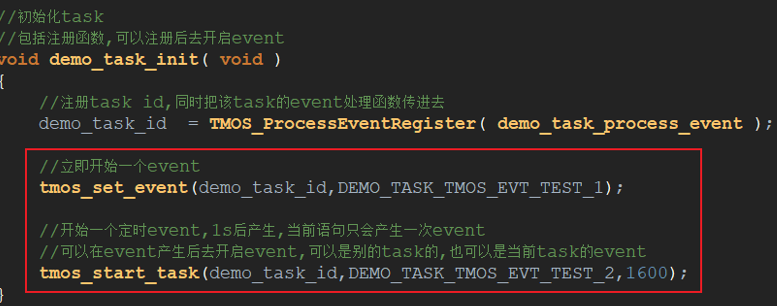
    //立即开始一个event
    tmos_set_event(demo_task_id,DEMO_TASK_TMOS_EVT_TEST_1);

    //开始一个定时event,1s后产生,当前语句只会产生一次event
    //可以在event产生后去开启event,可以是别的task的,也可以是当前task的event
    tmos_start_task(demo_task_id,DEMO_TASK_TMOS_EVT_TEST_2,1600);
}
#ifndef INCLUDE_TMOS_DEMO_TASK_H_
#define INCLUDE_TMOS_DEMO_TASK_H_

#include <stdint.h>

#include "CONFIG.h"
#include "HAL.h"
#include "gattprofile.h"
#include "peripheral.h"

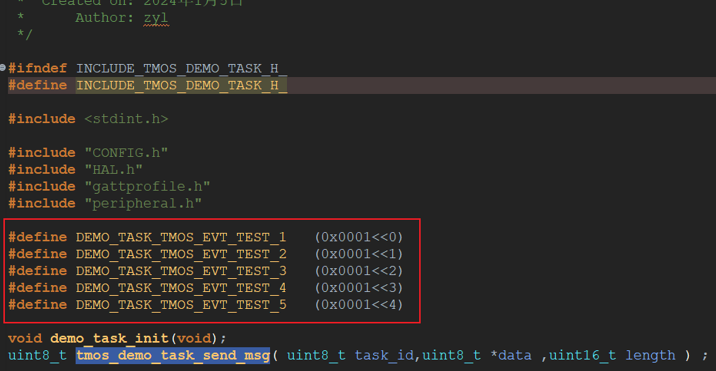
#define DEMO_TASK_TMOS_EVT_TEST_1   (0x0001<<0)
#define DEMO_TASK_TMOS_EVT_TEST_2   (0x0001<<1)
#define DEMO_TASK_TMOS_EVT_TEST_3   (0x0001<<2)
#define DEMO_TASK_TMOS_EVT_TEST_4   (0x0001<<3)
#define DEMO_TASK_TMOS_EVT_TEST_5   (0x0001<<4)

void demo_task_init(void);
uint8_t tmos_demo_task_send_msg( uint8_t task_id,uint8_t *data ,uint16_t length ) ;

#endif /* INCLUDE_TMOS_DEMO_TASK_H_ */
在tmos_demo_task.c中
1、先创建任务TakeID

2、定义不同的事件的标志
3、注册任务事件
4、调用事件,先是立即执行DEMO_TASK_TMOS_EVT_TEST_1,然后经过1s后,再执行DEMO_TASK_TMOS_EVT_TEST_2事件。
5、再任务函数中,执行相对应的任务事件。
-消息事件
6、任务事件1和任务事件2,在任务事件2中又进行1s的TMOS任务事件,执行任务事件3

7、任务事件3,里面先是执行每1s打印一次,然后发送一组数据test_data,执行tmos_demo_task_send_msg发送数据任务事件

8、在tmos_demo_task_send_msg函数中,通过tmos_msg_send指定任务发送消息,并执行相应的回调事件和系统事件消息
9、因此在回调的任务函数中,处理这个消息事件,接收发送的数据,并打印出。
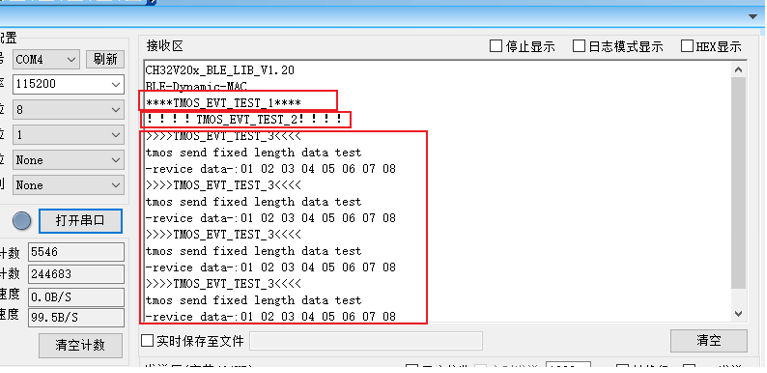
 10、在主函数的while循环中调用demo_task_init(),通过串口打印可以看一下现象。


【推荐】国内首个AI IDE,深度理解中文开发场景,立即下载体验Trae
【推荐】编程新体验,更懂你的AI,立即体验豆包MarsCode编程助手
【推荐】抖音旗下AI助手豆包,你的智能百科全书,全免费不限次数
【推荐】轻量又高性能的 SSH 工具 IShell:AI 加持,快人一步
· 阿里最新开源QwQ-32B,效果媲美deepseek-r1满血版,部署成本又又又降低了!
· 开源Multi-agent AI智能体框架aevatar.ai,欢迎大家贡献代码
· Manus重磅发布:全球首款通用AI代理技术深度解析与实战指南
· 被坑几百块钱后,我竟然真的恢复了删除的微信聊天记录!
· AI技术革命,工作效率10个最佳AI工具