初始化监控
1.搭建Sentinel项目#
Sentinel的官方文档网址:https://sentinelguard.io/zh-cn/docs/quick-start.html
创建项目sentinel-service-8401
导入依赖
<?xml version="1.0" encoding="UTF-8"?>
<project xmlns="http://maven.apache.org/POM/4.0.0" xmlns:xsi="http://www.w3.org/2001/XMLSchema-instance"
         xsi:schemaLocation="http://maven.apache.org/POM/4.0.0 https://maven.apache.org/xsd/maven-4.0.0.xsd">
    <modelVersion>4.0.0</modelVersion>

    <parent>
        <groupId>com.zt.studydemo</groupId>
        <artifactId>study_demo</artifactId>
        <version>0.0.1-SNAPSHOT</version>
        <relativePath/> <!-- lookup parent from repository -->
    </parent>

    <artifactId>sentinel-service-8401</artifactId>
    <version>0.0.1-SNAPSHOT</version>
    <name>sentinel-service-8401</name>
    <description>sentinel-service-8401</description>

    <properties>
        <java.version>1.8</java.version>
    </properties>

    <dependencies>
        <dependency>
            <groupId>org.springframework.boot</groupId>
            <artifactId>spring-boot-starter-web</artifactId>
        </dependency>

        <!-- Nacos客户端依赖 -->
        <dependency>
            <groupId>com.alibaba.cloud</groupId>
            <artifactId>spring-cloud-starter-alibaba-nacos-discovery</artifactId>
        </dependency>

        <!-- sentinel依赖 -->
        <dependency>
            <groupId>com.alibaba.cloud</groupId>
            <artifactId>spring-cloud-starter-alibaba-sentinel</artifactId>
        </dependency>
    </dependencies>

    <build>
        <plugins>
            <plugin>
                <groupId>org.springframework.boot</groupId>
                <artifactId>spring-boot-maven-plugin</artifactId>
            </plugin>
        </plugins>
    </build>

</project>
配置yml
server:
  port: 8401

spring:
  main:
    allow-circular-references: true
  application:
    name: sentinel-service-8401
  cloud:
    nacos:
      discovery:
        server-addr: 192.168.56.10:3333
    sentinel:
      transport:
        # 配置Sentinel dashboard地址
        dashboard: localhost:8080
        # 默认8719端口,键入被占用会自动从8719+1,直到找到未被占用的端口
        port: 8719

management:
  endpoints:
    web:
      exposure:
        include: '*'
编写FlowLimitController
import org.springframework.web.bind.annotation.GetMapping;
import org.springframework.web.bind.annotation.RestController;

@RestController
public class FlowLimitController {

    @GetMapping("/testA")
    public String testA() {
        return "-----testA";
    }

    @GetMapping("/testB")
    public String testB() {
        return "-----testB";
    }
}
2.测试#
启动nacos
启动sentinel
启动8401应用,此时应该在Sentinel的dashboard上能体现出它监控的服务,但是此时并没有,原因是因为Sentinel本身采用的是懒加载机制,所以我们需要首先访问服务对应的接口,Sentinel才能工作。
访问接口
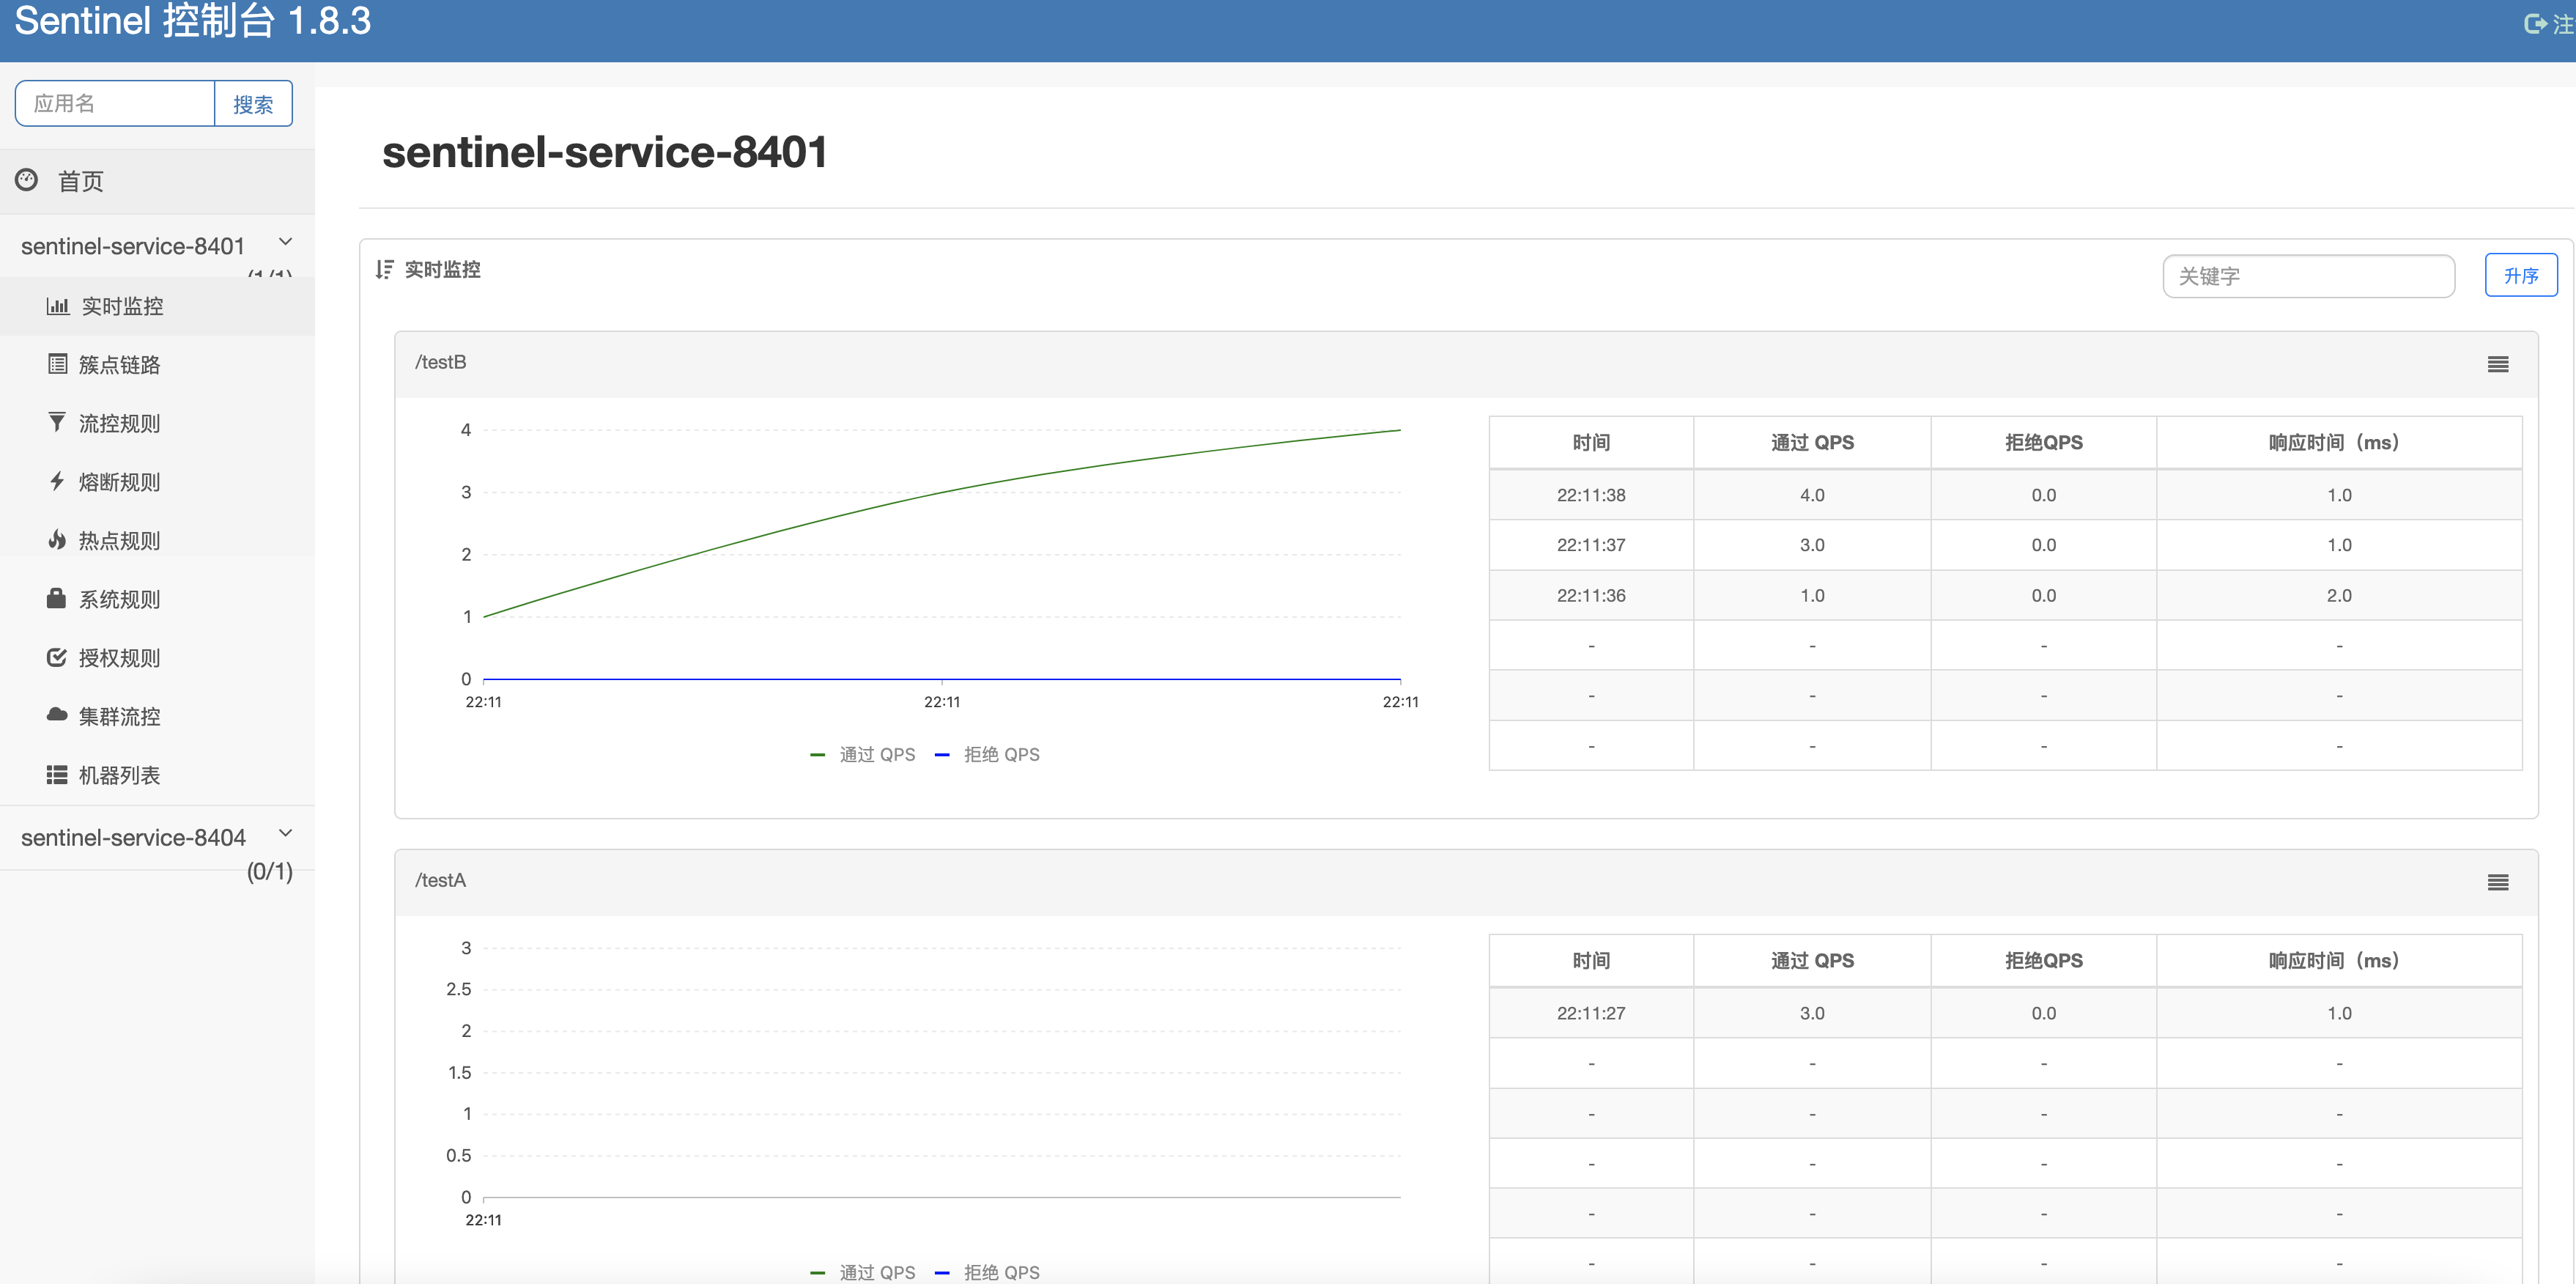
http://localhost:8401/testA
http://localhost:8401/testB
查看Sentinel的dashboard
标签:
Spring Cloud Alibaba
, 微服务


【推荐】国内首个AI IDE,深度理解中文开发场景,立即下载体验Trae
【推荐】编程新体验,更懂你的AI,立即体验豆包MarsCode编程助手
【推荐】抖音旗下AI助手豆包,你的智能百科全书,全免费不限次数
【推荐】轻量又高性能的 SSH 工具 IShell:AI 加持,快人一步
· winform 绘制太阳,地球,月球 运作规律
· 震惊!C++程序真的从main开始吗?99%的程序员都答错了
· AI与.NET技术实操系列(五):向量存储与相似性搜索在 .NET 中的实现
· 超详细:普通电脑也行Windows部署deepseek R1训练数据并当服务器共享给他人
· 【硬核科普】Trae如何「偷看」你的代码?零基础破解AI编程运行原理