10.4 实战演练
10.4.1 实战演练——在手机屏幕中浏览网页

(1)编写布局文件main.xml,在里面插入一个WebView控件。主要代码如下所示。
<?xml version="1.0" encoding="utf-8"?>
<AbsoluteLayout
    xmlns:android="http://schemas.android.com/apk/res/android"
    android:background="@drawable/white"
    android:layout_width="fill_parent"
    android:layout_height="fill_parent" >

<!-- 建立一个TextView -->
<TextView
    android:id="@+id/myTextView1"
    android:layout_width="fill_parent"
    android:layout_height="wrap_content"
    android:text="@string/hello"
    />
<!-- 建立一个EditText -->
<EditText
    android:id="@+id/myEditText1"
    android:layout_width="267px"
    android:layout_height="40px"
    android:textSize="18sp"
    android:layout_x="5px"
    android:layout_y="32px"></EditText>
<!-- 建立一个ImageButton -->
<ImageButton
    android:id="@+id/myImageButton1"
    android:layout_height="wrap_content"
    android:layout_width="wrap_content"
    android:background="@drawable/white"
    android:src="@drawable/go"
    android:layout_x="275px"
    android:layout_y="35px"
    />
<!-- 建立一个WebView -->
<WebView
    android:id="@+id/myWebView1"
    android:layout_height="330px"
    android:layout_width="300px"
    android:layout_x="7px"
    android:layout_y="90px"
    android:background="@drawable/black"
    android:focusable="false"

    />
</AbsoluteLayout>
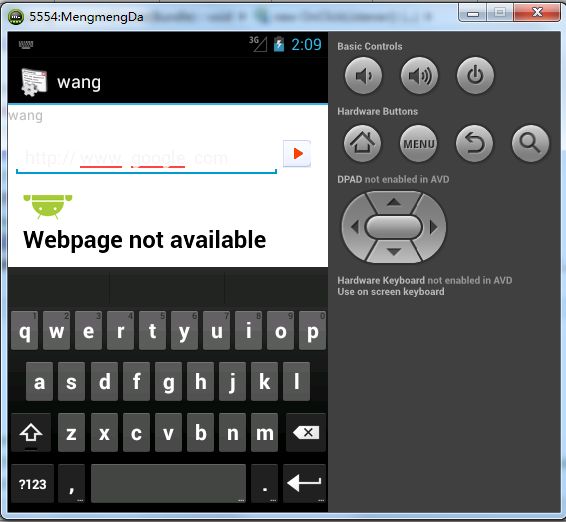
(2)编写文件wang.java,通过setOnClickListener监听按钮单击事件,单击网址后面的箭头后会抓取EditText中的数据,然后打开此网址,并在WebView中显示网页内容。具体代码如下所示。
package irdc.wang;
import android.os.Bundle;
import android.app.Activity;
import android.view.View;
import android.webkit.WebView;
import android.widget.EditText;
import android.widget.ImageButton;
import android.widget.Toast;

public class wang extends Activity {

    private ImageButton mImageButton1;
    private EditText mEditText1;
    private WebView mWebView1;

    @Override
    protected void onCreate(Bundle savedInstanceState) {
        super.onCreate(savedInstanceState);
        setContentView(R.layout.main);
        mImageButton1 = (ImageButton) findViewById(R.id.myImageButton1);
        mEditText1 = (EditText) findViewById(R.id.myEditText1);
        mWebView1  = (WebView) findViewById(R.id.myWebView1);
        /*当单击箭头后*/
        mImageButton1.setOnClickListener(new ImageButton.OnClickListener(){

            @Override
            public void onClick(View v) {
                // TODO Auto-generated method stub
            mImageButton1.setImageResource(R.drawable.go_2);
            /*抓取EditText中的数据*/
            String strURL = (mEditText1.getText().toString());
            /*WebView显示网页内容*/
            mWebView1.loadUrl(strURL);
            Toast.makeText(wang.this, getString(R.string.load)+strURL, Toast.LENGTH_LONG).show();
            }

        });

    }

/*    @Override
    public boolean onCreateOptionsMenu(Menu menu) {
        // Inflate the menu; this adds items to the action bar if it is present.
        getMenuInflater().inflate(R.menu.main, menu);
        return true;
    }*/

}
<?xml version="1.0" encoding="utf-8"?>
<manifest xmlns:android="http://schemas.android.com/apk/res/android"
    package="irdc.wang"
    android:versionCode="1"
    android:versionName="1.0" >

    <uses-sdk
        android:minSdkVersion="8"
        android:targetSdkVersion="17" />

    <application
        android:icon="@drawable/icon"
        android:label="@string/app_name">
        <activity
            android:name="irdc.wang.wang"
            android:label="@string/app_name" >
            <intent-filter>
                <action android:name="android.intent.action.MAIN" />

                <category android:name="android.intent.category.LAUNCHER" />
            </intent-filter>
        </activity>
    </application>
<uses-permission android:name="android.permission.INTERNET"/>
</manifest>
<?xml version="1.0" encoding="utf-8"?>
<resources>

    <string name="app_name">wang</string>
    <string name="action_settings">Settings</string>
    <string name="hello_world">Hello world!</string>
  <string name="hello">wang</string>
  <string name="url">http://</string>
  <string name="load">正在加载中....</string>
</resources>
<?xml version="1.0" encoding="utf-8"?>
<resources>
  <drawable name="darkgray">#808080</drawable>
  <drawable name="black">#1A1A1A</drawable>
  <drawable name="white">#FFFFFF</drawable>
  <drawable name="blue">#0000FF</drawable>
</resources>

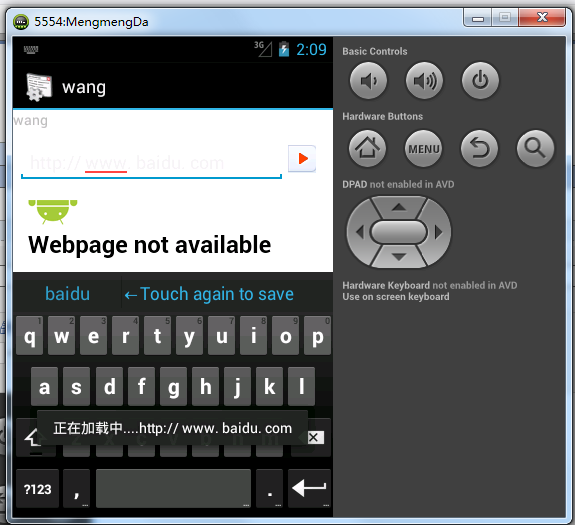
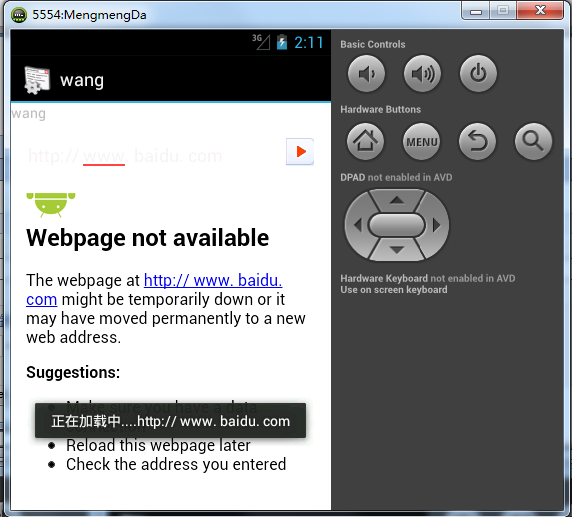
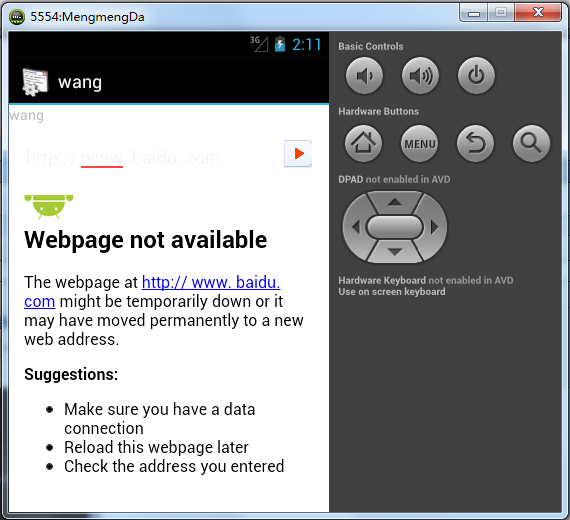
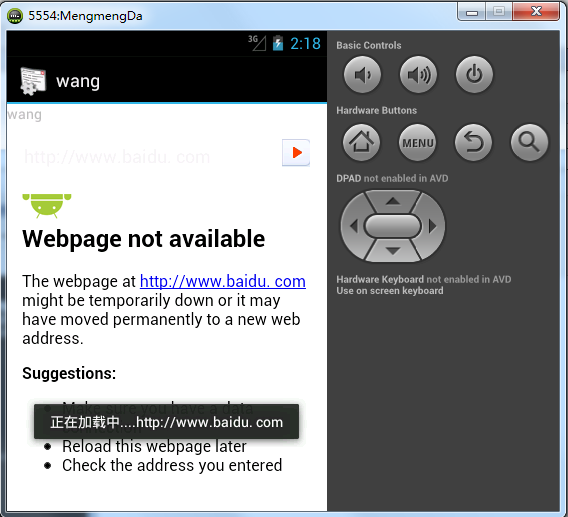
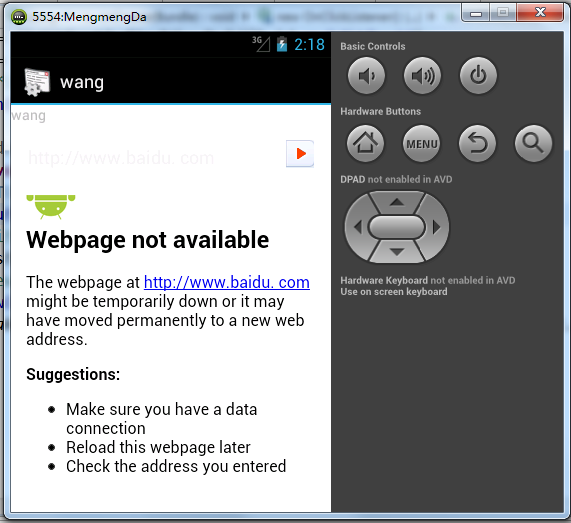
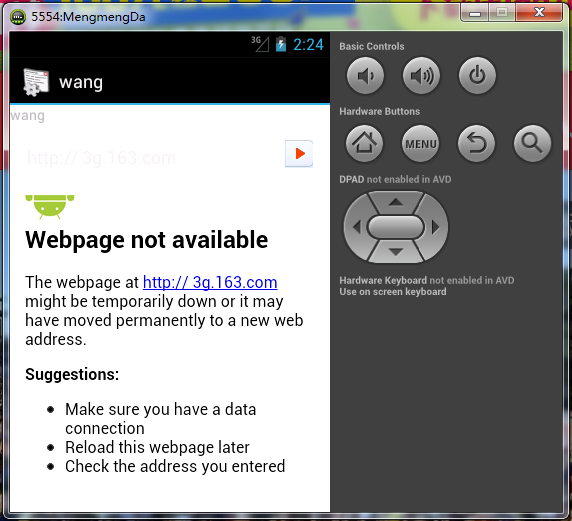
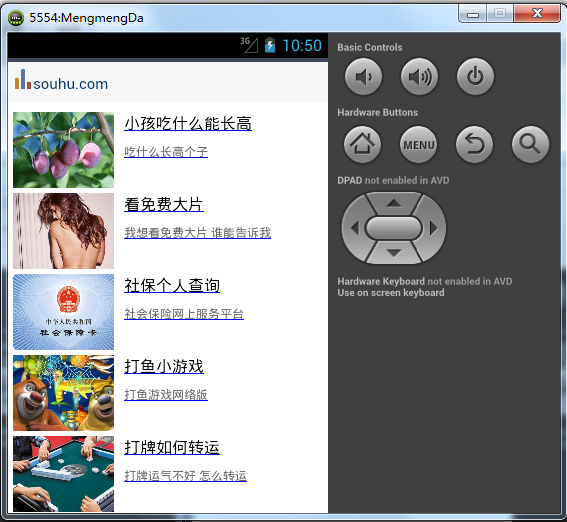
执行后显示一个文本框,在此可以输入网址,如图10-4所示。输入网址并单击后面的 后,将显示此网页的内容,如图10-5所示。


10.4.2 实战演练——加载一个指定的HTML程序
HTML语言是当前主流的网页技术,而WebView是一个嵌入式的浏览器,在里面可以直接使用WebView.loadData()。WebView将HTML标记传递给WebView对象,让Android手机程序变为Web浏览器。这样,网页程序被放在了WebView中运行,如同一个Web Application。
本实例的具体实现流程如下所示。
(1)编写布局文件main.xml,主要代码如下所示。
<?xml version="1.0" encoding="utf-8"?>
<LinearLayout xmlns:android="http://schemas.android.com/apk/res/android"
    android:orientation="vertical"
    android:background="@drawable/white"
    android:layout_width="fill_parent"
    android:layout_height="fill_parent" >

<!-- 创建一个TextView -->
<TextView
    android:id="@+id/myTextView1"
    android:layout_width="fill_parent"
    android:layout_height="wrap_content"
    android:textColor="@drawable/blue"
    android:text="@string/hello"
    />
<!-- 创建一个WebView -->
<WebView
    android:id="@+id/myWebView1"
    android:layout_height="wrap_content"
    android:layout_width="wrap_content"
    />
</LinearLayout>
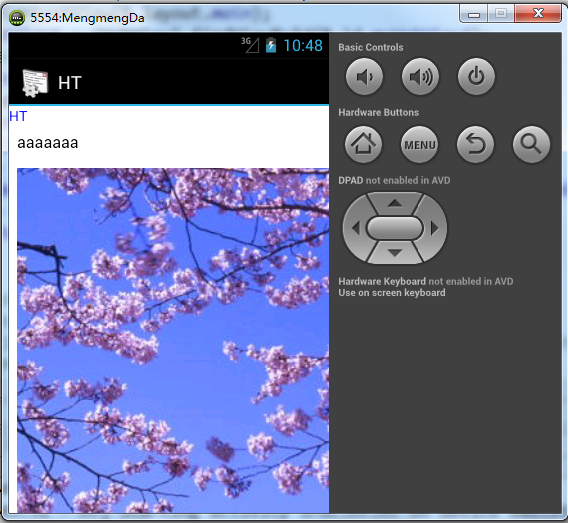
(2)编写文件HT.java,在loadData插入预先设置好的HTML代码,通过HTML代码显示一幅图片和文字,并且实现超级链接功能。具体代码如下所示。
package irdc.HT;

import android.os.Bundle;
import android.app.Activity;
import android.view.Menu;
import android.view.View;
import android.webkit.WebView;

public class HT extends Activity {

    private WebView mWebView1;

    @Override
    protected void onCreate(Bundle savedInstanceState) {
        super.onCreate(savedInstanceState);
        setContentView(R.layout.main);
        mWebView1 = (WebView) findViewById(R.id.myWebView1);
        /*自行设置WebView要显示的网页内容*/
        mWebView1.
        loadData(
        "<html><body><p>aaaaaaa</p>" +
        "<div class='widget-content'> "+
        "<a href=http://www.souhu.com>" +
        "<img src=http://hiphotos.baidu.com/chaojihedan/pic/item/bbddf5efc260f133fdfa3cd8.jpg />" +
        "<a href=http://www.souhu.com>Link Blog</a>" +
        "</body></html>", "text/html", "utf-8");
    }

/*    @Override
    public boolean onCreateOptionsMenu(Menu menu) {
        // Inflate the menu; this adds items to the action bar if it is present.
        getMenuInflater().inflate(R.menu.main, menu);
        return true;
    }*/

}
执行后将显示HTML产生的页面,如图10-6所示。单击超链接后会来到指定的目标页面。

10.4.3 实战演练——使用WebView加载JavaScript程序
本实例预先准备了一个HTML文件和一个JavaScript文件,其最终目的是在加载HTML的同时加载JavaScript文件,在HTML中显示手机中联系人的信息。
package com.example;

public class JavaArrayJSWrapper {

    private Object[] innerArray;

    public JavaArrayJSWrapper(Object[] innerArray) {
        super();
        this.innerArray = innerArray;
    }
    public int length(){
        return this.innerArray.length;
    }
    public Object get(int index){
        return this.innerArray[index];

    }

}
package com.example;

public class Person {
     String name;
     String phone_number;
    public String getName() {
        return name;
    }
    public String getPhone_number() {
        return phone_number;
    }

}
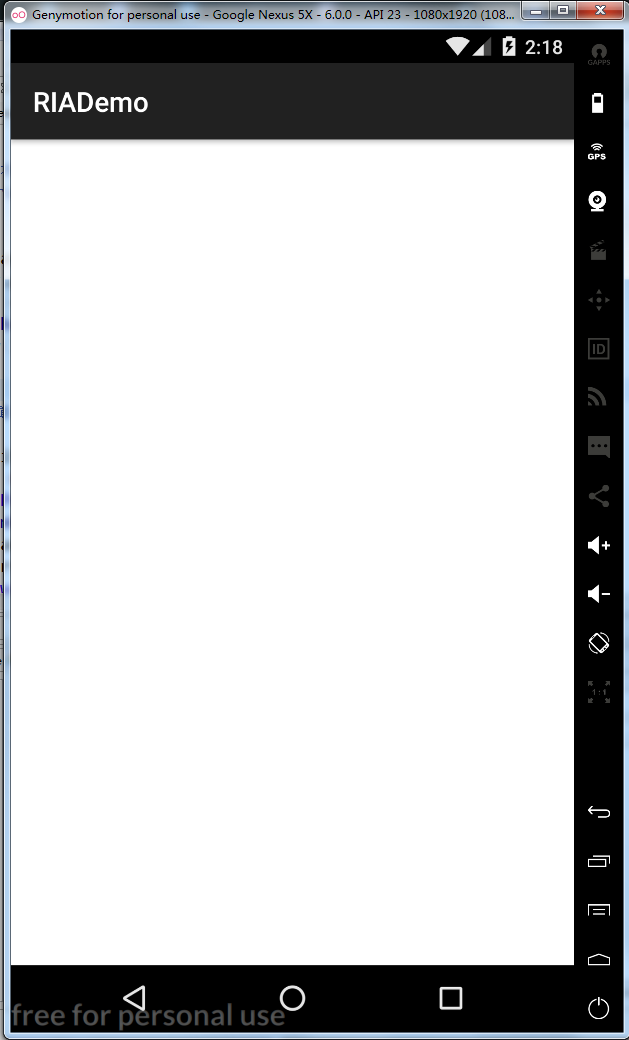
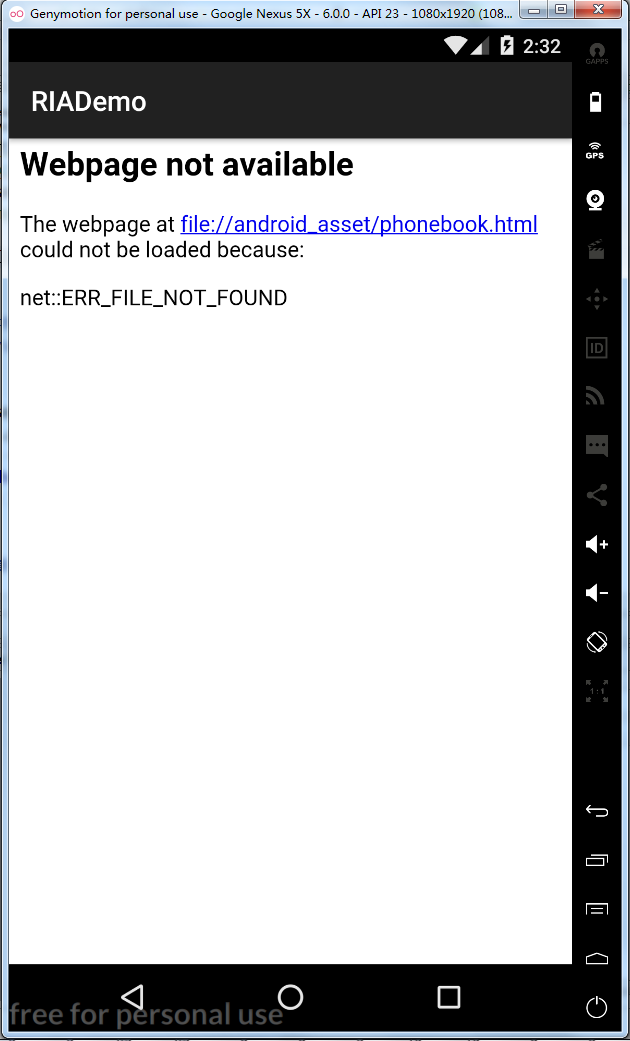
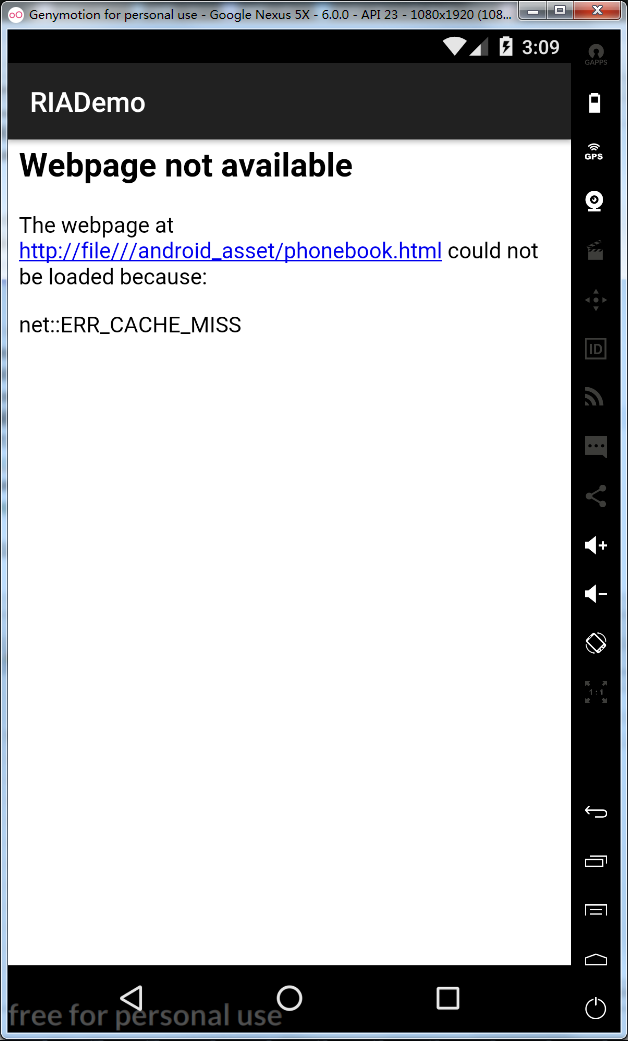
package com.example;
import java.util.Vector;
import android.os.Bundle;
import android.app.Activity;
import android.util.Log;
//import android.view.Menu;
//import android.view.View;
import android.webkit.WebView;
public class RIAExample extends Activity {

    //模拟号码簿
    private Vector<Person> phonebook = new Vector<Person>();
    private WebView web;
    /** Called when the activity is first created.  */
    @Override
    protected void onCreate(Bundle savedInstanceState) {
        super.onCreate(savedInstanceState);
        setContentView(R.layout.main);
        this.initContacts();
        web = (WebView) this.findViewById(R.id.web);
        web.getSettings().setJavaScriptEnabled(true);
        //开启javascript设置,否则webview不执行JS脚本
        web.addJavascriptInterface(this, "phonebook");
        //把RIAExample的一个实例添加到JS的全局对象window中,
                                      //这样就可以使用window.phonebook来调用它的方法
        web.loadUrl("file://android_asset/phonebook.html");//加载网页
    }
    /**
     * 该方法将在JS脚本中,通过window.phonebook.getContacts()进行调用
     * 返回的JavaArrayJSWrapper对象可以使得在JS中访问Java数组
     * @return
     */
    public JavaArrayJSWrapper getContacts(){
        System.out.println("fetching contacts data");
        Person[] a = new Person[this.phonebook.size()];
        a = this.phonebook.toArray(a);
        return new JavaArrayJSWrapper(a);
    }
    /**
     * 初始化电话号码簿
     */
    public void initContacts(){
        Person p = new Person();
        p.name = "Perter";
        p.phone_number = "8888888";
        phonebook.add(p);
        p = new Person();
        p.name = "wangpeng1";
        p.phone_number = "13000000";
        phonebook.add(p);
    }
    /**
     * 通过window.phonebook.debugout来输出JS调试信息
     * @param info
     */
    public void debugout(String info){
        Log.i("ss", info);
        System.out.println(info);
    }
/*    @Override
    public boolean onCreateOptionsMenu(Menu menu) {
        // Inflate the menu; this adds items to the action bar if it is present.
        getMenuInflater().inflate(R.menu.main, menu);
        return true;
    }
*/
}
<LinearLayout xmlns:android="http://schemas.android.com/apk/res/android"
    xmlns:tools="http://schemas.android.com/tools"
    android:orientation="vertical"
    android:layout_width="fill_parent"
    android:layout_height="fill_parent">

    <WebView
        android:id="@+id/web"
        android:layout_width="fill_parent"
        android:layout_height="fill_parent"/>

</LinearLayout>
<?xml version="1.0" encoding="utf-8"?>
<resources>
    <string name="hello">Hello World, RIAExample</string>
    <string name="app_name">RIADemo</string>
</resources>
<html>
   <head>
      <script type="text/javascript" src="fetchcontacts.JS"/>
   </head>
   <body>
       <div id="contacts">
          <p> this is a demo </p>
       </div>
    </body>
</html>
    window.phonebook.debugout("inside js onload");//调用RIAExample.debugout
    var persons = window.phonebook.getContacts();//调用RIAExample.getContacts()
    if(persons){//persons实际上是JavaArrayJSWrapper对象
        window.phonebook.debugout(persons.length() + " of contact entries are fetched");
        var contactsE = document.getElementById("contacts");
        var i = 0;
        while(i < persons.length()){//persons.length()调用JavaArrayJSWrapper.length()方法

            pnode = document.createElement("p");
            tnode = document.createTextNode("name : " + persons.get(i).getName() + " number : " + persons.get(i).getNumber());//persons.get(i)获得Person对象,然后在js里面直接调用getName()和getNumber()获取姓名和号码
            pnode.appendChild(tnode);
            contactsE.appendChild(pnode);
            i ++;
        }
    }else{
        window.phonebook.debugout("persons is undefined");
    }

}
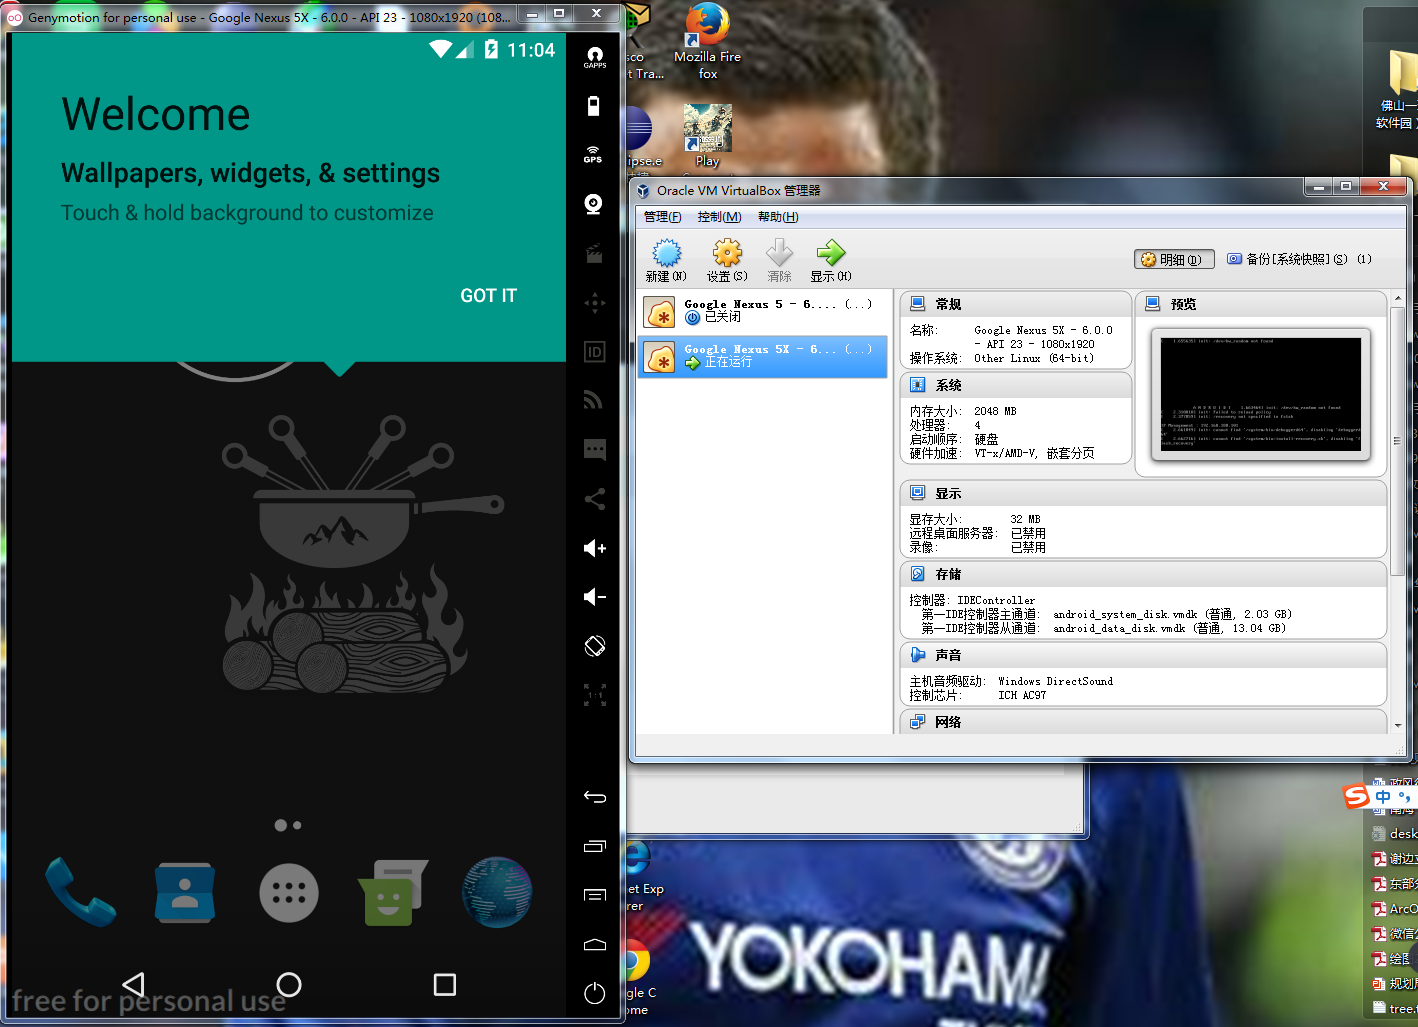
直接运行genymotion-2.10.0-vbox即可启动Genymotion成功
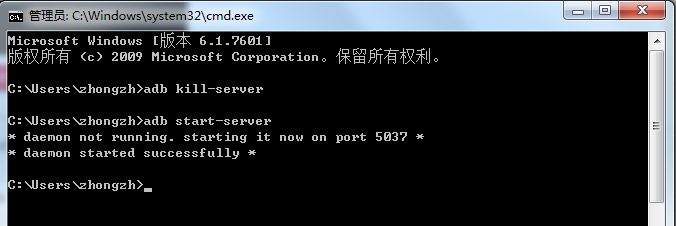
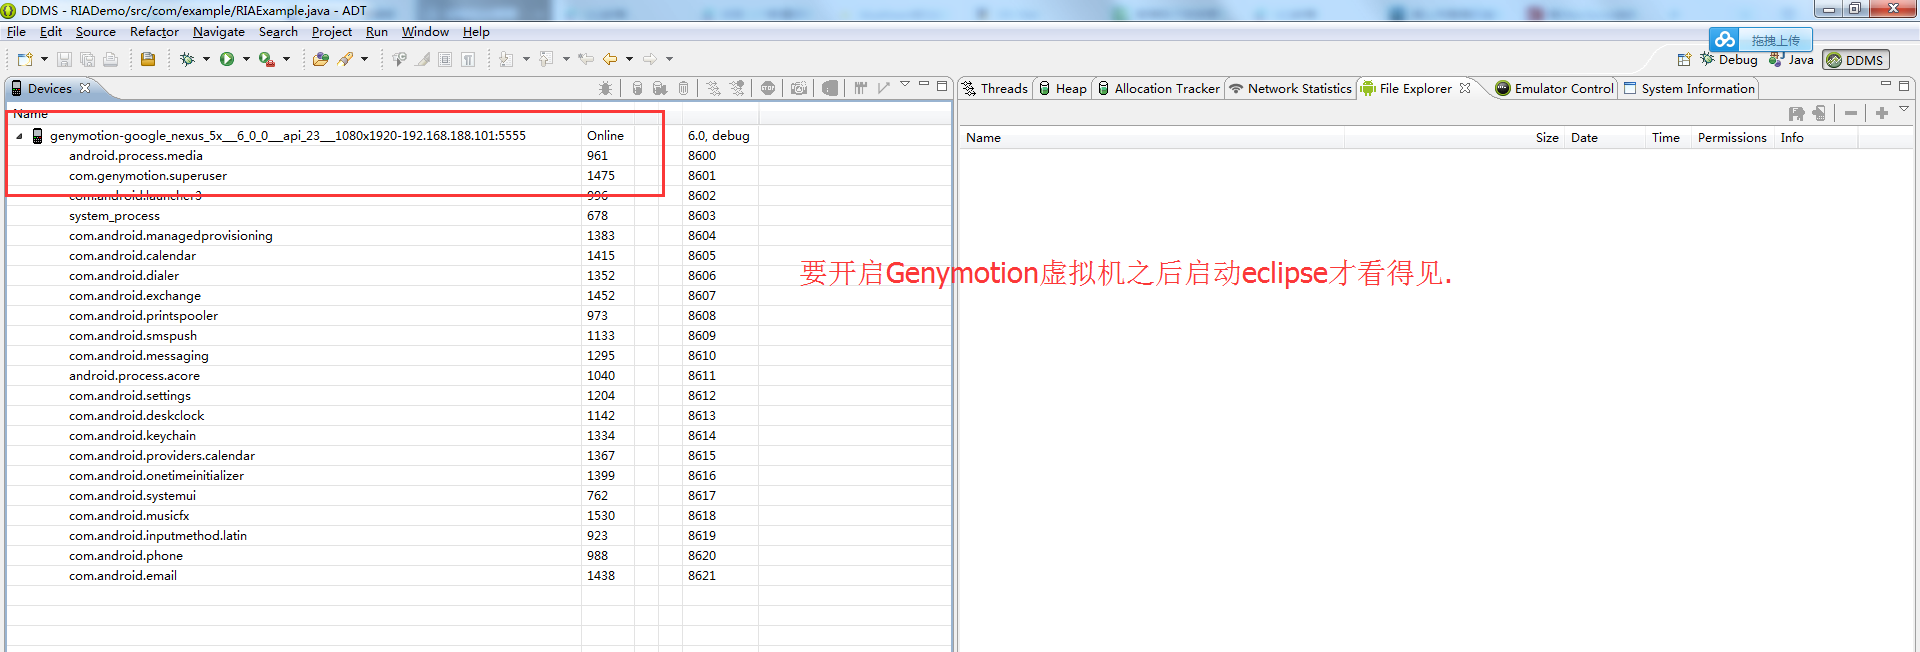
然后现在可以打开genymotion,开启虚拟机,等虚拟机内的android设备启动之后,再打开eclipse,再次在devices中就可以找到你的设备!
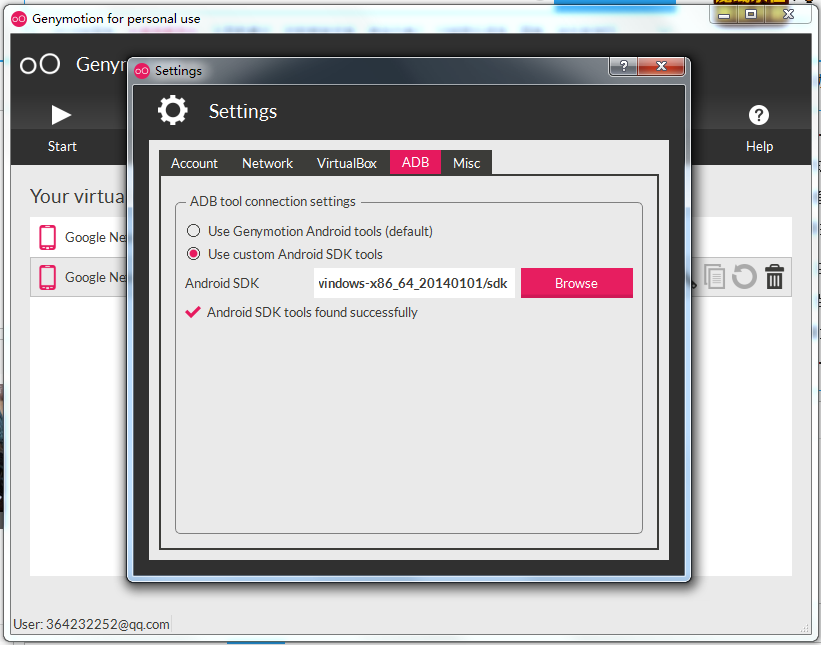
问题解决的关键是:不适用genymotion自带的sdk,而是用android-sdk这样的话就不会冲突!祝你成功!