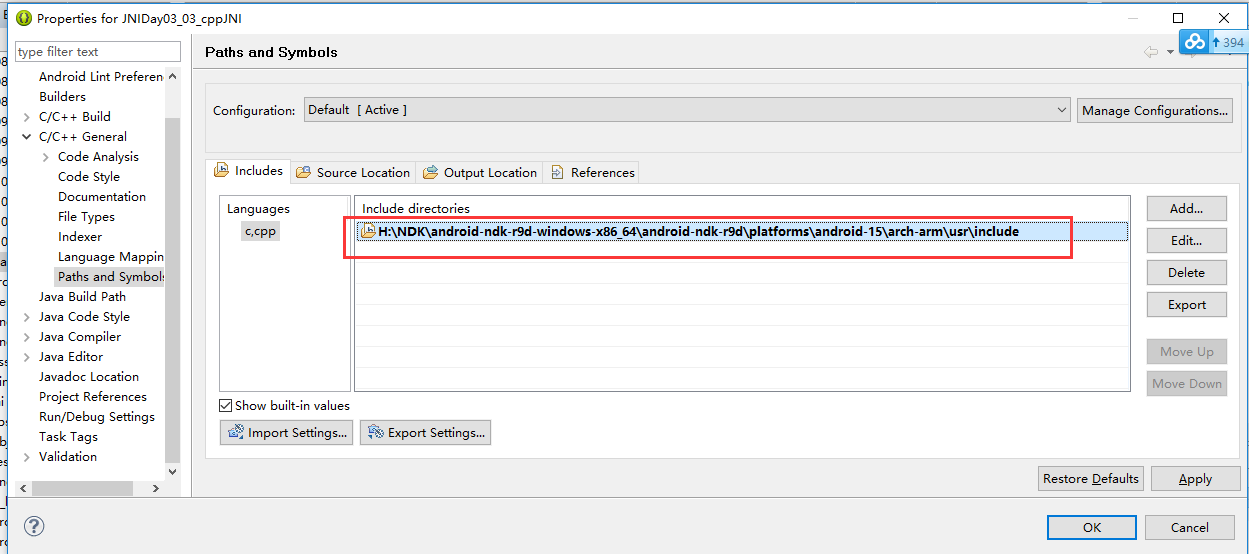
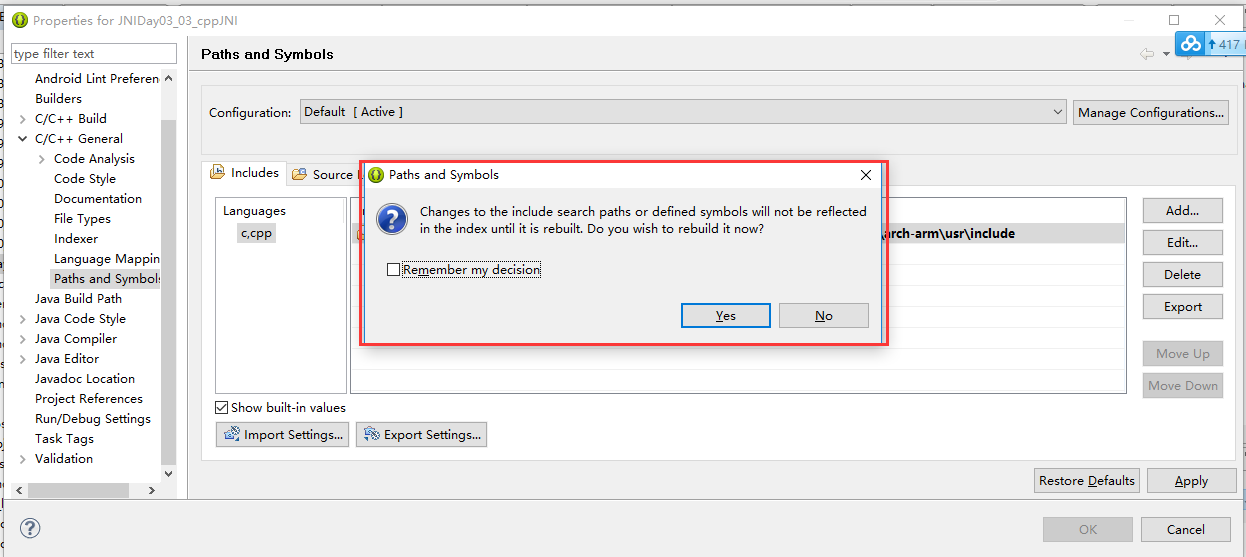
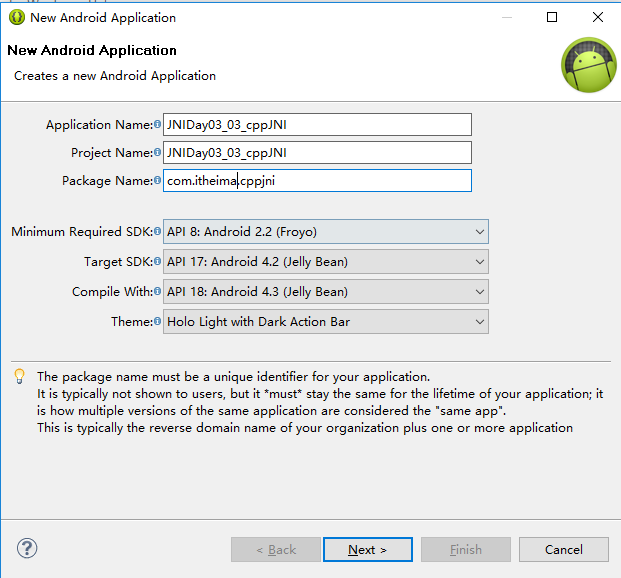
01_c++下jni开发说明
<RelativeLayout xmlns:android="http://schemas.android.com/apk/res/android"
    xmlns:tools="http://schemas.android.com/tools"
    android:layout_width="match_parent"
    android:layout_height="match_parent"
    android:paddingBottom="@dimen/activity_vertical_margin"
    android:paddingLeft="@dimen/activity_horizontal_margin"
    android:paddingRight="@dimen/activity_horizontal_margin"
    android:paddingTop="@dimen/activity_vertical_margin"
    tools:context=".MainActivity" >

    <Button
        android:layout_width="wrap_content"
        android:layout_height="wrap_content"
        android:onClick="helloincpp"
        android:text="调用C++函数" />

</RelativeLayout>
package com.itheima.cppjni;

import android.os.Bundle;
import android.app.Activity;
import android.view.Menu;
import android.view.View;
import android.widget.Toast;

public class MainActivity extends Activity {

    @Override
    protected void onCreate(Bundle savedInstanceState) {
        super.onCreate(savedInstanceState);
        setContentView(R.layout.activity_main);
    }

    public void helloincpp(View v){
        Toast.makeText(this, hellocpp(), Toast.LENGTH_SHORT).show();
    }
    public native String hellocpp();
}
Java的代码咱们就写好了.接下来是写C++的代码.
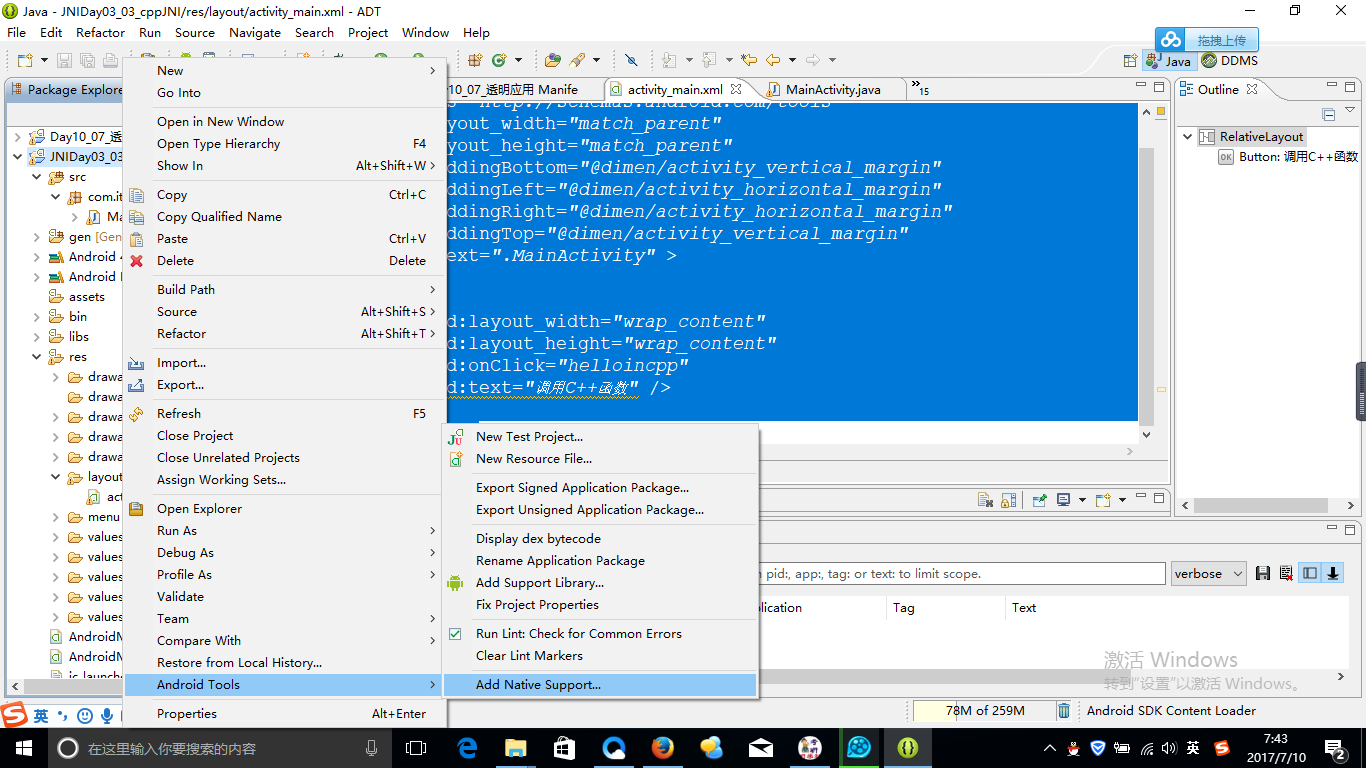
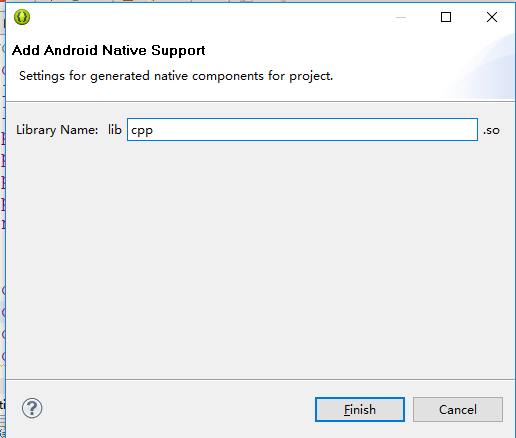
Android Tools->Add Native Support

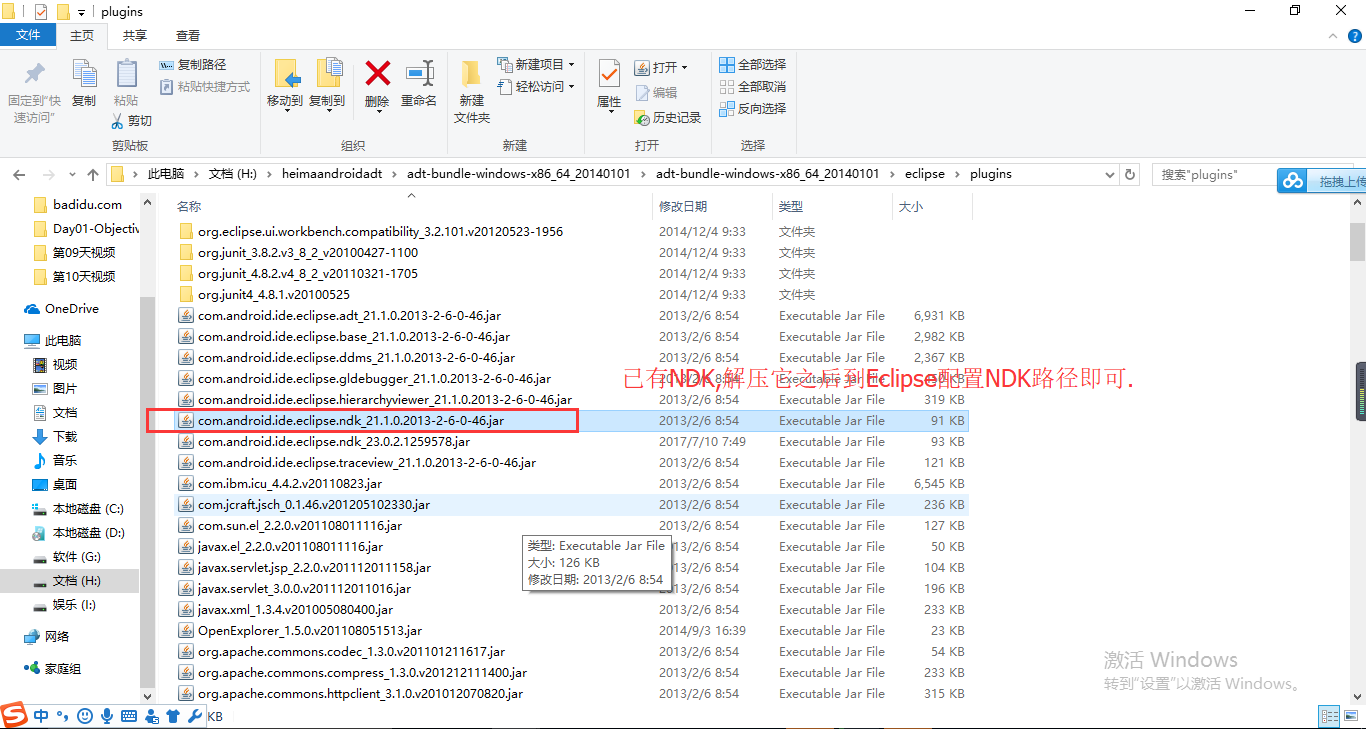
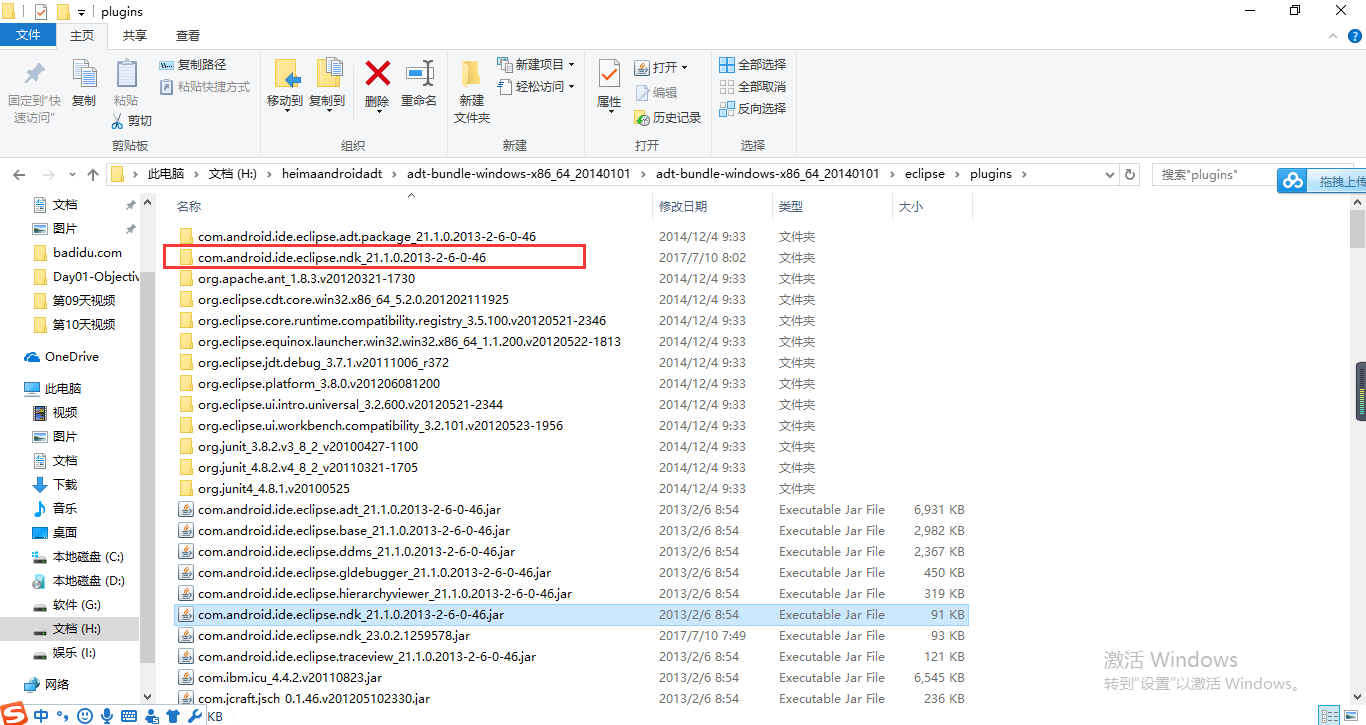
在你安装的ndk的主目录下创建一个ndk-build空文件,然后重新打开对话框选择就可以解决
eclipse adt 选择ndk目录时提示“Not a valid NDK directory”的问题了

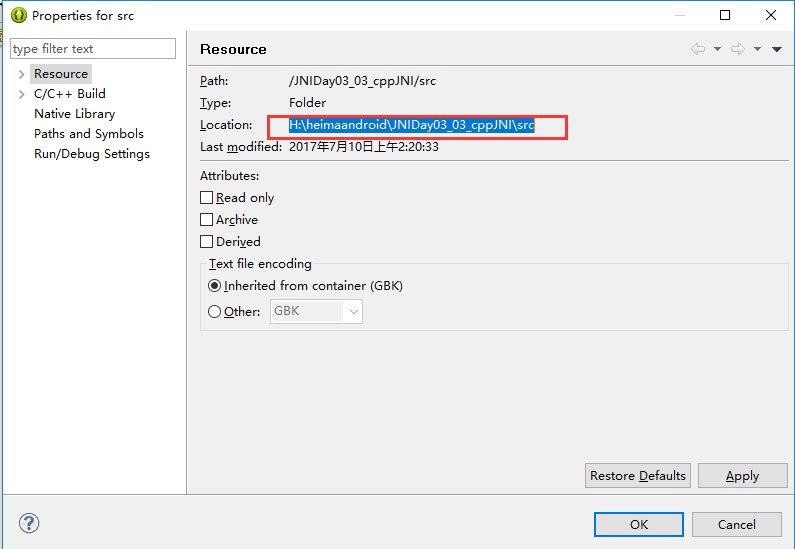
指定一个include目录的位置。
