[翻译] TWRPickerSlider
TWRPickerSlider

https://github.com/chasseurmic/TWRPickerSlider

Usage
Add the dependency to your Podfile:
用 Podfile 添加依赖关系
platform :bios
pod 'TWRPickerSlider’, ‘~> 1.0’
...
Run pod install to install the dependencies.
运行 pod install 来安装依赖
Next, import the header file wherever you want to use the picker:
下一步,导入头文件
#import "TWRSliderStackedView.h"
#import "TWRPickerSlider.h"
You should first initialize your TWRPickerSlider as such:
你需要用以下的方式来初始化对象:
TWRPickerSlider *slider1 = [[TWRPickerSlider alloc] init];
…and assign some objects for the picker:
然后,你可以给 picker 赋值几个对象:
slider1.pickerObjects = @[obj1, obj2, obj3];
Objects passed to the picker can be of any type, provided they conform to the TWRPickerSliderDatasource protocol. Said protocol only requires the user to implement the following method, which returns the string that the picker will display for the object:
对象可以是任意类型,你只需要给TWRPickerSliderDatasource提供字符串数据即可:
- (NSString *)twr_pickerTitle;
Then set the picker delegate to be your view controller and implement theTWRPickerSliderDelegate protocol:
然后设置代理到你的控制器中,并实现协议:
// Set Delegate
slider1.delegate = self;

// TWRPickerSliderDelegate
- (void)objectSelected:(id<TWRPickerSliderDatasource>)selectedObject sender:(TWRPickerSlider *)sender{
    NSLog(@"Selected object: %@", [selectedObject twr_pickerTitle]);
}
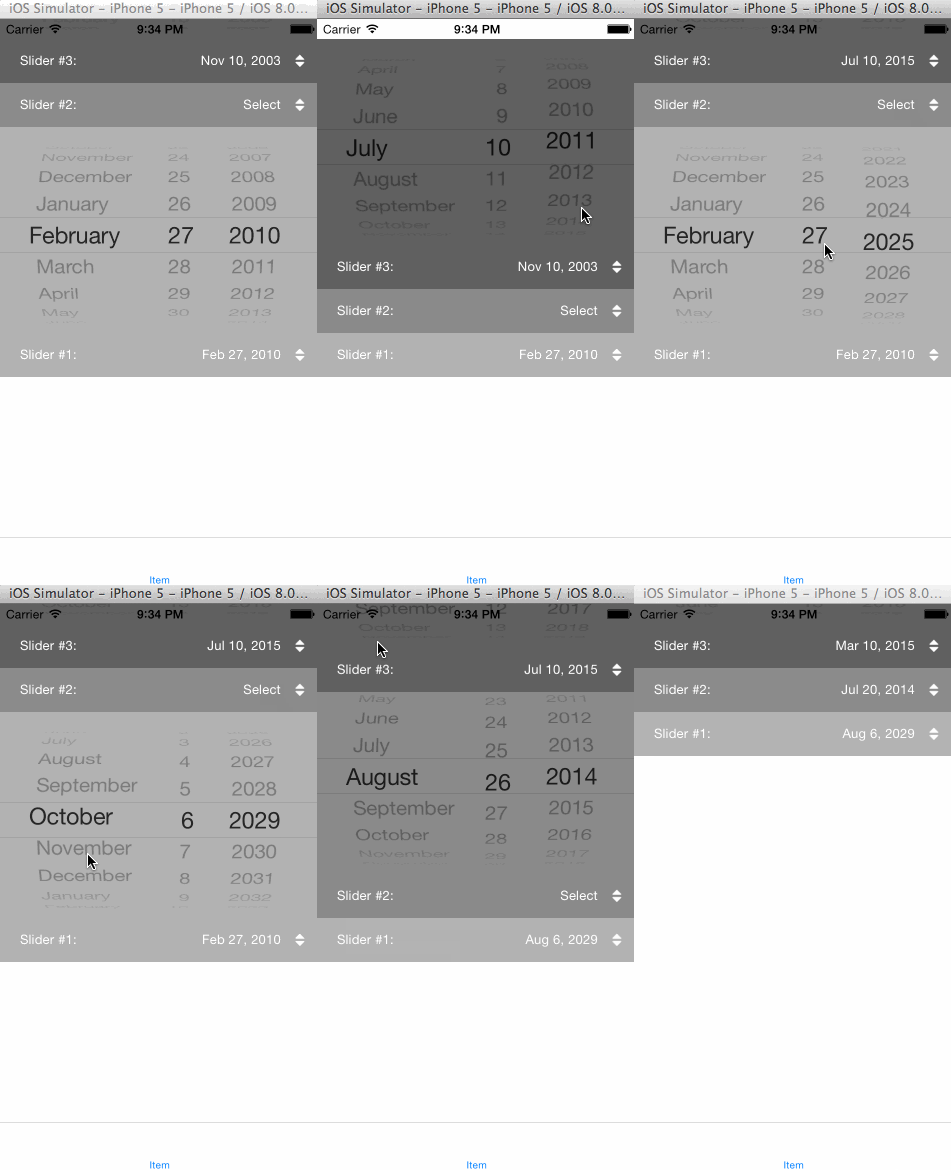
Finally add you TWRPickerSlider instance to your view. It will automatically position itself at the bottom of the view and animate / slide when pressed.
最后添加 TWRPickerSlider 到你的view上,它会自动的将它自己添加到底端
Alternatively, if you have or want to display more than one picker at a time, you can instantiate a TWRSliderStackedView object and assign it an array of TWRPickerSlider.
另外,如果你想在同一时间显示超过一个的picker,你可以初始化TWRSliderStackedView对象,然后在它的数组对象中赋值TWRPickerSlider对象。
TWRSliderStackedView *stack = [[TWRSliderStackedView alloc] init];
stack.sliders = @[slider1, slider2, slider3];
[self.view addSubview:stack];
Again, the stacked view will position itself at the bottom of the current view. If you’re working inside a tab bar controller, or if you don’t want the stacked view to stick at the bottom of the view controller, you can use one of the following two methods:
这个 stacked view将会把它自己安置在当前view的底部,如果你是在Tab bar控制器中作业,或者说你不想让stacked view在这个控制器的底端,你可以用下面的方法来设置:
- (instancetype)initWithBottomPadding:(NSUInteger)padding;
- (instancetype)initWithTabBar;
See the demo project for more details.
你可以看demo了解更多。
TWRPickerSlider requires iOS 7.x or greater.
TWRPickerSlider需要iOS7.x以上版本

