Android 的简单控件 -- 文本显示, 视图基础, 常用布局, 按钮触控, 图像显示
简单控件的内容包括:
设置文本的内容
设置文本内容有两种方式:
-
在 XML 文件中通过属性 android:text 设置文本
-
在 Java 代码中调用文本视图对象的 setText 方法设置文本
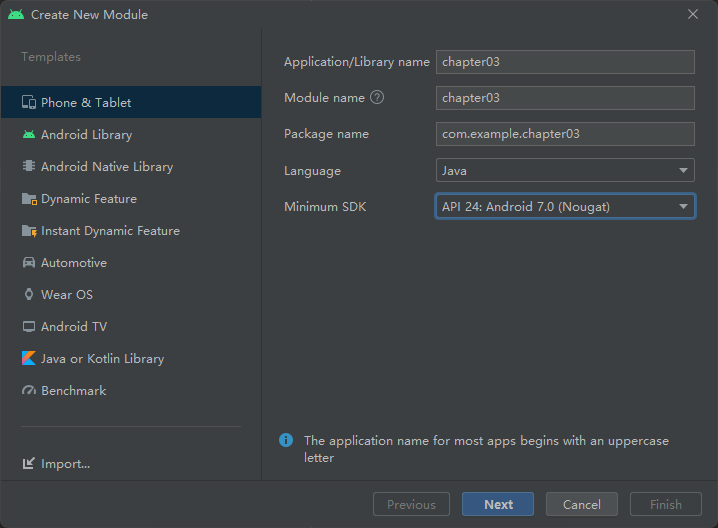
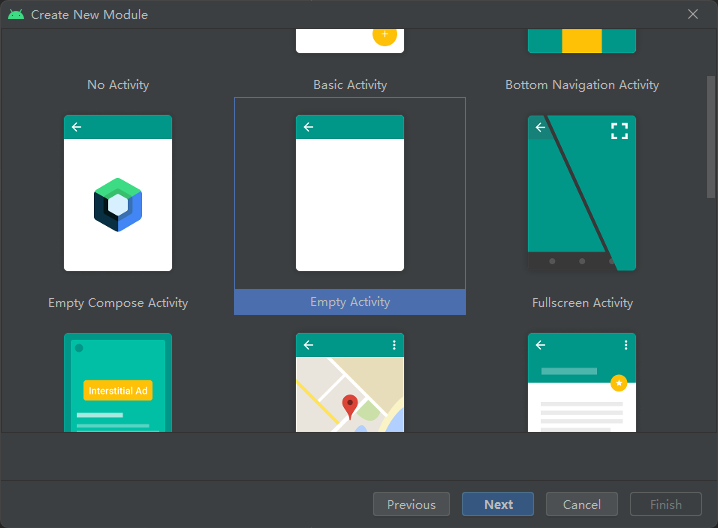
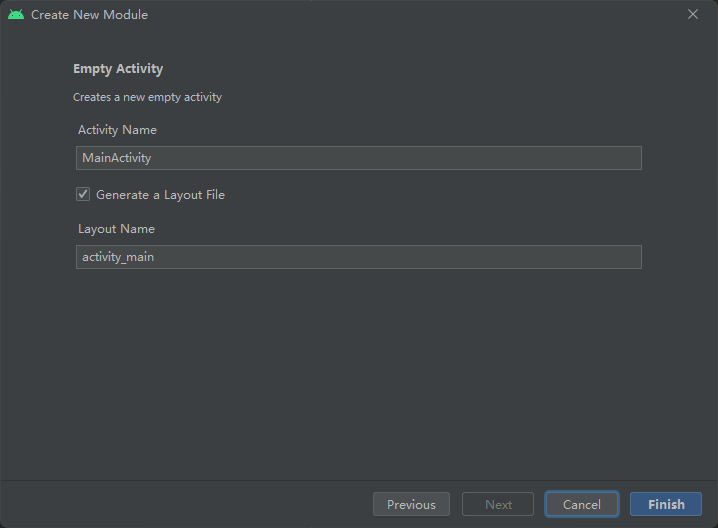
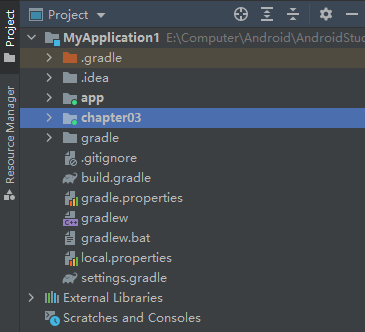
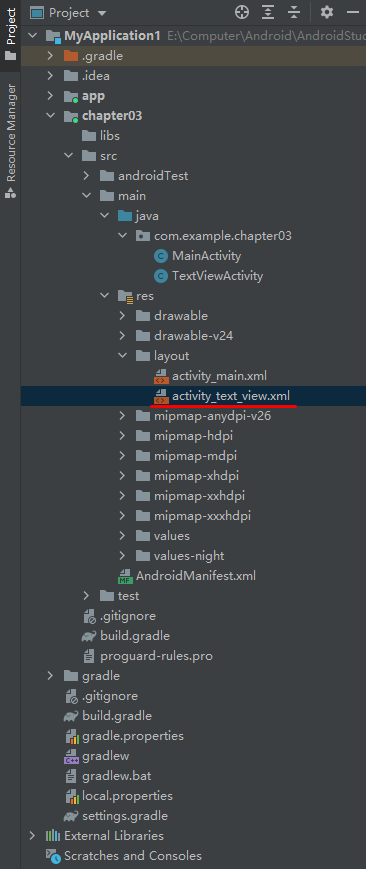
创建一个新模块 chapter03:
创建成功:
在模块 chapter03 中创建一个布局:
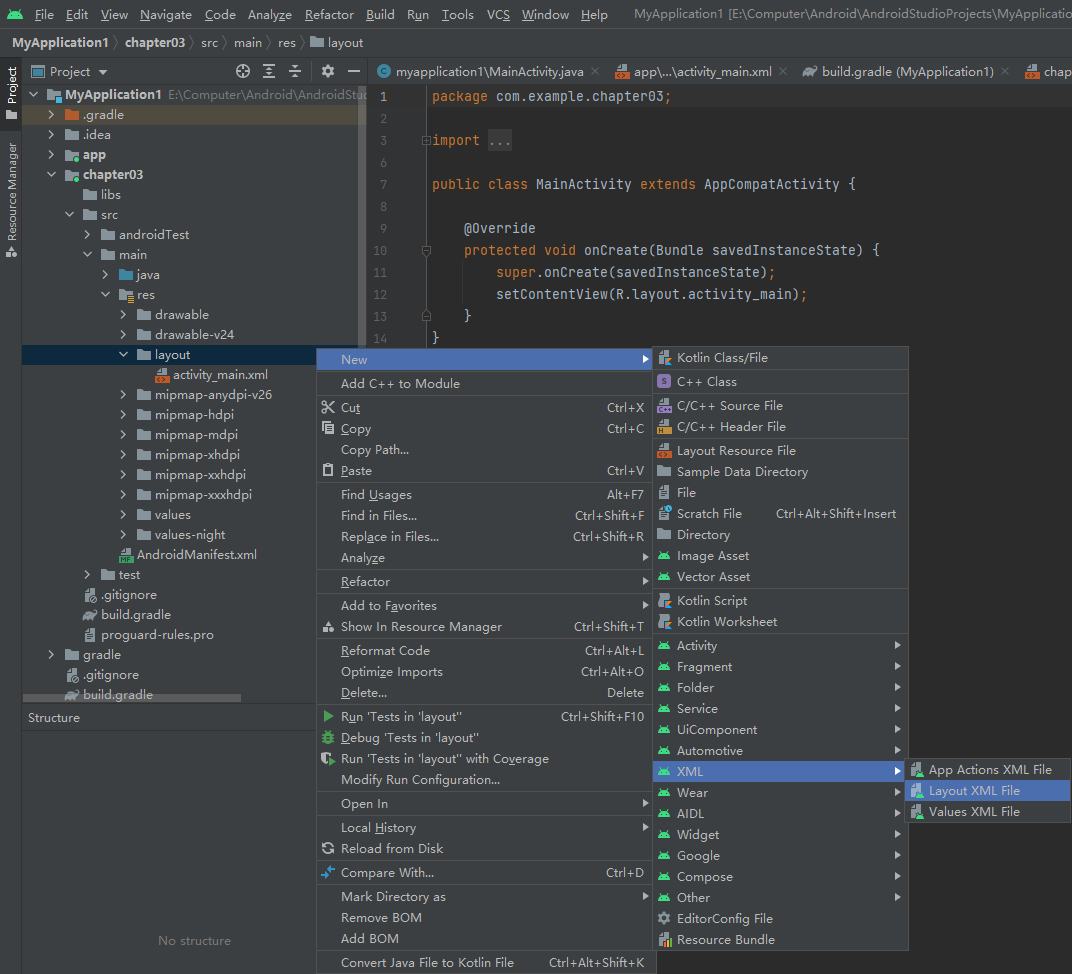
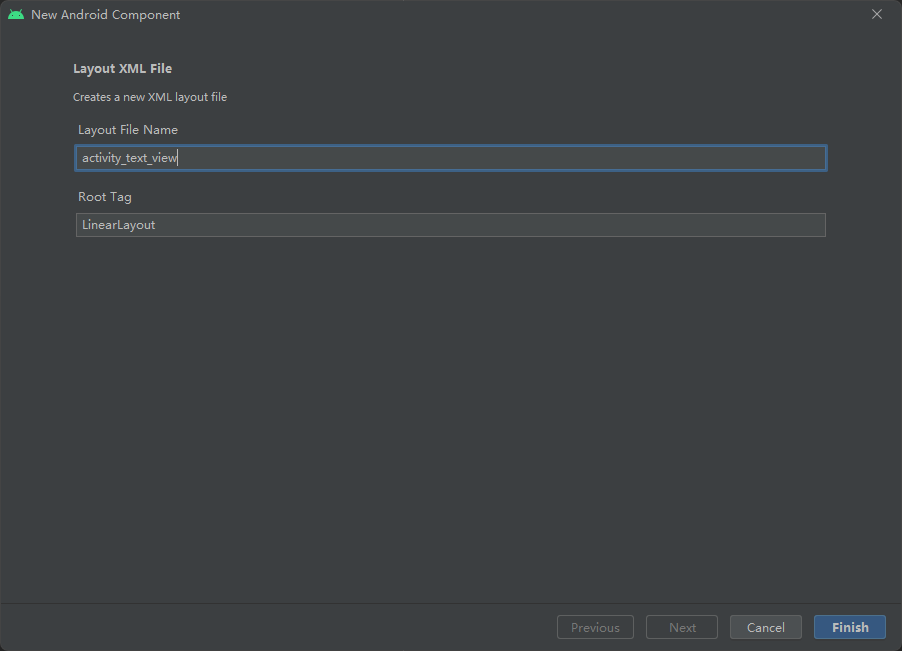
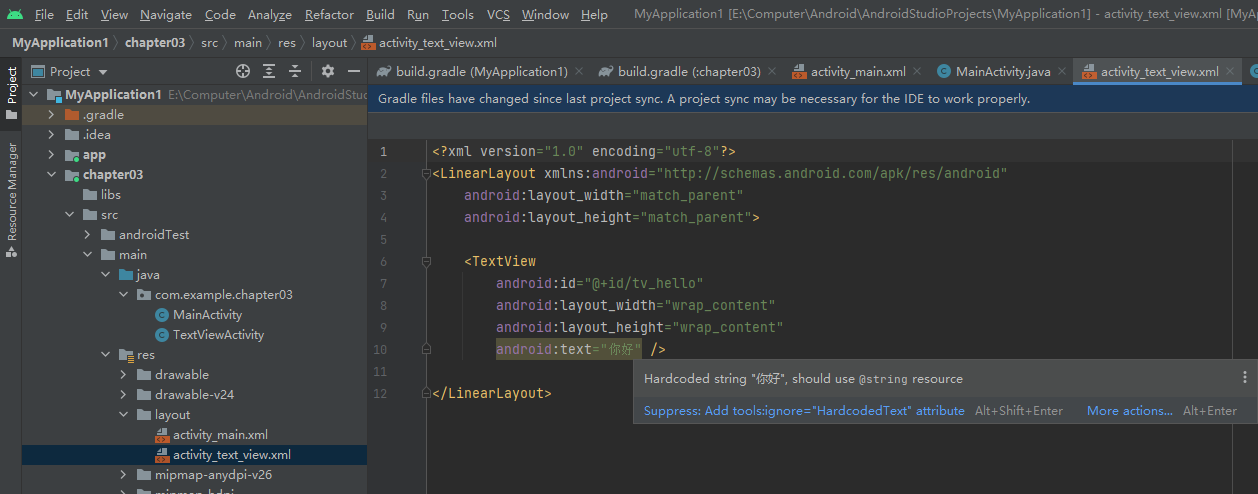
布局文件的内容:
<?xml version="1.0" encoding="utf-8"?> <LinearLayout xmlns:android="http://schemas.android.com/apk/res/android" android:layout_width="match_parent" android:layout_height="match_parent"> <TextView android:id="@+id/tv_hello" android:layout_width="wrap_content" android:layout_height="wrap_content" android:text="你好" /> </LinearLayout>
创建一个 activity:
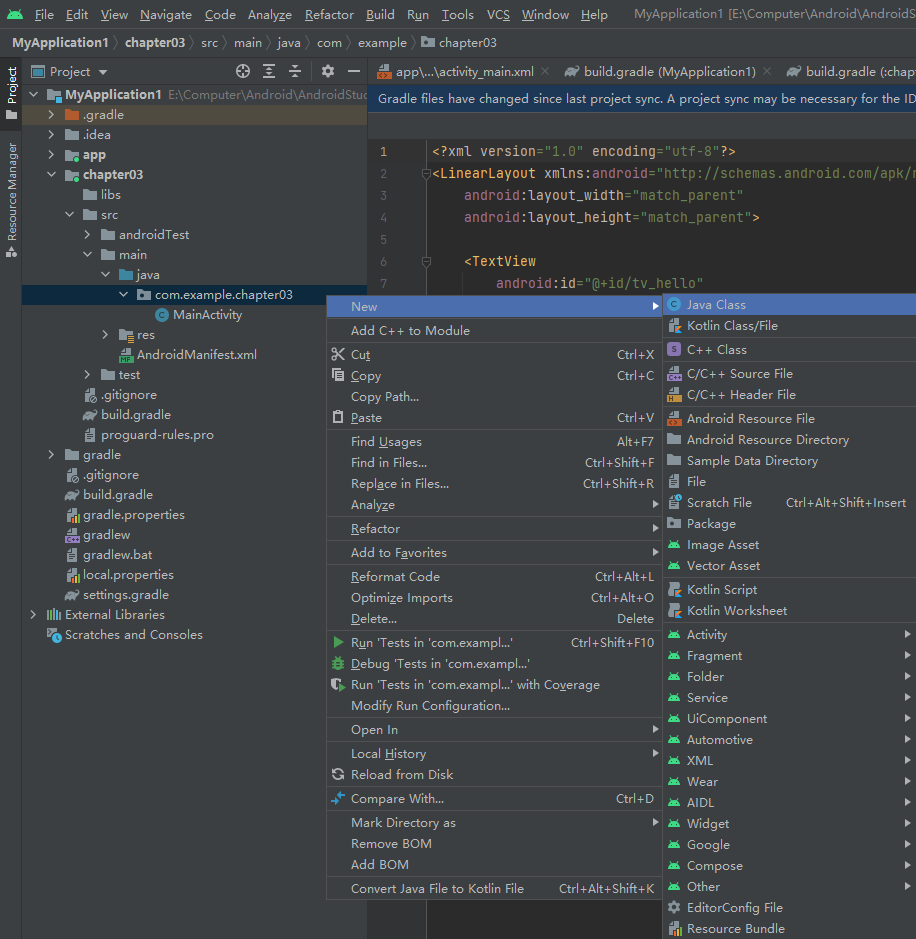
这个 activity 的内容:
package com.example.chapter03; import android.annotation.SuppressLint; import android.os.Bundle; import android.widget.TextView; import androidx.annotation.Nullable; import androidx.appcompat.app.AppCompatActivity; public class TextViewActivity extends AppCompatActivity { @SuppressLint("ResourceType") @Override protected void onCreate(@Nullable Bundle savedInstanceState) { super.onCreate(savedInstanceState); setContentView(R.string.hello); TextView tv_hello = findViewById(R.id.tv_hello); tv_hello.setText("你好, 世界"); } }
布局文件里, 字符串的位置, 提示尽量使用资源文件而不是硬编码:
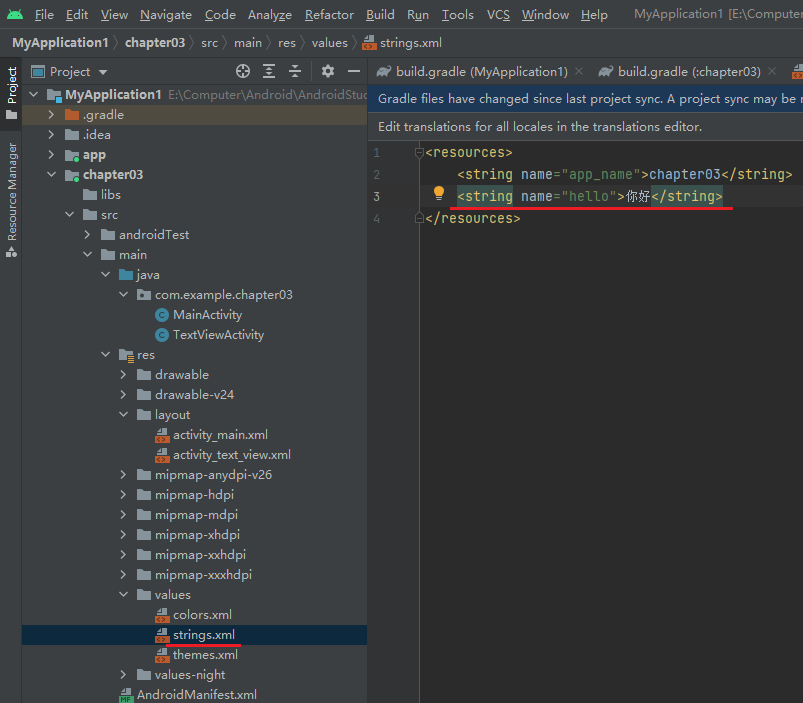
放到字符串中:
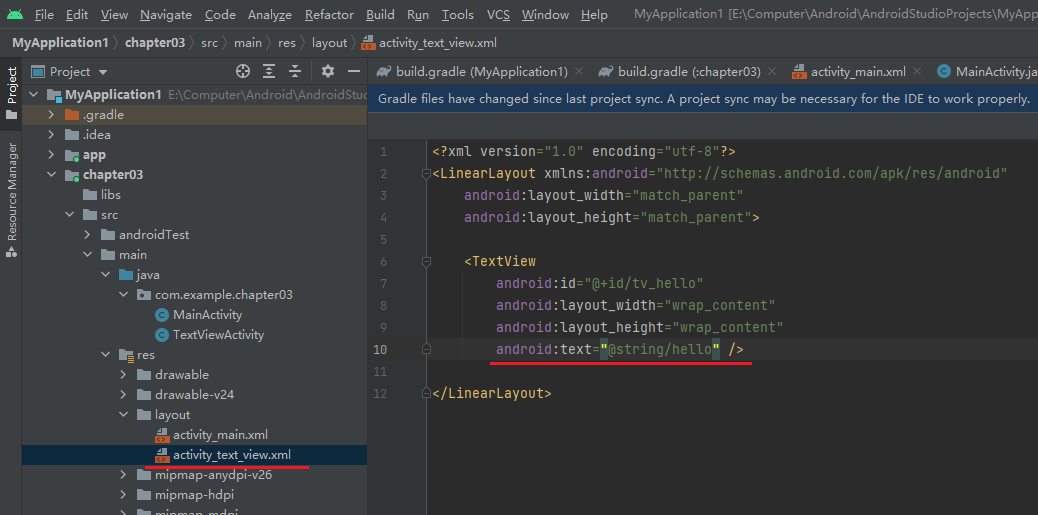
修改布局文件:
修改 activity 文件:
package com.example.chapter03; import android.annotation.SuppressLint; import android.os.Bundle; import androidx.annotation.Nullable; import androidx.appcompat.app.AppCompatActivity; public class TextViewActivity extends AppCompatActivity { @SuppressLint("ResourceType") @Override protected void onCreate(@Nullable Bundle savedInstanceState) { super.onCreate(savedInstanceState); setContentView(R.string.hello); } }
引用字符串资源
-
在 XML 文件中引用
(string/***) -
在 Java 代码中引用
(R.string.***)
设置文本的大小
在 Java 代码中调用 setTextSize 方法, 即可指定文本大小.
在 XML 文件中则通过属性 android:textSize 指定文本大小, 此时需要指定字号单位.
-
px: 它是手机屏幕的最小显示单位, 与设备的显示屏有关.
-
dp: 它是与设备无关的显示单位, 只与屏幕的尺寸有关.
-
sp: 它专门用来设置字体大小, 在系统设置中可以调整字体大小.
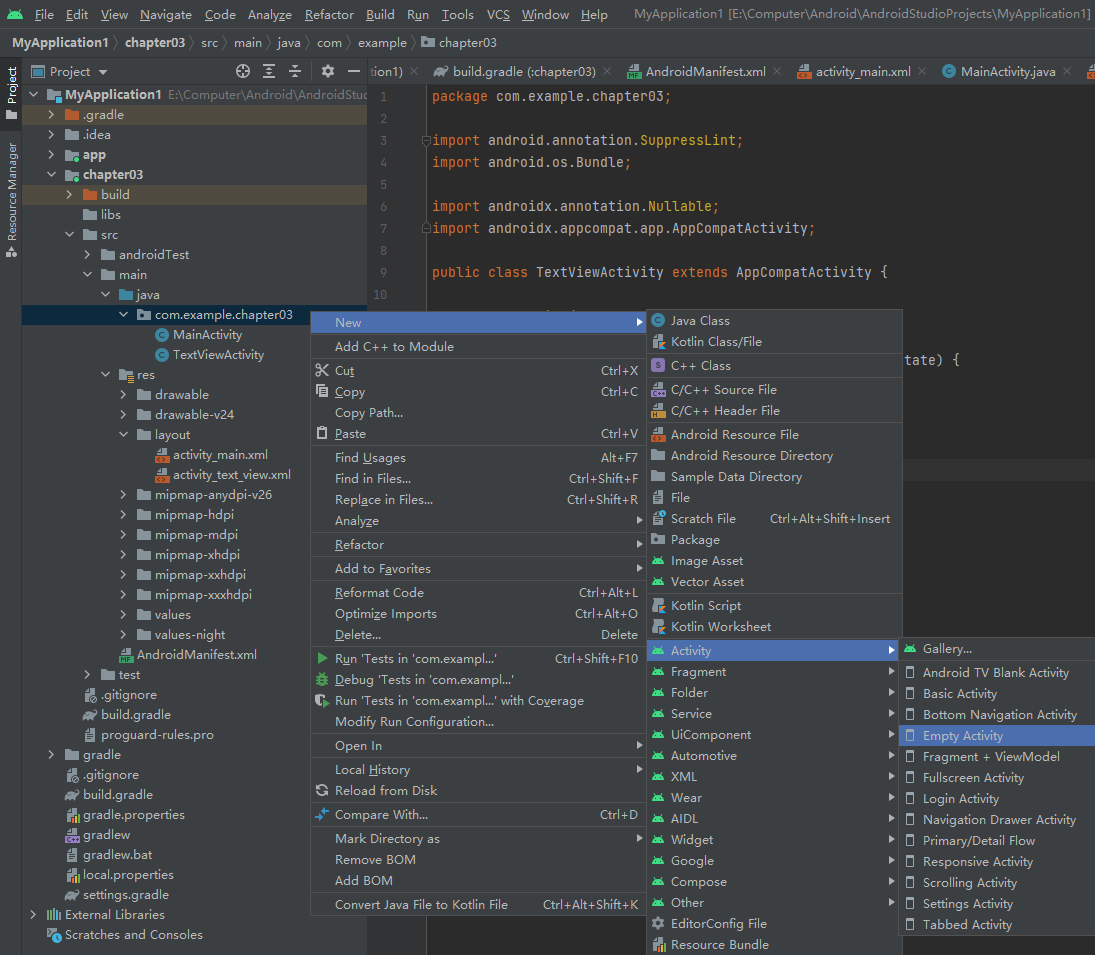
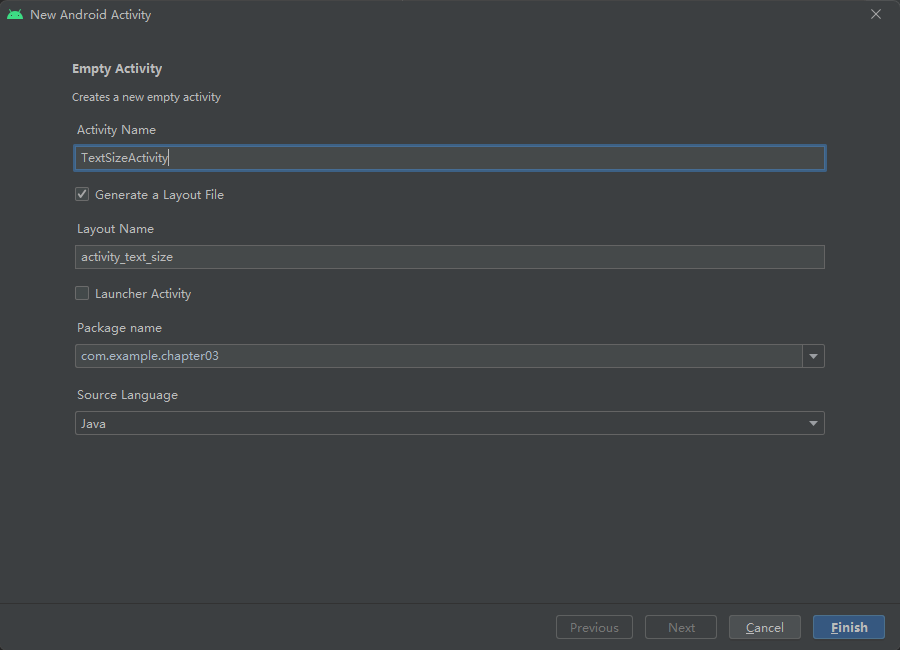
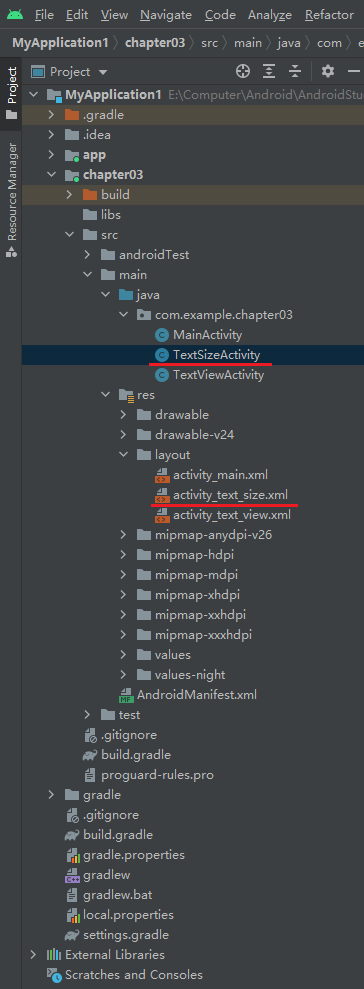
通过快捷方式创建 activity:
修改布局文件 activity_text_size.xml:
<?xml version="1.0" encoding="utf-8"?> <LinearLayout xmlns:android="http://schemas.android.com/apk/res/android" android:layout_width="match_parent" android:layout_height="match_parent" android:orientation="vertical"> <TextView android:id="@+id/tv_hello" android:layout_width="wrap_content" android:layout_height="wrap_content" android:text="@string/hello" /> </LinearLayout>
activity 文件 TextSizeActivity.java 的内容:
package com.example.chapter03; import androidx.appcompat.app.AppCompatActivity; import android.os.Bundle; import android.widget.TextView; public class TextSizeActivity extends AppCompatActivity { @Override protected void onCreate(Bundle savedInstanceState) { super.onCreate(savedInstanceState); setContentView(R.layout.activity_text_size); TextView tv_hello = findViewById(R.id.tv_hello); tv_hello.setTextSize(30); } }
也可以在 activity_text_size.xml 文件中改变字号:
<?xml version="1.0" encoding="utf-8"?> <LinearLayout xmlns:android="http://schemas.android.com/apk/res/android" android:layout_width="match_parent" android:layout_height="match_parent" android:orientation="vertical"> <TextView android:id="@+id/tv_hello" android:layout_width="wrap_content" android:layout_height="wrap_content" android:text="@string/hello" android:textSize="30dp"/> </LinearLayout>
为了对比三种单位, 修改 activity_text_size.xml 文件:
<?xml version="1.0" encoding="utf-8"?> <LinearLayout xmlns:android="http://schemas.android.com/apk/res/android" android:layout_width="match_parent" android:layout_height="match_parent" android:orientation="vertical"> <TextView android:id="@+id/tv_hello" android:layout_width="wrap_content" android:layout_height="wrap_content" android:text="@string/hello" android:textSize="30dp" /> <TextView android:id="@+id/tv_dp" android:layout_width="wrap_content" android:layout_height="wrap_content" android:text="@string/hello" android:textSize="30dp" /> <TextView android:id="@+id/tv_px" android:layout_width="wrap_content" android:layout_height="wrap_content" android:text="@string/hello" android:textSize="30px" /> <TextView android:id="@+id/sp" android:layout_width="wrap_content" android:layout_height="wrap_content" android:text="@string/hello" android:textSize="30sp" /> </LinearLayout>
修改 AndroidManifest.xml 文件的内容:
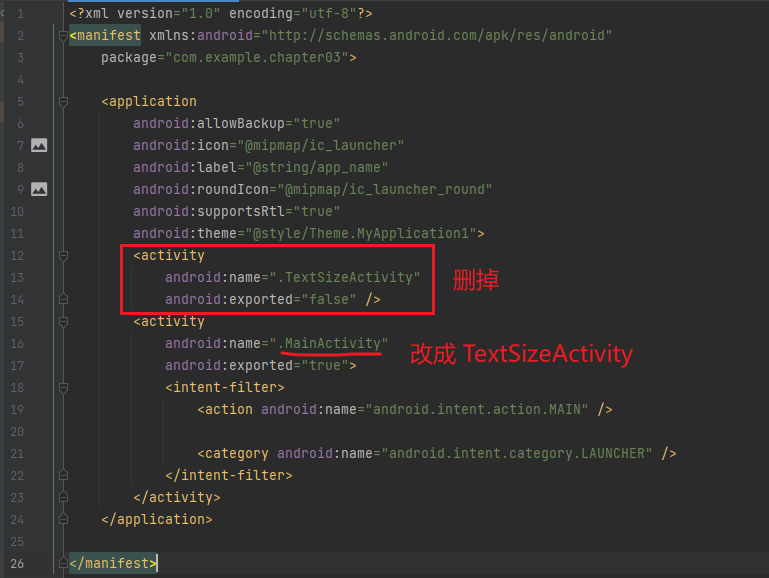
改完之后的 AndroidManifest.xml 文件的内容:
<?xml version="1.0" encoding="utf-8"?> <manifest xmlns:android="http://schemas.android.com/apk/res/android" package="com.example.chapter03"> <application android:allowBackup="true" android:icon="@mipmap/ic_launcher" android:label="@string/app_name" android:roundIcon="@mipmap/ic_launcher_round" android:supportsRtl="true" android:theme="@style/Theme.MyApplication1"> <activity android:name=".TextSizeActivity" android:exported="true"> <intent-filter> <action android:name="android.intent.action.MAIN" /> <category android:name="android.intent.category.LAUNCHER" /> </intent-filter> </activity> </application> </manifest>
TextSizeActivity.java 文件的内容:
package com.example.chapter03; import androidx.appcompat.app.AppCompatActivity; import android.os.Bundle; import android.widget.TextView; public class TextSizeActivity extends AppCompatActivity { @Override protected void onCreate(Bundle savedInstanceState) { super.onCreate(savedInstanceState); setContentView(R.layout.activity_text_size); /*TextView tv_hello = findViewById(R.id.tv_hello); tv_hello.setTextSize(30);*/ } }
效果:
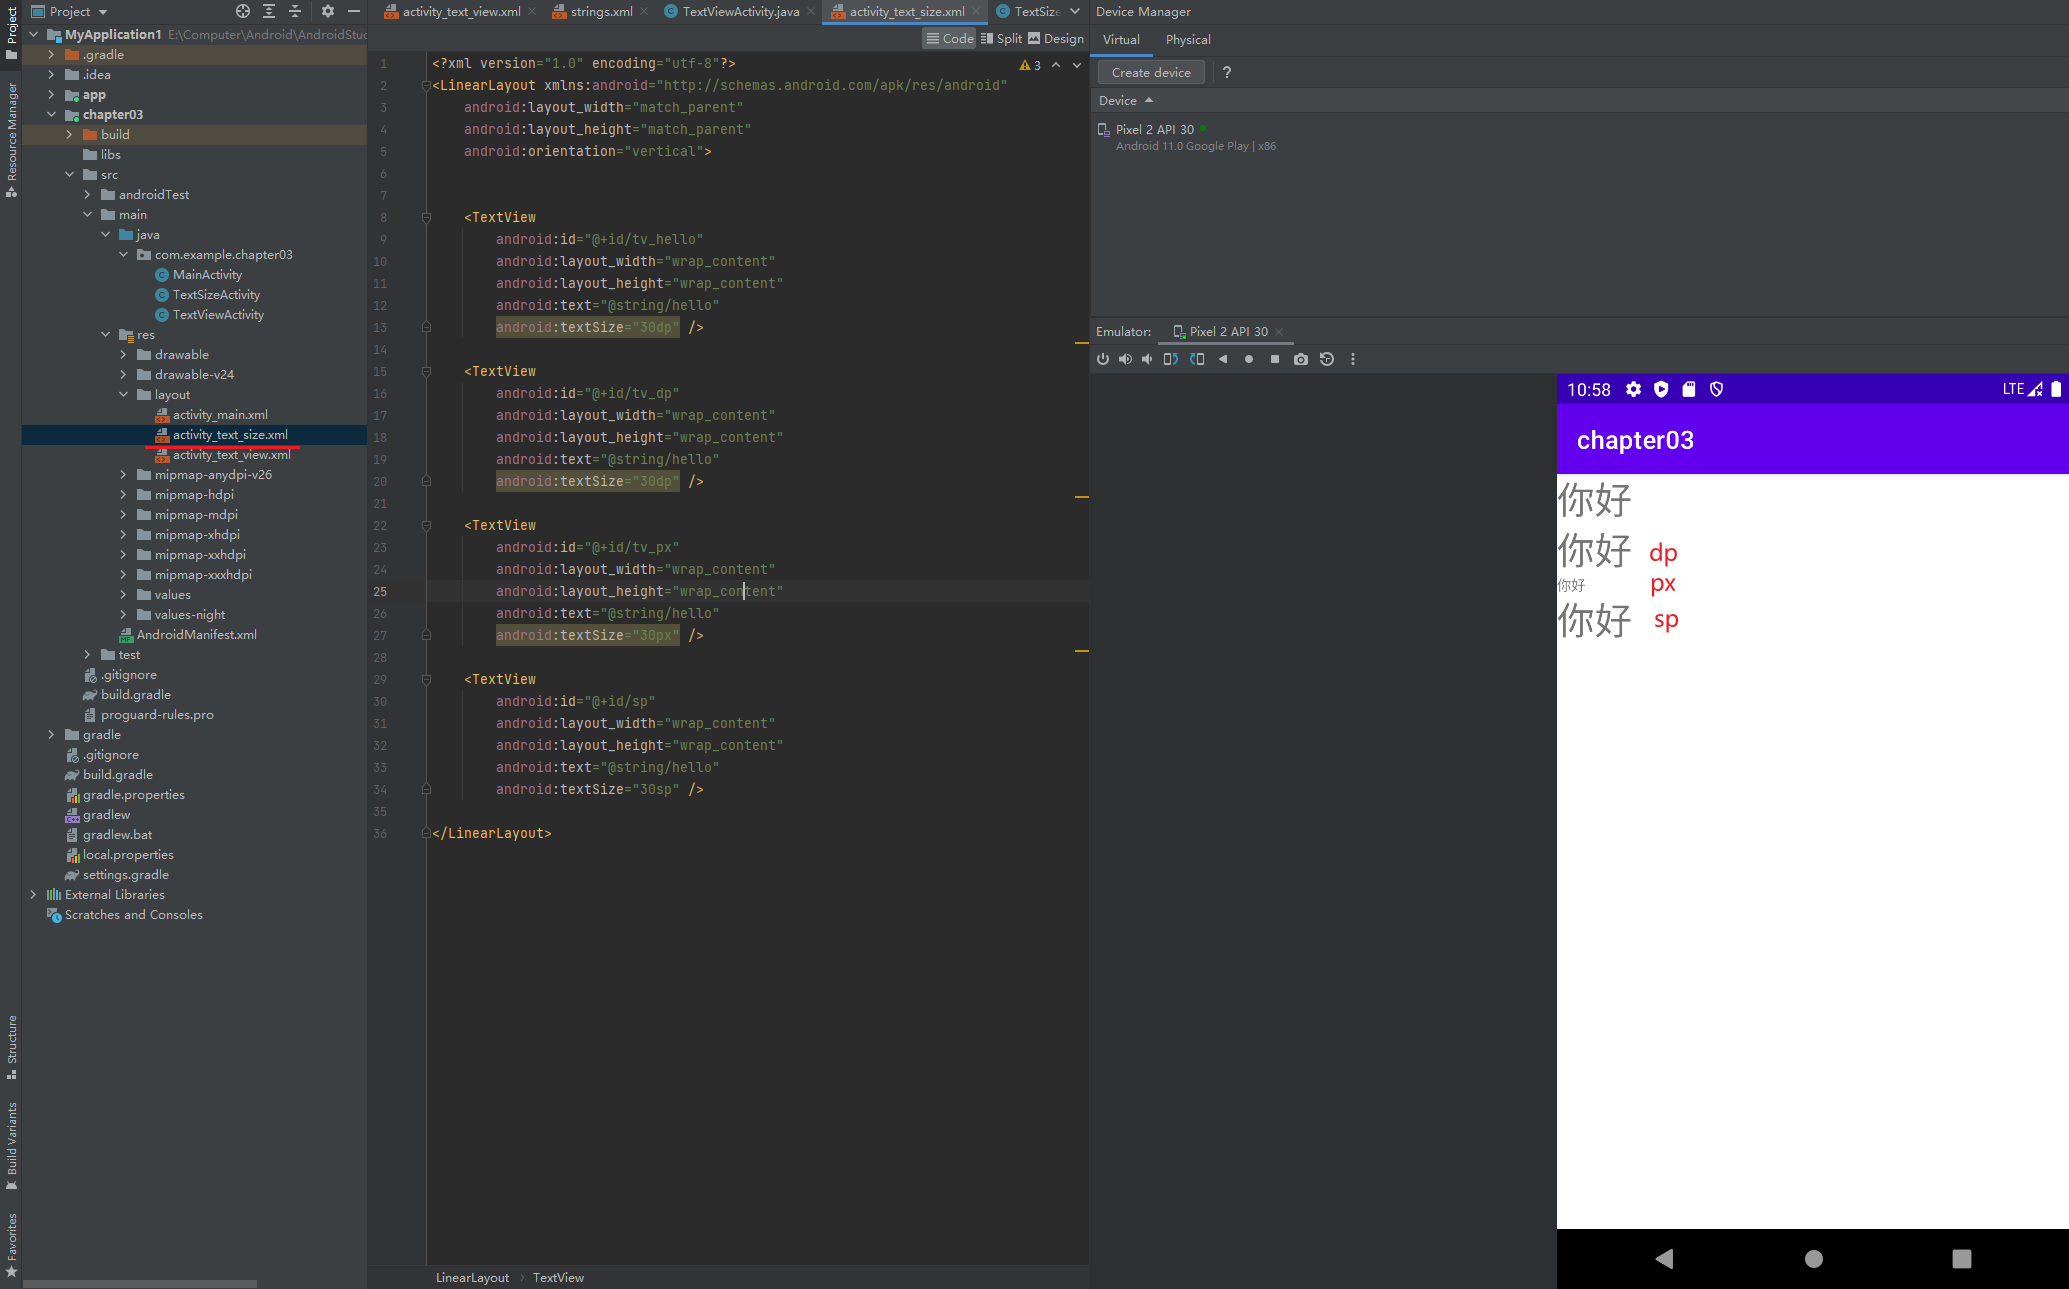
dp 和 px 不随系统字号变化而变化. sp 跟随系统字号变化而变化.

设置文本的颜色
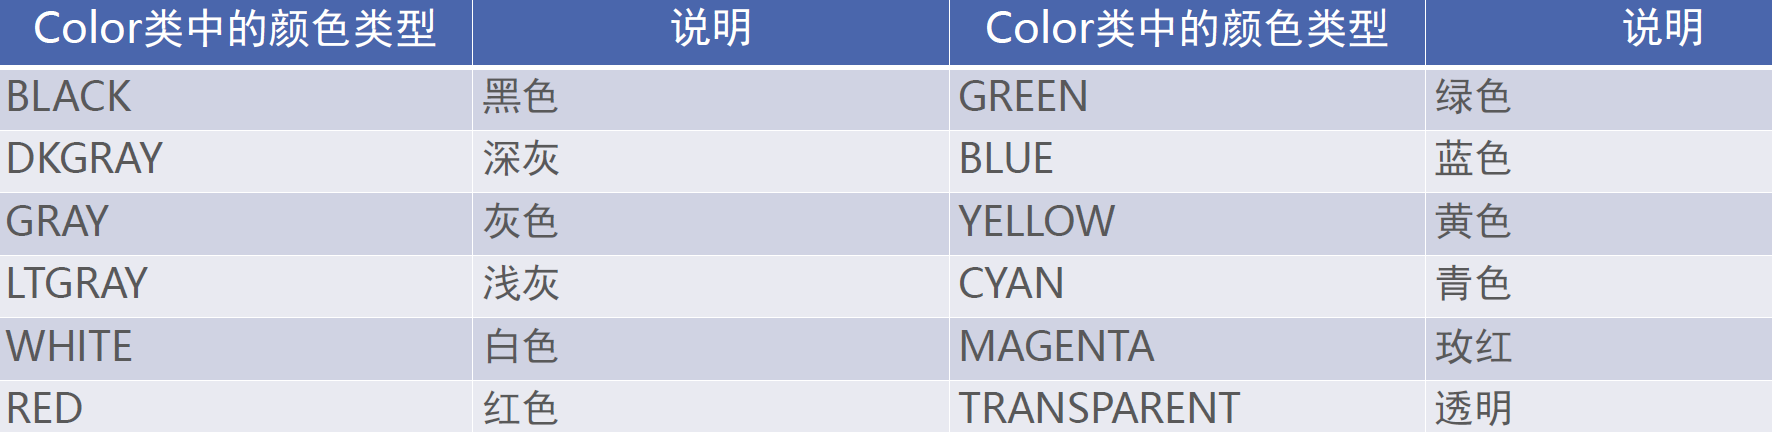
在 Java 代码中调用 setTextColor 方法即可设置文本颜色, 具体色值可从 Color 类取.
RGB颜色定义
在XML文件中则通过属性android:textColor指定文本颜色, 色值由透明度alpha和RGB三原色 (红色red、绿色green、蓝色blue) 联合定义.
色值有八位十六进制数与六位十六进制数两种表达方式, 例如八位编码FFEEDDCC中, FF表示透明度, EE表示红色的浓度, DD表示绿色的浓度, CC表示蓝色的浓度.
透明度为FF表示完全不透明, 为00表示完全透明. RGB三色的数值越大, 表示颜色越浓, 也就越亮;数值越小, 表示颜色越淡, 也就越暗.
使用色值定义文字颜色
在Java代码中设置色值需要添加0x前缀表示十六进制数.
在XML文件中设置色值需要添加“#”前缀.
引用颜色资源
在XML文件中引用(@color/***).
在Java代码中引用(R.color.***).
设置视图的宽高
视图宽度通过属性android:layout_width表达, 视图高度通过属性android:layout_height表达, 宽高的取值主要有下列三种:
match_parent: 表示与上级视图保持一致.
wrap_content: 表示与内容自适应.
以dp为单位的具体尺寸.
在代码中设置视图宽高
首先确保XML中的宽高属性值为wrap_content, 接着打开该页面对应的Java代码, 依序执行以下三个步骤:
调用控件对象的getLayoutParams方法, 获取该控件的布局参数.
布局参数的width属性表示宽度, height属性表示高度, 修改这两个属性值.
调用控件对象的setLayoutParams方法, 填入修改后的布局参数使之生效.
设置视图的间距
设置视图的间距有两种方式:
采用layout_margin属性, 它指定了当前视图与周围平级视图之间的距离. 包括layout_margin、layout_marginLeft、layout_marginTop、layout_marginRight、layout_marginBottom
采用padding属性, 它指定了当前视图与内部下级视图之间的距离. 包括padding、paddingLeft、paddingTop、paddingRight、paddingBottom
设置视图的对齐方式
设置视图的对齐方式有两种途径:
采用layout_gravity属性, 它指定了当前视图相对于上级视图的对齐方式.
采用gravity属性, 它指定了下级视图相对于当前视图的对齐方式.
layout_gravity与gravity的取值包括: left、top、right、bottom, 还可以用竖线连接各取值, 例如“left|top”表示即靠左又靠上, 也就是朝左上角对齐.


【推荐】国内首个AI IDE,深度理解中文开发场景,立即下载体验Trae
【推荐】编程新体验,更懂你的AI,立即体验豆包MarsCode编程助手
【推荐】抖音旗下AI助手豆包,你的智能百科全书,全免费不限次数
【推荐】轻量又高性能的 SSH 工具 IShell:AI 加持,快人一步
· 物流快递公司核心技术能力-地址解析分单基础技术分享
· .NET 10首个预览版发布:重大改进与新特性概览!
· 单线程的Redis速度为什么快?
· 展开说说关于C#中ORM框架的用法!
· Pantheons:用 TypeScript 打造主流大模型对话的一站式集成库