日志收集系列:日志收集案例(四)
4. 日志收集案例
4.1 收集系统各种日志
rsyslog,Linux系统的日志服务,定时任务,用户登录,messages信息。收集系统各种日志,统一存放到/var/log/lidao_sys_all.log,自定义索引名system,同时修改分片数和副本数。
Tips:实际应用不推荐这么做,还是paths: 指定多个文件好!
常见日志
#系统日志:
/var/log/messages: 系统的重要信息和错误消息。
/var/log/syslog: 系统守护进程和核心组件的消息。
/var/log/kern.log: 内核消息和错误信息。
/var/log/dmesg: 包含内核环缓冲日志,记录了系统引导期间的硬件和驱动程序消息。
/var/log/boot.log  启动日志
/var/log/cron      定时任务

#身份验证和授权相关日志
/var/log/auth.log: 用户身份验证和授权相关的信息,如登录、sudo使用等。

#安全相关日志
/var/log/secure: 包含与系统安全相关的信息,如SSH登录日志。
/var/log/faillog: 记录了登录失败的用户和时间信息。
/var/log/wtmp: 记录了每个用户的登录和注销信息。
在web01主机上追加配置并重启服务
echo "*.* /var/log/yinjay-sys-all.log" >> /etc/rsyslog.conf

systemctl restart rsyslog.service
修改filebeat配置
[root@web01 ~]# cat /etc/filebeat/filebeat.yml
filebeat.inputs:
- type: log
  enabled: true
  paths:
    - /var/log/yinjay-sys-all.log

output.elasticsearch:
  hosts:
    - "es01.yinjay.com:9200"
    - "es02.yinjay.com:9200"
    - "es03.yinjay.com:9200"

  index: "system-%{[agent.version]}-%{+yyyy.MM.dd}"

setup.ilm.enabled: false
setup.template.name: "system"
setup.template.pattern: "system-*"
setup.template.settings:
  index.number_of_shards: 3
  index.number_of_replicas: 1
重启filebeat
systemctl restart filebeat.service
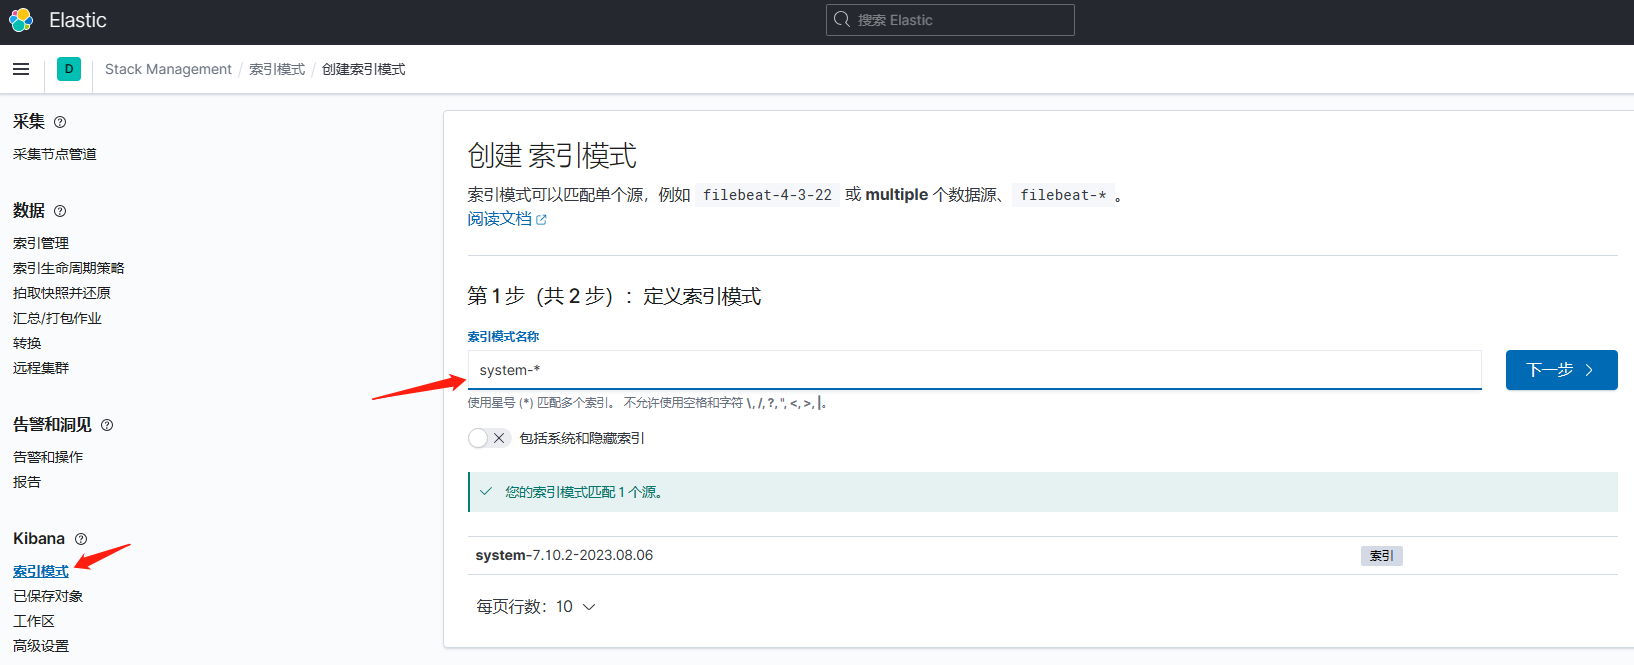
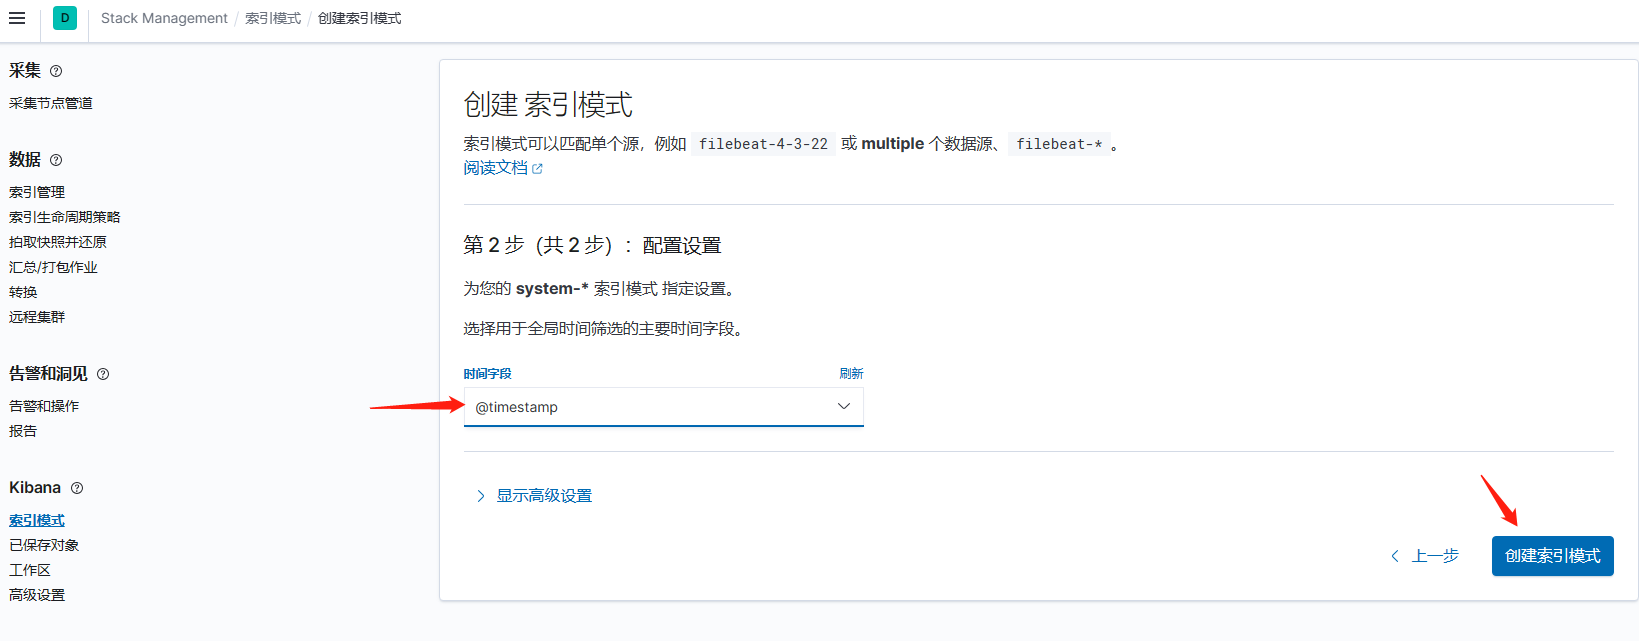
创建新索引模式
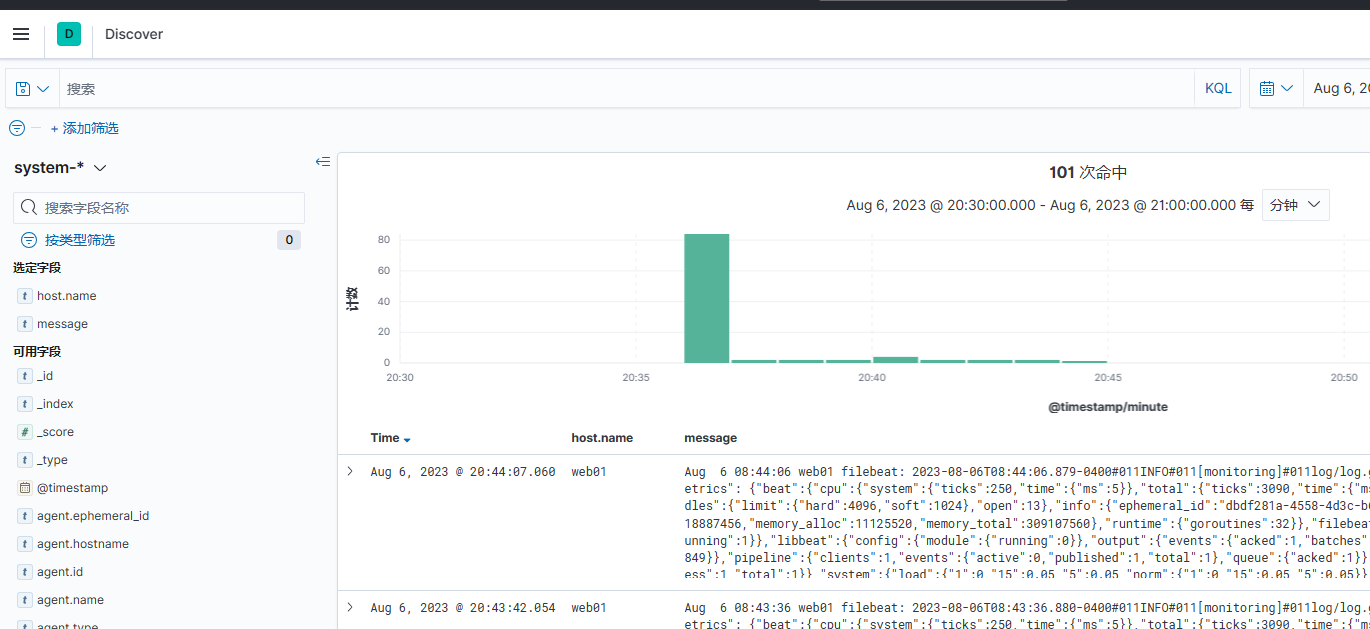
查看数据
4.2 日志过滤
仅过滤出有问题的日志:ERR,ERROR,WARN,failed,failure
exclude_lines:表示排除符合该条件的内容
include_lines:表示过滤符合该条件的内容
[root@web01 ~]# cat /etc/filebeat/filebeat.yml
filebeat.inputs:
- type: log
  enabled: true
  paths:
    - /var/log/yinjay-sys-all.log
  include_lines:
    - "ERR|err|error"
    - "warn|WARN"
    - "[Ff]ailed|Failure"
    - "[Ii]nvalid"
  exclude_lines:
    - "filebeat"

output.elasticsearch:
  hosts:
    - "es01.yinjay.com:9200"
    - "es02.yinjay.com:9200"
    - "es03.yinjay.com:9200"

  index: "system-%{[agent.version]}-%{+yyyy.MM.dd}"

setup.ilm.enabled: false
setup.template.name: "system"
setup.template.pattern: "system-*"
setup.template.settings:
  index.number_of_shards: 3
  index.number_of_replicas: 1
重启服务
systemctl restart filebeat.service
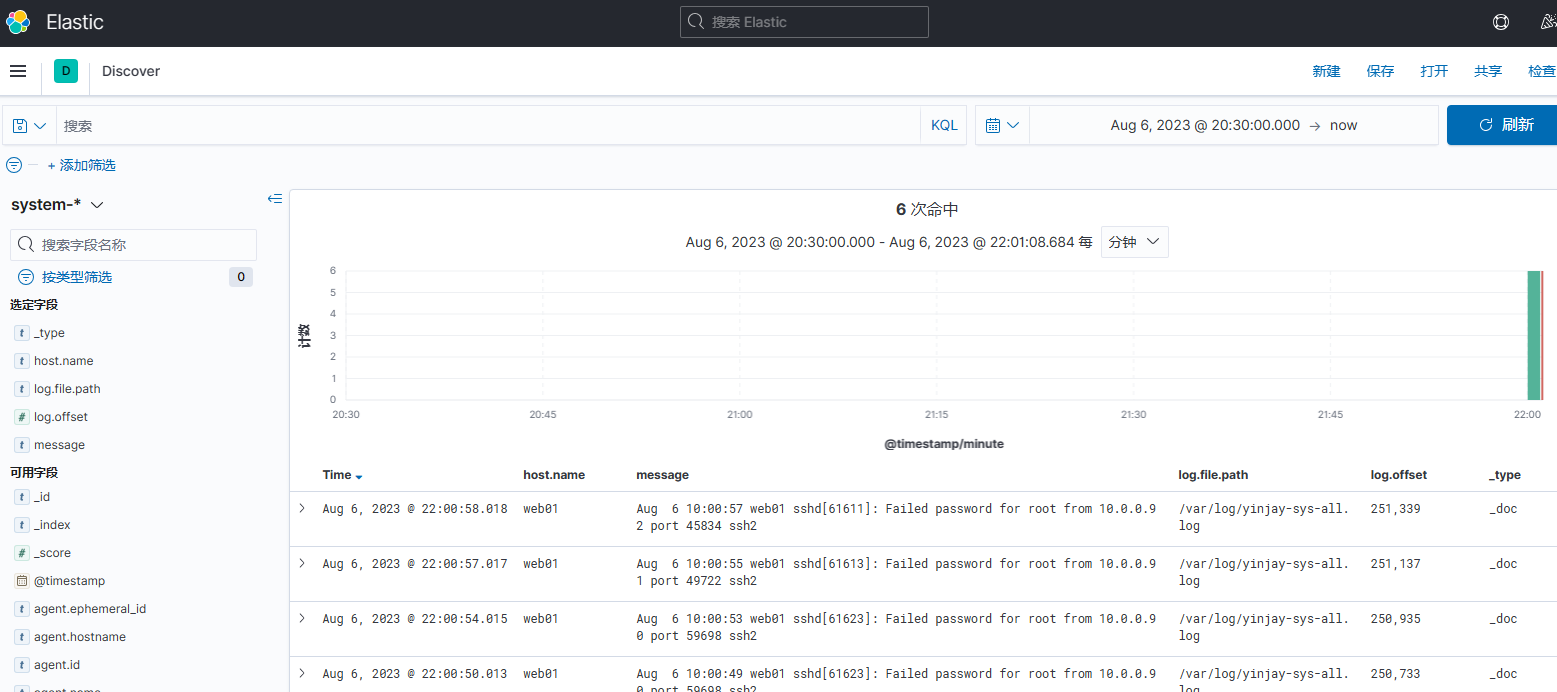
查看数据情况
4.3 采集nginx日志
首先在web01、web02上安装nginx,然后修改配置文件如下
#默认配置(已经有日志格式,不需要修改此文件)
# egrep -v "#|^$" /etc/nginx/nginx.conf
user nginx;
worker_processes auto;
error_log /var/log/nginx/error.log;
pid /run/nginx.pid;
include /usr/share/nginx/modules/*.conf;
events {
    worker_connections 1024;
}
http {
    log_format  main  '$remote_addr - $remote_user [$time_local] "$request" '
                      '$status $body_bytes_sent "$http_referer" '
                      '"$http_user_agent" "$http_x_forwarded_for"';
    access_log  /var/log/nginx/access.log  main;
    sendfile            on;
    tcp_nopush          on;
    tcp_nodelay         on;
    keepalive_timeout   65;
    types_hash_max_size 4096;
    include             /etc/nginx/mime.types;
    default_type        application/octet-stream;
    include /etc/nginx/conf.d/*.conf;
    server {
        listen       80;
        listen       [::]:80;
        server_name  _;
        root         /usr/share/nginx/html;
        include /etc/nginx/default.d/*.conf;
        error_page 404 /404.html;
        location = /404.html {
        }
        error_page 500 502 503 504 /50x.html;
        location = /50x.html {
        }
    }
}

#在conf.d目录新增一个配置文件
#cat /etc/nginx/conf.d/web01.yinjay.com.conf
server {
  listen 80;
  server_name web01.yinjay.com;
  index index.html;
  root /app/code/www;
}
创建测试文件
mkdir -p /app/code/www
echo "web01.yinjay.com" > /app/code/www/index.html
加载nginx配置
systemctl reload nginx
Tips:以上操作,web02配置也相似,稍微修改一下!
web01、web02修改filebeat
#cat /etc/filebeat/filebeat-nginx.yml
filebeat.inputs:
- type: log
  enabled: true
  paths:
    - /var/log/nginx/access.log

output.elasticsearch:
  hosts:
    - "es01.yinjay.com:9200"
    - "es02.yinjay.com:9200"
    - "es03.yinjay.com:9200"

  index: "nginx-%{[agent.version]}-%{+yyyy.MM.dd}"

setup.ilm.enabled: false
setup.template.name: "nginx"
setup.template.pattern: "nginx-*"
setup.template.settings:
  index.number_of_shards: 3
  index.number_of_replicas: 1
Tisp:web02记得安装filebeat和配置host记录!
手动运行filebeat进程,这样可以实现多日志种类,不同模板收集。
filebeat -c /etc/filebeat/filebeat-nginx.yml --path.logs /var/log/filebeat/ --path.data /var/lib/filebeat-nginx/ &
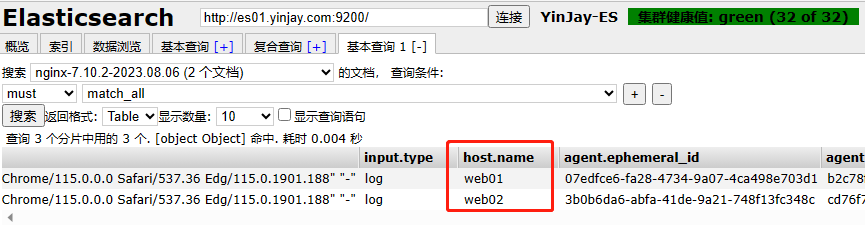
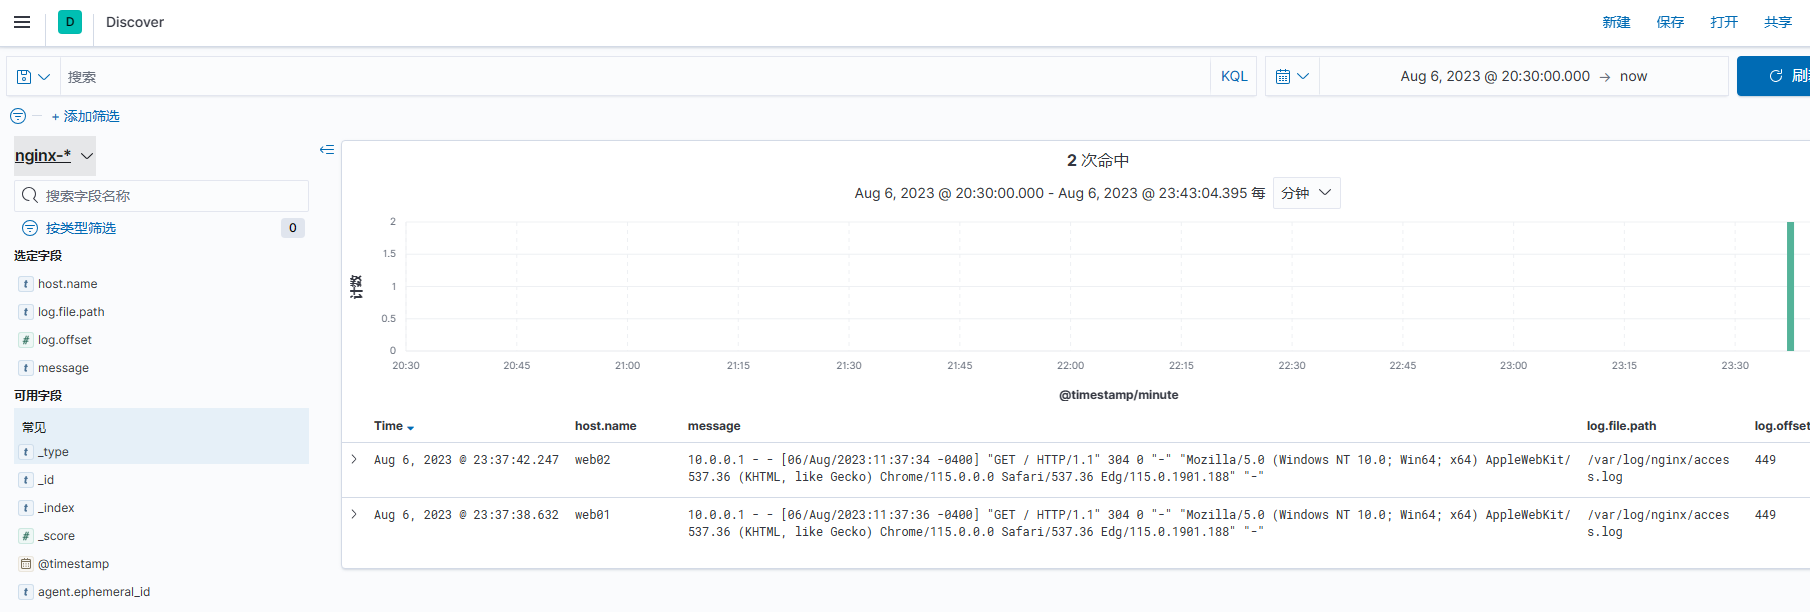
浏览器访问一下,然后查看ES数据,同时重新配置kibana的索引模式。
4.4 nginx日志精确筛选
解决方案:
- 方案1:直接让nginx输出json格式日志
- 方案2:filebeat获取原始日志,然后通过logstash插件转换
Tips:目前先通过方案1测试!
web01、web02修改nginx的日志格式
#egrep -v "#|^$" /etc/nginx/nginx.conf
user nginx;
worker_processes auto;
error_log /var/log/nginx/error.log;
pid /run/nginx.pid;
include /usr/share/nginx/modules/*.conf;
events {
    worker_connections 1024;
}
http {
    log_format  main  '$remote_addr - $remote_user [$time_local] "$request" '
                      '$status $body_bytes_sent "$http_referer" '
                      '"$http_user_agent" "$http_x_forwarded_for"';
    log_format log_json '{"@timestamp": "$time_local", '
                        '"remote_addr": "$remote_addr", '
                        '"referer": "$http_referer", '
                        '"request": "$request", '
                        '"status": $status, '
                        '"bytes": $body_bytes_sent, '
                        '"agent": "$http_user_agent", '
                        '"x_forwarded": "$http_x_forwarded_for", '
                        '"up_addr": "$upstream_addr",'
                        '"up_host": "$upstream_http_host",'
                        '"up_resp_time": "$upstream_response_time",'
                        '"request_time": "$request_time"'
                        ' }';
    access_log  /var/log/nginx/access.log  log_json;
    sendfile            on;
    tcp_nopush          on;
    tcp_nodelay         on;
    keepalive_timeout   65;
    types_hash_max_size 4096;
    include             /etc/nginx/mime.types;
    default_type        application/octet-stream;
    include /etc/nginx/conf.d/*.conf;
    server {
        listen       80;
        listen       [::]:80;
        server_name  _;
        root         /usr/share/nginx/html;
        include /etc/nginx/default.d/*.conf;
        error_page 404 /404.html;
        location = /404.html {
        }
        error_page 500 502 503 504 /50x.html;
        location = /50x.html {
        }
    }
}
web01、web02重新加载配置
systemctl reload nginx
web01、web02修改filebeat
#kill现有filebeat进程
ps -ef | grep filebeat
kill 进程号

#修改配置文件如下
# cat /etc/filebeat/filebeat-nginx.yml
filebeat.inputs:
- type: log
  enabled: true
  paths:
    - /var/log/nginx/access.log
  json.message_key: message
  json.keys_under_root: true
  json.overwrite_keys: true

output.elasticsearch:
  hosts:
    - "es01.yinjay.com:9200"
    - "es02.yinjay.com:9200"
    - "es03.yinjay.com:9200"

  index: "nginx-%{[agent.version]}-%{+yyyy.MM.dd}"

setup.ilm.enabled: false
setup.template.name: "nginx"
setup.template.pattern: "nginx-*"
setup.template.settings:
  index.number_of_shards: 3
  index.number_of_replicas: 1
两个参数说明
json.message_key: message
表示日志消息内容的键是 message。当Filebeat解析JSON日志事件时,它将提取出 message 键对应的值作为日志消息内容,并将其发送到目标输出(如Elasticsearch)。看前面的kibana查看ES数据截图中,message列就能得知该键!

json.keys_under_root: true
如果是true,json格式的数据,变成不同的字段通过kibana读取。
默认是false,json数据都写入到message字段中。

json.overwrite_keys: true
如果启用了json.keys_under_root和上面设置,则解码的JSON对象中的值将覆盖Filebeat在发生冲突时通常添加的字段(类型、源、偏移量等)。
启动filebeat
filebeat -c /etc/filebeat/filebeat-nginx.yml --path.logs /var/log/filebeat/ --path.data /var/lib/filebeat-nginx/ &
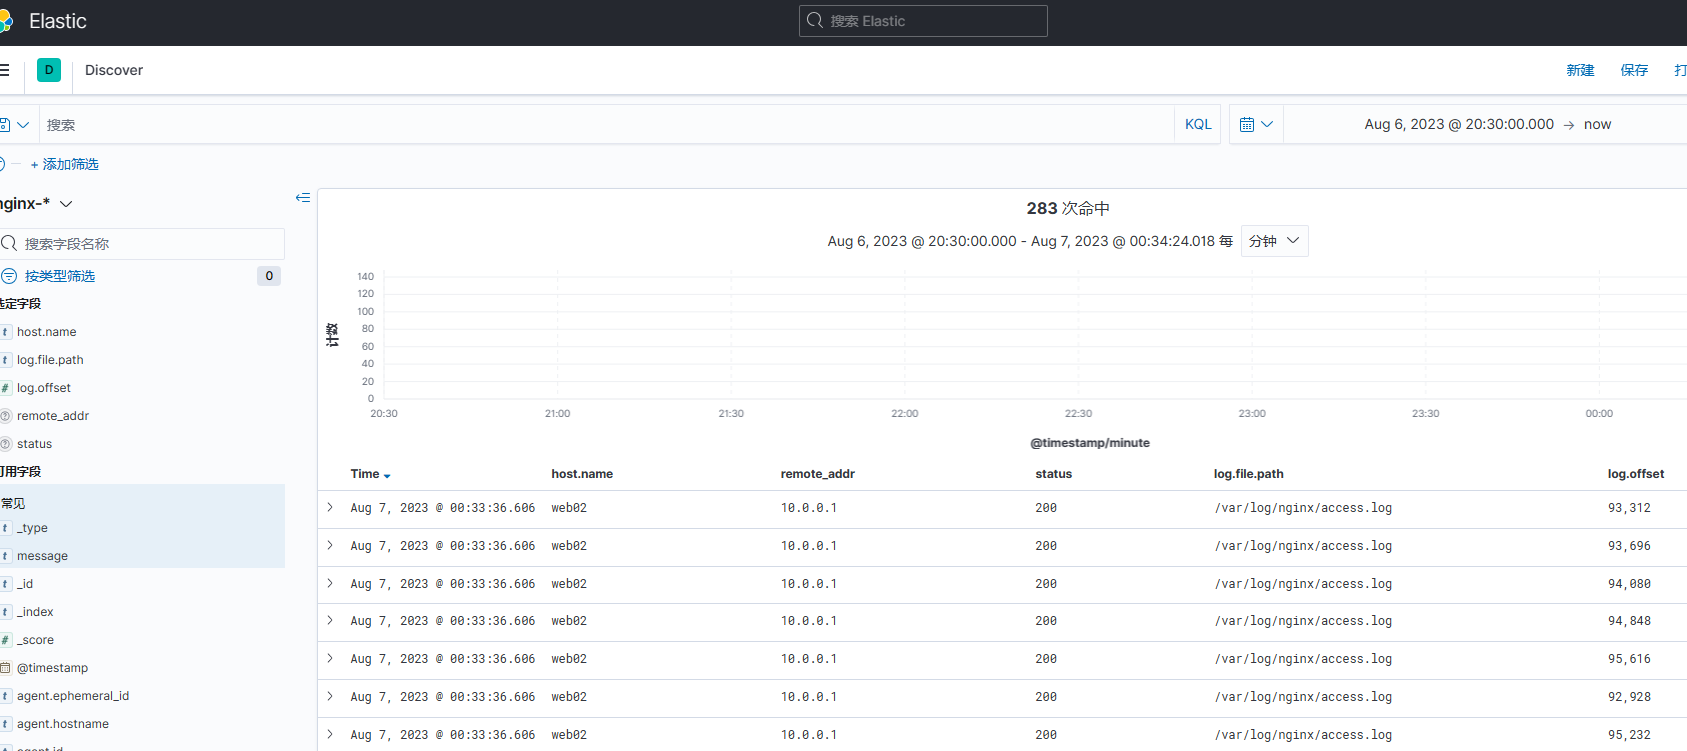
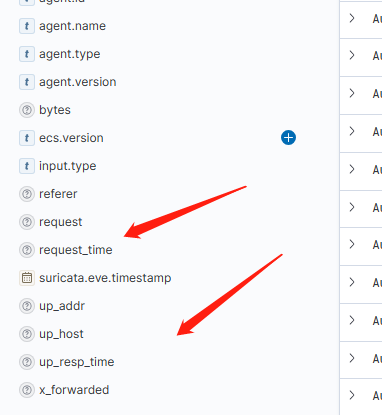
狂刷web01、web02站点,然后再通过kibana查看数据,支持自定义选择字段!
4.5 单配置文件多索引
kill现有多的filebeat进程
ps -ef | grep filebeat
kill 进程号
web01、web02修改配置文件
# cat /etc/filebeat/filebeat.yml
filebeat.inputs:
- type: log
  enabled: true
  paths:
    - /var/log/nginx/access.log
  json.message_key: message
  json.keys_under_root: true
  json.overwrite_keys: true
  exclude_lines:
    - "filebeat"
  tags: "nginx-access"

- type: log
  enabled: true
  paths:
    - /var/log/nginx/error.log
  json.message_key: message
  json.keys_under_root: true
  json.overwrite_keys: true
  exclude_lines:
    - "filebeat"
  tags: "nginx-error"

output.elasticsearch:
  hosts:
    - "es01.yinjay.com:9200"
    - "es02.yinjay.com:9200"
    - "es03.yinjay.com:9200"
  indices:
    - index: "nginx-access-%{[agent.version]}-%{+yyyy.MM.dd}"
    when.contains:
      tags: "nginx-access"

    - index: "nginx-error-%{[agent.version]}-%{+yyyy.MM.dd}"
    when.contains:
      tags: "nginx-error"

setup.ilm.enabled: false
setup.template.name: "nginx-all"
setup.template.pattern: "nginx-*"
setup.template.settings:
  index.number_of_shards: 3
  index.number_of_replicas: 1
重启filebeat
systemctl restart filebeat
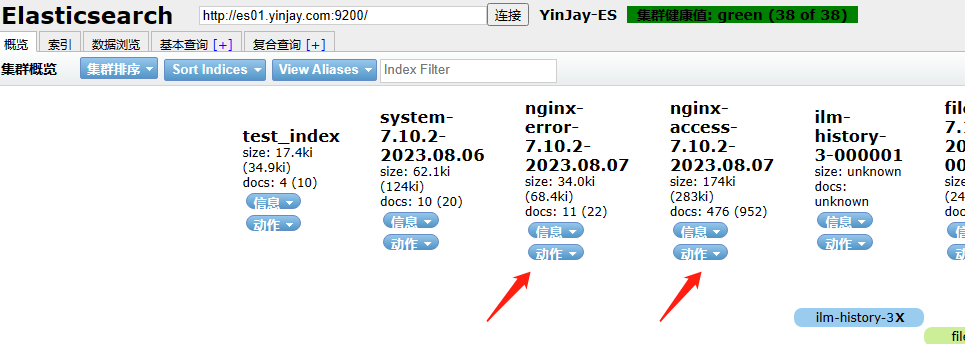
查看ES数据,kibana检索error的信息数据。

4.6 收集tomcat日志
在web03上部署tomcat、filebeat,修改server.xml配置文件,日志部分改成下面内容
<Valve className="org.apache.catalina.valves.AccessLogValve" directory="logs"
prefix="localhost_access_log" suffix=".log"
pattern="{"clientip":"%h","ClientUser":"%l","authenticated":"%u","AccessTime":"%t","method":"%r","status":"%s","SendBytes":"%b","Query?string":"%q","partner":"%{Referer}i","AgentVersion":"%{User-Agent}i"}" />
重启tomcat,然后进行浏览器访问,查看日志,json格式。

配置filebeat
#cat /etc/filebeat/filebeat.yml
filebeat.inputs:
- type: log
  enabled: true
  paths:
    - /app/tools/tomcat/logs/localhost_access_log*.log
  json.keys_under_root: true
  json.overwrite_keys: true
  tags: "tomcat-access"

output.elasticsearch:
  hosts:
    - "es01.yinjay.com:9200"
    - "es02.yinjay.com:9200"
    - "es03.yinjay.com:9200"
  indices:
    - index: "tomcat-access-%{[agent.version]}-%{+yyyy.MM.dd}"
      when.contains:
        tags: "tomcat-access"

setup.ilm.enabled: false
setup.template.name: "tomcat-all"
setup.template.pattern: "tomcat-*"
setup.template.settings:
  index.number_of_shards: 3
  index.number_of_replicas: 1
重启filebeat,并配置hosts解析
systemctl restart filebeat.service

cat >> /etc/hosts <<EOF
10.0.0.90 es01.yinjay.com
10.0.0.91 es02.yinjay.com
10.0.0.92 es03.yinjay.com
EOF
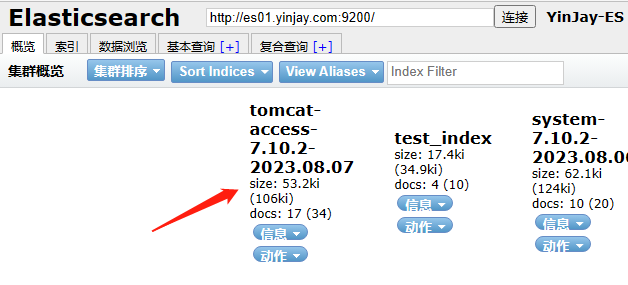
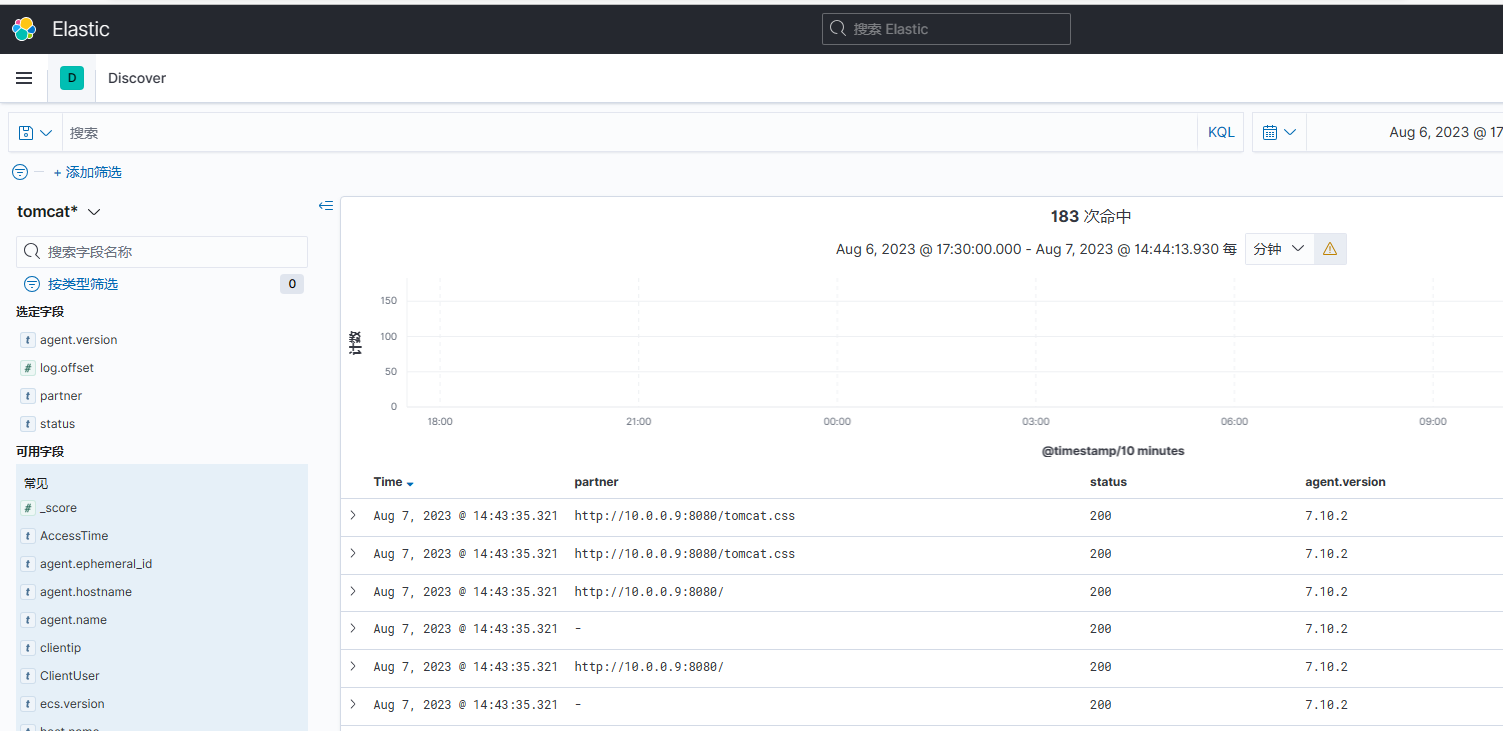
查看ES,已经有了。kibana也没问题!

 浙公网安备 33010602011771号