生成驱动的两种编译方式
本机:Windows7(64-bit)
试验机:Windows7(32-bit)/WindowsXP
1、利用wdk自带环境编译,这个比较简单,直接build就行
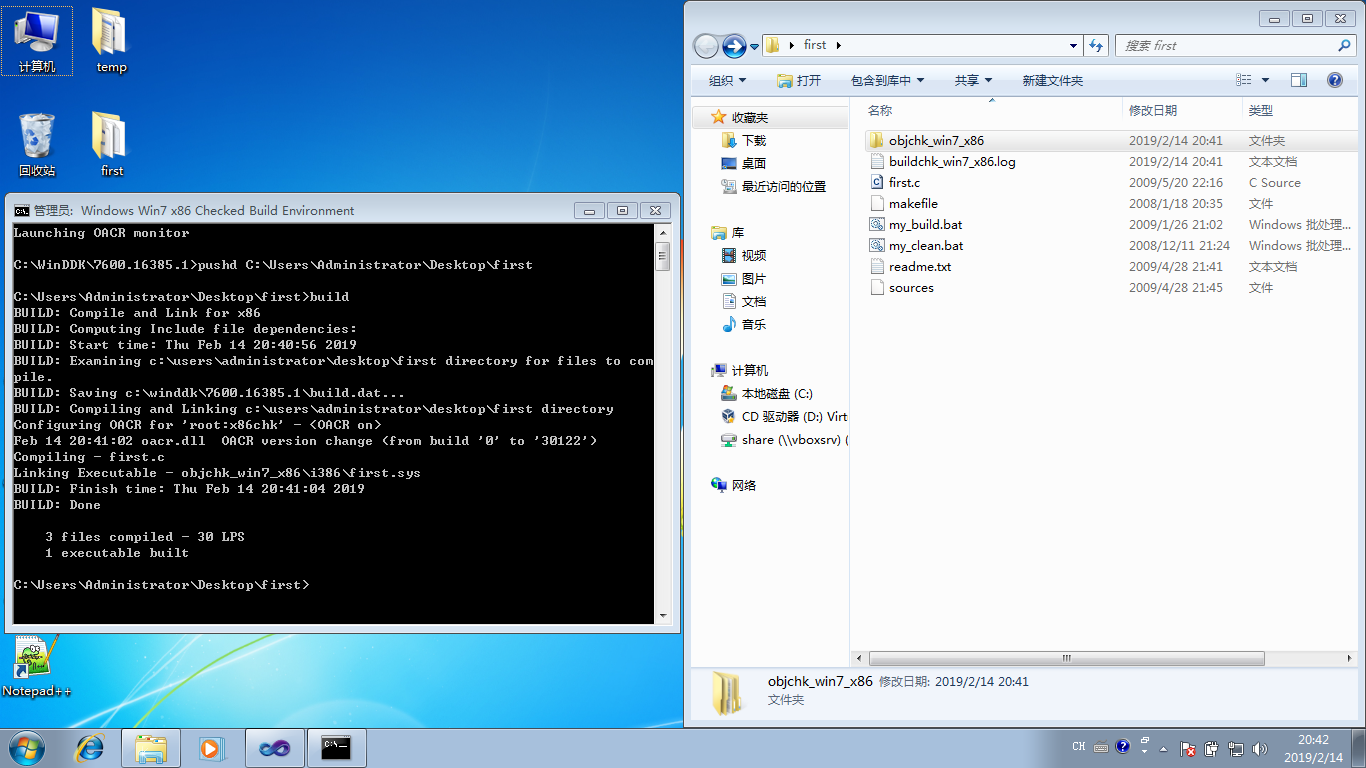
makefile
!IF 0

Copyright (C) Microsoft Corporation, 1999 - 2002

Module Name:

    makefile.

Notes:

    DO NOT EDIT THIS FILE!!!  Edit .\sources. if you want to add a new source
    file to this component.  This file merely indirects to the real make file
    that is shared by all the components of Windows NT (DDK)

!ENDIF

!INCLUDE $(NTMAKEENV)\makefile.def
sources
TARGETNAME=first
TARGETTYPE=DRIVER
SOURCES=first.c
TARGETPATH=obj
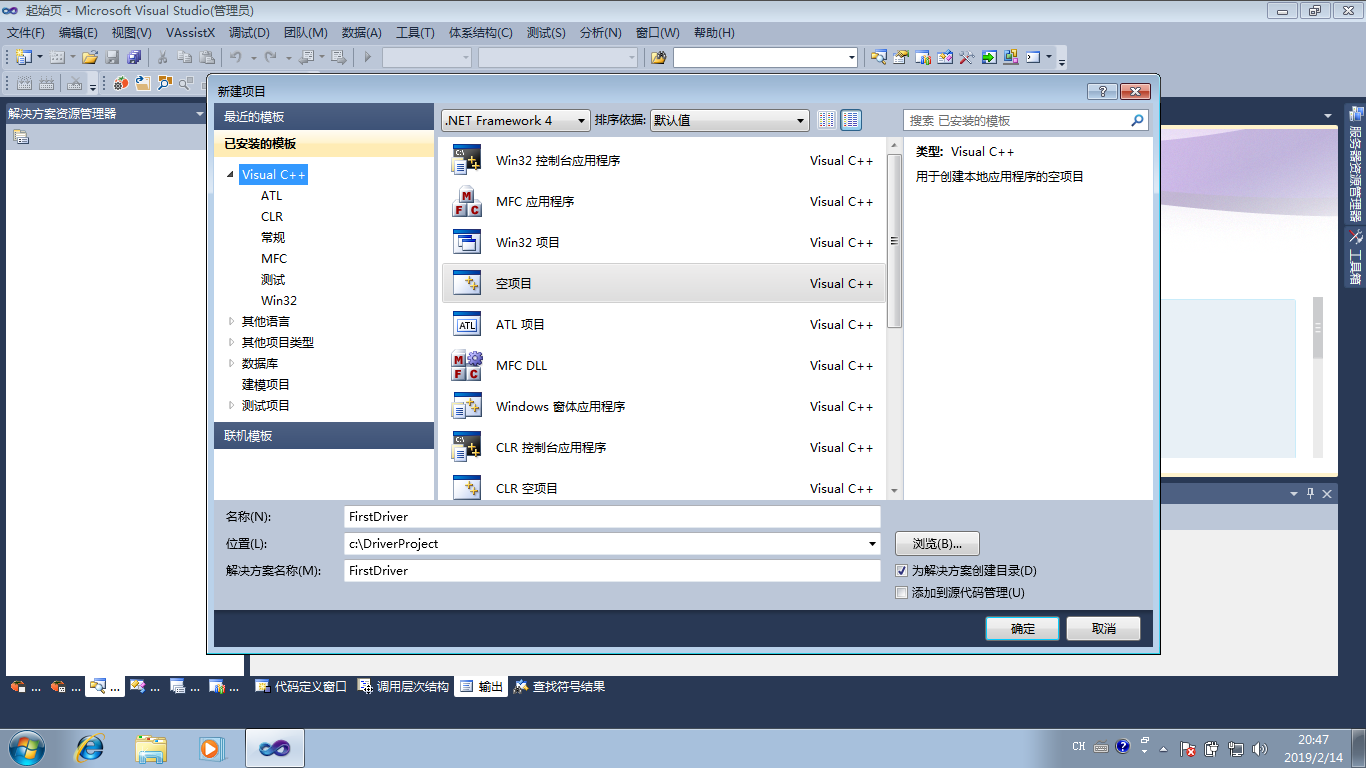
2、用vs2010+wdk7600编译,这个就比较复杂点,需要配置环境
(1)新建空项目,命名为FirstDriver
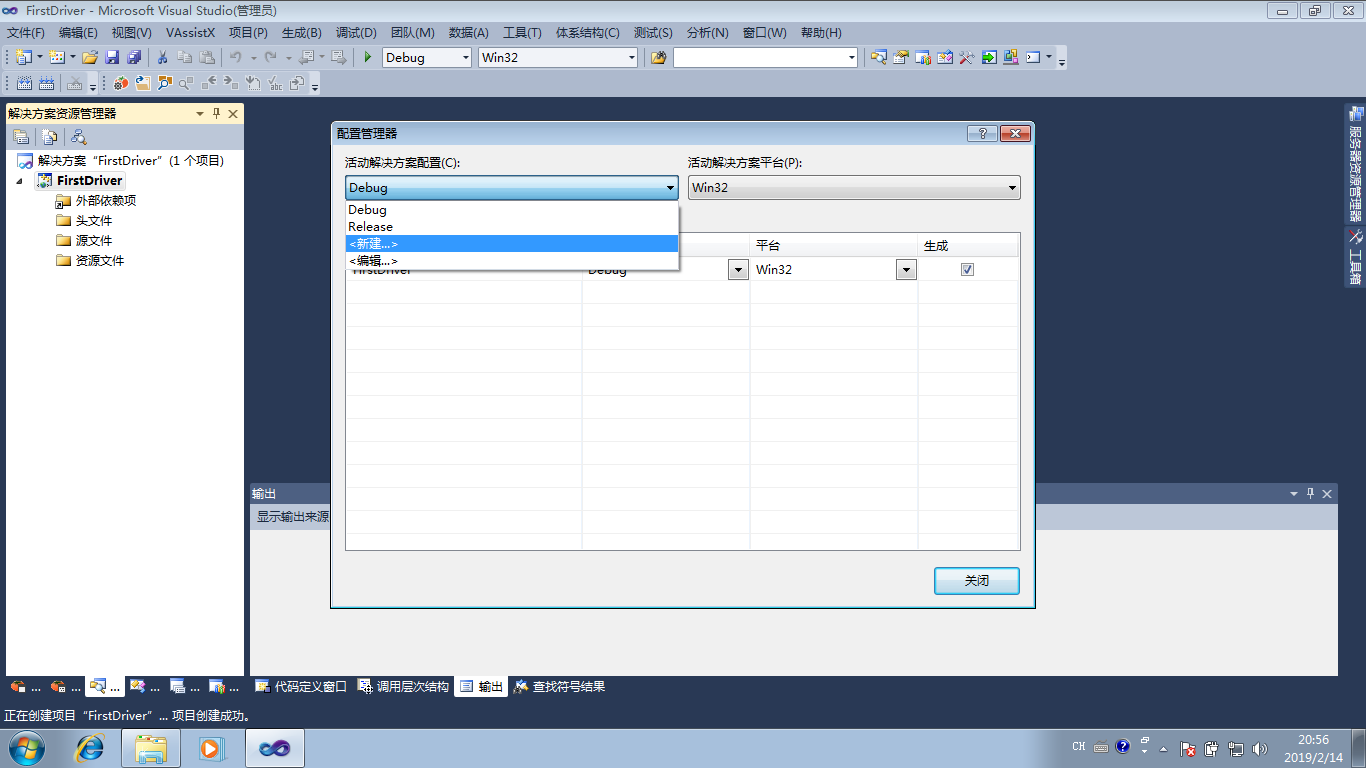
(2)生成,配置管理器

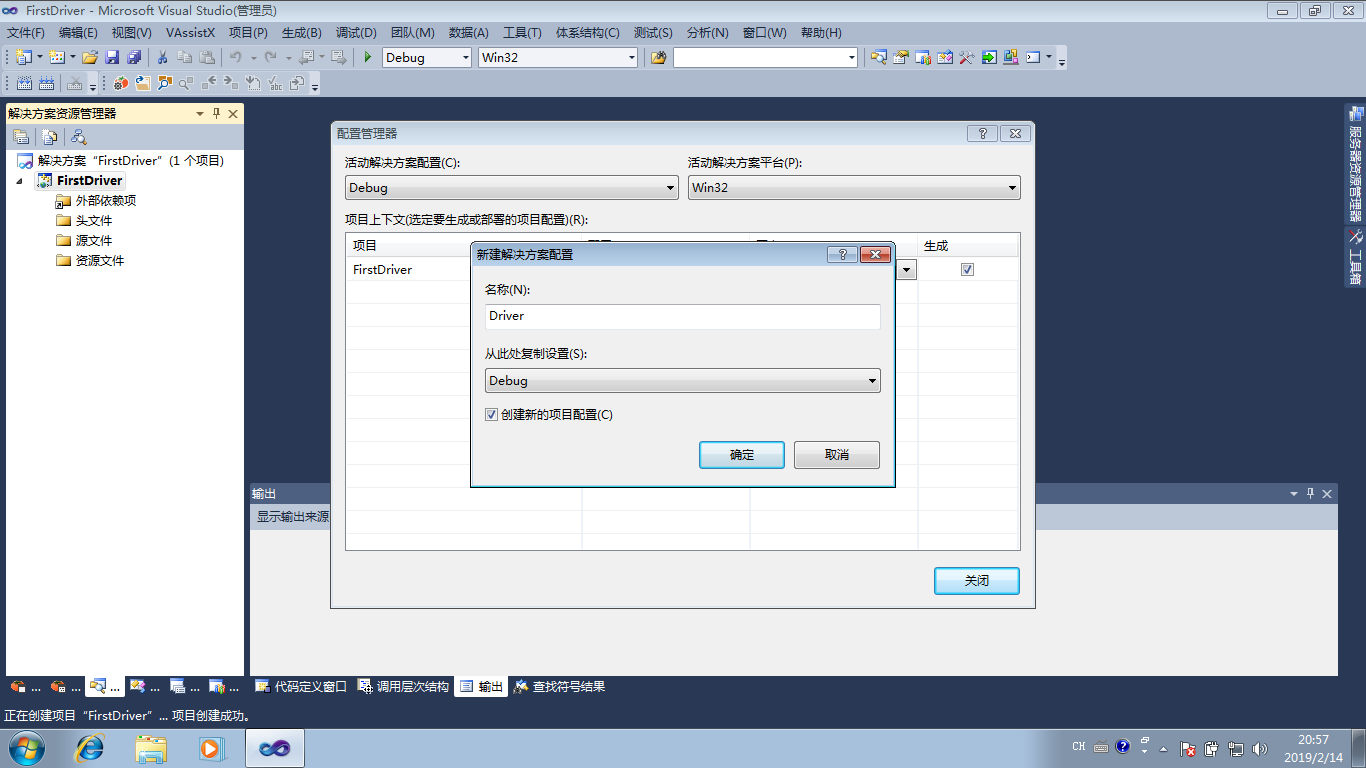
(3)新建Driver
(4)新建Driver,确定,关闭
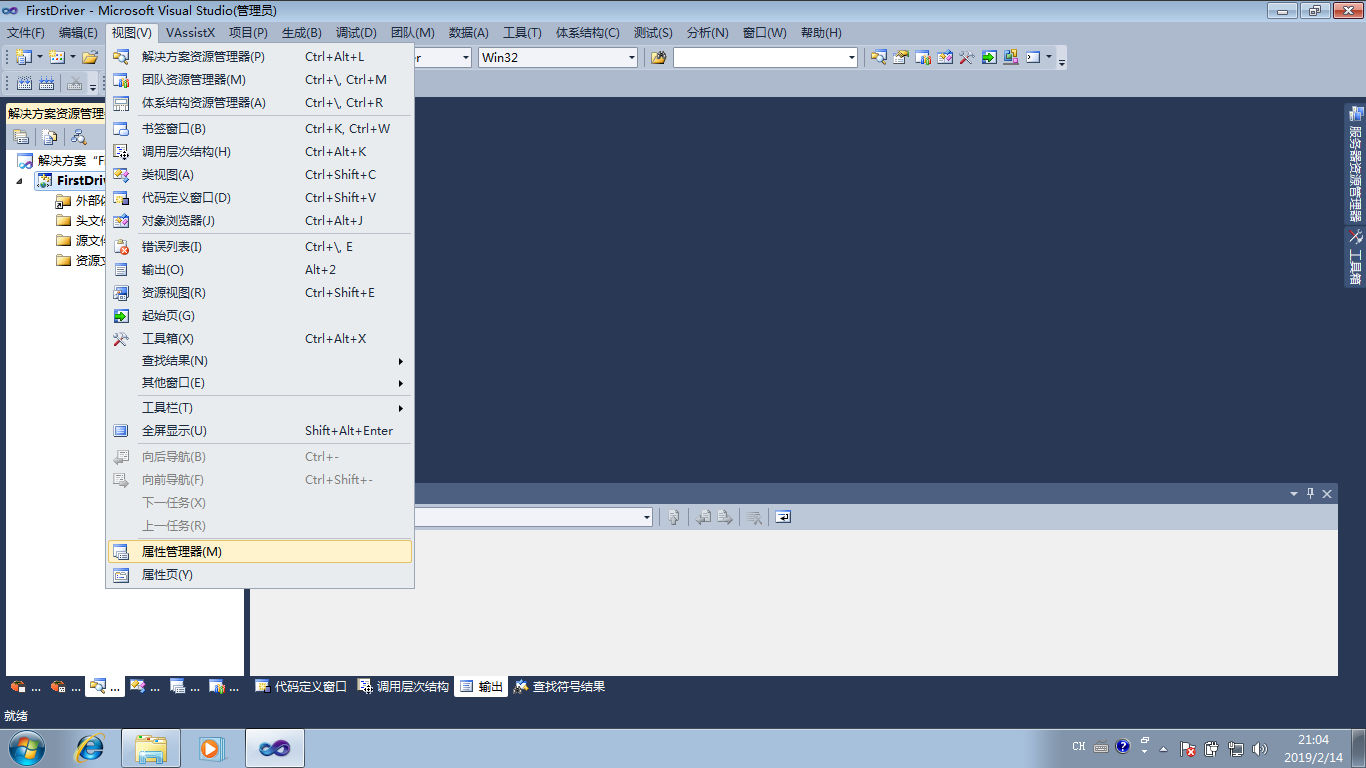
(5)属性管理器
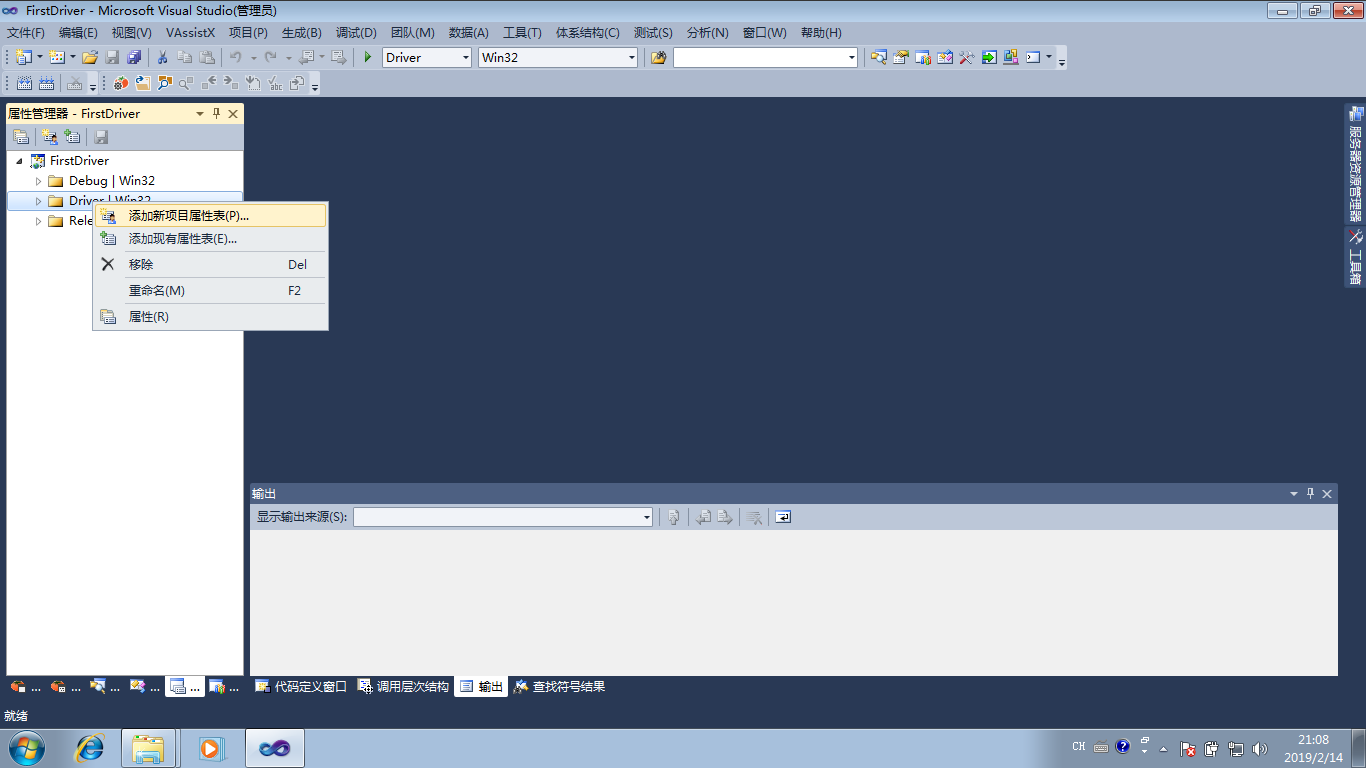
(6)添加属性表
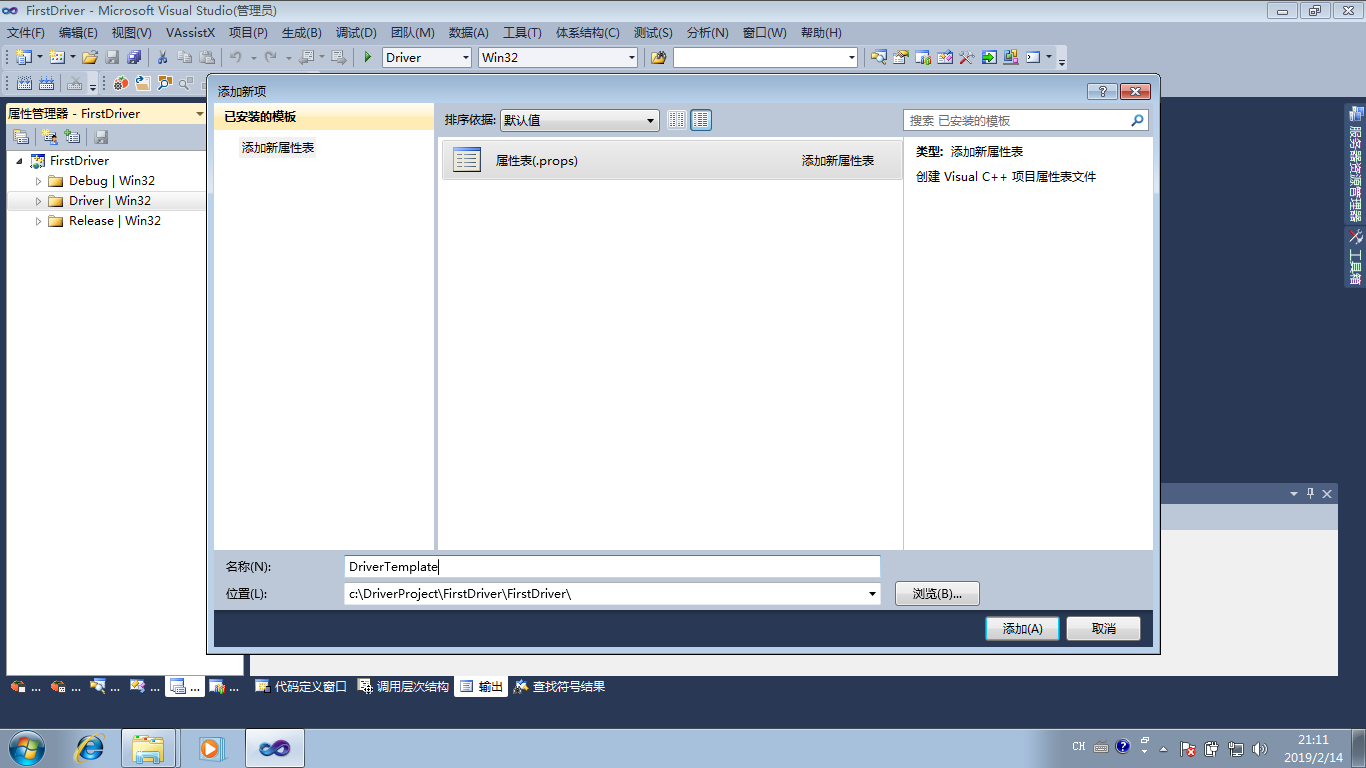
(7)命名为DriverTemplate.props
(8)保存工程,将DriverTemplate.props内容改为如下:
<?xml version="1.0" encoding="utf-8"?>

<Project ToolsVersion="4.0" xmlns="http://schemas.microsoft.com/developer/msbuild/2003">

  <ImportGroup Label="PropertySheets" />

  <PropertyGroup Label="UserMacros" />

  <PropertyGroup>

    <ExecutablePath>C:\WinDDK\7600.16385.1\bin\x86;$(ExecutablePath)</ExecutablePath>

  </PropertyGroup>

  <PropertyGroup>

    <IncludePath>C:\WinDDK\7600.16385.1\inc\api;C:\WinDDK\7600.16385.1\inc\ddk;C:\WinDDK\7600.16385.1\inc\crt;$(IncludePath)</IncludePath>

  </PropertyGroup>

  <PropertyGroup>

    <LibraryPath>C:\WinDDK\7600.16385.1\lib\win7\i386;$(LibraryPath)</LibraryPath>

    <TargetExt>.sys</TargetExt>

    <LinkIncremental>false</LinkIncremental>

    <GenerateManifest>false</GenerateManifest>

  </PropertyGroup>

  <ItemDefinitionGroup>

    <ClCompile>

      <PreprocessorDefinitions>_X86_;DBG</PreprocessorDefinitions>

      <CallingConvention>StdCall</CallingConvention>

      <ExceptionHandling>false</ExceptionHandling>

      <BasicRuntimeChecks>Default</BasicRuntimeChecks>

      <BufferSecurityCheck>false</BufferSecurityCheck>

      <CompileAs>Default</CompileAs>

      <DebugInformationFormat>ProgramDatabase</DebugInformationFormat>

    </ClCompile>

    <Link>

      <AdditionalDependencies>ntoskrnl.lib;wdm.lib;wdmsec.lib;wmilib.lib;ndis.lib;Hal.lib;MSVCRT.LIB;LIBCMT.LIB;%(AdditionalDependencies)</AdditionalDependencies>

    </Link>

    <Link>

      <IgnoreAllDefaultLibraries>true</IgnoreAllDefaultLibraries>

      <EnableUAC>false</EnableUAC>

      <SubSystem>Native</SubSystem>

      <EntryPointSymbol>DriverEntry</EntryPointSymbol>

      <BaseAddress>0x10000</BaseAddress>

      <RandomizedBaseAddress>

      </RandomizedBaseAddress>

      <DataExecutionPrevention>

      </DataExecutionPrevention>

      <GenerateDebugInformation>true</GenerateDebugInformation>

      <Driver>Driver</Driver>

    </Link>

  </ItemDefinitionGroup>

  <ItemGroup />

</Project>
(9)添加第一个驱动源码,编译,成功!
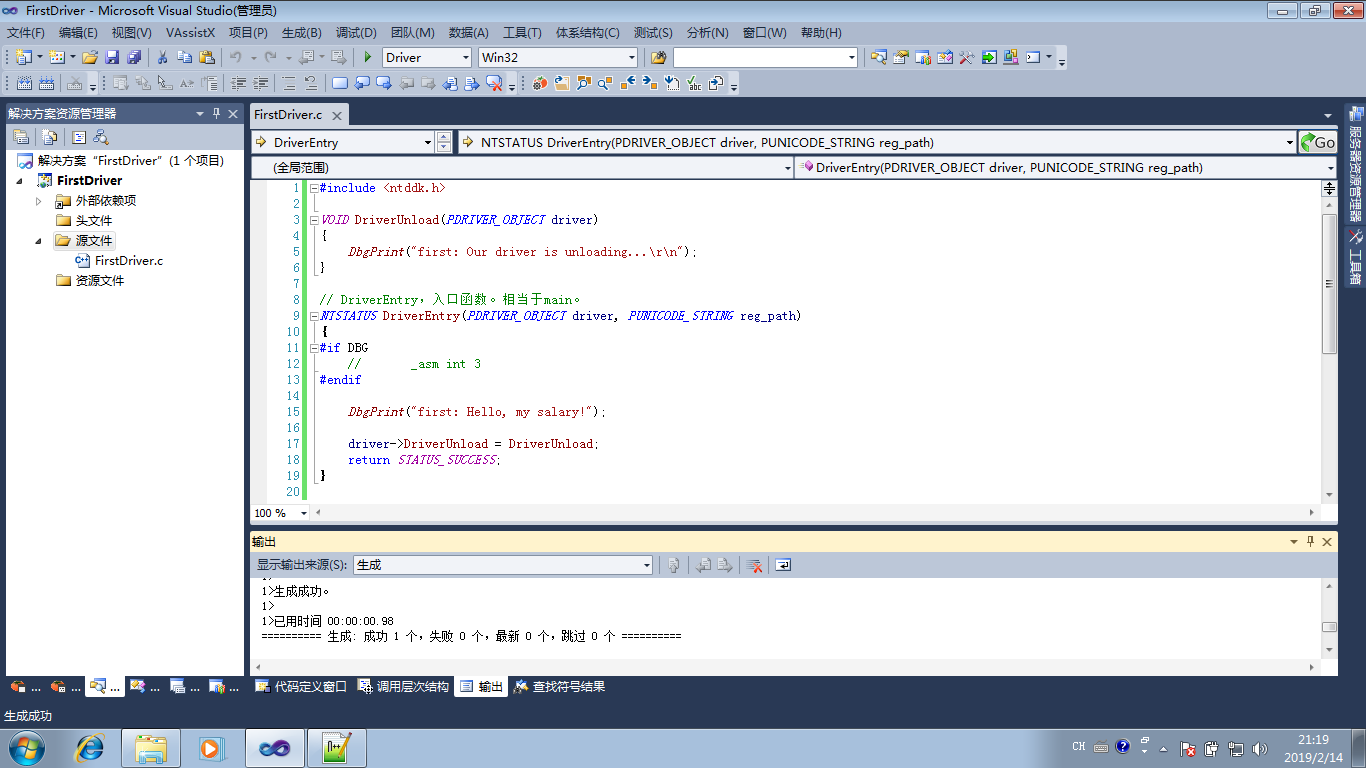
#include <ntddk.h>


VOID DriverUnload(PDRIVER_OBJECT driver)
{

    DbgPrint("first: Our driver is unloading…");
}

// DriverEntry,入口函数。相当于main。
NTSTATUS DriverEntry(PDRIVER_OBJECT driver, PUNICODE_STRING reg_path)
{
#if DBG
//       _asm int 3
#endif

    DbgPrint("first: Hello, my salary!\r\n");

    // 设置一个卸载函数便于这个函数能退出。
    driver->DriverUnload = DriverUnload;
    return STATUS_SUCCESS;
}
注意:
1->>wdk路径要根据个人具体来配置
2->>该props文件内容是为Windows7-32配置的,如果要配置Windows7-64要重新改动,请自行谷歌

 浙公网安备 33010602011771号