

Vue--props属性:让组件接收外部传入的数据
- 传递数据:<Demo name="xxx"/>
- 接收数据:
- 第一种方式:只接受
- 第二种方式:接收 + 限制类型
- 第三种方式:接收 + 限制类型 + 现在必要性 + 指定默认值
注:props是只读的,Vue底层会监测对props的修改,如果进行修改,就会发出警告
接收方式示例:
 // 第一种方式:简单接收方式
  // props: ['stuName', 'stuSex', 'stuAge']

  // 第二种方式:接收的同时对数据进行类型限制
  /*  props: {
     stuName: String,
     stuSex: String,
     stuAge: Number
   } */

  // 第三种方式: 接收的同时对数据进行类型限制 + 默认值指定 + 必填性限制
  props: {
    stuName: {
      type: String,
      required: true//必填或必须属性
    },
    stuSex: {
      type: String,
      required: true//必填或必须属性
    },
    stuAge: {
      type: Number,
      default: 6,//默认值
      // required: true//必填或必须属性
      // 注:默认值和 必填属性只需要一个
    },
  }
示例一:
Student.vue
<!-- 组件的结构 -->
<template>
  <div class="demo">
    <h2>{{msg}}</h2>
    <h3>学生姓名:{{stuName}}</h3>
    <h3>学生姓名2:{{stuName2}}</h3>
    <h3>学生性别:{{ stuSex }}</h3>
    <h3>学生年龄:{{ stuAge+1}}</h3>
  </div>
</template>
<!-- 组件交互相关的代码(数据、方法等) -->
<script>
export default ({
  // eslint-disable-next-line vue/multi-word-component-names
  name: 'Student',
  data () {
    return {
      msg: '我正在学习 Vue',
      // stuName: '心仪',
      // stuSex: '女',
      // setAge: 6
      stuName2: this.stuName,
      // stuSex2: this.stuSex,
      // stuAge2: this.stuAge,
    }
  },

  // 第一种方式:简单接收方式
  // props: ['stuName', 'stuSex', 'stuAge']

  // 第二种方式:接收的同时对数据进行类型限制
  /*  props: {
     stuName: String,
     stuSex: String,
     stuAge: Number
   } */

  // 第三种方式: 接收的同时对数据进行类型限制 + 默认值指定 + 必填性限制
  props: {
    stuName: {
      type: String,
      required: true//必填或必须属性
    },
    stuSex: {
      type: String,
      required: true//必填或必须属性
    },
    stuAge: {
      type: Number,
      default: 6,//默认值
      // required: true//必填或必须属性
      // 注:默认值和 必填属性只需要一个
    },
  }

})
</script>

<!-- 组件的样式 -->
<style>
.demo {
  background-color: burlywood;
}
</style>
App.vue
<template>
  <div>
    <!-- <img src="./assets/logo.png"> -->

    <Student stuName="心仪"
             stuSex="女"
             :stuAge="7"></Student>
    <Student stuName="欣怡"
             stuSex="女"
             :stuAge="6"></Student>

    <!-- 注:
            stuAge="6"表示字符串
            :stuAge="6" 表达式运行结果,会转换为数值类型哦
          -->
  </div>
</template>

<script>
// 引入组件
import Student from './components/Student.vue';
export default {
  name: 'App',
  components: {
    Student,
  },
}
</script>

<style>
</style>
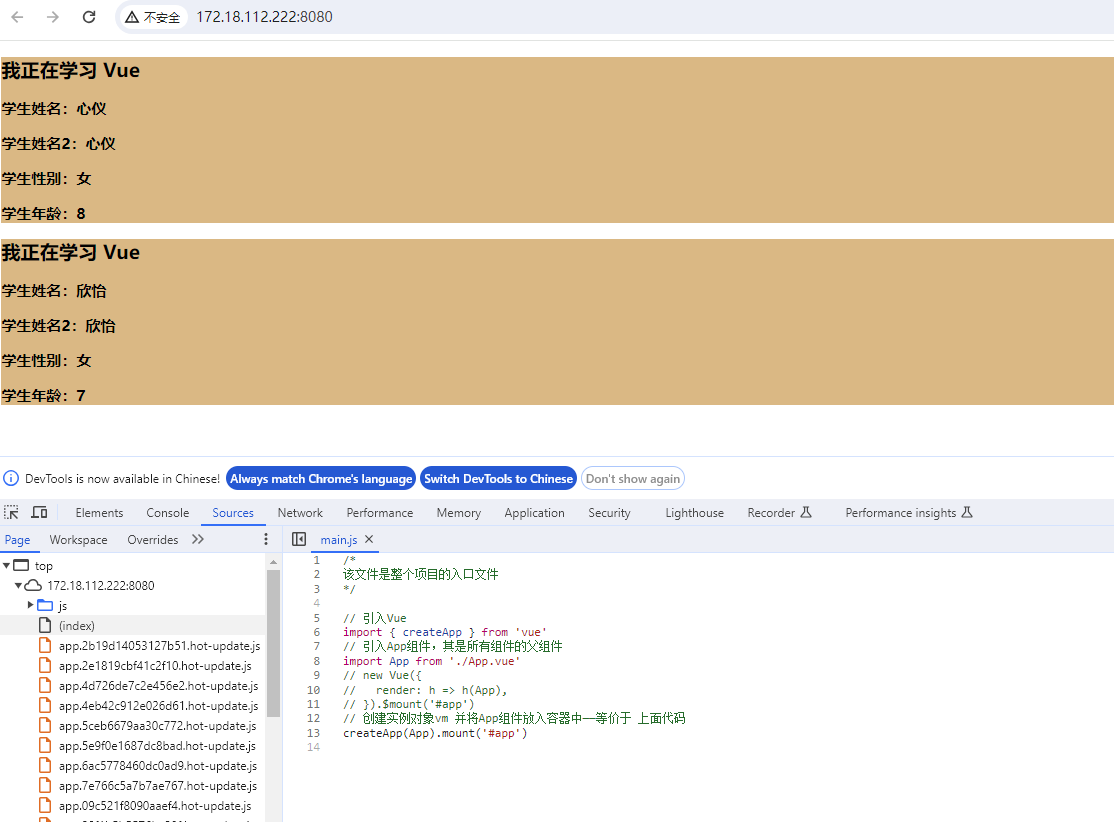
main.js
/*
该文件是整个项目的入口文件
*/

// 引入Vue
import { createApp } from 'vue'
// 引入App组件,其是所有组件的父组件
import App from './App.vue'
// new Vue({
//   render: h => h(App),
// }).$mount('#app')
// 创建实例对象vm 并将App组件放入容器中——等价于 上面代码
createApp(App).mount('#app')
博客内容主要用于日常学习记录,内容比较随意,如有问题,还需谅解!!!

 浙公网安备 33010602011771号