

脚手架项目架构分析
1.babel.config.js——babel的控制文件,用于ES6转ES5(一般不需要程序员进行配置,如想研究请查看babel官网)
module.exports = {
  presets: [
    '@vue/cli-plugin-babel/preset'
  ]
}
2.package.json——包信息说明,例如:项目名称、版本、采用的依赖、库文件
package-lock.json——包版本控制文件(包信息、地址)
3.README.md——项目说明文件(如何运行、启动......)
# my-project

## Project setup
```
npm install
```

### Compiles and hot-reloads for development
```
npm run serve
```

### Compiles and minifies for production
```
npm run build
```

### Lints and fixes files
```
npm run lint
```

### Customize configuration
See [Configuration Reference](https://cli.vuejs.org/config/).
4.scr/main.js——该文件是整个项目的入口文件,详情如下所述:
/*
该文件是整个项目的入口文件
*/

// 引入Vue
import { createApp } from 'vue'
// 引入App组件,其是所有组件的父组件
import App from './App.vue'
//关闭vue的生产提示
// eslint-disable-next-line no-undef
// Vue.config.productionTip = false

// eslint-disable-next-line no-undef
// new Vue({
//   render: h => h(App),
// }).$mount('#app')
// 创建实例对象vm 并将App组件放入容器中——等价于 上面代码
createApp(App).mount('#app')
5.src/assets:用于存放静态资源
6.src/components:程序员定义组件集合
7.在终端中使用快捷键:ctrl + c 用于停止终端项目运行
8.public/favicon.ico——网站的页签图标
9.public/index.html——整个应用的界面
<!DOCTYPE html>
<html lang="">

<head>
  <meta charset="utf-8">
  <!-- 针对IE浏览器的一个特殊配置,含义是让IE浏览器以最高的渲染基本渲染页面(ie8以上版本) -->
  <meta http-equiv="X-UA-Compatible" content="IE=edge">
  <!-- 开启移动端的理想视口 -->
  <meta name="viewport" content="width=device-width,initial-scale=1.0">
  <!-- 配置页签图标 -->
  <link rel="icon" href="<%= BASE_URL %>favicon.ico">
  <!-- 配置网页标题(package.json文件中name属性) webpack插件完成 -->
  <title>
    <%= htmlWebpackPlugin.options.title %>
  </title>
</head>

<body>
  <!-- 当浏览器不支持js时,<noscript></noscript>标签中的元素就会被渲染 -->
  <noscript>
    <strong>We're sorry but <%= htmlWebpackPlugin.options.title %> doesn't work properly without JavaScript enabled.
        Please enable it to continue.</strong>
  </noscript>

  <!-- 容器 -->
  <div id="app">

  </div>
  <!-- built files will be auto injected -->
</body>

</html>
注:
npm run serve——用于启动项目
ctrl + c——用于停止项目
示例一:
第一步:在组件文件夹中新增组件,如下所示
School.vue
<!-- 组件的结构 -->
<template>
  <div class="demo">
    <h3>学校名称:{{schoolName}}</h3>
    <h3> 学校地址:{{ schoolAddress }}</h3>
    <button @click="showInfo">点我提示学校信息</button>
  </div>
</template>
<!-- 组件交互相关的代码(数据、方法等) -->
<script>
//分别暴露
// export const school = Vue.extend({
// export default Vue.extend({
export default ({
  // eslint-disable-next-line vue/multi-word-component-names
  name: 'School',
  data () {
    return {
      schoolName: '希望小学',
      schoolAddress: '西安/110号/希望小学',
    }
  },
  methods: {
    showInfo () {
      alert(this.schoolName + '/' + this.schoolAddress)
    }
  }
})
// export { school}  统一暴露
// export default school 默认暴露

</script>
<!-- 组件的样式 -->
<style>
.demo {
  background-color: burlywood;
}
</style>
Student.vue
<!-- 组件的结构 -->
<template>
  <div class="demo">
    <h3>学校名称:{{stuName}}</h3>
    <h3> 学校地址:{{ stuAddress }}</h3>
    <button @click="showInfo">点我提示学校信息</button>
  </div>
</template>
<!-- 组件交互相关的代码(数据、方法等) -->
<script>
//分别暴露
// export const school = Vue.extend({
// export default Vue.extend({
export default ({
  // eslint-disable-next-line vue/multi-word-component-names
  name: 'Student',
  data () {
    return {
      stuName: '心仪',
      stuAddress: '西安/110号/希望小学',
    }
  },
  methods: {
    showInfo () {
      alert(this.stuName + '/' + this.stuAddress)
    }
  }
})
// export { school}  统一暴露
// export default school 默认暴露

</script>
<!-- 组件的样式 -->
<style>
.demo {
  background-color: burlywood;
}
</style>
第二步:App.vue:进行组件整合
<template>
  <div>
    <img src="./assets/logo.png">

    <School></School>
    <Student></Student>
  </div>
</template>

<script>
// 引入组件
import Student from './components/Student.vue';
import School from './components/School.vue';
export default {
  name: 'App',
  components: {
    Student,
    School
  },
}
</script>

<style>
</style>
第三步:配置main.js入口文件
/*
该文件是整个项目的入口文件
*/

// 引入Vue
import { createApp } from 'vue'
// 引入App组件,其是所有组件的父组件
import App from './App.vue'
//关闭vue的生产提示
// eslint-disable-next-line no-undef
// Vue.config.productionTip = false

// eslint-disable-next-line no-undef
// new Vue({
//   render: h => h(App),
// }).$mount('#app')
// 创建实例对象vm 并将App组件放入容器中——等价于 上面代码
createApp(App).mount('#app')
第四步:public/index.html
<!DOCTYPE html>
<html lang="">

<head>
  <meta charset="utf-8">
  <!-- 针对IE浏览器的一个特殊配置,含义是让IE浏览器以最高的渲染基本渲染页面(ie8以上版本) -->
  <meta http-equiv="X-UA-Compatible" content="IE=edge">
  <!-- 开启移动端的理想视口 -->
  <meta name="viewport" content="width=device-width,initial-scale=1.0">
  <!-- 配置页签图标 -->
  <link rel="icon" href="<%= BASE_URL %>favicon.ico">
  <!-- 配置网页标题(package.json文件中name属性) webpack插件完成 -->
  <title>
    <%= htmlWebpackPlugin.options.title %>
  </title>
</head>

<body>
  <!-- 当浏览器不支持js时,<noscript></noscript>标签中的元素就会被渲染 -->
  <noscript>
    <strong>We're sorry but <%= htmlWebpackPlugin.options.title %> doesn't work properly without JavaScript enabled.
        Please enable it to continue.</strong>
  </noscript>

  <!-- 容器 -->
  <div id="app">

  </div>
  <!-- built files will be auto injected -->
</body>

</html>
第五步:启动项目 npm run serve
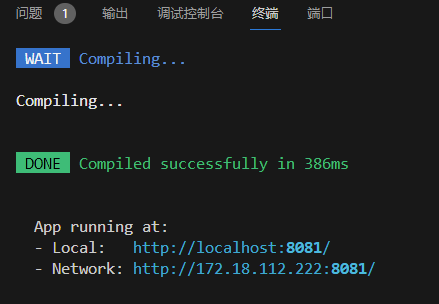
第六步:访问网站
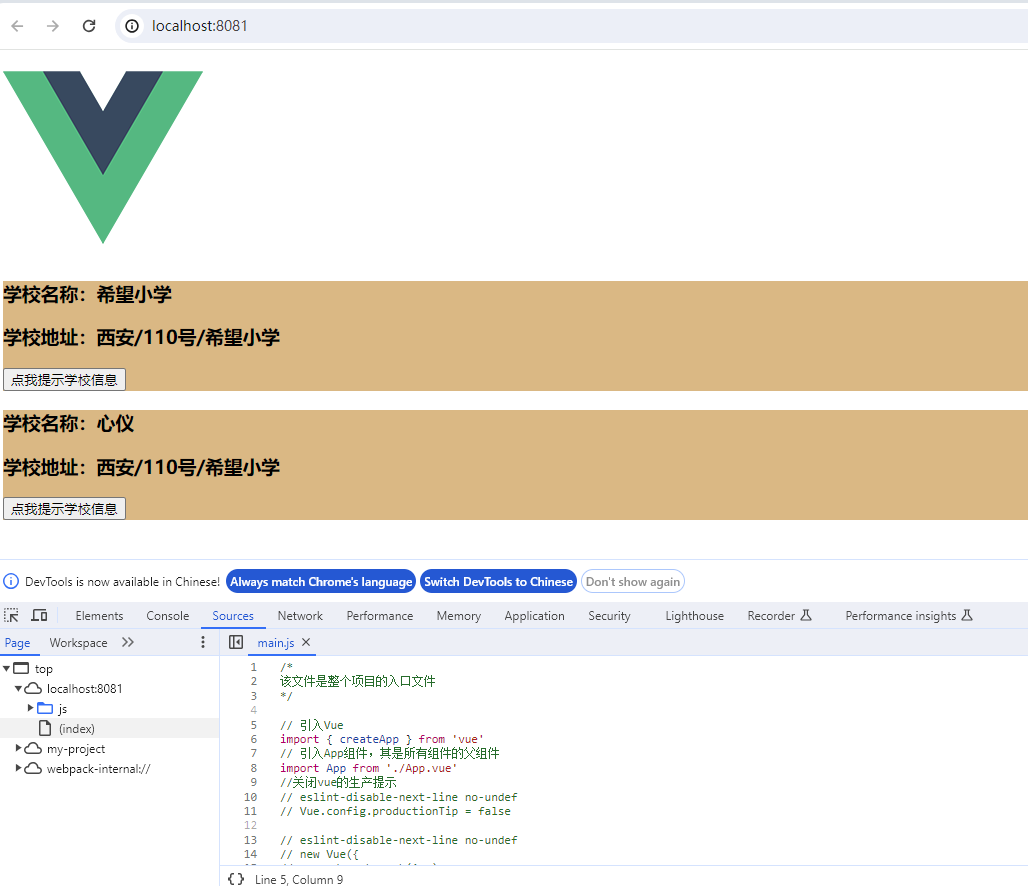
博客内容主要用于日常学习记录,内容比较随意,如有问题,还需谅解!!!

 浙公网安备 33010602011771号