SpringBoot聚合项目:达内知道(八)-静态资源服务器、用户首页显示问题状态、登录用户信息面板显示
1.静态资源服务器
1.1 为什么需要静态资源服务器?
我们当前项目会有较多的图片资源需要管理,如果我们的服务器又处理业务又负责图片的管理和显示,那么服务器的压力较大。现在业界通用的做法是将图片由一个单独的服务器来管理,当前用户需要获得图片时,由这个服务器提供,而不需要访问业务服务器。到我们开发者这里就是新建一个项目,专门负责管理图片资源。具体步骤如下:
(1)在父项目下创建聚合子项目knows-resource:

版本选择2.4.10

(2)删除src下面的test文件夹
(3)在knows父项目的pom.xml文件中添加子项目module:
 <modules>
     <module>knows-portal</module>
     <module>knows-generator</module>
     <!--    ↓↓↓↓↓↓↓↓↓↓↓↓↓↓↓    --->
     <module>knows-resource</module>
 </modules>
(4)在knows-resource子项目的pom.xml文件中进行父子相认、修改依赖、删除无用配置:
刷新maven,记住配置完一定要刷新!!!
(5)在knows-resource子项目的application.properties文件中进行参数配置:
# 配置静态资源服务器端口
server.port=8899
# 修改当前项目的静态资源默认路径
spring.resources.static-locations=file:F:/upload
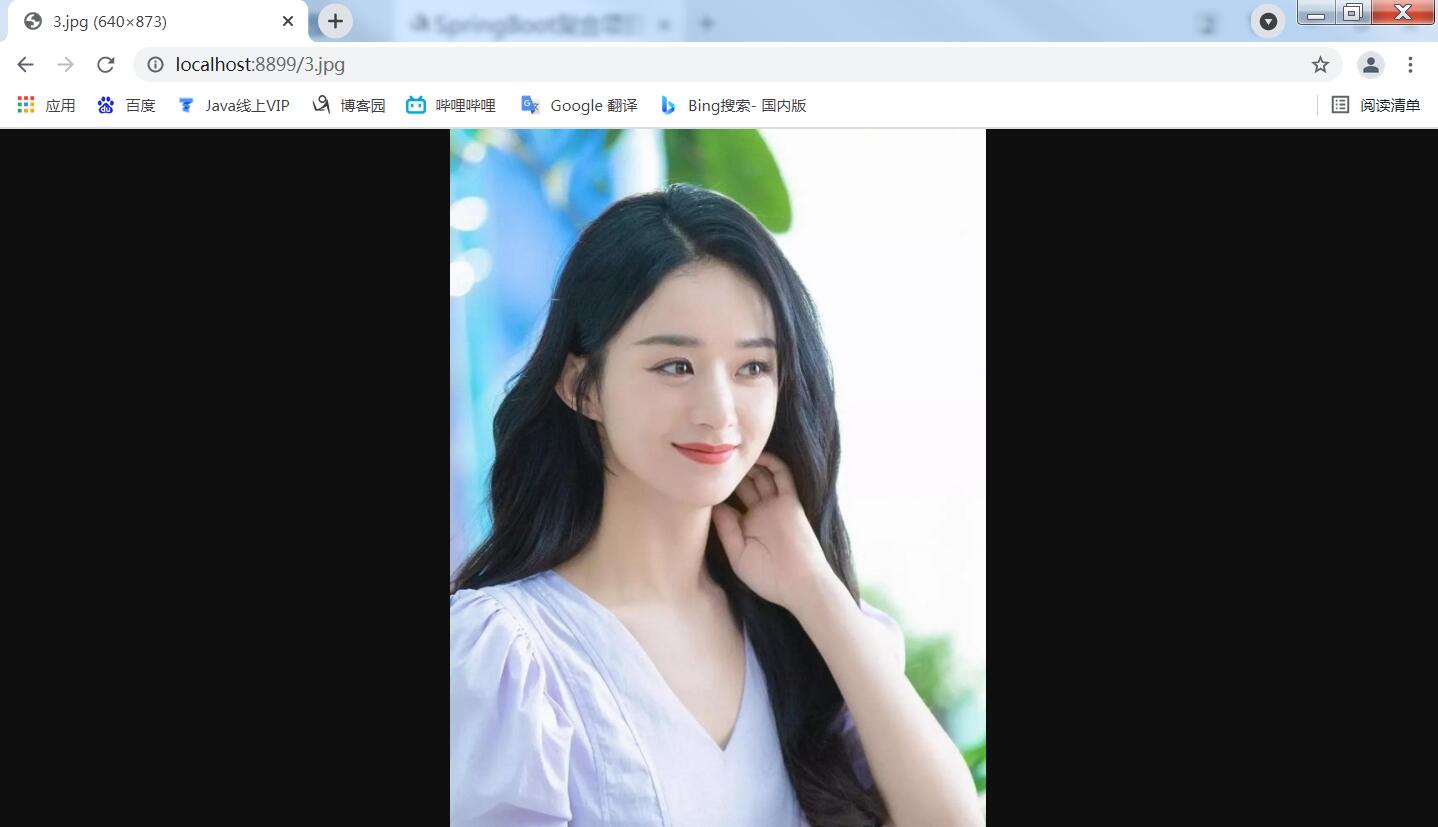
启动knows-resource项目,当输入路径http://localhost:8899/3.jpg时,相当于访问了当前计算机F:/upload/3.jpg,可以显示加载到的图片(前提是该路径下存在该图片)。
1.2 实现页面上传的图片回显
修改SystemController上传方法,将方法末尾return “success”代码替换为:
 // 拼接可以访问刚刚上传图片的url
 // http://localhost:8899/2021/08/31/xxx-xadsf-xasdf.jpg
 String url=resourceHost+"/"+path+"/"+name;
 return url;
upload.html中js代码then方法修改:
 then(function(response){
     if(response.data.indexOf("http://")!=-1){//返回内容包含http://
         console.log("上传成功!");
         $("#image").attr("src",response.data);//将url赋值给img的src属性,即可显示图片
     }else{
         console.log("上传失败!");
     }
 })

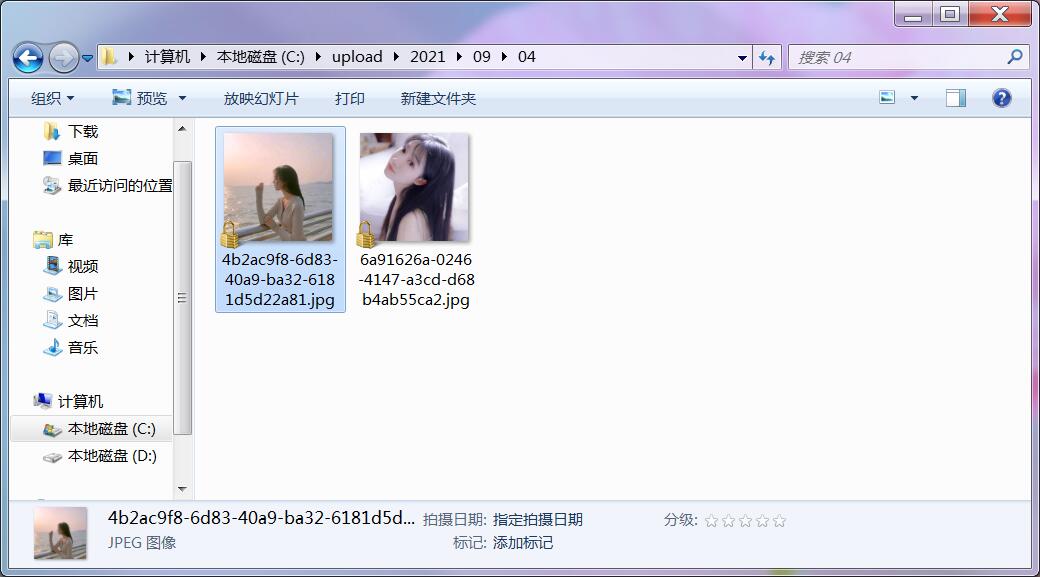
(2)IDEA可以输出图片保存路径
![]()
(3)电脑磁盘路径可以保存该图片
1.3 富文本编辑器实现文件上传
富文本编辑器在默认情况下,在选择图片时,是将图片转成二进制格式保存在内容中,如果这样把内容保存到数据库,数据库会非常臃肿,影响数据库查询性能 。我们要将富文本编辑器选中图片的操作修改为:
1.选中图片时将图片上传到服务器硬盘;
2.上传成功后在富文本编辑器中回显这个图片;
3.富文本编辑器内容中只保存上传文件的图片路径,这样保证数据库内容不会臃肿。
我们先编写上传文件的js代码,在create.html页面末尾初始化 summernote的代码中进行修改:
 $(document).ready(function() {
   $('#summernote').summernote({
     height: 300,
     tabsize: 2,
     lang: 'zh-CN',
     placeholder: '请输入问题的详细描述...',
     //回调函数,summernote自带的,当用户选择图片时运行的方法
     //(会代替默认操作:summernote以二进制形式存储图片)
     callbacks:{
       //当用户选择图片时运行的方法(会代替默认的操作)
       onImageUpload:function(files){//files表示选中的所有文件(数组格式)
         //方法参数是用户选中的所有文件,所以是个数组
         //取出用户选中的第一个文件
         let file=files[0];
         //实例化表单对象
         let form=new FormData();
         form.append("imageFile",file);
         //发请求
         axios({
           url:"/upload/image",
           method:"post",
           data:form
         }).then(function(response){
             //我们要将上传成功的图片显示在富文本编辑器中
             //先实例化一个img对象
             let img=new Image();
             //设置img对象(实际上就是img标签)的src属性
             img.src=response.data;
             //将img对象添加到富文本编辑器的内容中
             $("#summernote").summernote("insertNode",img);
         });
       }
     }
   });
   $('select').select2({placeholder:'请选择...'});
 });
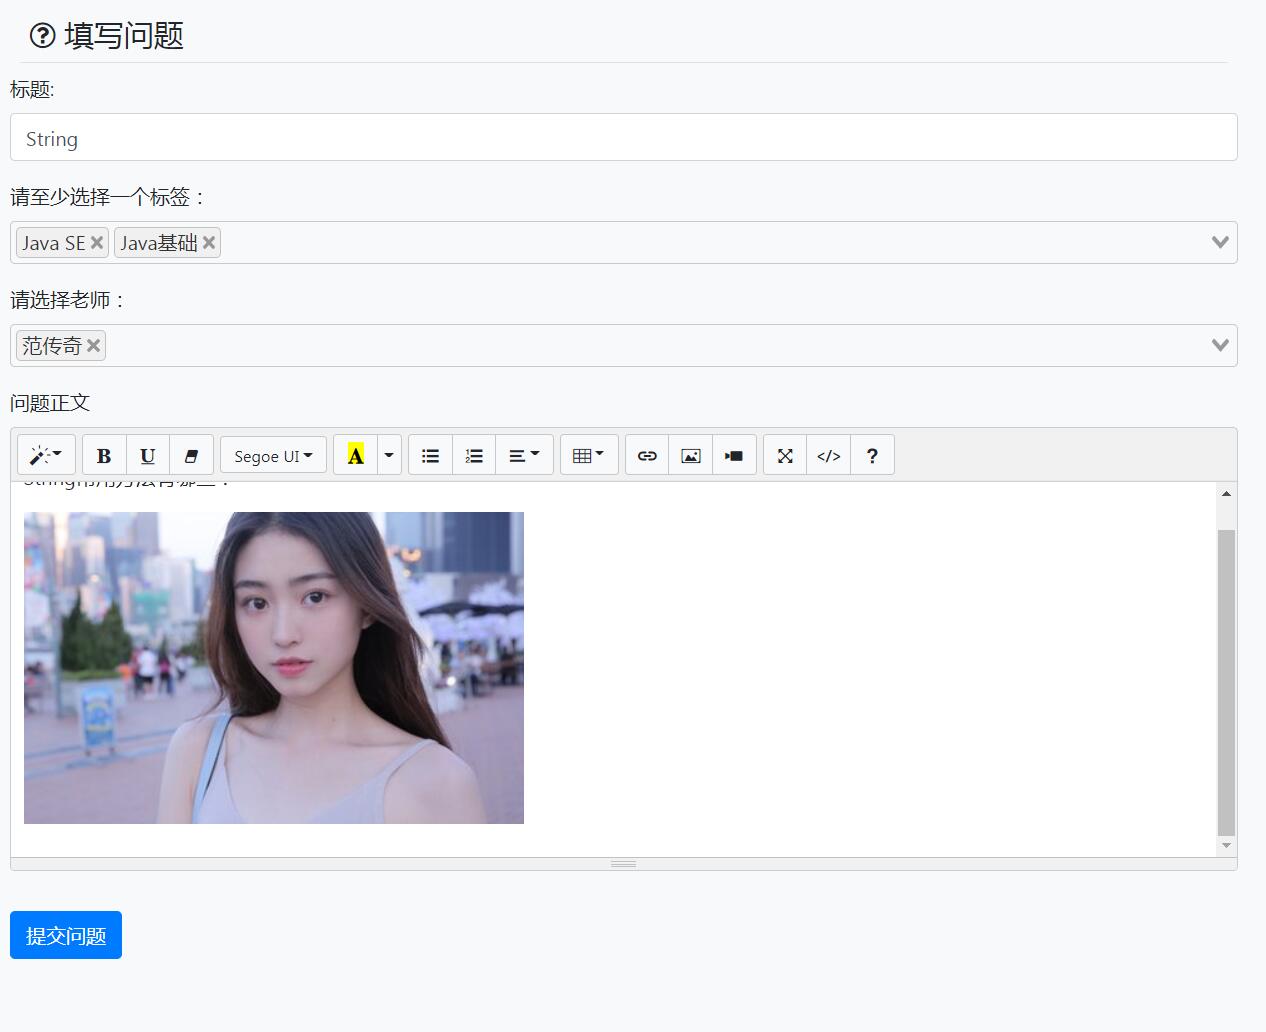
启动两个服务器进行测试,访问路径为:http://localhost:8888/question/create.html,上传图片后,图片加载在富文本编辑器内容框内。
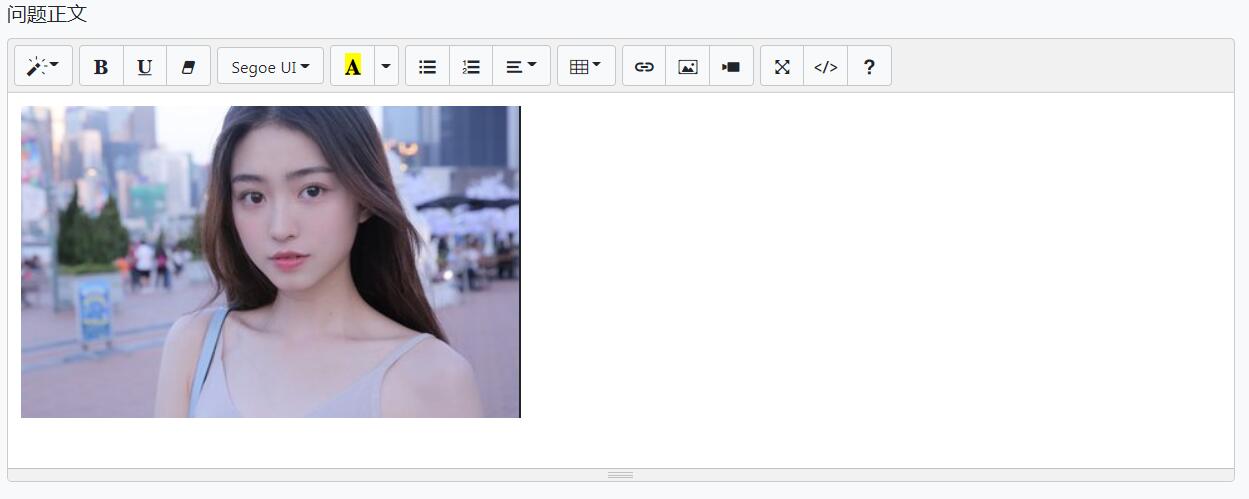
(1)富文本编辑器
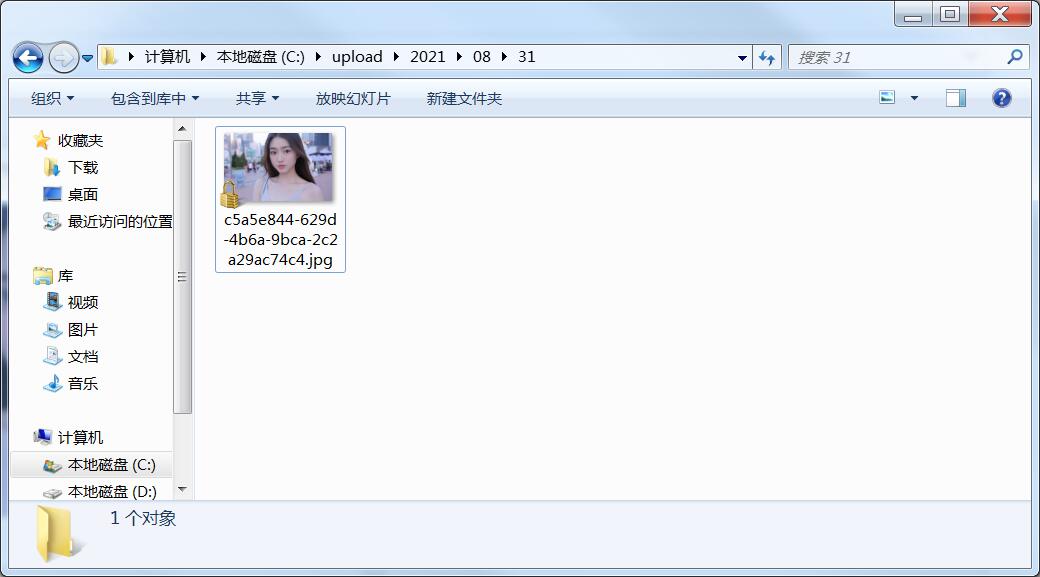
(2)电脑磁盘
同时,可以进行发布问题测试,测试问题各项属性是否正常,发布问题后,显示效果如下:
发布后的问题显示在问题列表:

2.用户首页显示问题状态
问题的三种状态:
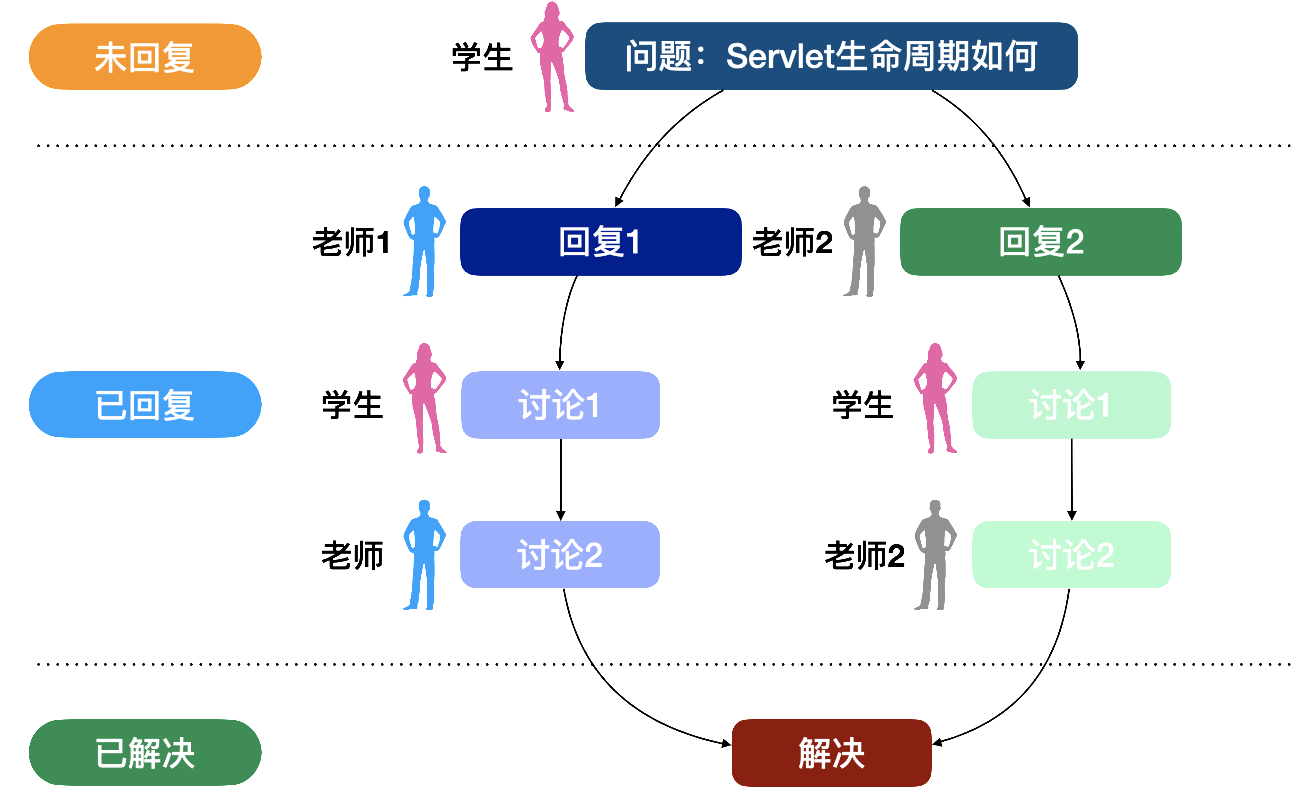
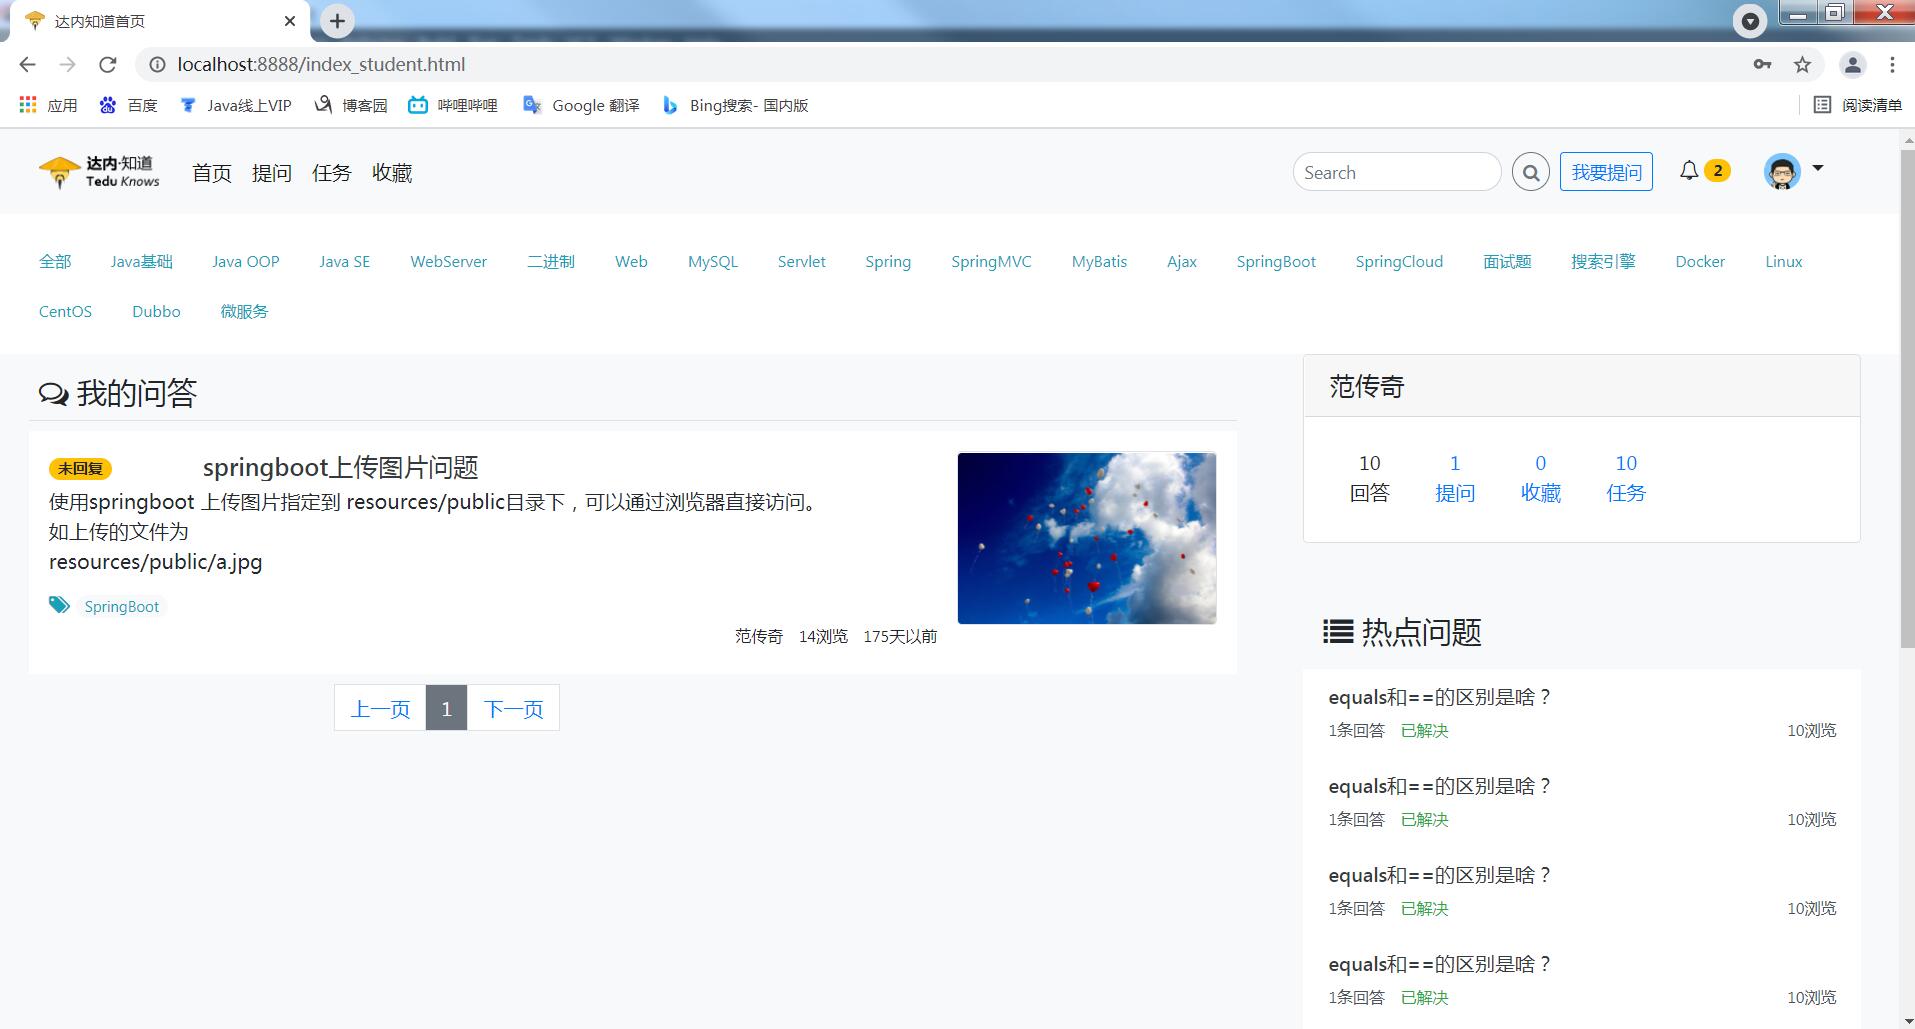
我们用户首页现在所有问题都显示的是"已解决",但是每个问题会根据不同的状态显示不同的状态名称:
-
0: 未回复
-
1: 已回复
-
2: 已解决
我们应在页面上根据问题当前的状态码显示不同内容,在index_student.html的193行附近进行修改:
 <div class="col-md-12 col-lg-2">
   <!--v-show:控制当前标签显示,尽管前面为none也可生效-->
   <span class="badge badge-pill badge-warning"
         style="display: none" v-show="question.status==0">未回复</span>
   <span class="badge badge-pill badge-info"
         style="display: none" v-show="question.status==1">已回复</span>
   <span class="badge badge-pill badge-success"
         v-show="question.status==2">已解决</span>
 </div>
v-show是Vue代码中控制当前标签是否显示的命令,v-show=" "的" "中如果结果是true,则当前标签会显示,反之当前标签会隐藏。
重新启动服务,显示页面如下:
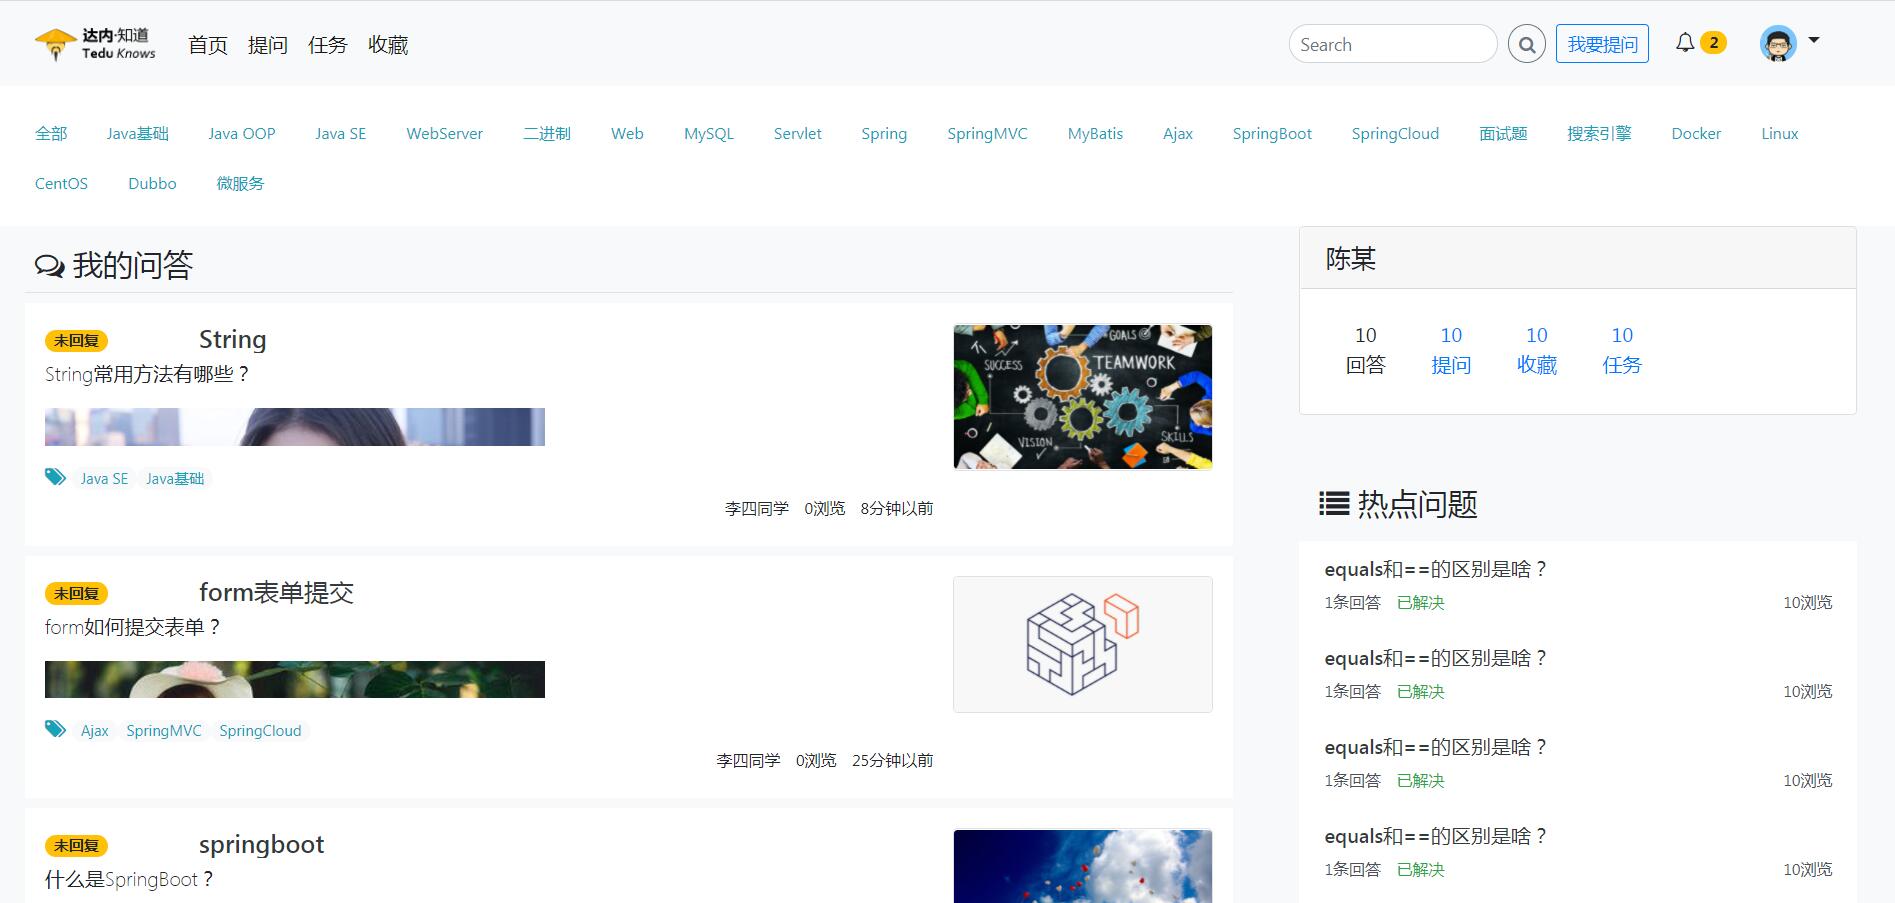
问题状态已修改!
3.登录用户信息面板

在首页和问题发布页页面右侧有上图所示的区域,这个区域负责显示当前登录用户的概要信息。
下面我们就着手编写代码正确显示这个区域的内容(课程中只实现提问数),我们为了能够直接显示这个面板的信息需要创建一个包含这个面板信息的Vo类。
3.1 创建保存数据的Vo类
vo包中创建UserVo代码如下:学生首页只包含提问和收藏,没有回答和任务(老师才有回答和任务)
package cn.tedu.knows.portal.vo;
import lombok.Data;
import lombok.experimental.Accessors;
import java.io.Serializable;
3.2 编写数据访问层代码
查询问题数和收藏数的sql语句如下:
 SELECT COUNT(*) FROM question WHERE user_id=11
 SELECT COUNT(*) FROM user_collect WHERE user_id=11
我们需要一个根据当前登录用户名查询出UserVo返回值类型的方法,可以在UserMapper编写,代码如下:
//根据用户名查询UserVo信息
附:如果要在数据访问层通过Mapper实现,要在QuestionMapper中编写方法:
3.3 编写业务逻辑层代码
先在接口IQuestionService中编写根据用户id查询问题数、收藏数的方法:
//根据用户id查询用户的问题数
int countQuestionsByUserId(Integer userId);
//根据用户id查询用户的收藏数
int countCollectionsByUserId(Integer userId);
在QuestionServiceImpl实现该方法:用QueryMapper实现(不编写数据访问层方法)
//根据用户id查询用户的问题数的逻辑层实现
再在接口IUserService中编写查询UserVo对象的业务逻辑层方法:
 //根据用户名查询用户信息面板
 UserVo getUserVo(String username);
(不推荐)在IUserCollectService接口中编写方法:
 public interface IUserCollectService extends IService<UserCollect> {
     //根据用户id查询用户问题的收藏数
     int countCollectionsByUserId(Integer userId);
 }
(不推荐)在UserCollectServiceImpl实现接口方法:
在UserServiceImpl实现该方法:
//根据用户名查询用户信息面板
业务逻辑层到此编写完毕。
3.4 编写控制层代码
在UserController中编写代码调用获得当前登录用户信息面板:
//根据当前登录用户查询用户的面板信息
//同步请求测试路径: localhost:8080/v1/users/me
启动服务,访问http://localhost:8888/v1/users/me进行同步测试,查看从数据库查询到的结果,测试结果如下:

如果输出json格式的数据如上所示,就表示获取到数据量,后续只需要在前端页面进行绑定就行了。
3.5 html绑定和Vue代码
在index_student.html的274行附近修改如下:
 <div class="container-fluid font-weight-light"
   id="userApp"><!--添加id-->
 <!--  ↑↑↑↑↑↑  -->
   <div class="card">
     <h5 class="card-header" v-text="user.nickname">陈某</h5><!-- 绑定昵称 -->
                                <!--  ↑↑↑↑↑↑  -->
       <div class="card-body">
       <div class="list-inline mb-1 ">
           <a class="list-inline-item mx-3 my-1 text-center">
             <div><strong>10</strong></div>
             <div>回答</div>
           </a>
           <a class="list-inline-item mx-3 my-1 text-center" href="personal/myQuestion.html">
             <div><strong v-text="user.questions">10</strong></div><-- 绑定问题数 -->
                                 <!--  ↑↑↑↑↑↑  -->
             <div>提问</div>
           </a>
           <a class="list-inline-item mx-3 my-1 text-center" href="personal/collect.html">
             <div><strong  v-text="user.collections">10</strong></div><-- 绑定收藏数 -->
                                  <!--  ↑↑↑↑↑↑  -->
             <div>收藏</div>
           </a>
           <a class="list-inline-item mx-3 my-1 text-center" href="personal/task.html">
             <div><strong>10</strong></div>
             <div>任务</div>
           </a>
       </div>
     </div>
   </div>
 </div>
然后去编写js代码,在js文件夹下创建一个js文件:user_info.js,代码如下:
 let userApp=new Vue({
     el:"#userApp", //id
     data:{
         user:{} //对象
     },
     methods:{
         loadUserVo:function(){
             axios({
                 url:"/v1/users/me",
                 method:"get"
             }).then(function(response){
                 userApp.user=response.data;
             })
         }
     },
     created:function(){
         //在页面加载完毕之后立即运行加载UserVo的方法
         this.loadUserVo();
     }
 })
在index_student.html页面末尾引入js文件:
 <script src="js/utils.js"></script>
 <script src="js/tags_nav.js"></script>
 <script src="js/index.js"></script>
 <!--   ↓↓↓↓↓↓↓↓↓↓↓↓↓↓↓   -->
 <script src="js/user_info.js"></script>
 </html>
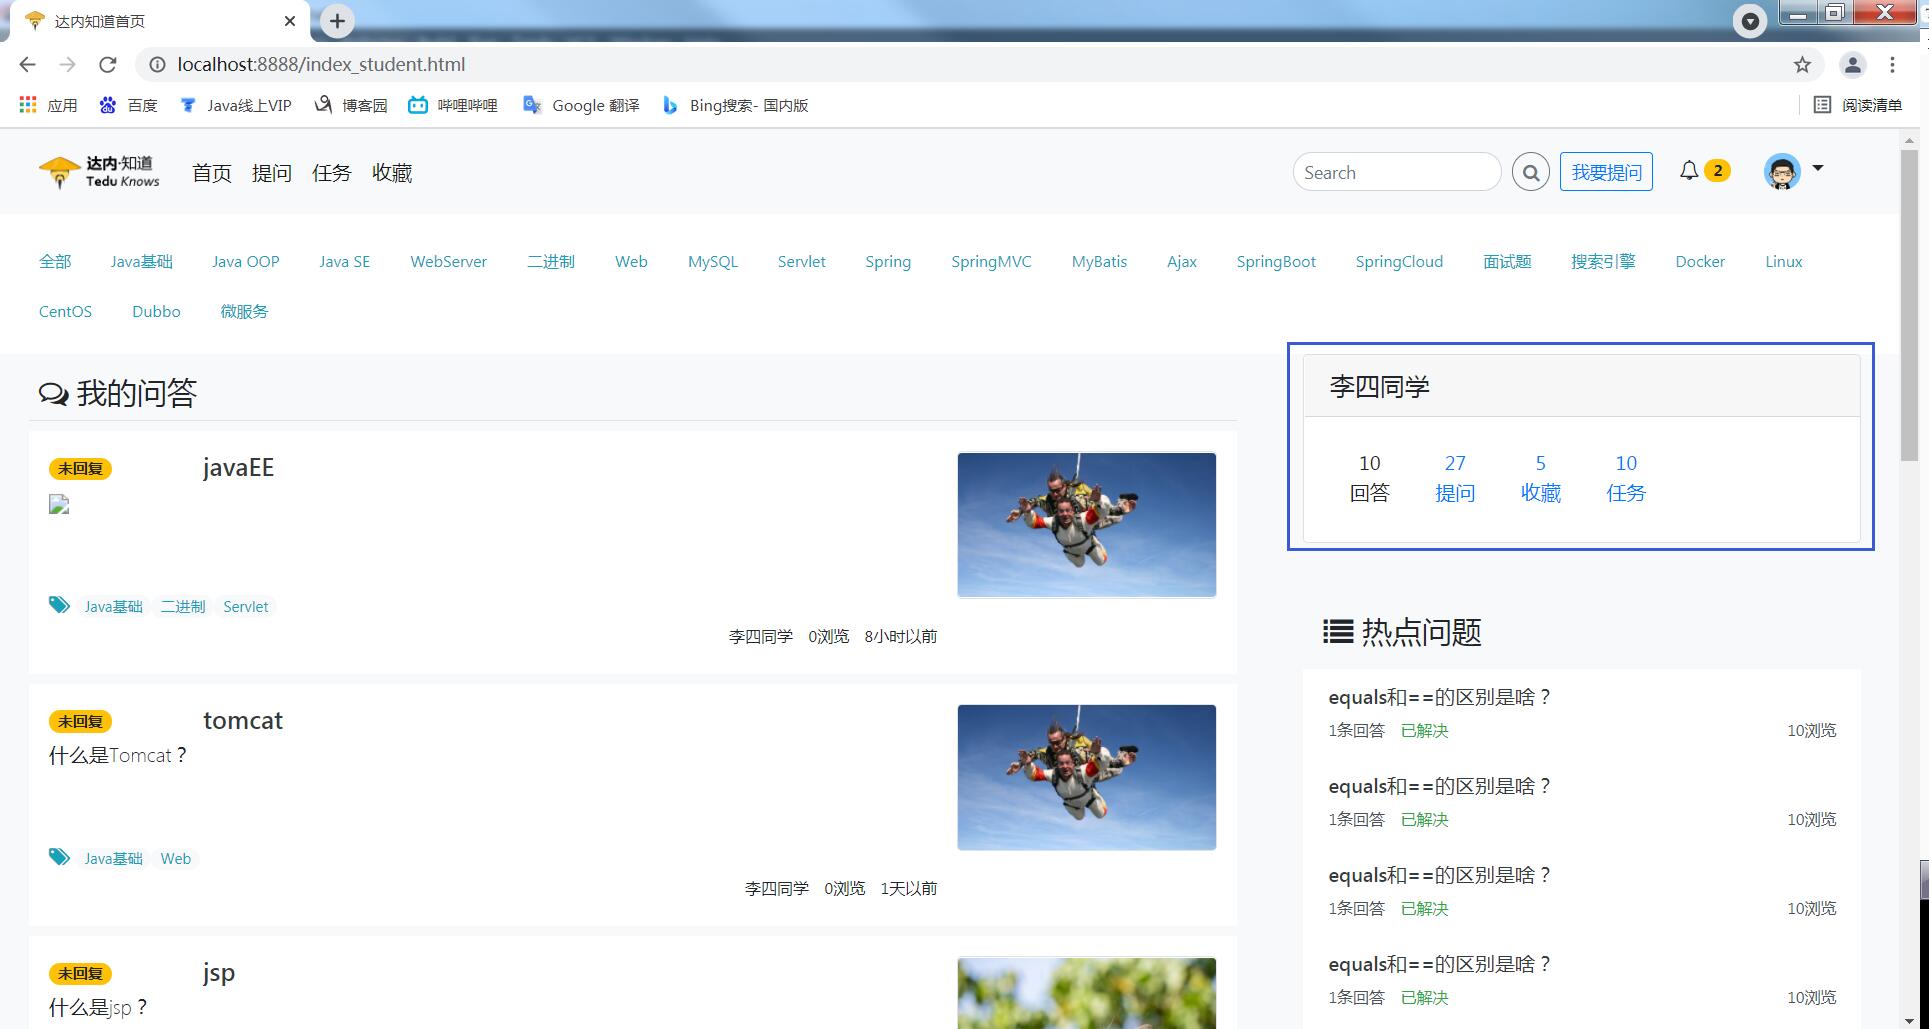
重新启动服务,就可以在访问学生首页中显示用户信息面板了(上面只实现了用户昵称、问题数、收藏数)!
3.6 用户信息面板的复用
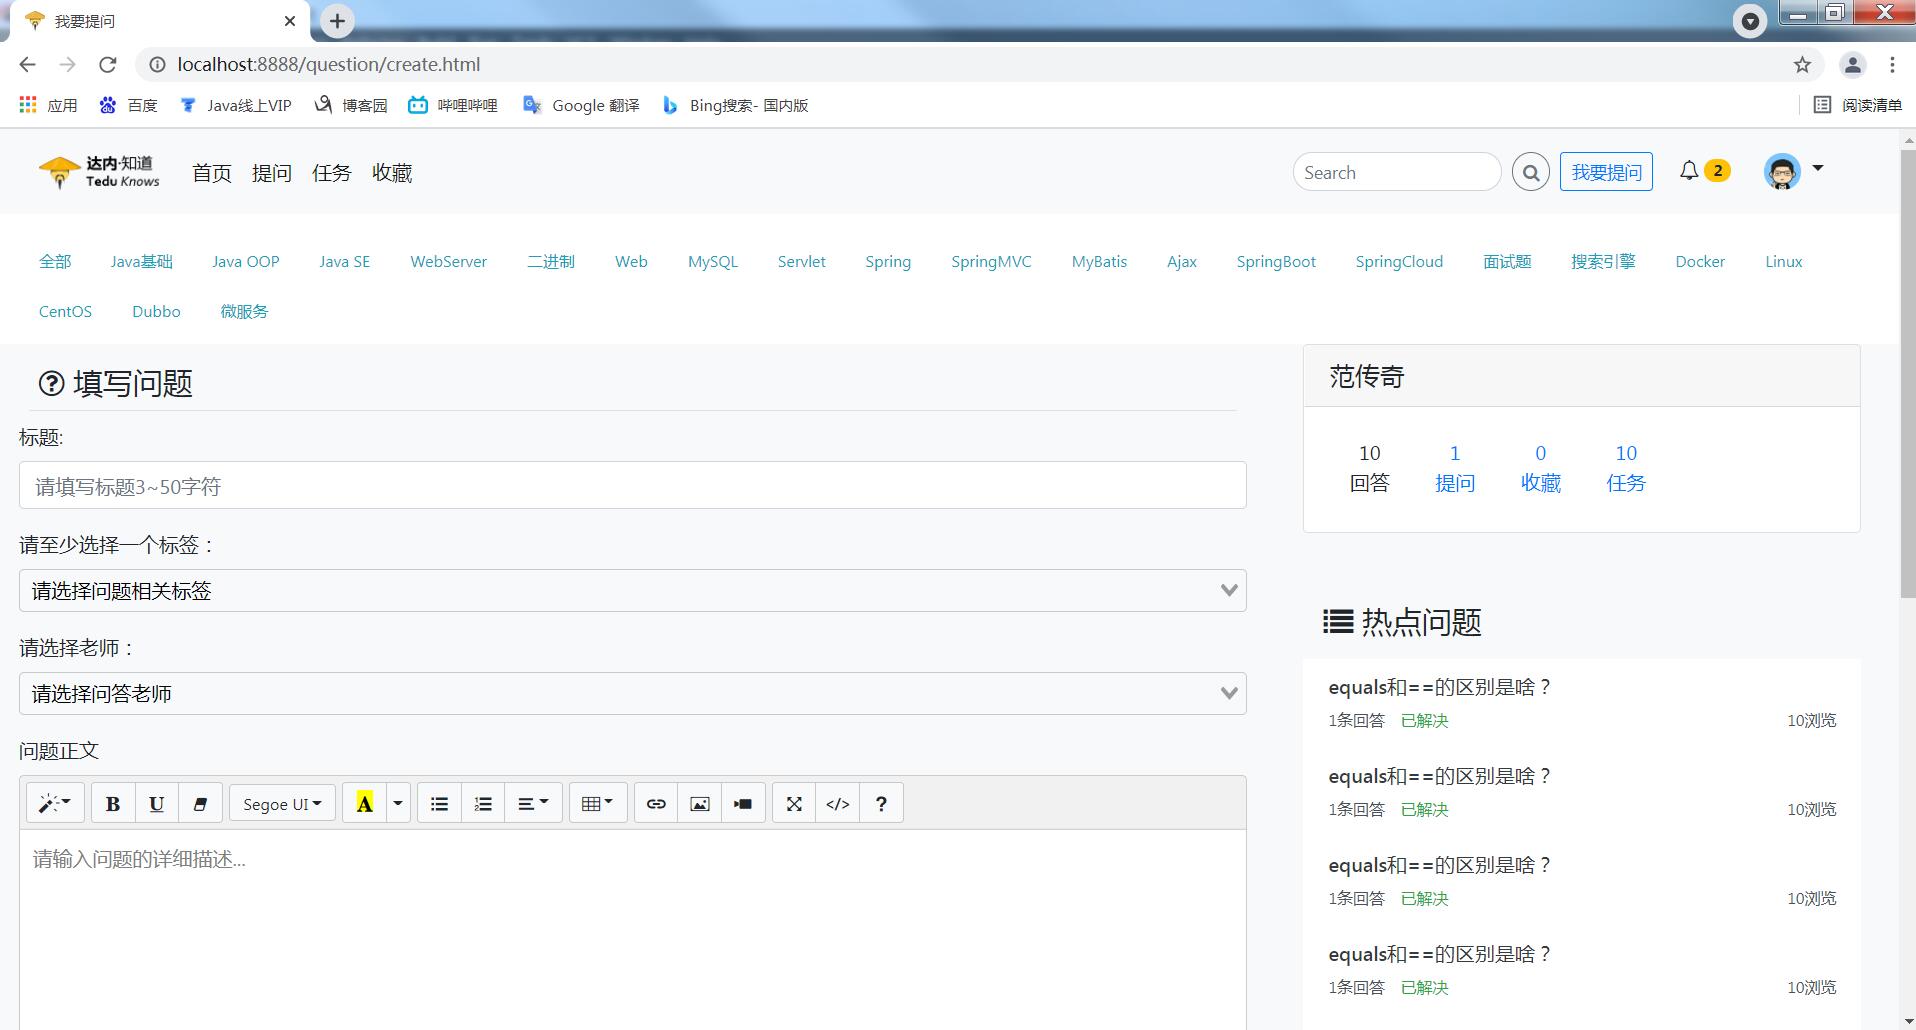
问题发布页create.html页面也需要显示用户信息面板,它也可以使用Vue模板来实现,实现模板的步骤:
1.定义模板
2.调用模板
3.添加引用
定义模板:在js文件夹下创建一个js文件:user_info_temp.js,代码如下:
 Vue.component("user_app",{
     props:["user"],
     template:`
       <div class="container-fluid font-weight-light""><!--删id-->
         <div class="card">
           <h5 class="card-header" v-text="user.nickname">陈某</h5><!--绑定-->
           <div class="card-body">
             <div class="list-inline mb-1 ">
                 <a class="list-inline-item mx-3 my-1 text-center">
                   <div><strong>10</strong></div><!--还未绑定-->
                   <div>回答</div>
                 </a>
                 <a class="list-inline-item mx-3 my-1 text-center" href="personal/myQuestion.html">
                   <div><strong v-text="user.questions">10</strong></div><!--绑定-->
                   <div>提问</div>
                 </a>
                 <a class="list-inline-item mx-3 my-1 text-center" href="personal/collect.html">
                   <div><strong v-text="user.collections">10</strong></div><!--还未绑定-->
                   <div>收藏</div>
                 </a>
                 <a class="list-inline-item mx-3 my-1 text-center" href="personal/task.html">
                   <div><strong>10</strong></div>
                   <div>任务</div>
                 </a>
             </div>
           </div>
         </div>
       </div>
     `
 })
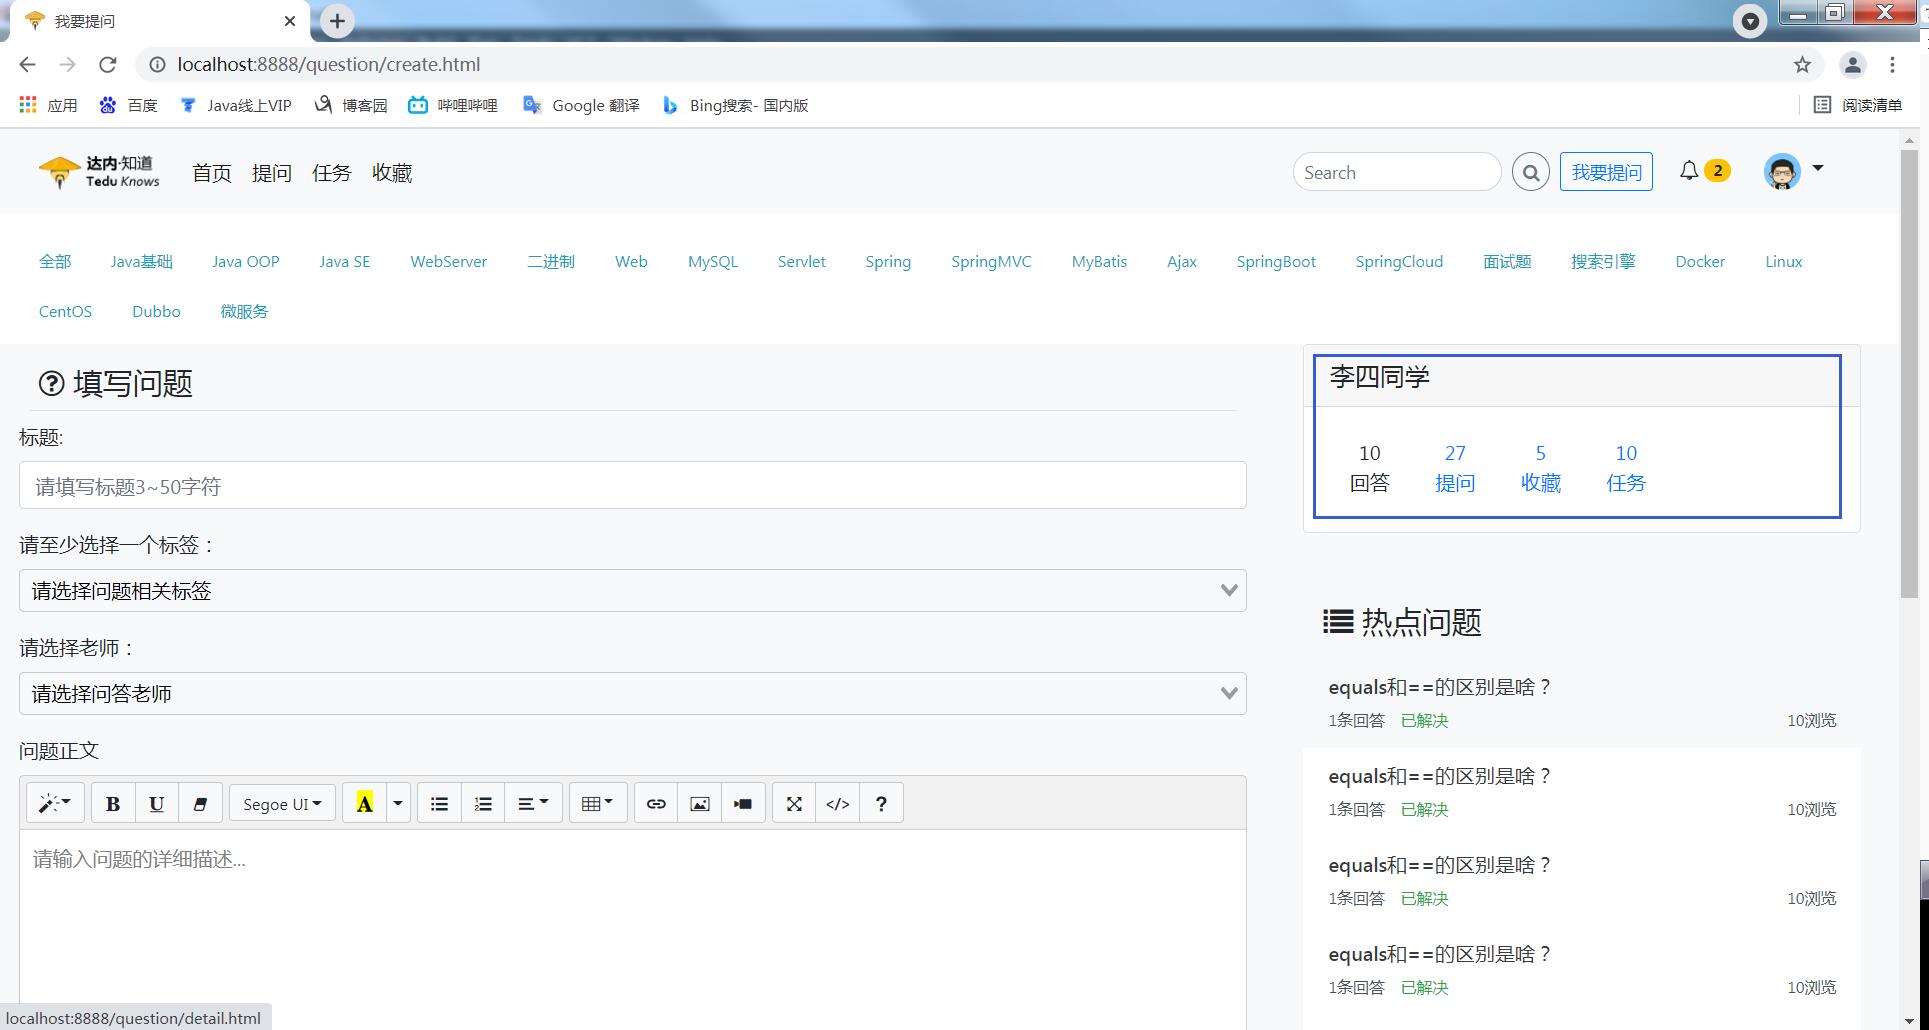
调用模板:在create.html页面中调用模板 243行附近
 <!--个人信息-->
 <user_app id="userApp" :user="user"></user_app><!--调用模板,注意是user_app而不是user-app-->
 <!--热点数据-->
添加引用
 <script src="../js/utils.js"></script>
 <script src="../js/tags_nav_temp.js"></script>
 <script src="../js/tags_nav.js"></script>
 <script src="../js/user_info_temp.js"></script>
 <script src="../js/user_info.js"></script>
 <script src="../js/createQuestion.js"></script>
重启服务进行测试,访问学生提问页面,显示效果如下:
3.7 讲师首页复用标签列表和用户面板信息
index_teacher.html 27行附近引入axios框架:
 <!--引入axios框架-->
 <script src="https://cdn.bootcdn.net/ajax/libs/axios/0.21.1/axios.min.js"></script>
173行附近调用Vue模板进行标签列表复用:
 <!--引入标签的导航栏-->
 <div class="container-fluid">
   <tags_app id="tagsApp" :tags="tags"></tags_app><!--调用模板,注意是_而不是- -->
 </div>
249行附近调用Vue模板进行用户面板信息复用:
 <div class="col-sm-12 col-md-4  p-2">
   <!--个人信息-->
   <user_app id="userApp" :user="user"></user_app><!--调用模板,注意是_而不是- -->
   <!--热点数据-->
页面末尾添加引用:
 </body>
 <script src="js/utils.js"></script>
 <script src="js/tags_nav_temp.js"></script>
 <script src="js/tags_nav.js"></script>
 <script src="js/user_info_temp.js"></script>
 <script src="js/user_info.js"></script>
 </html>
重启服务,访问讲师首页,显示效果如下:
(1)讲师首页
(2)讲师提问页面
