【Unity Shader学习】接收并显示光照贴图
Shader "Sbin/Textures/Texture03" {
Properties {
_MainTex("MainTex",2D) = ""{}
}
SubShader {
Tags { "RenderType"="Opaque" }
LOD 200
pass
{
CGPROGRAM
#pragma vertex vert
#pragma fragment frag
#include "unitycg.cginc"
sampler2D _MainTex;
// 光照贴图
sampler2D unity_Lightmap ;
float4 _MainTex_ST;
// 光照贴图的UV变换(只需声明即可,启用光照贴图时自动赋值)
float4 unity_LightmapST;
struct v2f
{
float4 pos:POSITION;
float2 uv:TEXCOORD0;
float2 uv2:TEXCOORD1;
};
v2f vert(appdata_full v)
{
v2f o;
o.pos = mul(UNITY_MATRIX_MVP,v.vertex);
// 用宏计算出采样二维纹理UV的缩放和偏移量
o.uv = TRANSFORM_TEX(v.texcoord,_MainTex);
// 计算光照贴图UV坐标的缩放量和偏移量
o.uv2 = v.texcoord1.xy * unity_LightmapST.xy + unity_LightmapST.zw;
return o;
}
fixed4 frag(v2f IN):COLOR
{
float3 lm = DecodeLightmap (tex2D(unity_Lightmap,IN.uv2)) * 2;
fixed4 color = tex2D(_MainTex,IN.uv);
color.rgb *= lm;
return color;
}
ENDCG
}
}
FallBack "Diffuse"
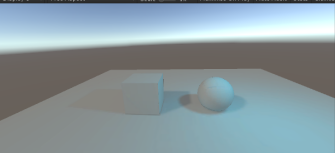
}效果截图:

 浙公网安备 33010602011771号