
Android四大组件——Service——基本用法(生命周期)
1.定义Service
直接New-Service-Service。如下图所示:

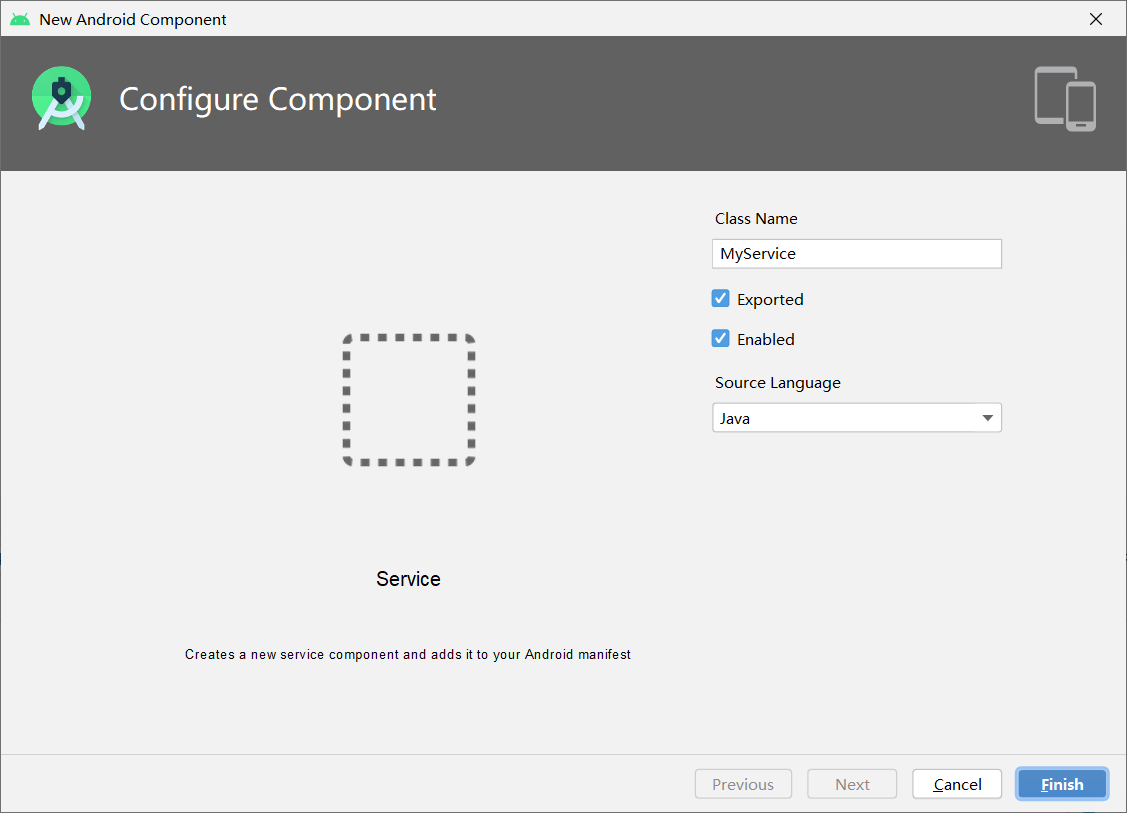
Exported属性表示:是否将这个Service暴露给其他程序访问。
Enabled属性表示:是否启用这个Service。
现在来查看MyService中的代码:
public class MyService extends Service {
    @Override
    public IBinder onBind(Intent intent) {
        // TODO: Return the communication channel to the service.
        throw new UnsupportedOperationException("Not yet implemented");
    }
}
可以看到,MyService是继承自系统的Service类的,其中有一个onBind方法。该方法暂时用不上,可忽略。
通过以上方法创建的Service,系统会自动在AndroidManifest.xml中进行注册。注册的代码如下:
        <service
            android:name=".service.MyService"
            android:enabled="true"
            android:exported="true">
        </service>
如果是自己手动创建的Service类,需要自己入AndroidManifest.xml中注册一下。
注意:每一个Service都需要在AndroidManifest.xml文件中进行注册才能生效。
Service有两种启动方式:
方式一:
startService:onCreate()- >onStartCommand()->onDestroy()
方式二:
BindService:onCreate()->onBind()->onUnbind()->onDestroy()
本次先了解方式一的启动方式。
onCreate()方法会在Service创建的时候调用,
onStartCommand()方法会在每次Service启动的时候调用,
onDestroy()方法会在Service销毁的时候调用。
实战演示:
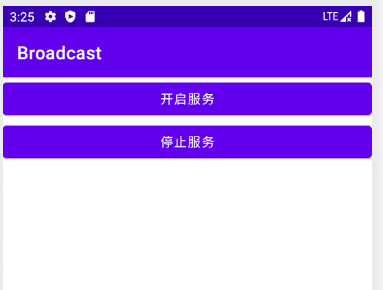
第一步:修改布局代码,如下:

<?xml version="1.0" encoding="utf-8"?>
<LinearLayout xmlns:android="http://schemas.android.com/apk/res/android"
    xmlns:tools="http://schemas.android.com/tools"
    android:orientation="vertical"
    android:layout_width="match_parent"
    android:layout_height="match_parent"
    tools:context=".service.MainActivity">
    <Button
        android:layout_width="match_parent"
        android:layout_height="wrap_content"
        android:text="开启服务"
        android:onClick="startService" />
    <Button
        android:layout_width="match_parent"
        android:layout_height="wrap_content"
        android:text="停止服务"
        android:onClick="stopService"/>
</LinearLayout>
效果图:
第二步:修改MyService中的代码,如下:
public class MyService extends Service {

    private static final String TAG = "FristService";

    @Nullable
    @Override
    public IBinder onBind(Intent intent) {
        return null;
    }

    @Override
    public void onCreate() {
        super.onCreate();
        Log.d(TAG,"onCreate");
    }

    @Override
    public void onDestroy() {
        super.onDestroy();
        Log.d(TAG,"onDestroy");
    }

    @Override
    public int onStartCommand(Intent intent, int flags, int startId) {
        Log.d(TAG,"onStartCommand");
        return super.onStartCommand(intent, flags, startId);
    }
}
如上述代码,我们将每个周期打印出来,以便观察.
第三步:在MainActivity中开启服务,结束服务。代码如下:
public class MainActivity extends AppCompatActivity {
    private static final String TAG = "MainActivity";

    @Override
    protected void onCreate(Bundle savedInstanceState) {
        super.onCreate(savedInstanceState);
        setContentView(R.layout.activity_main2);
    }

    //开启服务
    public void startService(View view) {
        Intent intent = new Intent();
        intent.setClass(this,FristService.class);
        startService(intent);
    }

    //结束服务
    public void stopService(View view) {
        Intent intent = new Intent();
        intent.setClass(this,FristService.class);
        stopService(intent);
    }
}
这里,构建了一个intent对象,并调用startService()方法来启动MyService;在结束服务时,也是构建了一个intent对象,通过stopService()方法来停止服务。
现在运行一下程序,点击开启服务按钮,日志打印如下:

再次点击开启服务按钮,打印如下:

可以看到,只执行了onStartCommand.这是因为,onCreate方法只有在创建Service时才会执行。
说明这个Service已经启动成功了。
点击一下停止服务的按钮:

由此可见,Service确实已经成功停止下来了。


【推荐】国内首个AI IDE,深度理解中文开发场景,立即下载体验Trae
【推荐】编程新体验,更懂你的AI,立即体验豆包MarsCode编程助手
【推荐】抖音旗下AI助手豆包,你的智能百科全书,全免费不限次数
【推荐】轻量又高性能的 SSH 工具 IShell:AI 加持,快人一步
· 震惊!C++程序真的从main开始吗?99%的程序员都答错了
· 别再用vector<bool>了!Google高级工程师:这可能是STL最大的设计失误
· 单元测试从入门到精通
· 【硬核科普】Trae如何「偷看」你的代码?零基础破解AI编程运行原理
· 上周热点回顾(3.3-3.9)