今日小记——Jupyter Notebook个性化设置
最近在给新配的电脑重装系统重新部署开发环境。目前正在安装jupyter,没有代码提示真的好难受~~ 从网上找了下参考资料,怕后面又忘记,简单记录下以后就翻自己的看,哈哈哈~
准备工作
- Anaconda/miniconda(假设你使用的是miniconda吧 我之前觉得miniconda比较轻便,所以用了一段时间的miniconda)
- Jupyter Notebook。假设你安装了Anaconda了,默认的base环境里是由Jupyter Notebook的,无需自己另外安装。
- 关于conda命令,可以参考:Anaconda conda常用命令:从入门到精通
1、修改Jupyter Notebook默认工作目录
1) 生成jupyter notebook的配置文件
打开Anaconda Prompt,输入jupyter notebook --generate-config生成当前jupyter notebook的配置文文件,返回一个jupyter_notebook_config.py的文件的地址

2) 修改配置文件中的默认打开的工作目录
crtl+f 搜索找到#c.NotebookApp.notebook_dir = '',取消注释(即删除前面的“#”号),将自己要设置的工作目录的路径粘贴进引号之间。注意,“\”是反义字符,粘贴进去的“\”全部都要换成“\\”,或直接在单引号前加“r”取消转义。然后保存。

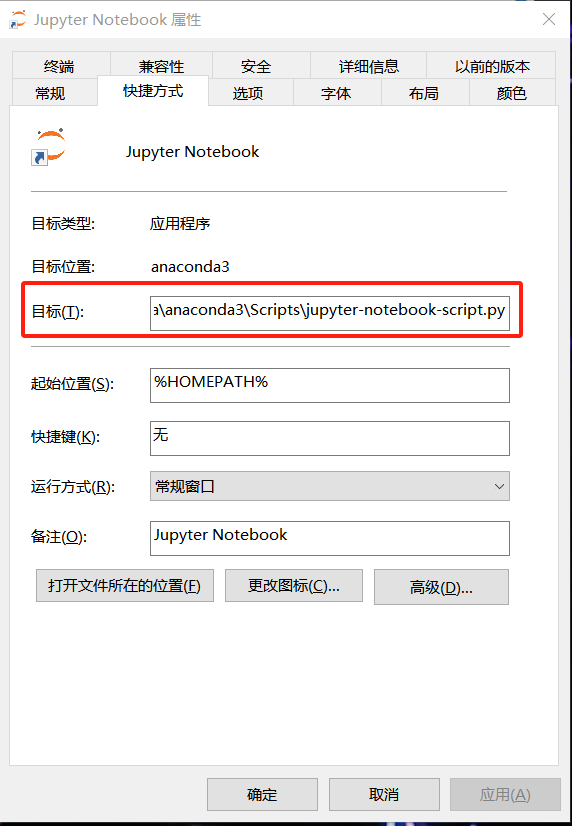
3) 修改Jupyter Notebook程序的目标文件位置
win键输入搜索 Jupyter Notebook 的快捷方式,右键单击“属性”,删除“目标”中的"%USERPROFILE%"
2、为jupyter notebook添加代码自动补全功能
1) 下载jupyter_contrib_nbextensions库
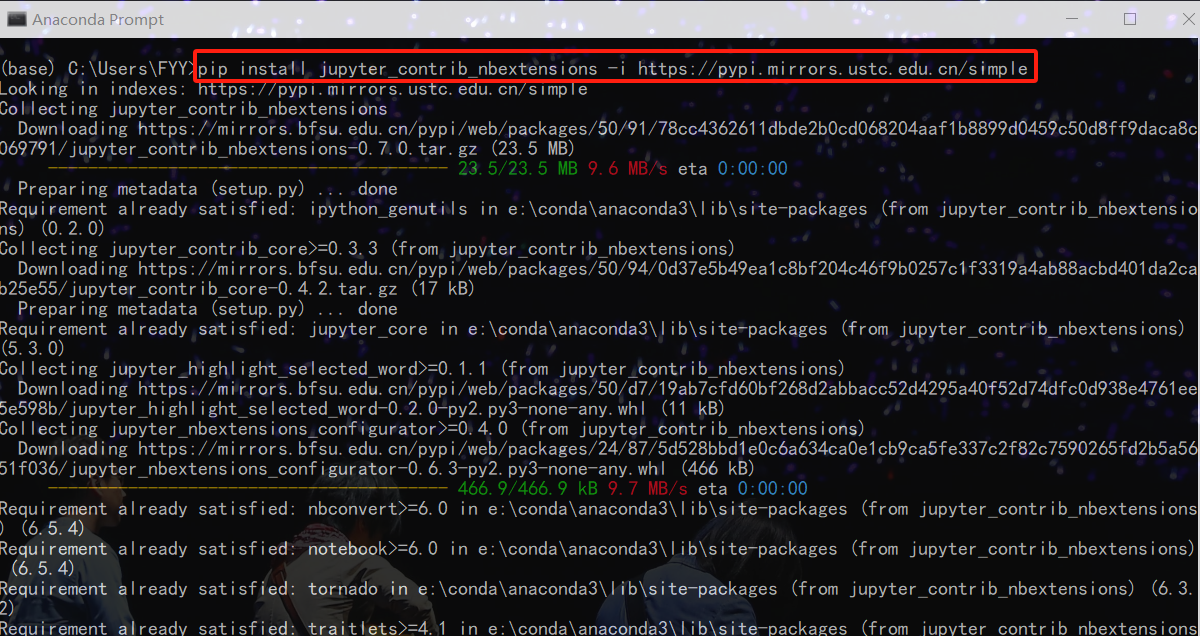
打开Anaconda Prompt,输入pip install jupyter_contrib_nbextensions -i https://pypi.mirrors.ustc.edu.cn/simple,回车,安装jupyter_contrib_nbextensions库
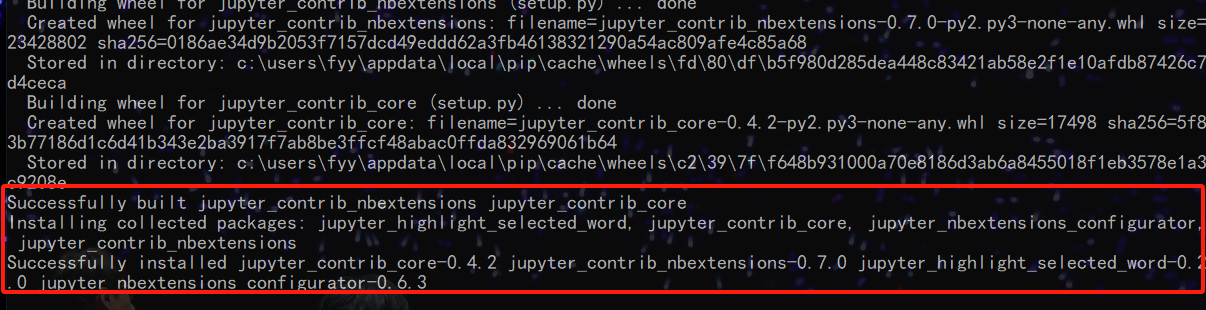
这样就是下载成功了
2) 下载 nbextensions 库
输入jupyter contrib nbextensions install --user并回车
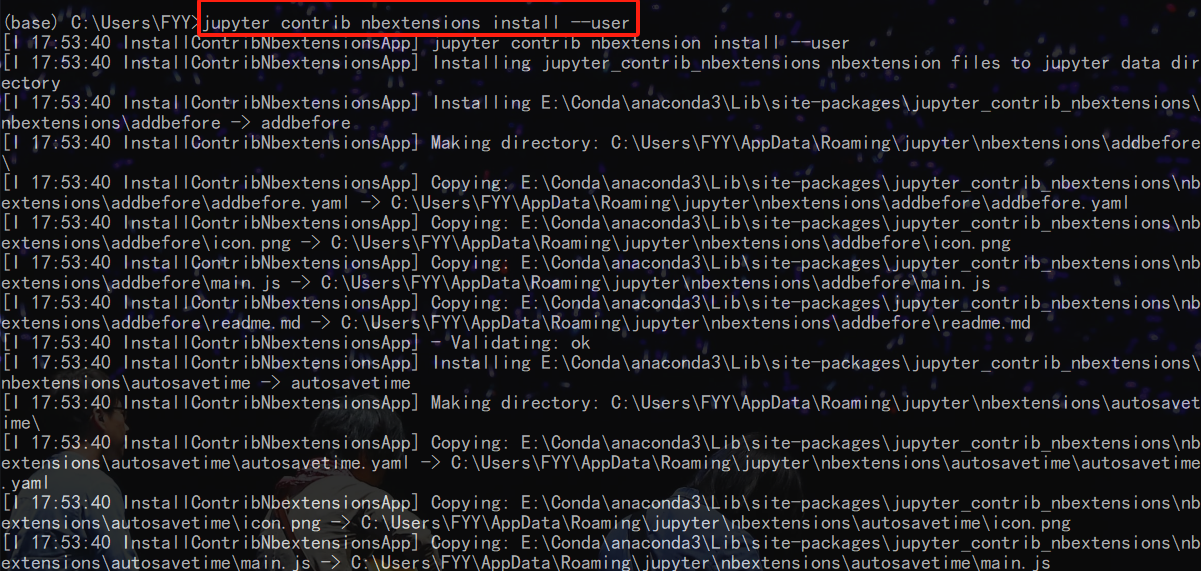
这样就装好了
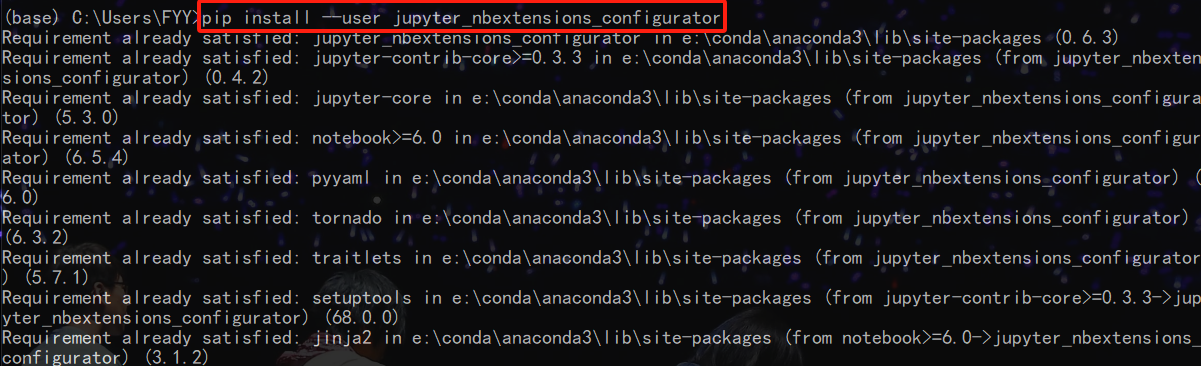
3) 下载 jupyter_nbextensions_configurator 库
输入pip install --user jupyter_nbextensions_configurator并回车
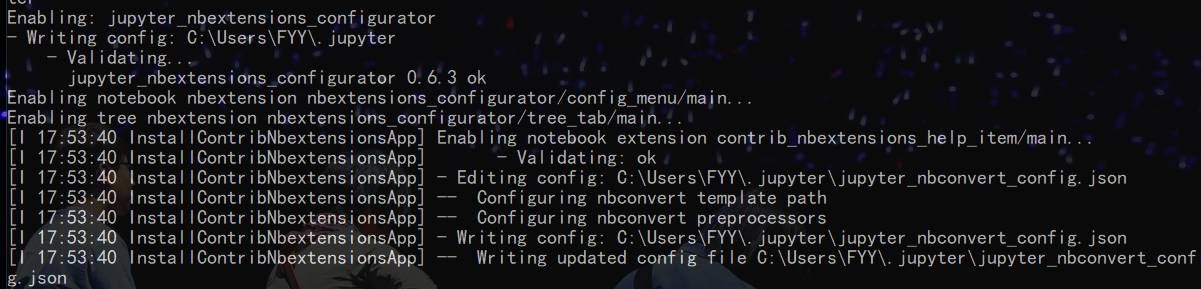
4) 安装 jupyter_nbextensions_configurator 库
输入jupyter nbextensions_configurator enable --user

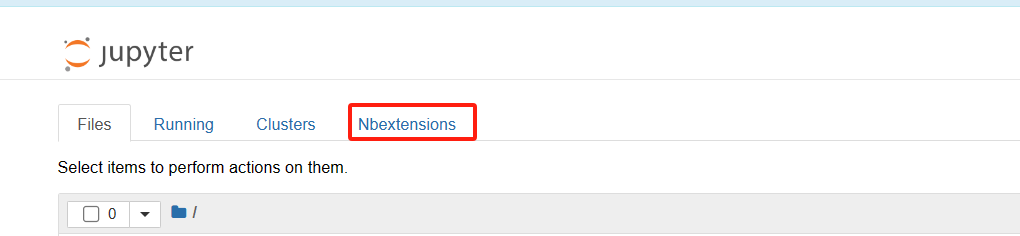
5) 重启Jupyter Notebook,进入 Nbextensions 页进行相应操作
如果上述过程都顺利进行,启动Jupyter之后会看到菜单栏上多了一个“Nbextensions”
进入Nbextensions选项页后,取消勾选首行文字。“▢ disable configuration for nbextensions without explicit compatibility (they may break your notebook environment, but can be useful to show for nbextension development)”

勾选“Hinterland”选项

本文来自博客园,作者:{阿银呀},转载请注明原文链接:https://www.cnblogs.com/XSem/p/17815246.html

 浙公网安备 33010602011771号