Spring Cloud搭建本地配置文件配置中心
一. 创建父项目,普通的maven项目
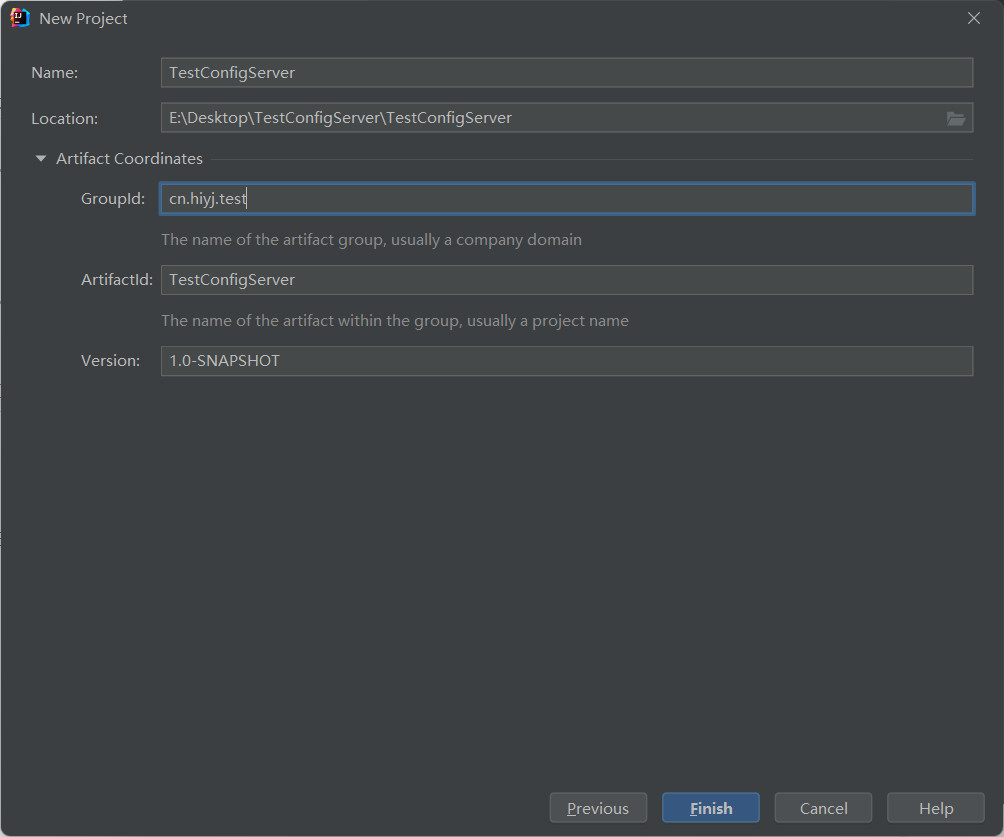
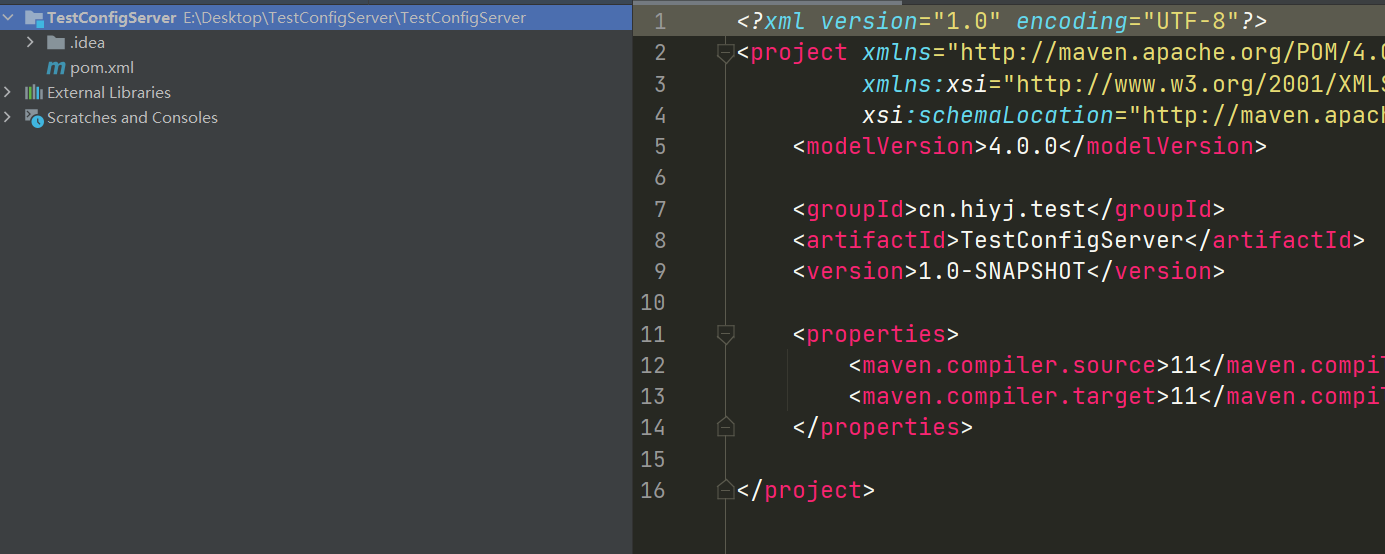
注父项目src暂时用不到,在这里直接删除
二、创建Spring Cloud注册中心模块,Spring Initializr项目
右键父项目 -> New -> Module
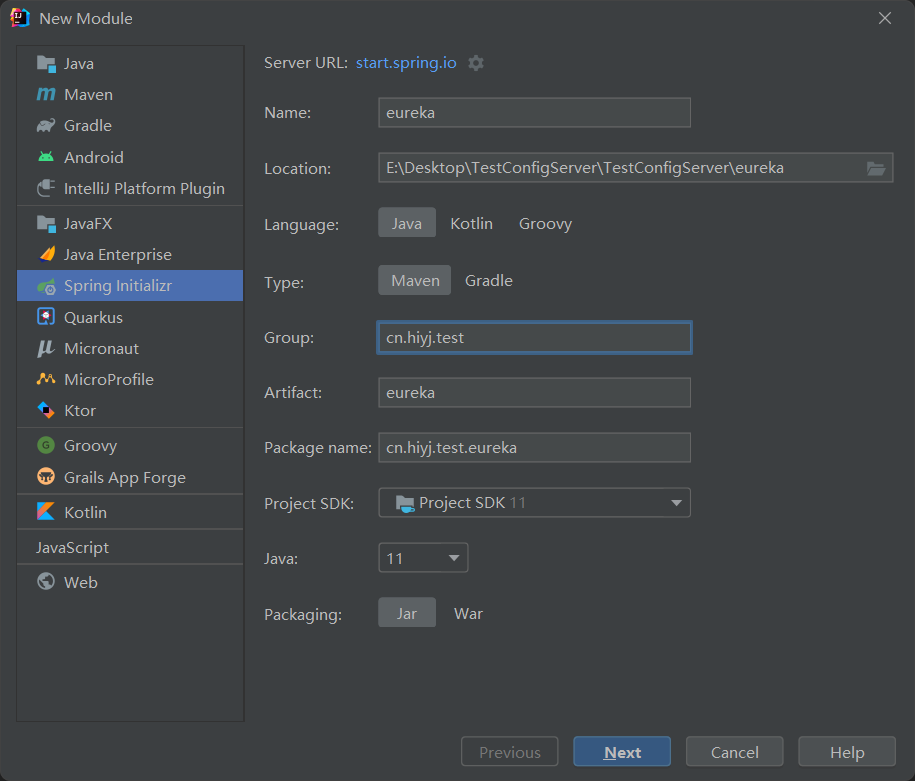
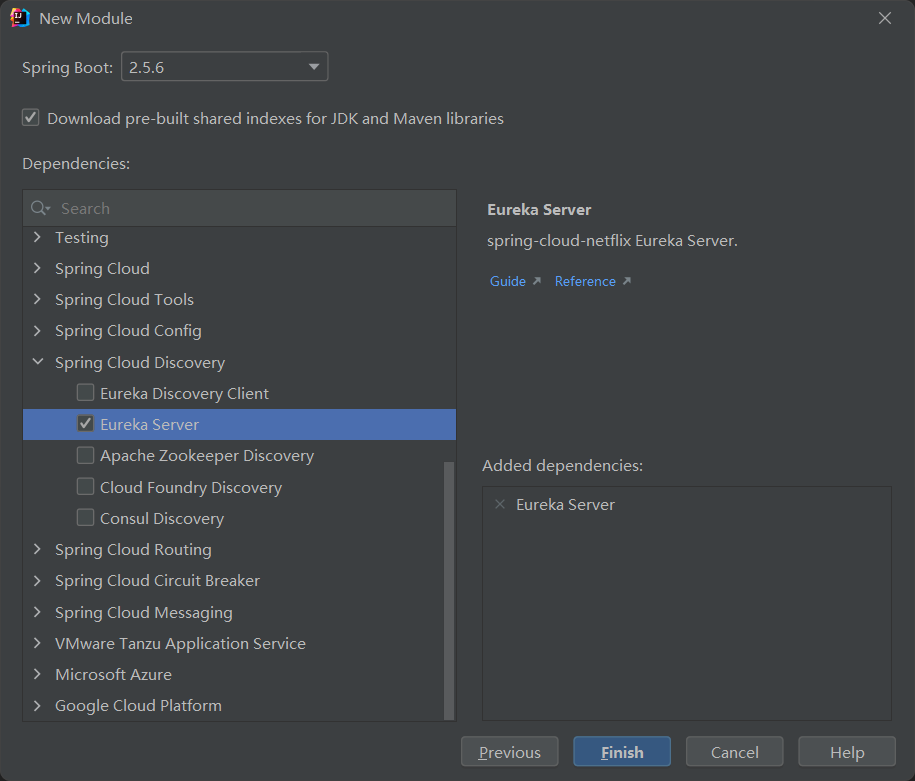
- 模块启动类添加
@EnableEurekaServer注解
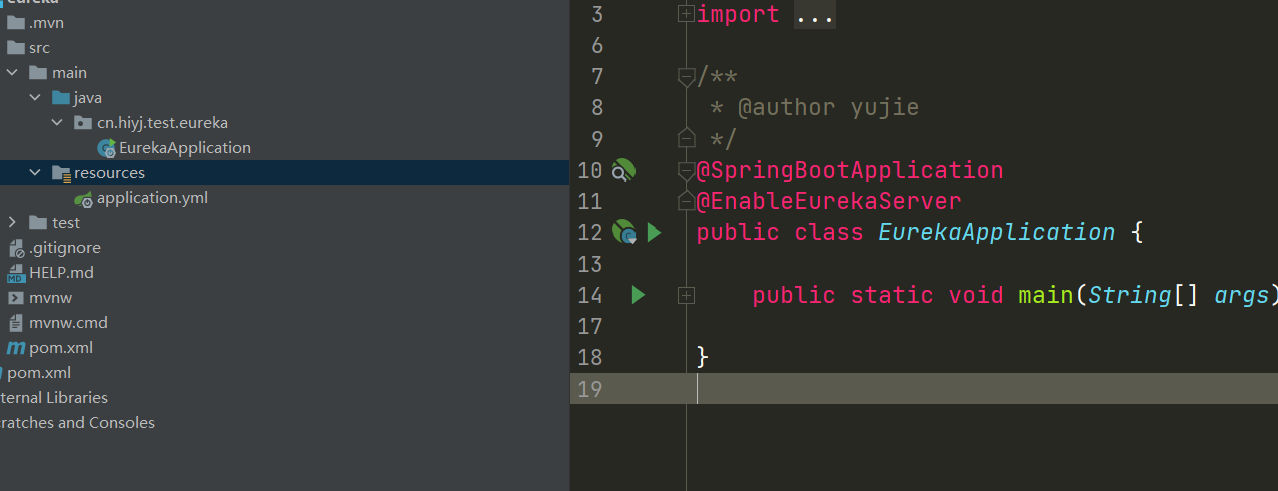
- 编写相关配置文件
application.yml
# 服务注册中心 (单节点)
server:
  port: 8700
eureka:
  instance:
    hostname: localhost
  client:
    fetch-registry: false # 表示是否从Eureka Server获取注册信息,默认为true.因为这是一个单点的Eureka Server,不需要同步其他的Eureka Server节点的数据,这里设置为false
    register-with-eureka: false # 表示是否将自己注册到Eureka Server,默认为true.由于当前应用就是Eureka Server,故而设置为false.
    service-url:
      # 设置与Eureka Server的地址,查询服务和注册服务都需要依赖这个地址.默认是http://localhost:8761/eureka/;多个地址可使用','风格.
      defaultZone: http://${eureka.instance.hostname}:${server.port}/eureka/
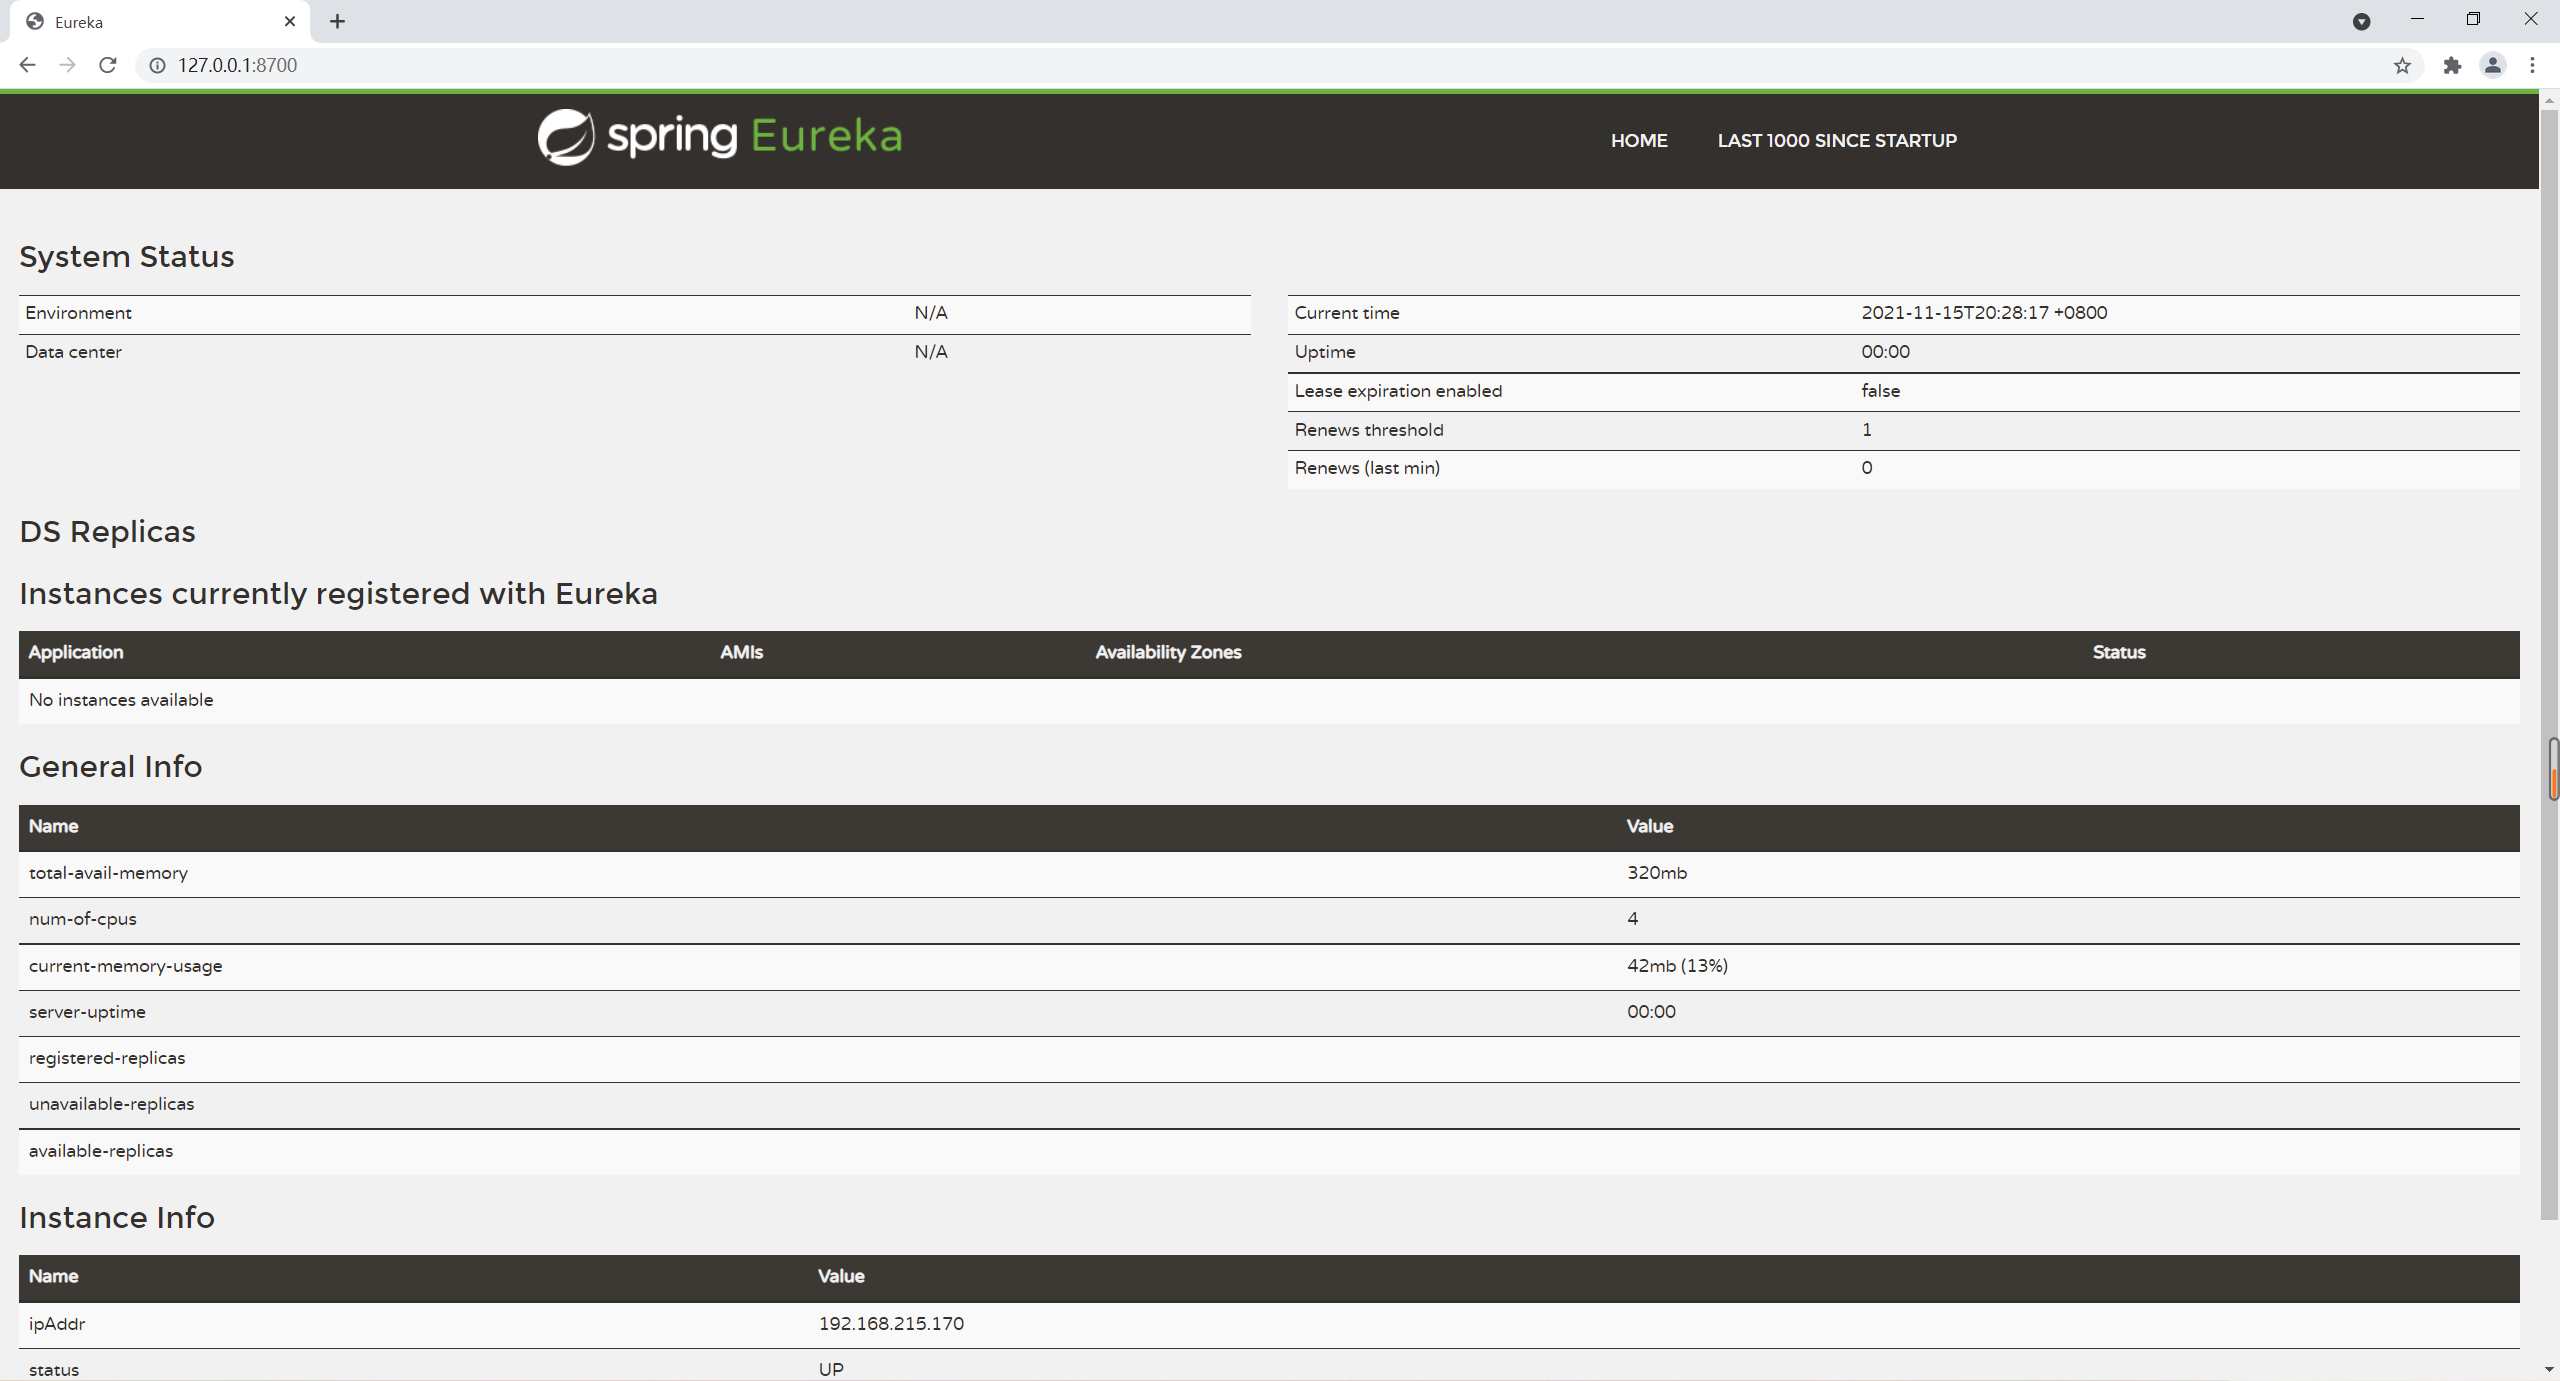
- 运行注册中心并访问
http://127.0.0.1:8700查看运行状态
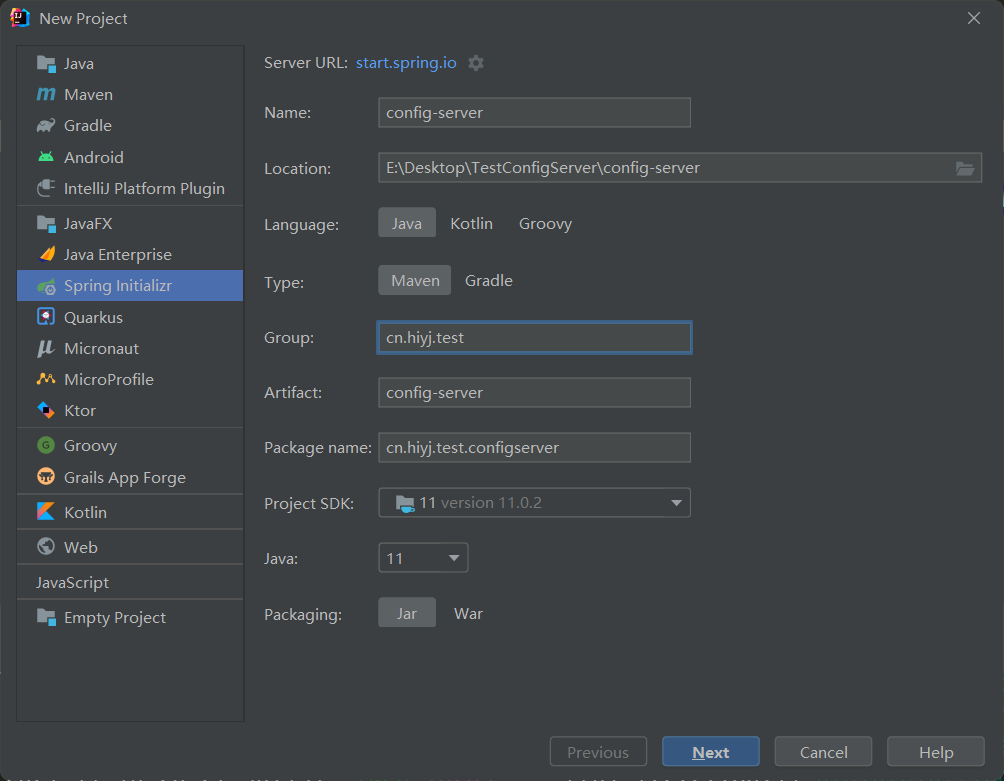
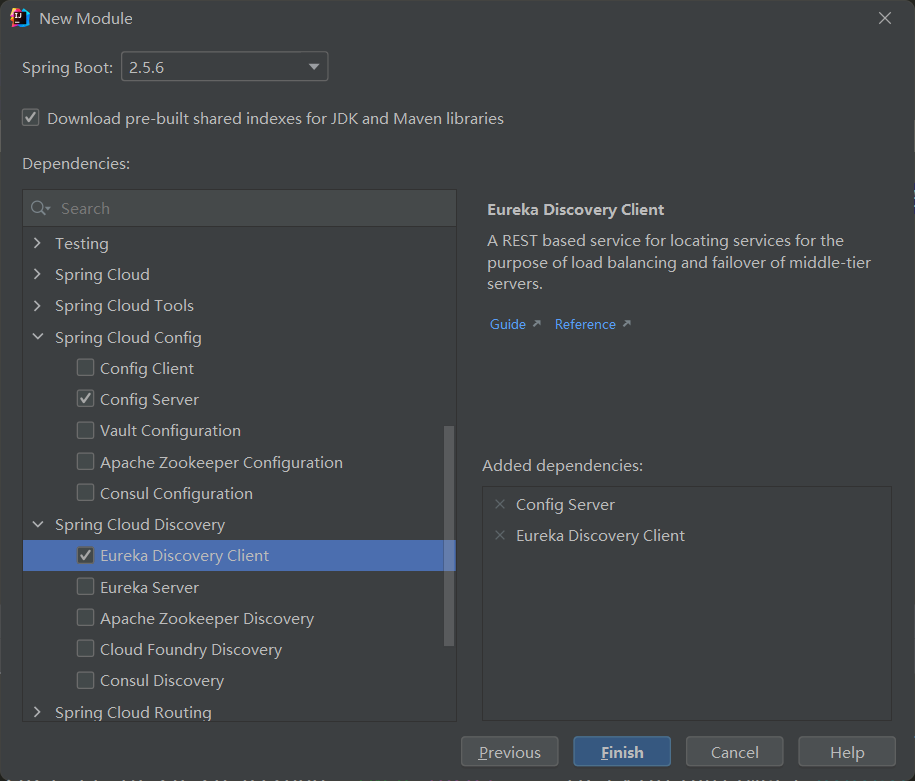
三、创建服务中心,Spring Initializr项目
右键父项目 -> New -> Module
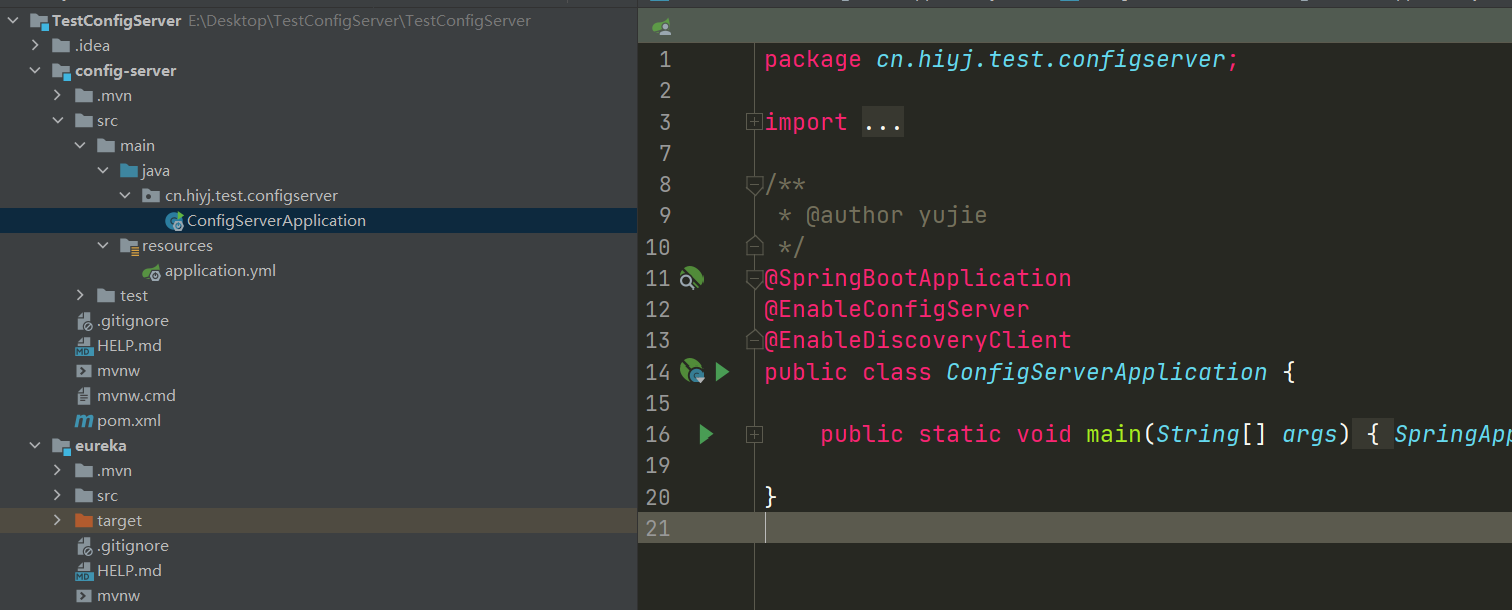
- 运行类添加注解
@EnableConfigServer和@EnableDiscoveryClient
- 编写配置文件
application.yml
server:
  port: 8705
spring:
  application:
    name: config-server
  profiles:
    # 读取本地配置
    active: native
  cloud:
    config:
      server:
        # 本地配置
        native:
          search-locations: classpath:/config # 可用,分割添加多个路径
        bootstrap: true

eureka:
  client:
    service-url:
      defaultZone: http://localhost:8700/eureka # 指定服务注册中心
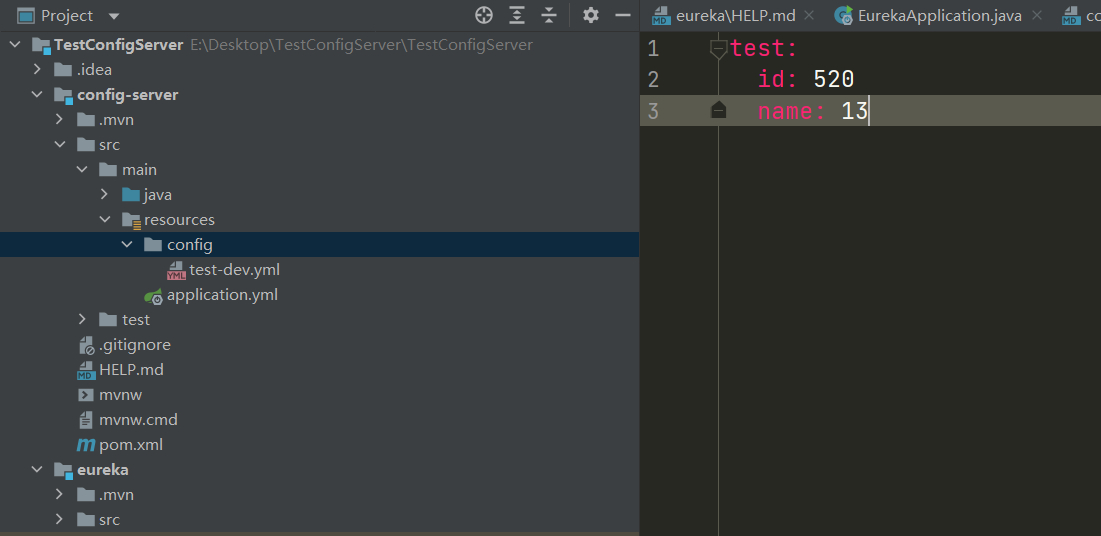
- 创建自定义本地配置目录
config,并创建公共配置文件love-dev.yml
love:
  id: 520
  name: 13
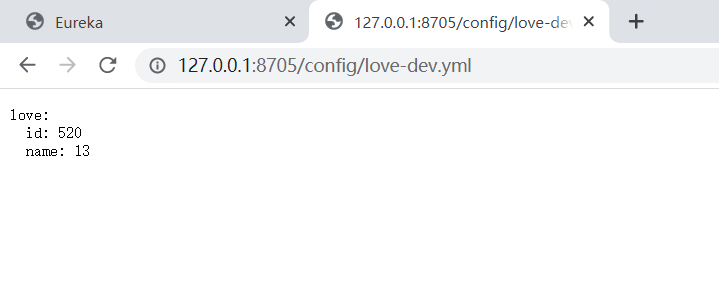
- 运行配置中心模块并在浏览器访问
http://127.0.0.1:8705/config/love-dev.yml测试
四、创建测试模块,Spring Initializr项目
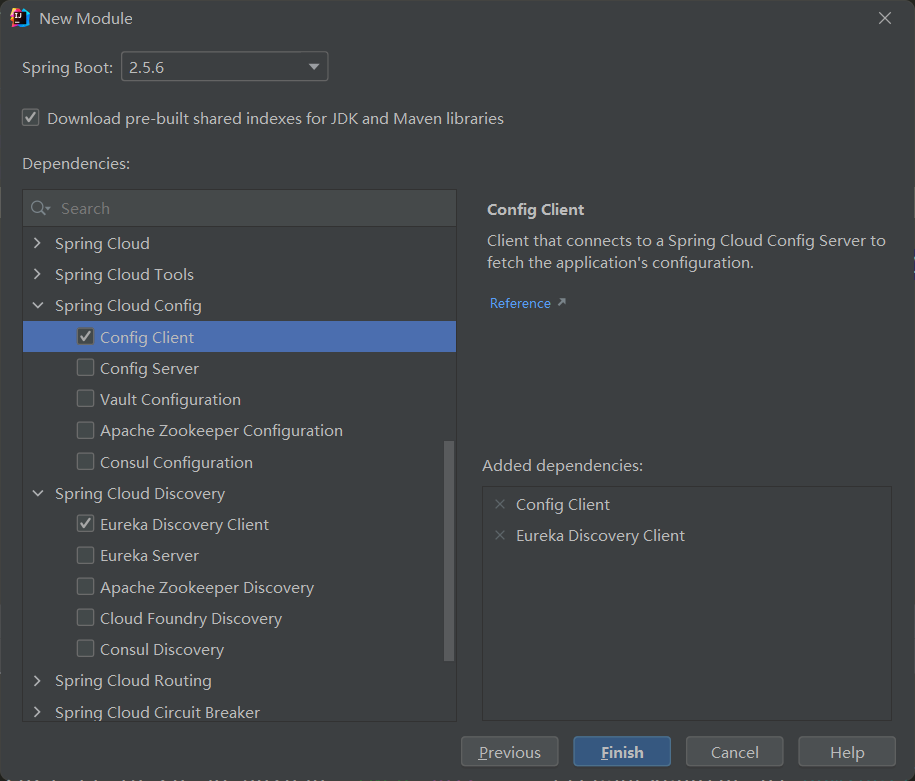
-
右键父项目 -> New -> Module
[外链图片转存失败,源站可能有防盗链机制,建议将图片保存下来直接上传(img-Rwu2qWAG-1637216851029)(https://windsnowli.oss-cn-beijing.aliyuncs.com/Blog/image/articleImage/a31c9e72-4612-11ec-8624-55db1250ca8d)]
-
手动添加自动配置依赖
<!--  自动配置 -->
<dependency>
  <groupId>org.springframework.cloud</groupId>
  <artifactId>spring-cloud-starter-config</artifactId>
</dependency>
<dependency>
  <groupId>org.springframework.boot</groupId>
  <artifactId>spring-boot-starter-actuator</artifactId>
</dependency>
<dependency>
  <groupId>org.springframework.cloud</groupId>
  <artifactId>spring-cloud-starter-bootstrap</artifactId>
  <version>3.0.4</version>
</dependency>
<!--  自动配置结束 -->
- 启动类添加注解
@EnableConfigServer和@EnableDiscoveryClient

- 编写
bootstrap.yml文件,优先级高于application.yml
spring:
  cloud:
    config:
      name: love # 引入多个可用,分割
      profile: dev
      discovery:
        enabled: true
        service-id: config-server

eureka:
  client:
    service-url:
      defaultZone: http://localhost:8700/eureka # 指定服务注册中心
  instance:
    preferIpAddress: true
    instance-id: ${spring.cloud.client.ip-address}:${server.port} # 地址格式=ip:端口
- 编写
application.yml文件
server:
  port: 8711
spring:
  application:
    name: system
- 编写注入类,与公共
love-dev.yml中的love对应
/**
 * @author yujie
 */
@Component
@ConfigurationProperties(prefix = "love")
public class Love {
    private int id;
    private String name;

    public int getId() {
        return id;
    }

    public void setId(int id) {
        this.id = id;
    }

    public String getName() {
        return name;
    }

    public void setName(String name) {
        this.name = name;
    }

    public Love() {
    }

    public Love(int id, String name) {
        this.id = id;
        this.name = name;
    }

    @Override
    public String toString() {
        return "Love{" +
                "id=" + id +
                ", name='" + name + '\'' +
                '}';
    }
}
- 测试运行类
@SpringBootTest
class SystemApplicationTests {


    private Love love;

    @Autowired
    public void setLove(Love love) {
        this.love = love;
    }

    @Test
    void contextLoads() {
        System.out.println(love.toString());
    }

}

五、测试运行结果


