
unity+相机截图
第一种: ScreenCapture.CaptureScreenshot
优点:简单、快速的截取某一帧的画面,全屏截图。
缺点:不能针对某个摄像机截图,不能定制大小截图。
代码如下:
using System.Collections;
using System.Collections.Generic;
using UnityEngine;

public class ScreenCaptureExample : MonoBehaviour {

    // Use this for initialization
    void Start () {

    }

    // Update is called once per frame
    void Update () {
        if(Input.GetKeyDown(KeyCode.F1))
        {
            ScreenCapture1();
        }
    }
    private void ScreenCapture1()
    {
        ScreenCapture.CaptureScreenshot(Application.persistentDataPath + "/CaptureScreenshot"+Time.time.ToString()+".png");
    }
}
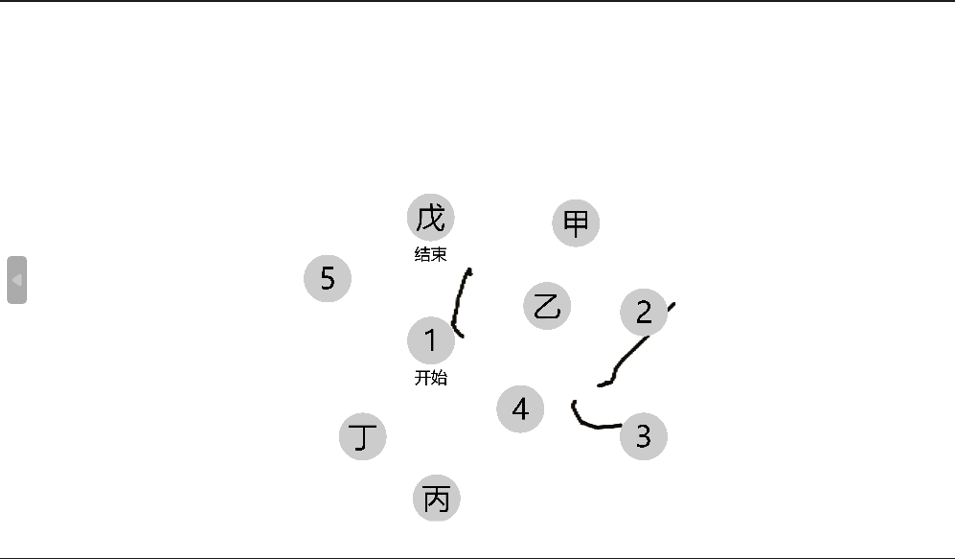
运行结果如下:
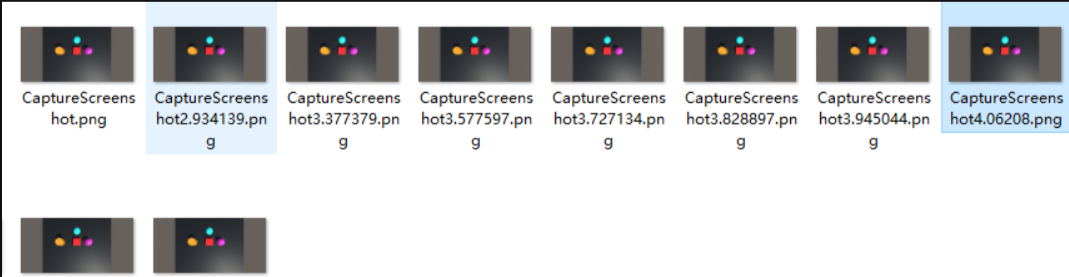
截图存储在计算机的位置:C:\Users\EDZ\AppData\LocalLow\DefaultCompany\ScreenCapture
第二种方法:Texture2D.ReadPixels
优点:可以自定义截图的大小
代码如下:
using System.Collections;
using System.Collections.Generic;
using UnityEngine;
using System.IO;

public class ScreenCaptureExample : MonoBehaviour {

    private Texture2D screenShot;
    void Start () {
        //实例化一张带透明通道大小为256*256的贴图
        screenShot = new Texture2D(256, 256, TextureFormat.RGB24, false);
    }

    // Update is called once per frame
    void Update () {
        if(Input.GetKeyDown(KeyCode.F1))
        {
            ScreenCapture1();
        }
        if(Input.GetKeyDown(KeyCode.F2))
        {
            StartCoroutine(ScreenCapture2(Application.persistentDataPath + "/CaptureScreenshot1" + Time.time.ToString() + ".png"));
        }
    }
    private void ScreenCapture1()
    {
        ScreenCapture.CaptureScreenshot(Application.persistentDataPath + "/CaptureScreenshot"+Time.time.ToString()+".png");
    }
    IEnumerator ScreenCapture2(string filename)
    {
        //在一帧渲染之后读取屏幕信息
        yield return new WaitForEndOfFrame();
        //读取屏幕像素信息并存储为纹理数据
        screenShot.ReadPixels(new Rect(Screen.width / 4, Screen.height / 4, Screen.width / 4 * 3, Screen.height / 4 * 3),0,0);
        screenShot.Apply();
        //将纹理数据转换成png图片文件
        byte[] bytes = screenShot.EncodeToPNG();
        //写入文件,并且指定路径
        File.WriteAllBytes(filename, bytes);
    }
}
第三种方法:RenderTextures
和Texture2D.ReadPixels相比,不同点在于RenderTextures可以读取某个摄像机渲染的像素
代码如下:
using System.Collections;
using System.Collections.Generic;
using UnityEngine;
using System.IO;

public class RenderTextures : MonoBehaviour {

    // Use this for initialization
    void Start () {

    }

    // Update is called once per frame
    void Update () {
        if(Input.GetKeyDown(KeyCode.F12))
        {
            StartCoroutine(RenderTexturesScreenCapture(Application.persistentDataPath + "/CaptureScreenshot1" + Time.time.ToString() + ".png"));
        }
    }
    IEnumerator RenderTexturesScreenCapture(string filename)
    {
        yield return new WaitForEndOfFrame();
        RenderTexture rt = new RenderTexture(Screen.width, Screen.height, 24);
        Texture2D screenShot = new Texture2D(256, 256, TextureFormat.RGB24, false);
        //遍历所有的摄像机
        //foreach (Camera camera in Camera.allCameras)
        //{
        //    camera.targetTexture = rt;
        //    camera.Render();
        //    camera.targetTexture = null;
        //}
        //Camera.main.targetTexture = rt;
        //Camera.main.Render();
        //Camera.main.targetTexture = null;
        Camera.allCameras[1].targetTexture = rt;
        Camera.allCameras[1].Render();
        Camera.allCameras[1].targetTexture = null;

        RenderTexture.active = rt;
        screenShot.ReadPixels(new Rect(Screen.width / 4, Screen.height / 4, Screen.width / 4 * 3, Screen.height / 4 * 3), 0, 0);
        //Camera.main.targetTexture = null;
        RenderTexture.active = null;
        Destroy(rt);
        yield return 0;
        byte[] bytes = screenShot.EncodeToPNG();
        File.WriteAllBytes(filename, bytes);
    }
}
总结
1. ScreenCapture.CaptureScreenshot 在全屏截图的时候很方便。
2. Texture2D.ReadPixels 适合用在自定义图片大小的时候。
3. RenderTextures 截屏的时候可以指定设摄像机,适合截屏的时候屏蔽UI。(或者只截UI或者特定层的画面)
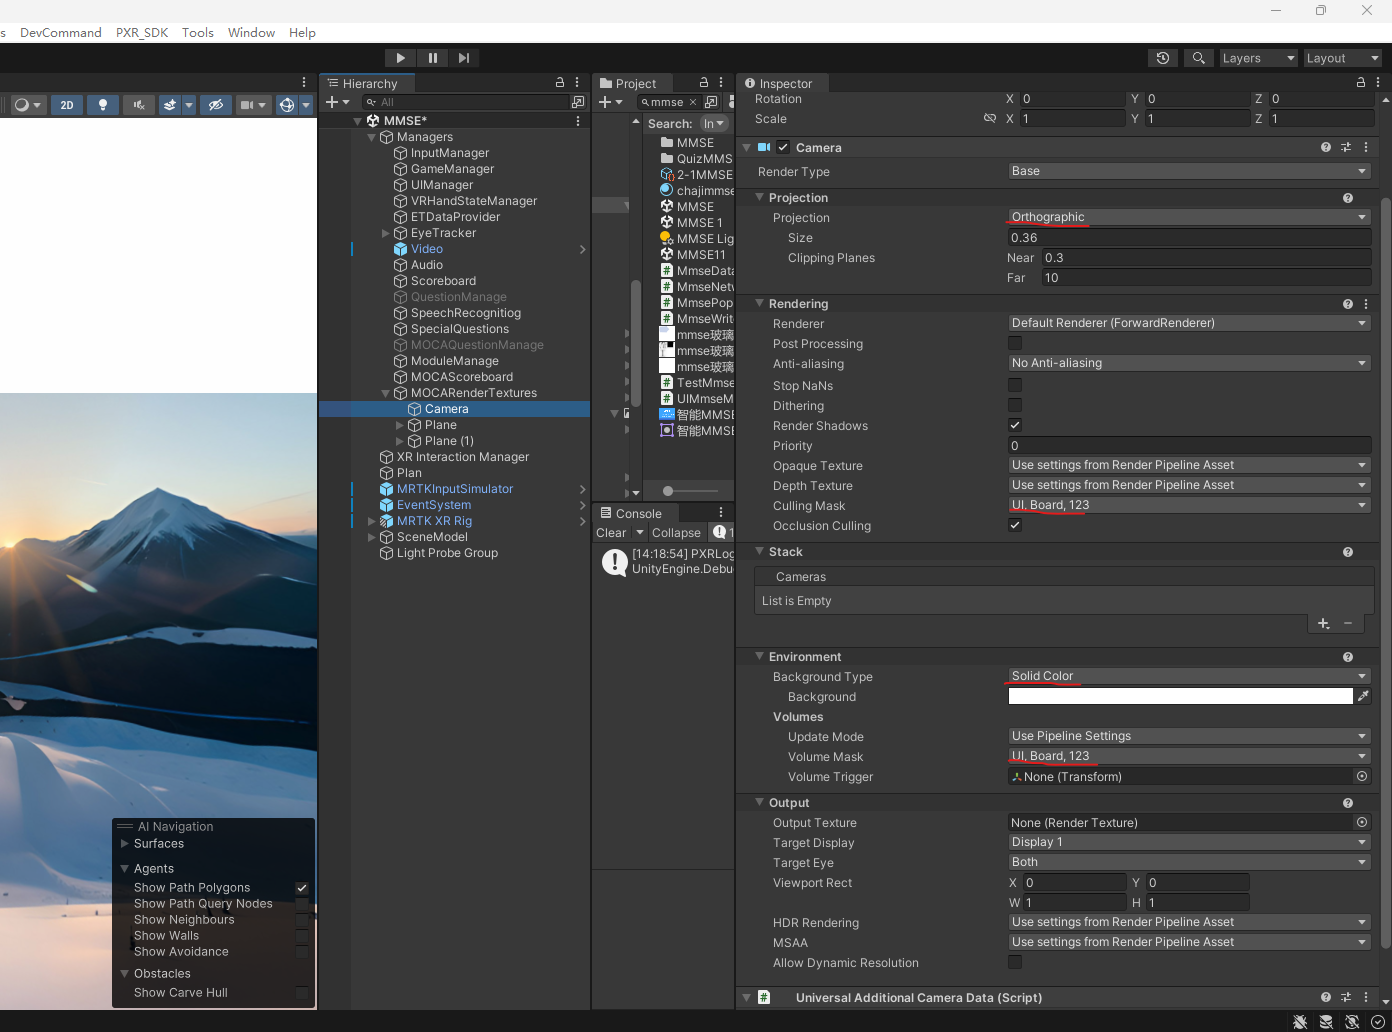
项目中使用方案3,相机设置如下:
代码如下:
using System.Collections;
using System.Collections.Generic;
using UnityEngine;
using System.IO;


public class MOCARenderTextures : MonoBehaviour
{
    private static MOCARenderTextures _instance;
    public static MOCARenderTextures Instance
    {
        get
        {
            if (_instance == null)
            {
                _instance = FindObjectOfType<MOCARenderTextures>();
            }
            return _instance;
        }
    }

    private MOCARenderTextures() { }

    public Camera currentCamera;
   public byte[] bytes;
    // Start is called before the first frame update
    void Awake()
    {
        currentCamera.depth = -2;
        //Debug.LogError( Application.persistentDataPath + "/CaptureScreenshot1");
    }
    public void GetMOCApng()
    {
        StartCoroutine(RenderTexturesScreenCapture(Application.persistentDataPath + "/CaptureScreenshot1" + Time.time.ToString() + ".png"));
        //Debug.LogError("bytes*****" + bytes);
        //return bytes;
    }
    // Update is called once per frame
    void Update()
    {
        ///测试部分先隐藏
        //if (Input.GetKeyDown(KeyCode.F12))
        //{
        //    StartCoroutine(RenderTexturesScreenCapture(Application.persistentDataPath + "/CaptureScreenshot1" + Time.time.ToString() + ".png"));
        //    //unity 自带截屏,只能是截全屏
        //    // Application.CaptureScreenshot("shot.png");5.6
        //    //UnityEngine.ScreenCapture.CaptureScreenshot("shot.png");//2018


        //}
    }
    IEnumerator RenderTexturesScreenCapture(string filename)
    {
        yield return new WaitForEndOfFrame();
        //RenderTexture rt = new RenderTexture(Screen.width, Screen.height, 24);
        RenderTexture rt = new RenderTexture(1000, 580, 24);//将图片的分辨率调至1000*580

        //Texture2D screenShot = new Texture2D(256, 256, TextureFormat.RGB24, false);
        //Texture2D screenShot = new Texture2D(Screen.width, Screen.height, TextureFormat.RGB24, true);
        Texture2D screenShot = new Texture2D(1000, 580, TextureFormat.RGB24, true);


        //遍历所有的摄像机
        //foreach (Camera camera in Camera.allCameras)
        //{
        //    camera.targetTexture = rt;
        //    camera.Render();
        //    camera.targetTexture = null;
        //}
        //Camera.main.targetTexture = rt;
        //Camera.main.Render();
        //Camera.main.targetTexture = null;


        //Camera.allCameras[1].targetTexture = rt;
        //Camera.allCameras[1].Render();
        //Camera.allCameras[1].targetTexture = null;
        currentCamera.targetTexture = rt;
        currentCamera.Render();
        currentCamera.targetTexture = null;

        RenderTexture.active = rt;
        //screenShot.ReadPixels(new Rect(Screen.width / 4, Screen.height / 4, Screen.width / 4 * 3, Screen.height / 4 * 3), 0, 0);

        //screenShot.ReadPixels(new Rect(0, 0, Screen.width, Screen.height), 0, 0);
        screenShot.ReadPixels(new Rect(0, 0, 1000, 580), 0, 0);


        //Camera.main.targetTexture = null;
        RenderTexture.active = null;
        Destroy(rt);
        yield return 0;
        bytes = screenShot.EncodeToPNG();
        //Debug.LogError(bytes);
        //Debug.LogError("bytes*****" + bytes);
        //先隐藏图片保存本地功能
        //File.WriteAllBytes(filename, bytes);
    }

}
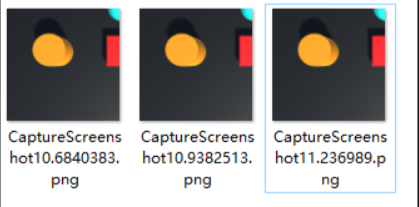
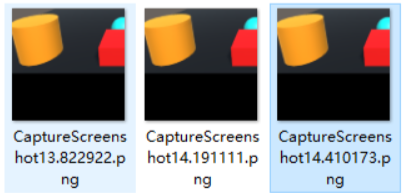
截图效果如下:(C:\Users\WQJ_c\AppData\LocalLow\Brainau\TestBrainVR)

 浙公网安备 33010602011771号