

Centos7下MySQL 8.0 基础
-
yum -y install mysql mysql-server- 提示已经安装mariadb 不再安装mysql
- 提示没有在yum 库中找到mysql-server :
- 需要首先从mysql官网下载npm包到本地:
wget https://mysql.com/get/mysql**-community-release*****.noarch.rpm(具体的mysql版本),参见mysql 官方yum库 yum install mysql**-community-release*****.noarch.rpmyum install mysql-server
- 需要首先从mysql官网下载npm包到本地:
-
确认mysqld服务是否正确运行。尝试登陆时,若异常可能报错
Can't connect to local MySQL server through socket '/var/run/mysqld/mysqld.sock'-
查看mysql 3306端口是否打开:
lsof -i:3306或者netstat -ntpl |grep 3306 -
查看mysql服务是否启动
service mysqld status或者systemctl status mysqld -
若上述报错,确认
/etc/init.d目录下是否含有msyqld服务(init.d 目录中存放的是一系列系统服务的管理(启动或停止)脚本),若没有- 使用
find / -name msyqld - 将上述找到的目录 复制到
/etc/init.d下 - 重启mysql 服务
systemctl restart msyqld,systemctl status mysqld
- 使用
-
初次使用root用户以空密码登陆时报错
ERROR 1045 (28000): Access denied for user 'root'@'localhost' (using password: NO)参考链接-
原因:root用户空密码只适用于5.7以下版本
-
对于5.7以上的版本
The superuser account 'root'@'localhost' is created. The password for the superuser is set and stored in the error log file
查看方法
grep 'temporary password' /var/log/mysqld.log
-
-
-
关于用户的创建及密码的修改
-
首次成功登陆后修改root密码
ALTER USER 'root'@'localhost' IDENTIFIED BY 'MyNewPass5!' -
创建新用户
CREATE USER user_name@host_name|ip IDENTIFIED BY 'pwd_you_set' -
查看已有用户的相关信息------相关表mysql.user
show [full] columns from mysql.user;desc mysql.user;select user,host,authentication_string from mysql.user;(字段-authentication_string 当前用户pwd使用md5加密后的散列值)select * from mysql.user where user='root'\G
-
-
数据库的授权:
- 基本语法:
GRANT * | ALL PRIVILEGES|SELECT,UPDATE,ALTER,INSERT,DELETE ON db_name.tb_name TO user_name@host_name|ip IDENTIFIED BY 'user_pwd [with grant option] ;' - 每次更新权限之后需要刷新权限
FLUSH PRIVILEGES; - MySQL 8.0 版本之后语法有更新,创建用户语句和权限修改语句需要分开执行
- 创建账户:create user '用户名'@'访问主机' identified by '密码';
- 权限修改:grant 权限列表 on 数据库 to '用户名'@'访问主机' ;(修改权限时在后面加with grant option)
- 示例:新建一个用户 test_admin 并赋予其全部的权限
CREATE USER test_admin@host_name IDENTIFIED BY 'pwd_seted';GRANT * ON *.* TO test_admin@host_name WITH GRANT OPTION- 修改权限允许test_admin 从任意ip登陆
UPDATE mysql.user SET user.Host='%' where user.User='test_admin';
- 远程登陆
- 前提:当前主机在要登陆的用户的许可范围之内 (
select host from mysql.user where user='test_admin';------>%表示允许任意主机使用该用户名登陆当前数据库) - 登陆方式
mysql -h 目标数据库的IP -u user_name -p
- 前提:当前主机在要登陆的用户的许可范围之内 (
- 基本语法:
-
数据库的导出/导入
- 导出到本地---备份数据库:
mysqldump -u user_ name -p target_db > path/db_name.sql; - 恢复数据库--from 本地:
- ①在主机上操作:
mysql -u user_name -p db_name < path/db_name.sql; - ② 在mysql内部操作
soucre path/db_name ;
- ①在主机上操作:
- 导出到本地---备份数据库:
-
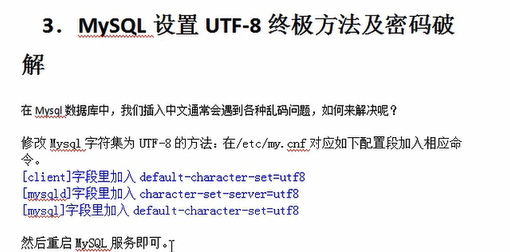
mysql 乱码问题解决
-
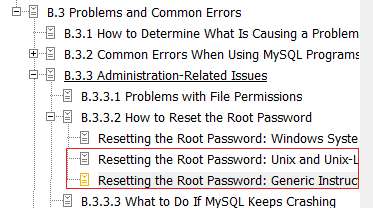
MySQL 8.0 -------root用户密码忘记时的策略:
-
refman 。 https://dev.mysql.com/doc/refman/8.0/en/resetting-permissions.html
-
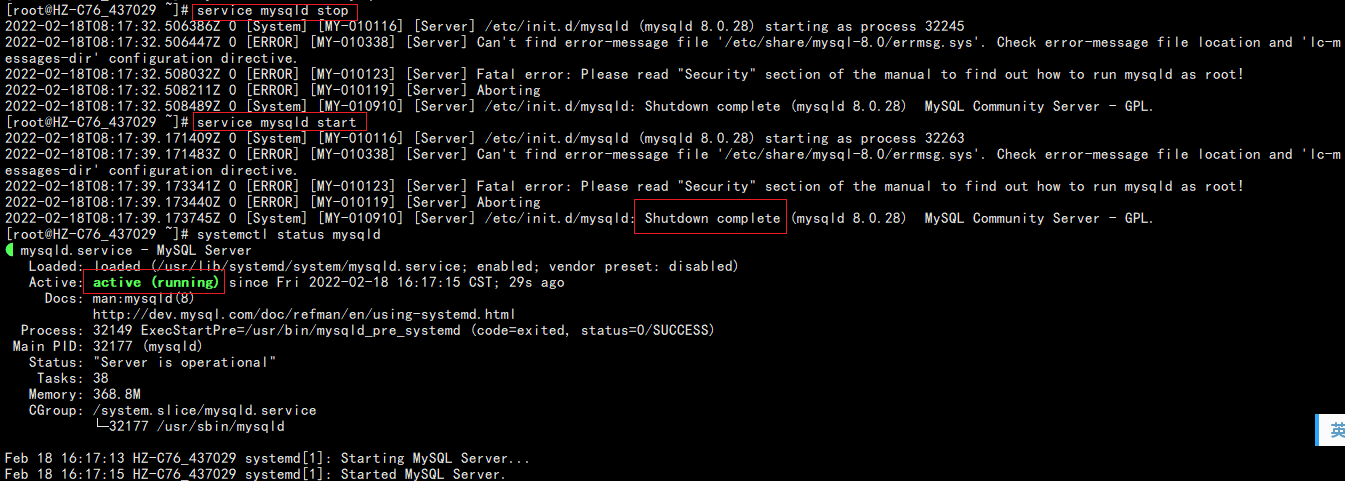
--init-file方式失败------衍生问题:
- linux 上 以 'mysql' 的身份登陆的问题
service service_name status与systemctl status service_name差异问题
-
--skip-grant-tables 方式----成功
-
停止msyql服务,编辑配置文件/etc/my.cnf
Stop the MySQL server if necessary, then restart it with the
--skip-grant-tablesoption. This enables anyone to connect without a password and with all privileges,- ①
systemctl stop mysqld - ②how-to-start-mysql-with-skip-grant-tables
vi /etc/my.cnf底部INSERTskip-grant-tables
- ①
-
重启mysql并登陆
systemtl restart mysqld ; mysql 直接回车进行登陆 -
刷新权限并更改root用户的pwd:
flush privileges ; alter user 'root'@'localhost' identified by 'NewPassWd' -
停止mysql服务,并将之前配置文件(/etc/my.cnf)中添加的
skip-grant-tables注释掉,之后重启mysql服务,以新设置的pwd进行正常登陆:systemctl stop mysqld ;vi /etc/my.cnf; #skip-grant-tables; systemctl restart mysqld ; mysql -uroot -p
-
-


【推荐】国内首个AI IDE,深度理解中文开发场景,立即下载体验Trae
【推荐】编程新体验,更懂你的AI,立即体验豆包MarsCode编程助手
【推荐】抖音旗下AI助手豆包,你的智能百科全书,全免费不限次数
【推荐】轻量又高性能的 SSH 工具 IShell:AI 加持,快人一步
· 分享一个免费、快速、无限量使用的满血 DeepSeek R1 模型,支持深度思考和联网搜索!
· 基于 Docker 搭建 FRP 内网穿透开源项目(很简单哒)
· 25岁的心里话
· ollama系列01:轻松3步本地部署deepseek,普通电脑可用
· 按钮权限的设计及实现