1. 下载 webui 源码
地址:https://github.com/AUTOMATIC1111/stable-diffusion-webui
clone 或者下载压缩包解压。
2. 启动
双击 stable-diffusion-webui-1.10.0\webui-user.bat 文件

会下载 pytorch,下载速度很慢,可以复制链接 https://download.pytorch.org/whl/cu121/torch-2.1.2%2Bcu121-cp310-cp310-win_amd64.whl 到迅雷下载,下载完成后手动安装。
注意:
- 1. cuda 版本要对应
打开 cmd,输入 nvidia-smi 查看

我的是 12.6 版本,版本可以向下兼容,安装 cu121 没问题。如果版本低于 12.1 的话,找到文件位置 stable-diffusion-webui-1.10.0\modules\launch_utils.py 修改为对应版本:

- 2. 不要把 pip 镜像源改为清华的镜像源,因为下载的是 cup 的版本,不是 gpu,运行的时候会报错:Torch is not able to use GPU。
查看自己安装的是不是 gpu 版本:可以在webui目录下新建文件 testtorch.py 文件,
import torch

print(torch.__version__)
print(torch.version.cuda)
print(torch.cuda.is_available())
运行文件,python testtorch.py

版本号是 cpu 结尾的说明安装的就是 cpu 版本的 torch,cpu 版本的无法使用 cuda。
3. 手动安装 pytorch 文件
下载完 pytorch 文件后,在下载文件的目录执行:
pip install torch-2.1.2+cu121-cp310-cp310-win_amd64.whl -t E:\stable-diffusion-webui-1.10.0\venv
或者用绝对路径也可以:
pip install D:\download\torch-2.1.2+cu121-cp310-cp310-win_amd64.whl -t E:\stable-diffusion-webui-1.10.0\venv
等待安装完成,再执行 python testtorch.py 查看:

torch.cuda.is_available() 结果是 true 说明 torch 安装正确,cuda 可用。
如果 cuda 没有安装,到 官网https://developer.nvidia.com/cuda-toolkit 下载安装。
4. 直接 cpu 运行
安装 cuda、torch 有问题,torch.cuda.is_available() 返回 false 的情况下,可以绕过,直接用 cpu。
修改 stable-diffusion-webui-1.10.0\webui-user.bat 文件,增加参数:--use-cpu all --no-half --precision full --skip-torch-cuda-test

5. 运行
接着双击运行 webui-user.bat 文件,这里还会去 github 下载其他依赖,最好有 magic network,否则经常会失败中断。
除了 github 上的依赖,还要下载一个 stable diffusion v1.5 的基础模型 v1-5-pruned-emaonly.safetensors,这个地址没魔法没法下载:
https://huggingface.co/runwayml/stable-diffusion-v1-5/resolve/main/v1-5-pruned-emaonly.safetensors
可以下载其他人分流的模型资源,复制到项目 stable-diffusion-webui-1.10.0\models\Stable-diffusion 文件夹下。其他的模型文件也可以。
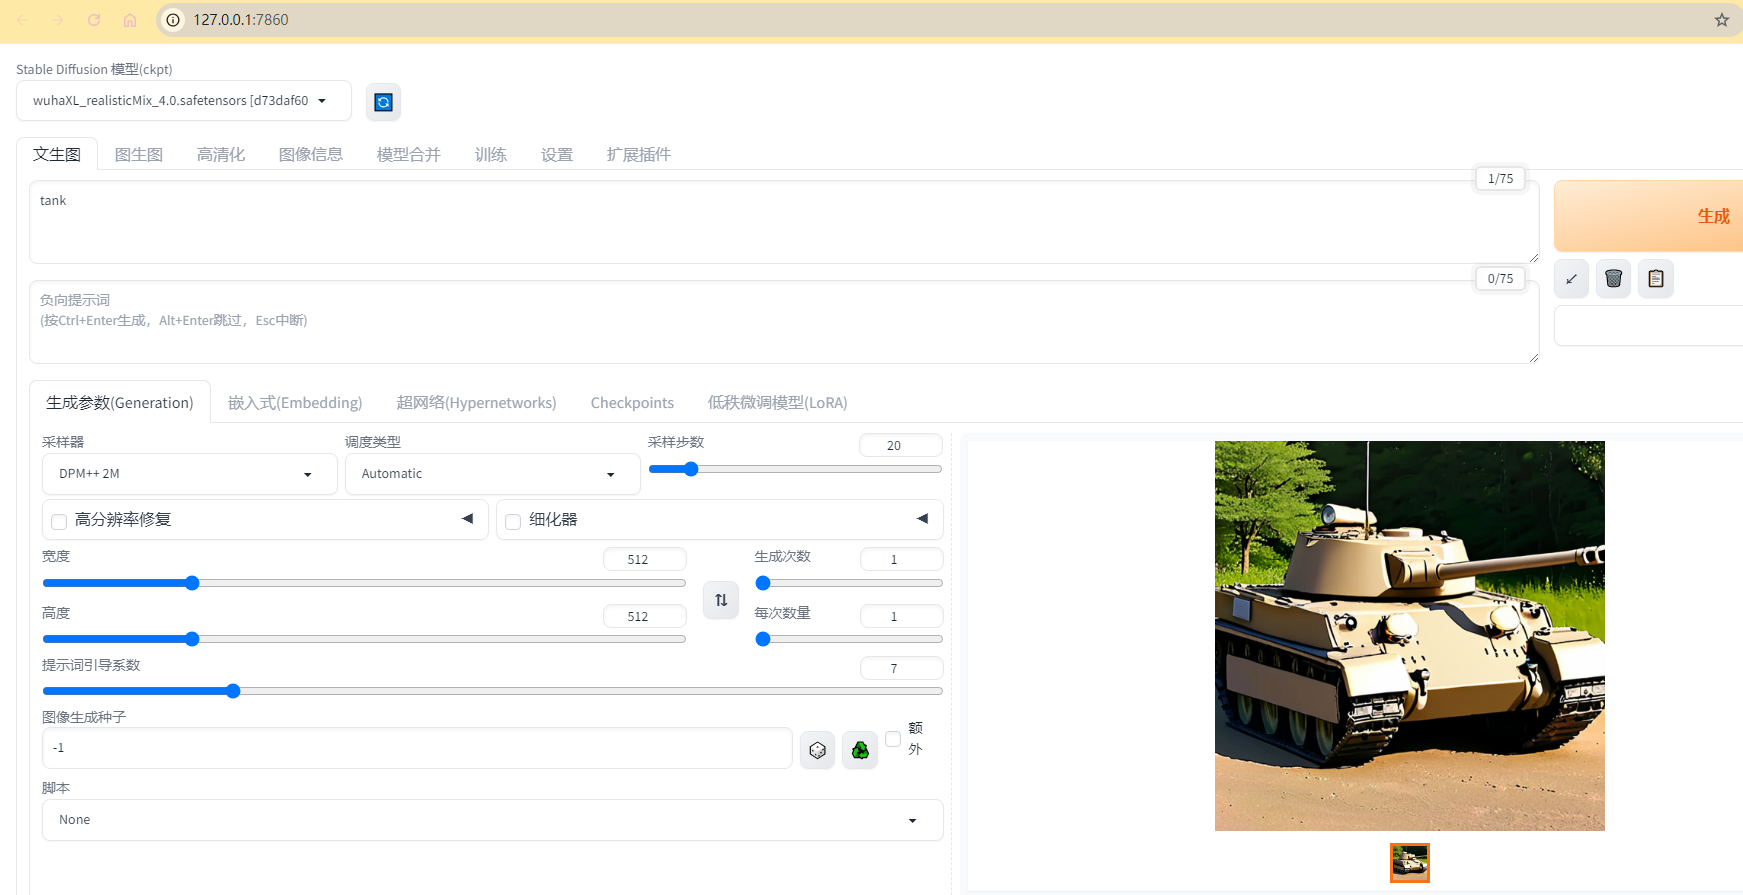
模型下载完之后,再双击 webui-user.bat 文件运行,出现下面结果说明成功了。
运行报错:All connection attempts failed,可以设置参数 --no-gradio-queue 解决。
cpu run:


gpu run:


参考文档:


【推荐】国内首个AI IDE,深度理解中文开发场景,立即下载体验Trae
【推荐】编程新体验,更懂你的AI,立即体验豆包MarsCode编程助手
【推荐】抖音旗下AI助手豆包,你的智能百科全书,全免费不限次数
【推荐】轻量又高性能的 SSH 工具 IShell:AI 加持,快人一步
· 开源Multi-agent AI智能体框架aevatar.ai,欢迎大家贡献代码
· Manus重磅发布:全球首款通用AI代理技术深度解析与实战指南
· 被坑几百块钱后,我竟然真的恢复了删除的微信聊天记录!
· 没有Manus邀请码?试试免邀请码的MGX或者开源的OpenManus吧
· 园子的第一款AI主题卫衣上架——"HELLO! HOW CAN I ASSIST YOU TODAY
2021-08-10 XMLHttpRequest POST 传数组参数
2021-08-10 axios下载文件,文件损坏,无法打开