

使用winform程序控制window服务的操作
继上篇
c#之添加window服务(定时任务)
基础之上,
这篇文章主要讲述,使用winform程序来控制window服务的安装,启动,停止,卸载等操作
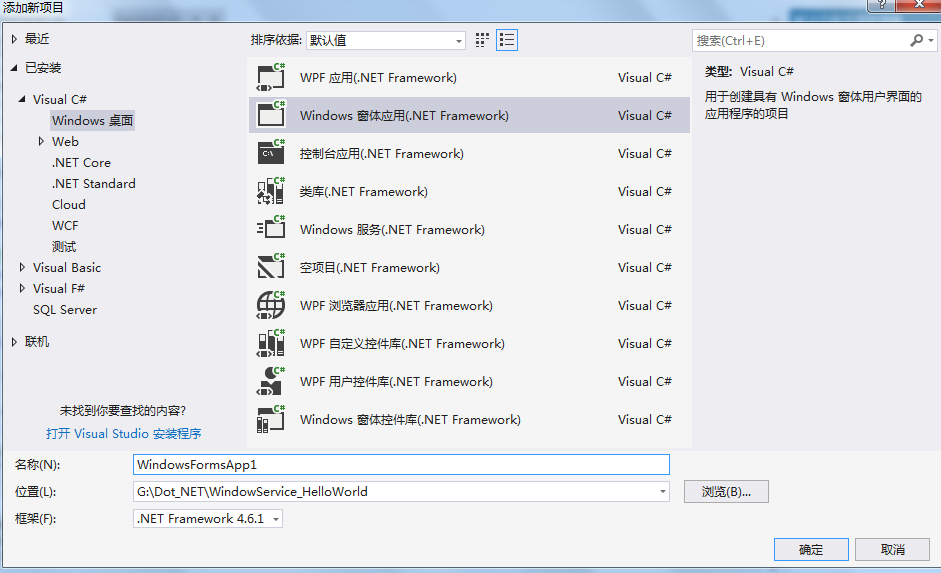
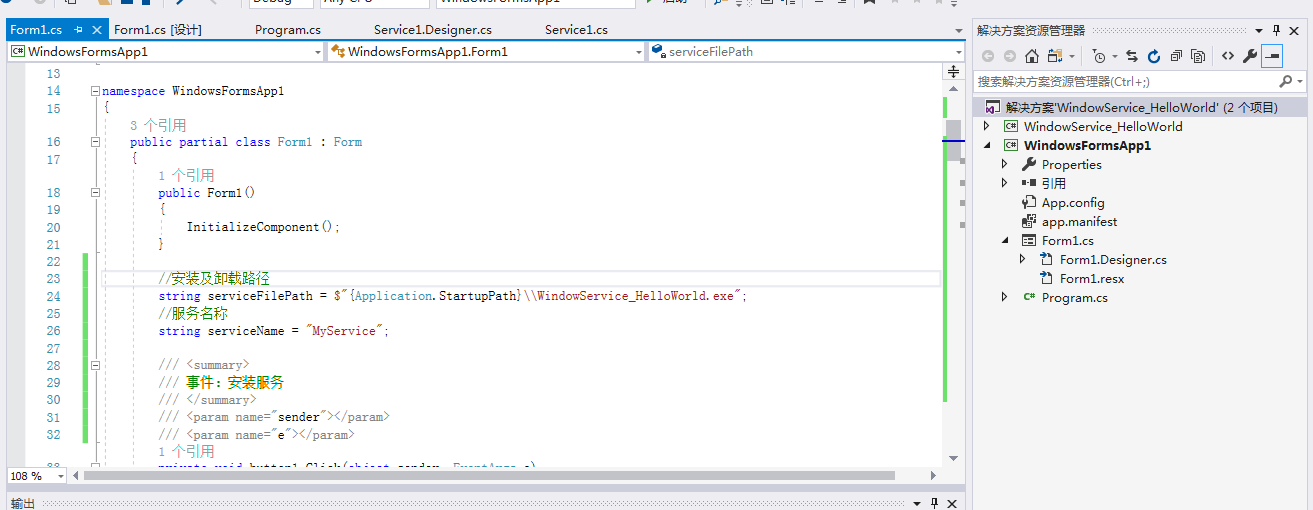
1.在同一个解决方案添加winform项目,如图

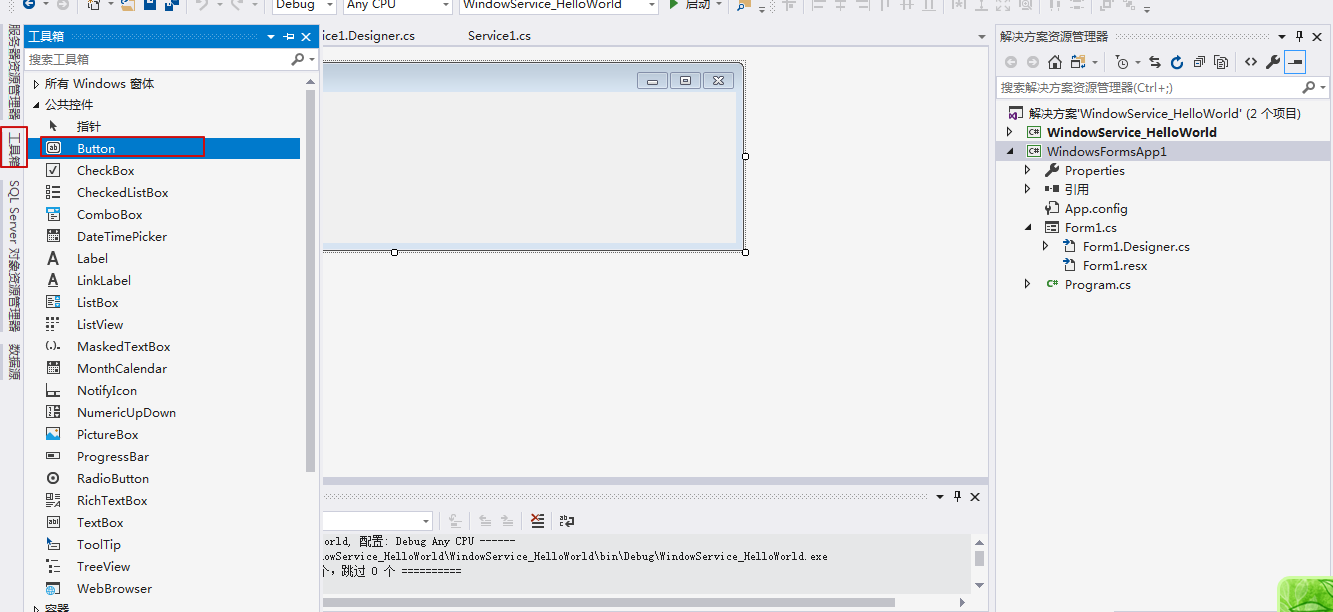
2.在winform设计器中添加按钮
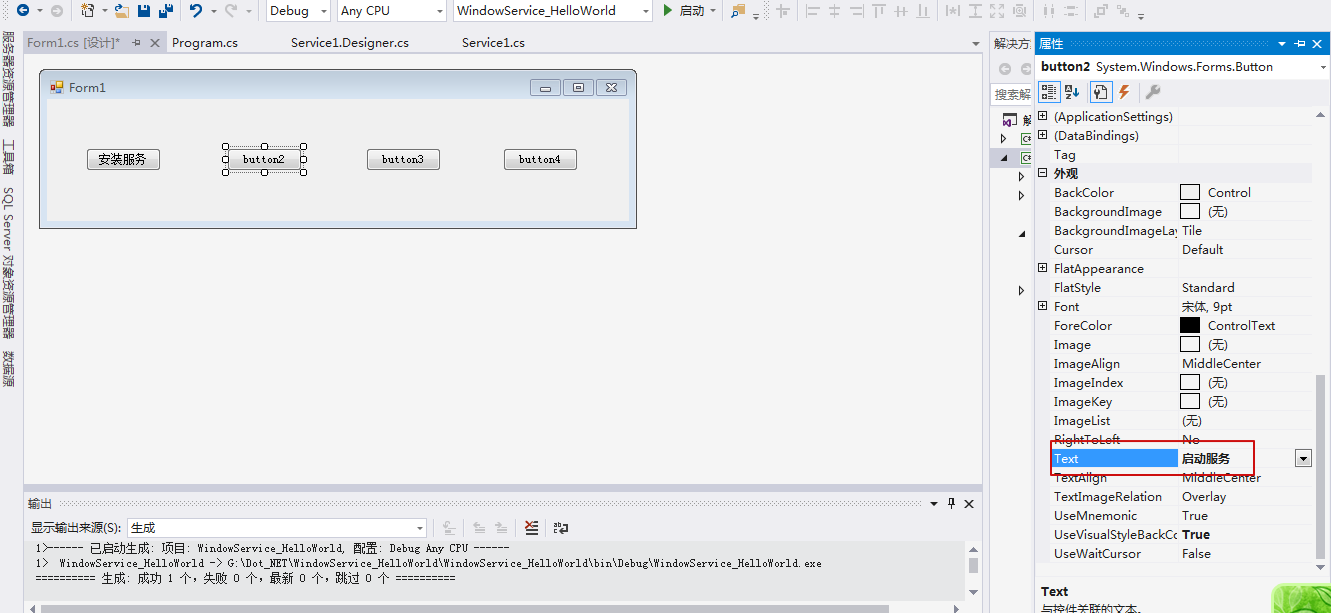
修改按钮名称依次为:安装服务、启动服务、停止服务、卸载服务
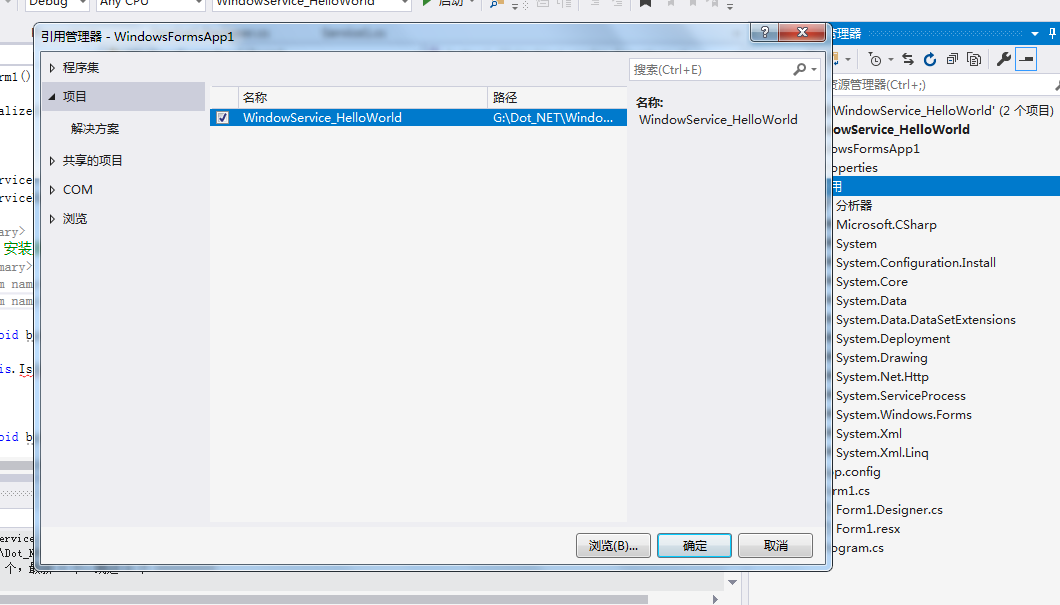
3.向winform项目中添加引用:System.Configuration.Install 和 System.ServiceProcess 两个程序集(其中涉及window服务的一些操作)

4.把之前创建的window服务也引入winform中
5.编写代码

 public partial class Form1 : Form
    {
        public Form1()
        {
            InitializeComponent();
        }

        //安装及卸载路径
        string serviceFilePath = $"{Application.StartupPath}\\WindowService_HelloWorld.exe";
        //服务名称
        string serviceName = "MyService";

        /// <summary>
        /// 事件:安装服务
        /// </summary>
        /// <param name="sender"></param>
        /// <param name="e"></param>
        private void button1_Click(object sender, EventArgs e)
        {
            if (IsServiceExisted(serviceName)) this.UninstallService(serviceName);
            this.InstallService(serviceFilePath);
        }

        /// <summary>
        /// 事件:启动服务
        /// </summary>
        /// <param name="sender"></param>
        /// <param name="e"></param>
        private void button2_Click(object sender, EventArgs e)
        {
            if (IsServiceExisted(serviceName)) this.ServiceStart(serviceName);
        }

        /// <summary>
        /// 停止服务
        /// </summary>
        /// <param name="sender"></param>
        /// <param name="e"></param>
        private void button3_Click(object sender, EventArgs e)
        {
            if (IsServiceExisted(serviceName)) this.ServiceStop(serviceName);
        }


        /// <summary>
        /// 卸载服务
        /// </summary>
        /// <param name="sender"></param>
        /// <param name="e"></param>
        private void button4_Click(object sender, EventArgs e)
        {
            if (IsServiceExisted(serviceName))
            {
                this.ServiceStop(serviceName);
                this.UninstallService(serviceFilePath);
            }
        }

        /// <summary>
        /// 判断服务是否存在
        /// </summary>
        /// <param name="serviceName"></param>
        /// <returns></returns>
        private bool IsServiceExisted(string serviceName)
        {
            ServiceController[] services = ServiceController.GetServices();
            foreach(ServiceController sc in services)
            {
                if (sc.ServiceName.ToLower() == serviceName.ToLower())
                {
                    return true;
                }
            }
            return false;
        }

        /// <summary>
        /// 安装服务
        /// </summary>
        /// <param name="serviceFilePath"></param>
        private void InstallService(string serviceFilePath)
        {
            using(AssemblyInstaller installer=new AssemblyInstaller())
            {
                installer.UseNewContext = true;
                installer.Path = serviceFilePath;
                IDictionary saveState = new Hashtable();
                installer.Install(saveState);
                installer.Commit(saveState);
            }
        }

        /// <summary>
        /// 卸载服务
        /// </summary>
        /// <param name="serviceFilePath"></param>
        private void UninstallService(string serviceFilePath)
        {
            using(AssemblyInstaller installer=new AssemblyInstaller())
            {
                installer.UseNewContext = true;
                installer.Path = serviceFilePath;
                installer.Uninstall(null);
            }
        }

        /// <summary>
        /// 启动服务
        /// </summary>
        /// <param name="serviceName"></param>
        private void ServiceStart(string serviceName)
        {
            using(ServiceController controller=new ServiceController(serviceName))
            {
                if (controller.Status == ServiceControllerStatus.Stopped)
                {
                    controller.Start();
                }
            }
        }

        /// <summary>
        /// 停止服务
        /// </summary>
        /// <param name="serviceName"></param>
        private void ServiceStop(string serviceName)
        {
            using(ServiceController controller=new ServiceController(serviceName))
            {
                if (controller.Status == ServiceControllerStatus.Running)
                {
                    controller.Stop();
                }
            }
        }

    }
结构如下:
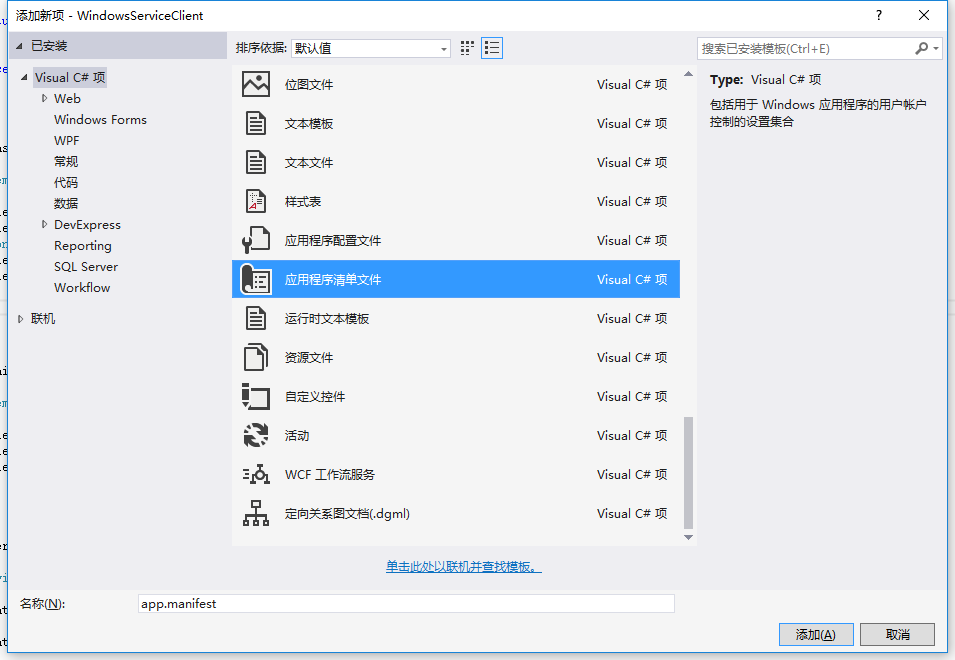
6.在项目winform中,右击项目,添加->新建项,在弹出的菜单中选择 应用程序清单文件,如图
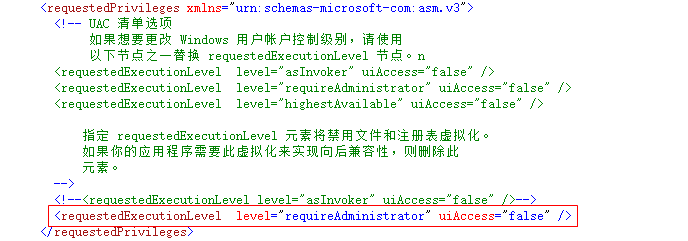
7.打开该文件,并将<requestedExecutionLevel level="asInvoker" uiAccess="false" />改为<requestedExecutionLevel level="requireAdministrator" uiAccess="false" />,如下图所示:
8.重新生成解决方案,并运行(winform自己不知道自己是谁)
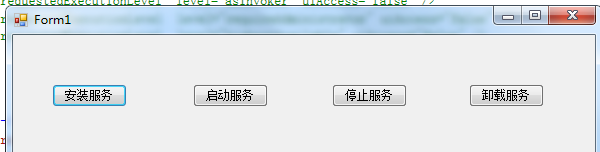
点击安装,打开window服务管理器,发现MyService安装上了,后续几个按钮依次实验,正常
另外还有一些调试技巧,这里就不多说了
给出参考网址:
https://www.cnblogs.com/cncc/p/7170951.html
https://docs.microsoft.com/en-us/dotnet/framework/windows-services/walkthrough-creating-a-windows-service-application-in-the-component-designer


【推荐】国内首个AI IDE,深度理解中文开发场景,立即下载体验Trae
【推荐】编程新体验,更懂你的AI,立即体验豆包MarsCode编程助手
【推荐】抖音旗下AI助手豆包,你的智能百科全书,全免费不限次数
【推荐】轻量又高性能的 SSH 工具 IShell:AI 加持,快人一步
· AI与.NET技术实操系列:基于图像分类模型对图像进行分类
· go语言实现终端里的倒计时
· 如何编写易于单元测试的代码
· 10年+ .NET Coder 心语,封装的思维:从隐藏、稳定开始理解其本质意义
· .NET Core 中如何实现缓存的预热?
· 分享一个免费、快速、无限量使用的满血 DeepSeek R1 模型,支持深度思考和联网搜索!
· 基于 Docker 搭建 FRP 内网穿透开源项目(很简单哒)
· 25岁的心里话
· ollama系列01:轻松3步本地部署deepseek,普通电脑可用
· 按钮权限的设计及实现