
(7)文件上传
1. 搭建独立的服务模块
文件的上传并不只是在品牌管理中有需求,以后的其它服务也可能需要,因此我们创建一个独立的微服务,专门处理各种上传
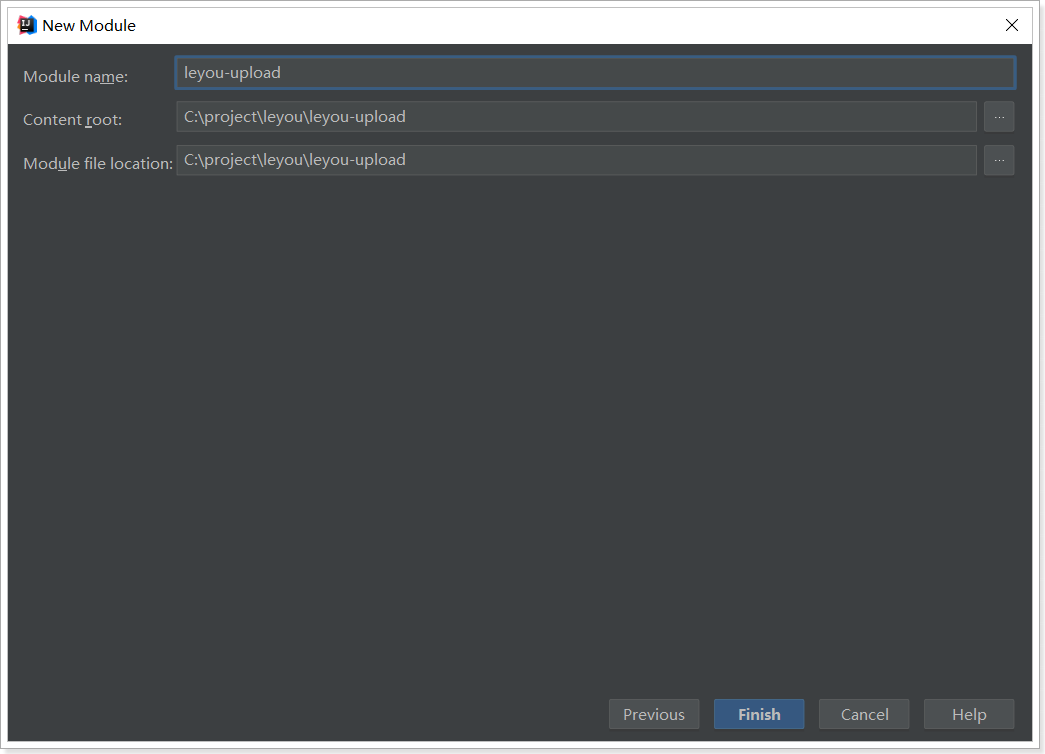
1.1创建module

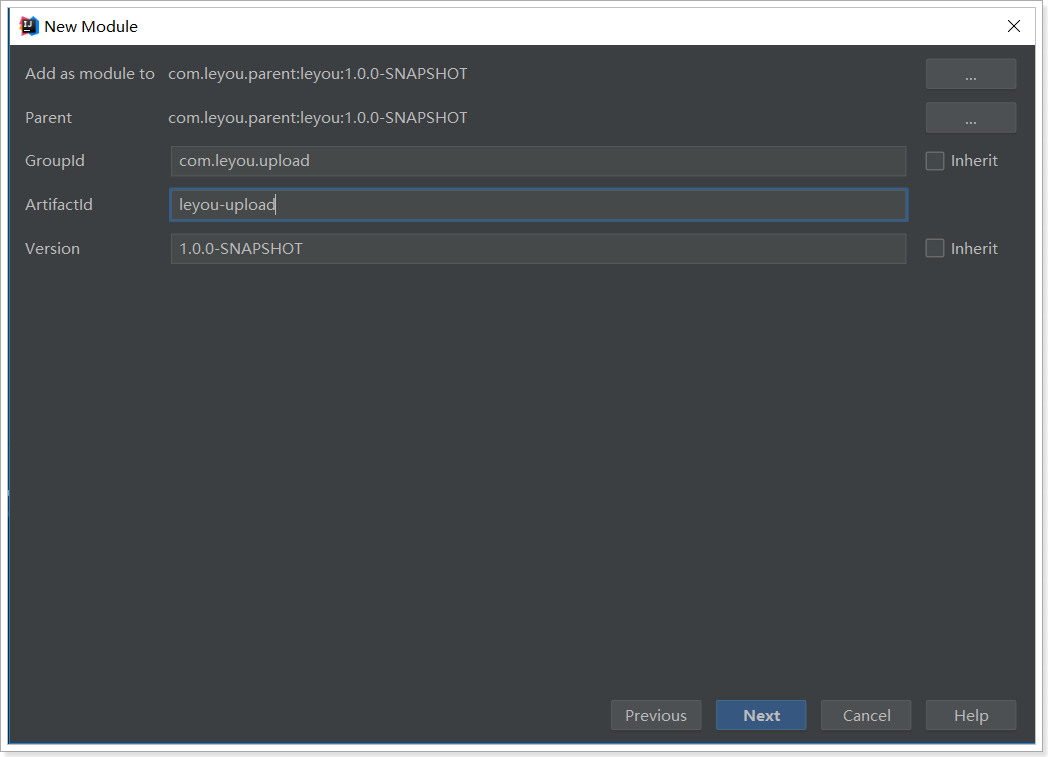
1.2 依赖
我们需要EurekaClient和web依赖:
  <dependencies>
        <dependency>
            <groupId>org.springframework.cloud</groupId>
            <artifactId>spring-cloud-starter-netflix-eureka-client</artifactId>
        </dependency>
        <dependency>
            <groupId>org.springframework.boot</groupId>
            <artifactId>spring-boot-starter-web</artifactId>
        </dependency>
        <dependency>
            <groupId>org.springframework.boot</groupId>
            <artifactId>spring-boot-starter-test</artifactId>
        </dependency>
    </dependencies>
1.3 编写配置
server:
  port: 8082
spring:
  application:
    name: upload-service
  servlet:
    multipart:
      max-file-size: 5MB # 限制文件上传的大小
# Eureka
eureka:
  client:
    service-url:
      defaultZone: http://127.0.0.1:10086/eureka
  instance:
    lease-renewal-interval-in-seconds: 5 # 每隔5秒发送一次心跳
    lease-expiration-duration-in-seconds: 10 # 10秒不发送就过期
需要注意的是,我们应该添加了限制文件大小的配置
1.4 引导类
@SpringBootApplication
@EnableDiscoveryClient
public class LeyouUploadApplication {

    public static void main(String[] args) {
        SpringApplication.run(LeyouUploadApplication.class, args);
    }
}
2. 编写上传功能
上传功能在Vue页面中的代码

2.1 controller
编写controller需要知道4个内容:
-
请求方式:上传肯定是POST
-
请求路径:/upload/image
-
请求参数:文件,参数名是file,SpringMVC会封装为一个接口:MultipartFile
-
代码如下:
@Controller
@RequestMapping("upload")
public class UploadController {

    @Autowired
    private UploadService uploadService;
    /**
     * 图片上传
     * @param file
     * @return
     */
    public ResponseEntity<String> uploadImage(@RequestParam("file") MultipartFile file){
        //返回一个url,用作回写
        String url = this.uploadService.uploadImage(file);
        //如果为空,则返回参数错误
        if (StringUtils.isBlank(url)){
            return ResponseEntity.badRequest().build();
        }
        //请求成功,并返回url
        return ResponseEntity.status(HttpStatus.CREATED).body(url);
    }
}
2.2 service
在上传文件过程中,我们需要对上传的内容进行校验:
-
校验文件大小
-
校验文件的媒体类型
-
校验文件的内容
文件大小在Spring的配置文件中设置,因此已经会被校验,我们不用管。
具体代码:
@Service
public class UploadService {
//定义符合条件的图片类型
private static final List<String> Content_Type = Arrays.asList("image/jpeg","image/gif","image/png");
//定义日志
private static final Logger LOGGER = LoggerFactory.getLogger(UploadService.class);
public String uploadImage(MultipartFile file) {
// 校验文件的类型
//获取文件的名字
String Filename = file.getOriginalFilename();
String DateFilename = Filename+"_"+new Date();
//获取文件的类型
String type = file.getContentType();
if (!Content_Type.contains(type)){
LOGGER.error("文件类型不合法,{}",Filename);
return null;
}
try {
// 校验文件的内容
BufferedImage read = ImageIO.read(file.getInputStream());
if (read == null){
LOGGER.error("文件内容不合法,{}",Filename);
return null;
}
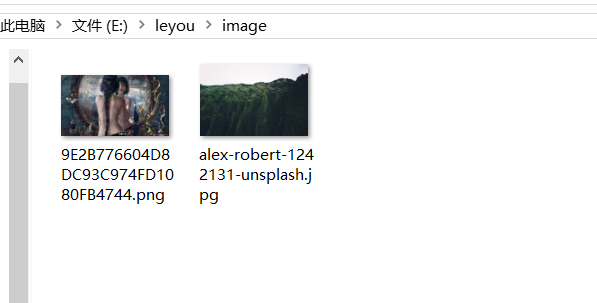
// 保存到服务器
file.transferTo(new File("E:\\leyou\\image\\"+DateFilename));
// 生成url地址,返回
return "http://image.leyou.com/"+DateFilename;
} catch (IOException e) {
LOGGER.error("服务器内部错误,{}",Filename);
e.printStackTrace();
}
return null;
}
}
这里有一个问题:为什么图片地址需要使用另外的url?
-
图片不能保存在服务器内部,这样会对服务器产生额外的加载负担
-
一般静态资源都应该使用独立域名,这样访问静态资源时不会携带一些不必要的cookie,减小请求的数据量
2.3 测试上传
我们通过RestClient工具来测试:https://blog.csdn.net/weixin_42529699/article/details/89377883
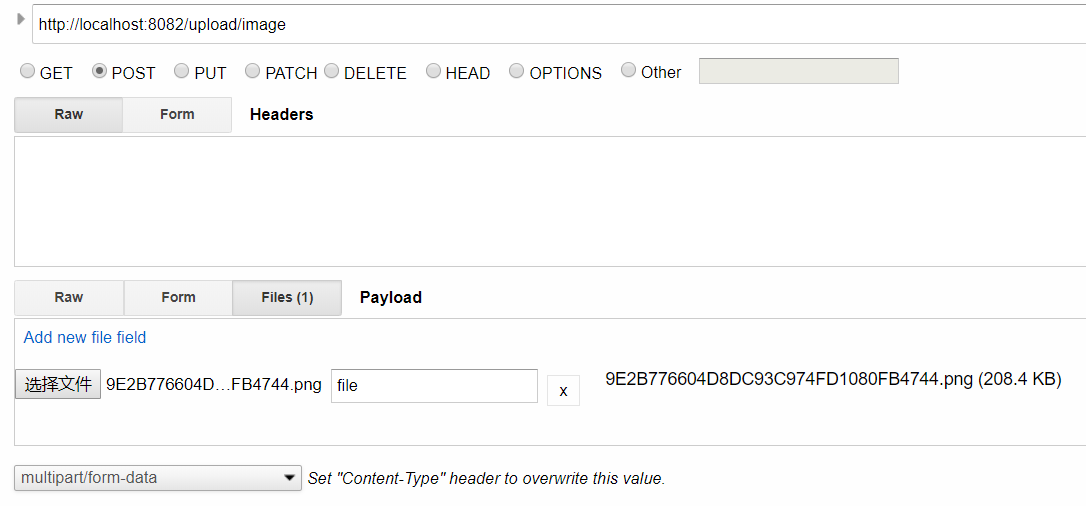
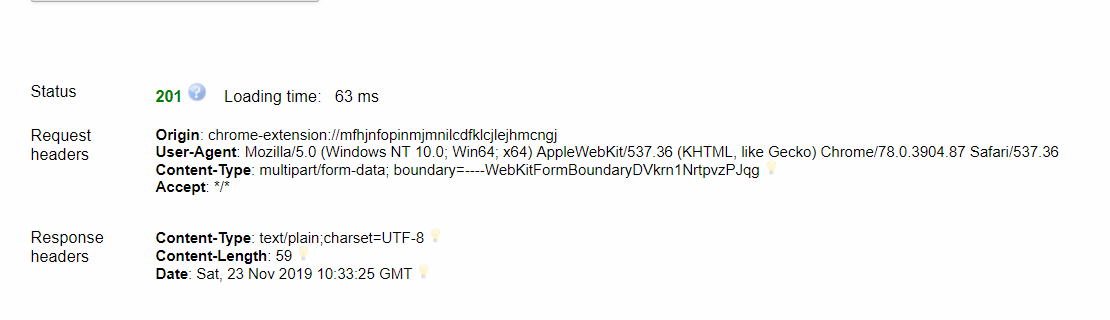
上传成功!
3. 绕过网关
图片上传是文件的传输,如果也经过Zuul网关的代理,文件就会经过多次网路传输,造成不必要的网络负担。在高并发时,可能导致网络阻塞,Zuul网关不可用。这样我们的整个系统就瘫痪了。
Zuul中提供了一个ignored-patterns属性,用来忽略不希望路由的URL路径,示例:
zuul.ignored-patterns: /upload/**
路径过滤会对一切微服务进行判定。
Zuul还提供了ignored-services属性,进行服务过滤:
zuul.ignored-services: upload-servie
我们这里采用忽略服务:
zuul:
  ignored-services:
      upload-service # 忽略upload-service服务
上面的配置采用了集合语法,代表可以配置多个。
3.2
location /api/upload {
    proxy_pass http://127.0.0.1:8082;
    proxy_connect_timeout 600;
    proxy_read_timeout 600;
}
Nginx提供了rewrite指令,用于对地址进行重写,语法规则:
rewrite "用来匹配路径的正则" 重写后的路径 [指令];
我们的案例:
server {
    listen       80;
    server_name  api.leyou.com;

    proxy_set_header X-Forwarded-Host $host;
    proxy_set_header X-Forwarded-Server $host;
    proxy_set_header X-Forwarded-For $proxy_add_x_forwarded_for;

    # 上传路径的映射
    location /api/upload {
        proxy_pass http://127.0.0.1:8082;
        proxy_connect_timeout 600;
        proxy_read_timeout 600;

        rewrite "^/api/(.*)$" /$1 break;
    }

    location / {
        proxy_pass http://127.0.0.1:10010;
        proxy_connect_timeout 600;
        proxy_read_timeout 600;
    }
}
-
首先,我们映射路径是/api/upload,而下面一个映射路径是 / ,根据最长路径匹配原则,/api/upload优先级更高。也就是说,凡是以/api/upload开头的路径,都会被第一个配置处理
-
proxy_pass -
rewrite "^/api/(.*)$" /$1 break,路径重写:-
"^/api/(.*)$":匹配路径的正则表达式,用了分组语法,把/api/以后的所有部分当做1组 -
/$1:重写的目标路径,这里用$1引用前面正则表达式匹配到的分组(组编号从1开始),即/api/后面的所有。这样新的路径就是除去/api/以外的所有,就达到了去除/api前缀的目的 -
break:指令,常用的有2个,分别是:last、break-
last:重写路径结束后,将得到的路径重新进行一次路径匹配
-
break:重写路径结束后,不再重新匹配路径。
我们这里不能选择last,否则以新的路径/upload/image来匹配,就不会被正确的匹配到8082端口了
-
-
修改完成,输入nginx -s reload命令重新加载配置。然后再次上传试试。
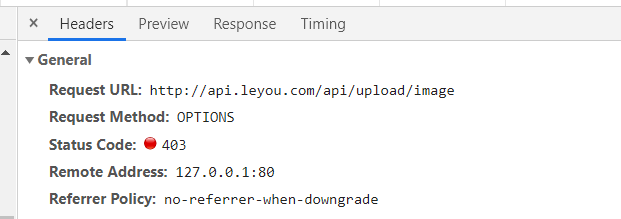
重启nginx,再次上传,发现跟上次的状态码已经不一样了,但是依然报错403,跨域问题
4. 解决跨域问题
不过庆幸的是,这个错误已经不是第一次见了,跨域问题。

@Configuration
public class LeyouCorsConfiguration {

    @Bean
    public CorsFilter corsFilter() {
        //1.添加CORS配置信息
        CorsConfiguration config = new CorsConfiguration();
        //1) 允许的域,不要写*,否则cookie就无法使用了
        config.addAllowedOrigin("http://manage.leyou.com");
        //3) 允许的请求方式
        config.addAllowedMethod("OPTIONS");
        config.addAllowedMethod("POST");
        // 4)允许的头信息
        config.addAllowedHeader("*");

        //2.添加映射路径,我们拦截一切请求
        UrlBasedCorsConfigurationSource configSource = new UrlBasedCorsConfigurationSource();
        configSource.registerCorsConfiguration("/**", config);

        //3.返回新的CorsFilter.
        return new CorsFilter(configSource);
    }
}
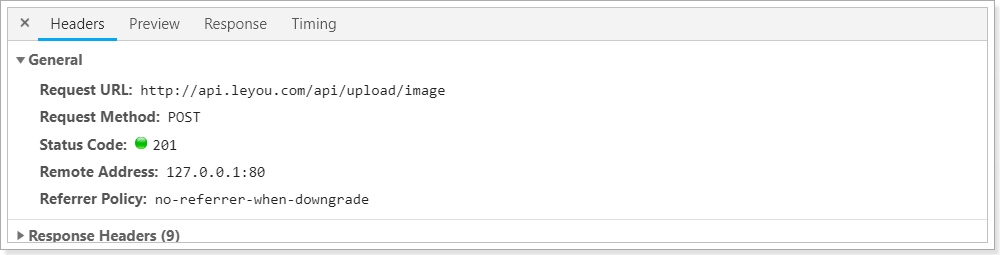
再次测试:
不过,非常遗憾的是,访问图片地址,却没有响应。
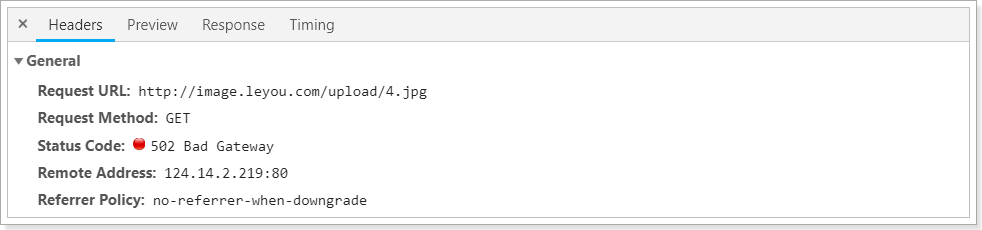
这是因为我们并没有任何服务器对应image.leyou.com这个域名。。
这个问题,我们暂时放下,回头再来解决。
5. 文件上传的瓶颈
先思考一下,现在上传的功能,有没有什么问题?
上传本身没有任何问题,问题出在保存文件的方式,我们是保存在服务器机器,就会有下面的问题:
-
单机器存储,存储能力有限
-
无法进行水平扩展,因为多台机器的文件无法共享,会出现访问不到的情况
-
数据没有备份,有单点故障风险
-
并发能力差
这个时候,最好使用分布式文件存储来代替本地文件存储。
6. 其他
想要在网页上能访问主机中的图片,即能应用在网页中的回写
1. 在hosts文件中添加映射
127.0.0.1 image.leyou.com
2. 在nginx的配置文件中添加代理服务,代理的地址是主机的图片存储地址
    server {
        listen       80;
        server_name  image.leyou.com;

        proxy_set_header X-Forwarded-Host $host;
        proxy_set_header X-Forwarded-Server $host;
        proxy_set_header X-Forwarded-For $proxy_add_x_forwarded_for;

        location / {
            root E:\\leyou\\image;
        }
    }
3. 通过 ip 地址直接访问图片的名字


