
Linux安装Mysql
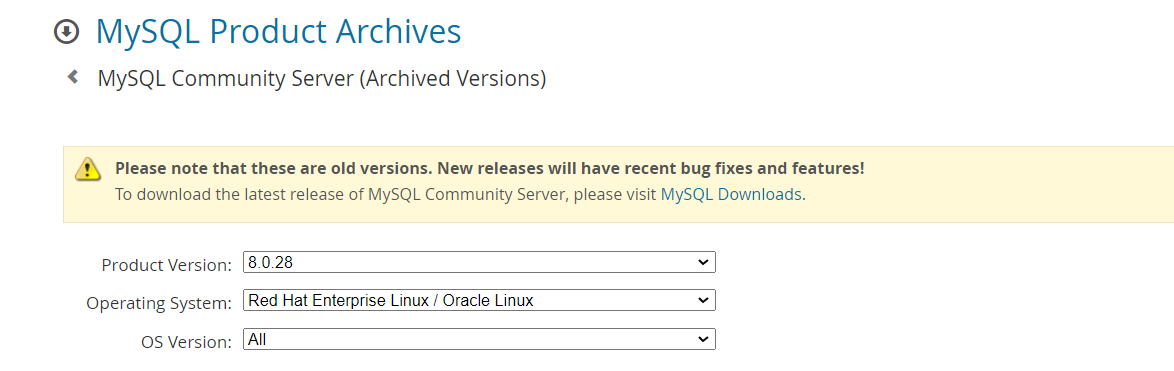
一、下载
https://downloads.mysql.com/archives/community/
二、创建用户
groupadd mysql
useradd -g mysql mysql
三、安装
1、解压
tar -xvf mysql-8.0.28-el7-x86_64.tar.gz
2、重新命名
mv mysql-8.0.28-el7-x86_64.tar.gz mysql-8.0.28
3、加入配置root 下执行
vi /etc/my.cn
配置参考如下:
[mysqld]
default_storage_engine = innodb
socket=/tmp/mysql.sock
port=3318
default_time_zone = '+8:00'
user=mysql
basedir=/app/tool/mysql-8.0.28
datadir=/app/tool/mysql-8.0.28/data
pid-file=/app/tool/mysql-8.0.28/mysql.pid
skip_name_resolve = 1
max_allowed_packet = 20M
#innodb_buffer_pool_size按照linux中内存的60%~70%填写
innodb_buffer_pool_size = 1024M
innodb_log_file_size = 256M
expire_logs_days = 10
innodb_file_per_table = 1
tmp_table_size = 64M
lower_case_table_names=1
local-infile=0
sql_mode='STRICT_TRANS_TABLES,NO_ZERO_IN_DATE,NO_ZERO_DATE,ERROR_FOR_DIVISION_BY_ZERO,NO_AUTO_CREATE_USER,NO_ENGINE_SUBSTITUTION'
#log
log_error = /app/tool/mysql-8.0.28/logs/mysql_error.log
slow_query_log = 1
long_query_time = 1
slow_query_log_file = /app/tool/mysql-8.0.28/logs/mysql_slow.log
log_bin = /app/tool/mysql-8.0.28/logs/mysql-bin
binlog_format = row
#connect
max_connections = 2000
max_connect_errors = 100
wait_timeout = 86400
interactive_timeout = 86400
# Disabling symbolic-links is recommended to prevent assorted security risks
symbolic-links=0
# Settings user and group are ignored when systemd is used.
# If you need to run mysqld under a different user or group,
# customize your systemd unit file for mariadb according to the
# instructions in http://fedoraproject.org/wiki/Systemd
[mysqld_safe]
log-error=/app/tool/mysql-8.0.28/logs/mysql_error.log
!includedir /etc/my.cnf.d
[client]
socket=/tmp/mysql.sock
4、修改当前目录拥有者为mysql用户
chown -R mysql:mysql mysql-8.0.28

5、创建相关目录
mkdir mysql-8.0.28/{data,logs}
chmod -R 755 data
chmod -R 755 logs
6、初始化
./mysqld --initialize --datadir=/app/tool/mysql-8.0.28/data --user=mysql --console
初始化问题

如果有 安装libaio
yum install -y libaio
8、查看初始密码
cat /logs/mysql_error.log
9、修改root密码
# mysql -u root -p
# mysql> SET PASSWORD FOR 'root'@'localhost' = 'your_pass';

有问题就执行下边的
ALTER USER 'root'@'localhost' IDENTIFIED BY 'your_pass';
# 停止mysql
# mysqladmin -u root -P 3306 -p your_pass shutdown   ## 关闭请执行此命令,安全系数比杀进程高
10、开机自启
# cp support-files/mysql.server /etc/init.d/mysql  ##需要将里面的basedir和datadir修改
# chkconfig --add mysql
# chkconfig mysql on    ## 开机自启
# /etc/init.d/mysqld start  ## 启动

问题:
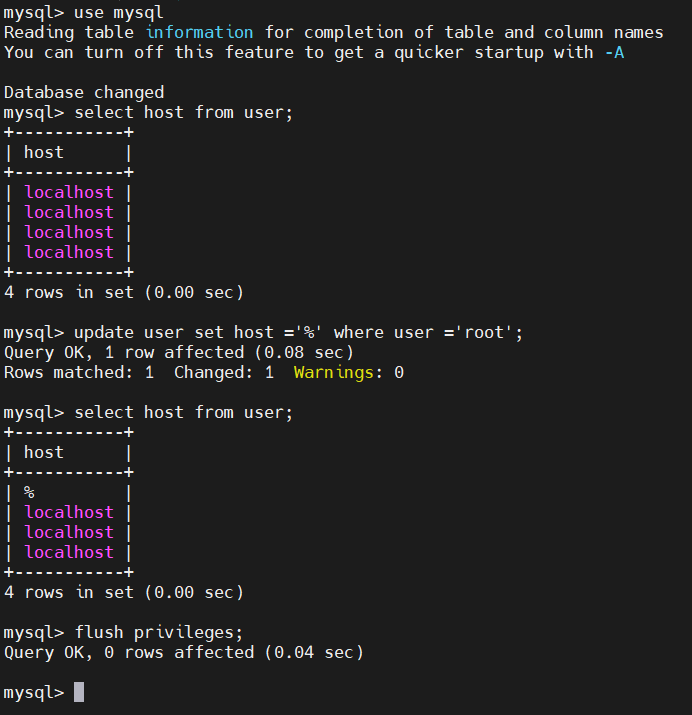
1、null, message from server: "Host 'xxx.xxx.xxx.xxx' is not allowed to connect to this MySQL server"
解决:
1、 mysql -u root -p
2、use mysql;
3、select host from user;
4、update user set host ='%' where user ='root';
5、执行刷新权限:flush privileges;
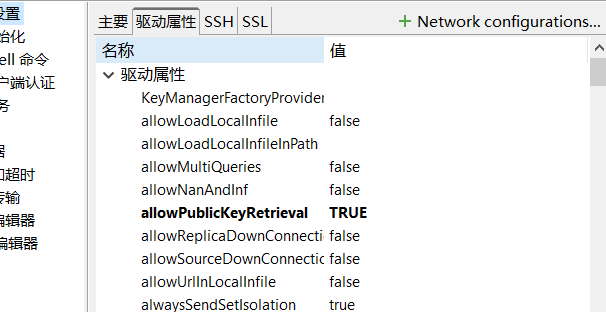
2、Public Key Retrieval is not allowed
设置 allowPublicKeyRetrieval=true

 浙公网安备 33010602011771号