


React-Props 一/列表渲染/条件渲染
购物车框架效果图
1 2 3 4 5 6 7 8 9 10 11 12 13 14 15 16 17 18 19 20 21 22 23 24 25 26 27 28 29 30 31 32 33 34 35 36 37 38 39 40 41 42 43 44 45 46 47 48 49 50 51 52 53 54 55 56 57 58 59 60 61 62 63 | # 1. Props 1.1 Props/列表渲染/条件渲染 什么是Props? 当React元素作为自定义组件,将JSX所接受的属性转换为单个对象传递给组件,这个对象被称为"Props" 父组件传给子组件参数对象(属性) Props是组件固有属性 子组件内部不可以对Props进行修改 更新Props时,需要通过父组件重新传入新的props,更新子组件. React是一个单向数据流 创建组件 class PropListItem extends Component 接受父组件传递的Props constructor(props) { super(props); // 如果不写下面这句会报警告 this.state = {}; }# 函数组件 ListItemFun.jsx 1. sfc 快捷方式 无状态组件 2. 函数组件是没有this关键字的 3. 不管是函数组件/还是类组件都会通过babel来转换成浏览器可以执行的代码 4. props 是通过函数的参数传递过来的 5. 没有生命周期 优点 轻量 没有状态时可以使用# 类组件 ListItem.jsx 创建组件 class PropListItem extends Component 称为类组件# 列表渲染 js表达式来实现列表渲染 Arr.map(function (item) { return _ }) map方法会生成一个新的数组, 列表渲染需要为每一项设置key { dataList.map( item => { return <PropListItem key={item.id} data={item}/> }) }# 条件渲染 vue v-if react 1. 三目运算符 <div className={`item-col item-col-count${count < 1 ? '' : '-s' }`}>{count}</div> 2. 使用函数条件作判断 // 通过函数方式来作条件渲染 renderList () { if (dataList.length === 0) { return <div className="text-center">购物车是空的</div> } return dataList.map( item => { return <PropListItem key={item.id} data={item}/> }) } render() { return ( { this.renderList() } ) } 3. 使用与运算符 && 判断 {dataList.length === 0 && <div className="text-center">购物车是空的</div> } |
关键代码如下:
app.js 函数组件
1 2 3 4 5 6 7 8 9 10 11 12 | import './App.css';import PropsList from './Props/List'function App() { return ( <div className="App"> <PropsList /> </div> );}export default App; |
PropsList 组件 类组件
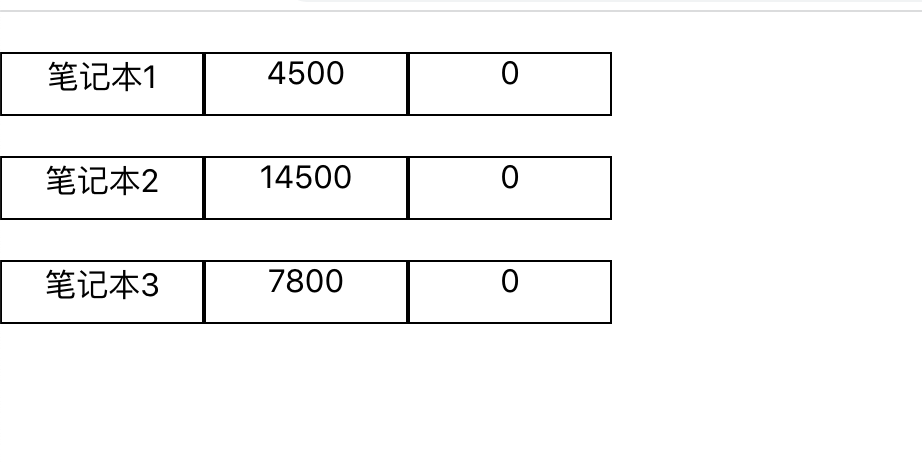
1 2 3 4 5 6 7 8 9 10 11 12 13 14 15 16 17 18 19 20 21 22 23 24 25 26 27 28 29 30 31 32 33 34 35 36 37 38 39 40 41 42 43 44 45 46 47 48 49 | import React, { Component } from 'react'import PropListItem from './ListItem' // 类组件// import PropListItem from './ListItemFun' // 函数组件const dataList = [ { id: 1, name: '笔记本1', price: 4500, stock: 12 }, { id: 2, name: '笔记本2', price: 14500, stock: 4 }, { id: 3, name: '笔记本3', price: 7800, stock: 122 }]class PropsList extends Component { // 通过函数方式来作条件渲染renderList () { if (dataList.length === 0) { return <div className="text-center">购物车是空的</div> } return dataList.map( item => { return <PropListItem key={item.id} data={item}/> })} render() { return( <div className="container"> {/* {dataList.length === 0 && <div className="text-center">购物车是空的</div> } */} {/* <PropListItem data={dataList[0]}/> <PropListItem data={dataList[1]}/> <PropListItem data={dataList[2]}/> */ this.renderList() } </div> ) }}export default PropsList |
ListItem 组件 类组件
1 2 3 4 5 6 7 8 9 10 11 12 13 14 15 16 17 18 19 20 21 22 23 24 | import React, { Component } from 'react'import './list.css'let count = 0class PropListItem extends Component { constructor(props) { super(props); // 如果不写下面这句会报警告 this.state = {}; } render () { let data = this.props.data return ( <div className="item-row"> <div className="item-col">{data.name}</div> <div className="item-col">{data.price}</div> {/* 三目运算符来作条件判断 */} <div className={`item-col item-col-count${count < 1 ? '' : '-s' }`}>{count}</div> </div> ) }}export default PropListItem |
ListItem 组件 函数组件 只用来测试,只要代码还是参考上面的类组件
1 2 3 4 5 6 7 8 9 10 11 12 13 | import React from 'react'import './list.css'let count = 0const ListItem = (props) => { return ( <div className="item-row"> <div className="item-col">{props.data.name}</div> <div className="item-col">{props.data.price}</div> <div className="item-col">{count}</div> </div> )}export default ListItem |
list.css
1 2 3 4 5 6 7 8 9 10 11 12 13 14 15 | .item-row { margin-top: 20px; display: flex;}.item-col { width: 100px; height: 30px; border: 1px solid #000000;}.item-col-count { background-color: #ffffff;}.item-col-count-s { background-color: red;} |
将来的自己,会感谢现在不放弃的自己!


【推荐】国内首个AI IDE,深度理解中文开发场景,立即下载体验Trae
【推荐】编程新体验,更懂你的AI,立即体验豆包MarsCode编程助手
【推荐】抖音旗下AI助手豆包,你的智能百科全书,全免费不限次数
【推荐】轻量又高性能的 SSH 工具 IShell:AI 加持,快人一步
· AI与.NET技术实操系列:基于图像分类模型对图像进行分类
· go语言实现终端里的倒计时
· 如何编写易于单元测试的代码
· 10年+ .NET Coder 心语,封装的思维:从隐藏、稳定开始理解其本质意义
· .NET Core 中如何实现缓存的预热?
· 分享一个免费、快速、无限量使用的满血 DeepSeek R1 模型,支持深度思考和联网搜索!
· 基于 Docker 搭建 FRP 内网穿透开源项目(很简单哒)
· 25岁的心里话
· ollama系列01:轻松3步本地部署deepseek,普通电脑可用
· 按钮权限的设计及实现