Python-PyQt5的安装与简单使用
一、安装
1、安装 PyQt5 和 PyQt5-tools
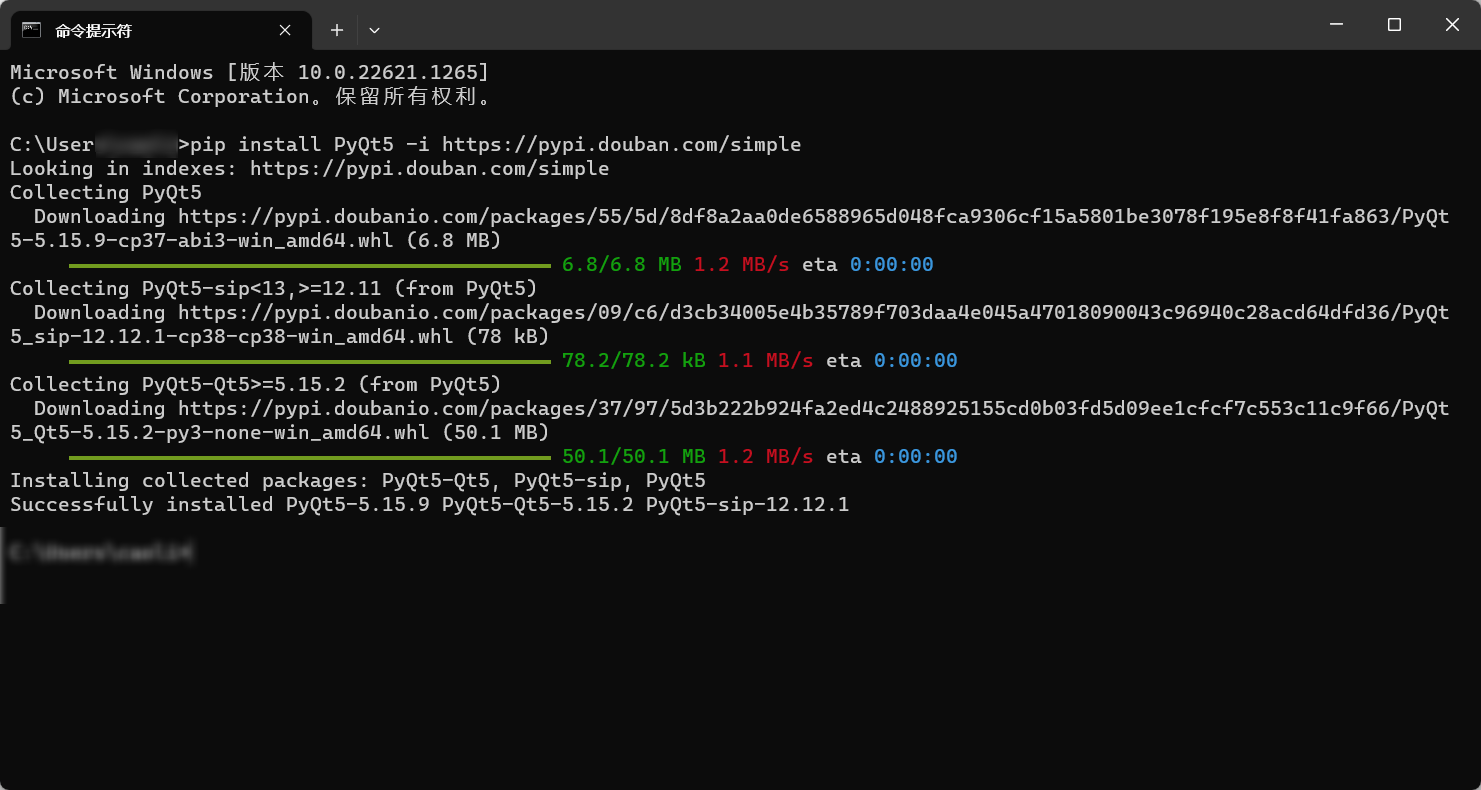
pip install PyQt5 -i https://pypi.douban.com/simple
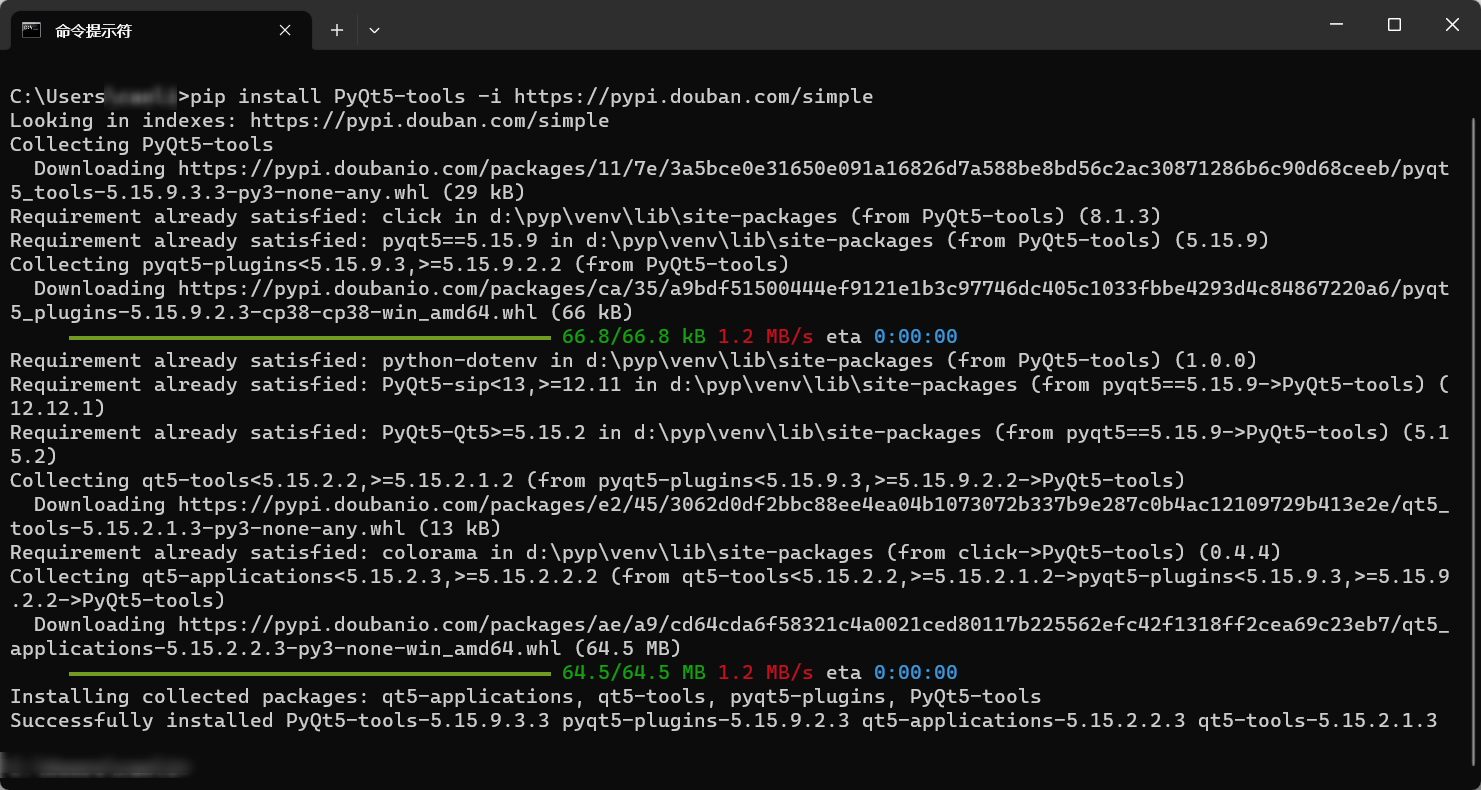
pip install PyQt5-tools -i https://pypi.douban.com/simple
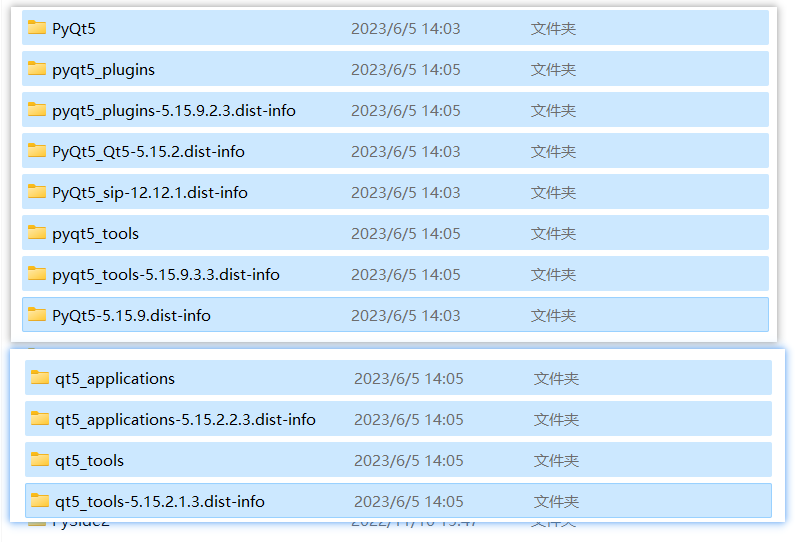
安装结果查看
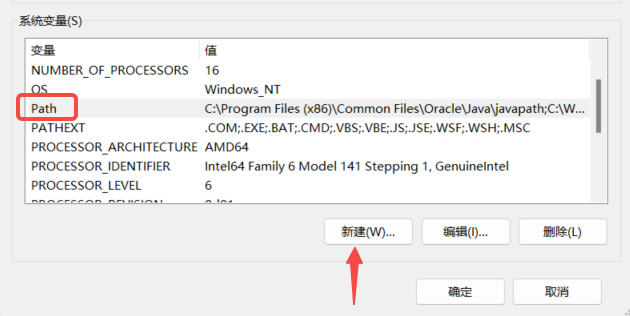
2、配置环境变量
在系统变量Path中添加pyqt5-tools目录的绝对路径
3、安装qtdesigner
路径在 %Python_path%\Lib\site-packages\qt5_applications\Qt\bin\designer.exe

双击即可直接使用
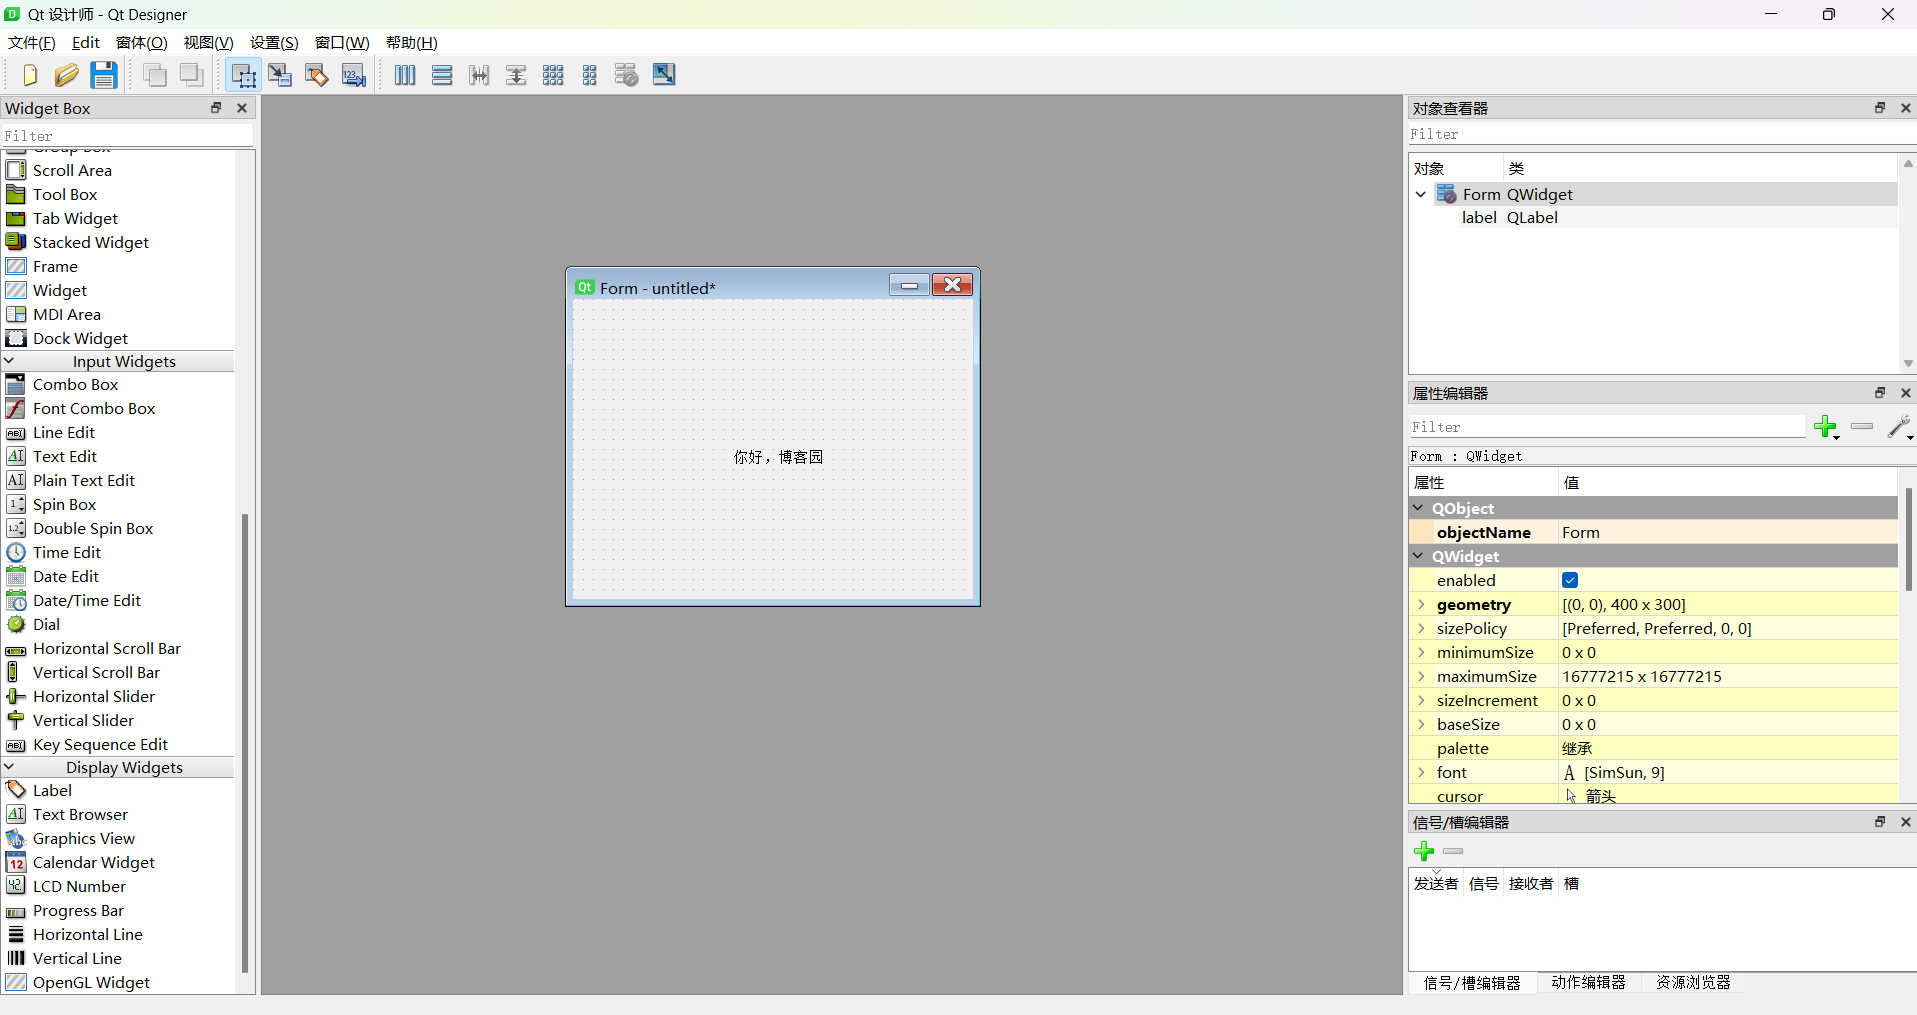
4、新建.py文件验证安装结果
# -*- coding:UTF-8 -*-
import sys
from PyQt5.QtWidgets import QWidget, QApplication

app = QApplication(sys.argv)
widget = QWidget()
widget.resize(520, 180)
widget.setWindowTitle("你好, 博客园!")
widget.show()
sys.exit(app.exec())
出现下面窗口即为成功

二、Pycharm配置PyQt5
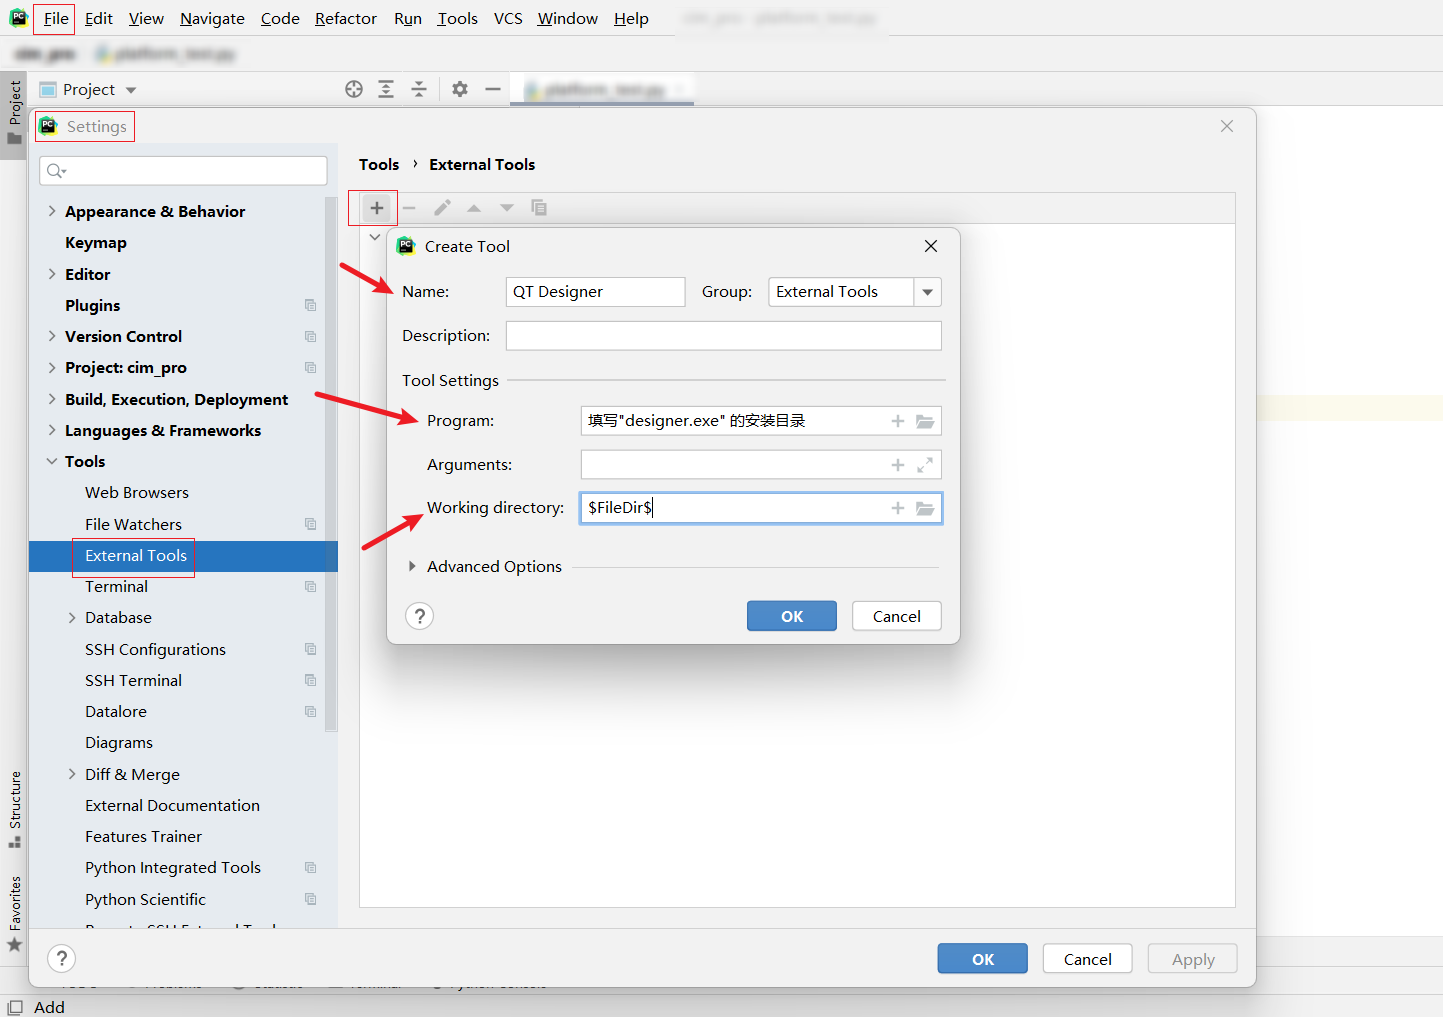
1、添加 QT Designer
- Name:QT Designer
- Program:选择"designer.exe"的安装目录(%Python_path%\Lib\site-packages\qt5_applications\Qt\bin\designer.exe)
- Working directory:$FileDir$
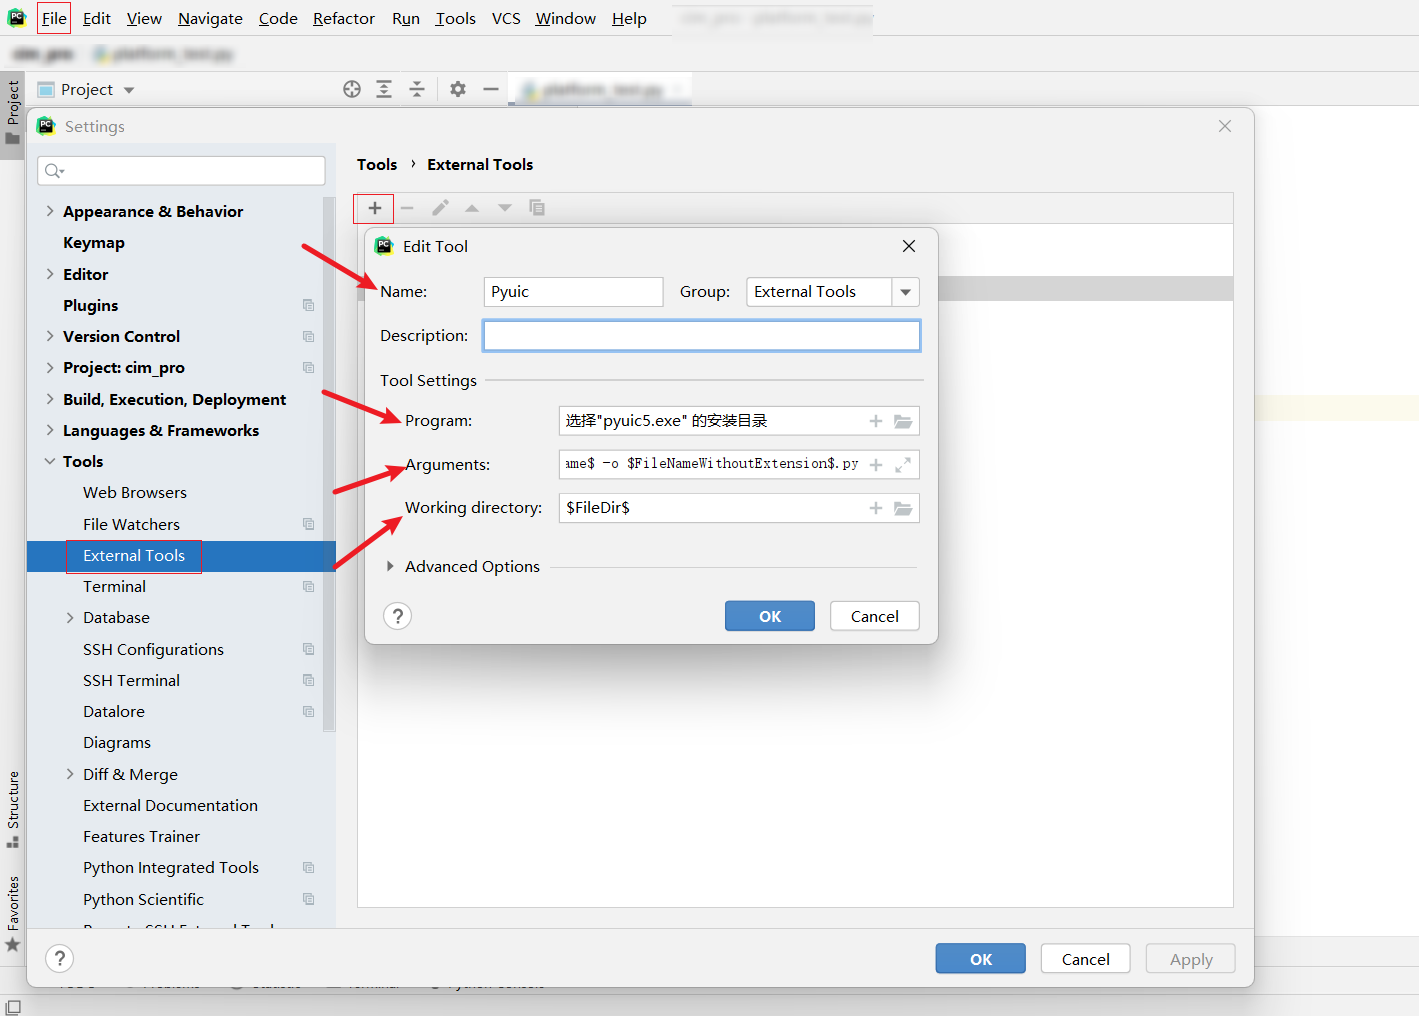
2、添加 Pyuic
- Name:Pyuic
- Program:选择"Pyuic.exe"的安装目录(%Python_path%\Scripts\pyuic5.exe)
- Arguments:$FileName$ -o $FileNameWithoutExtension$.py
- Working directory:$FileDir$
3、新建.ui文件,保存
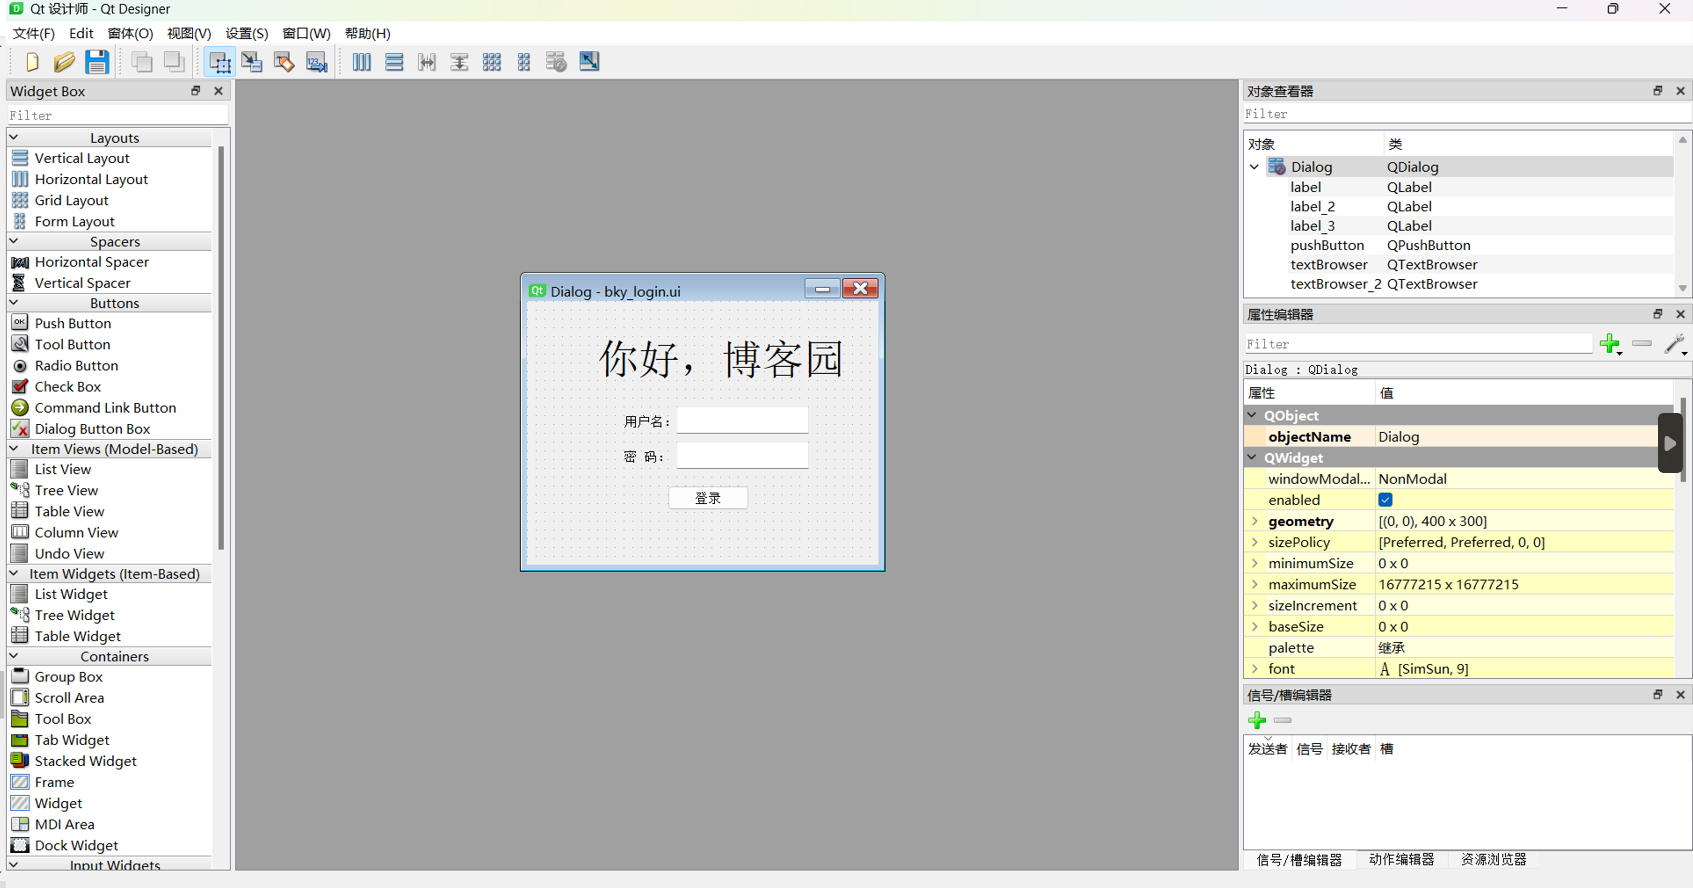
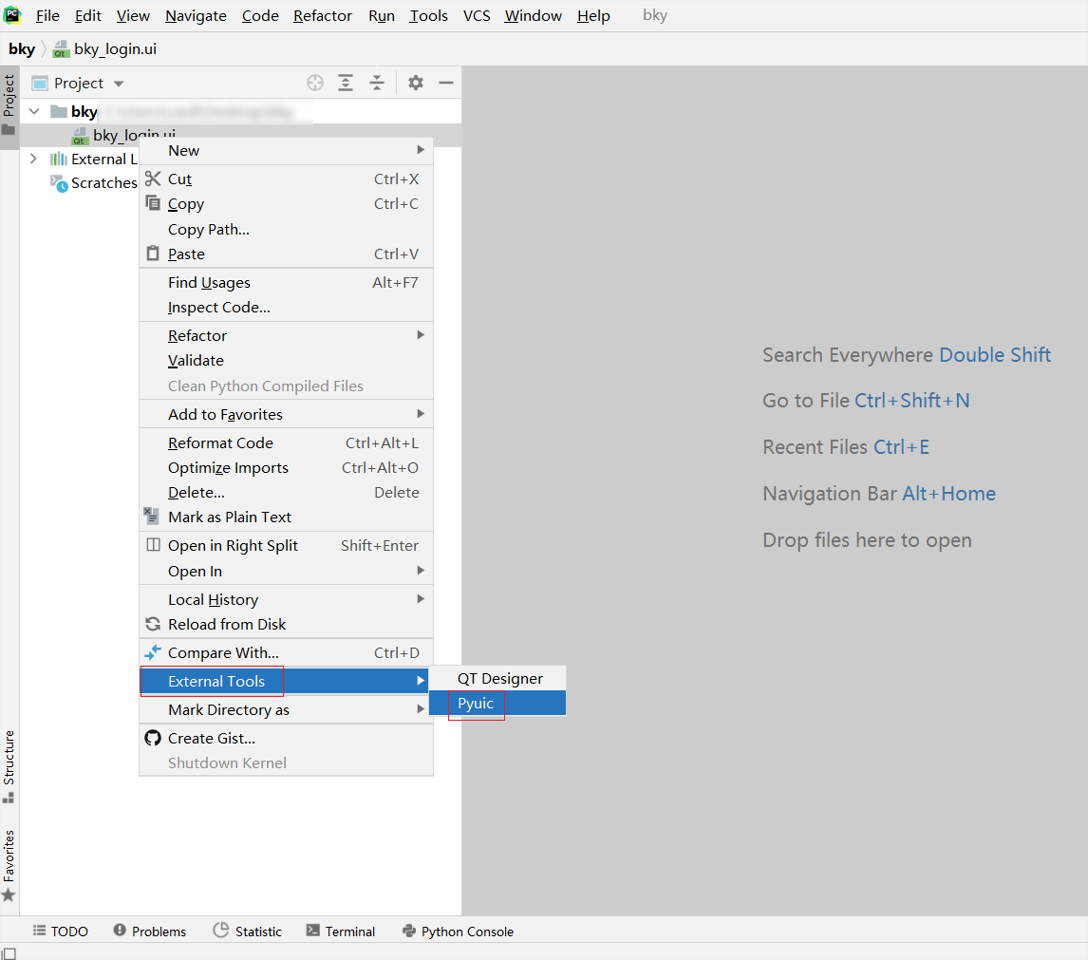
4、选择.ui文件右键将.ui文件转换为.py文件
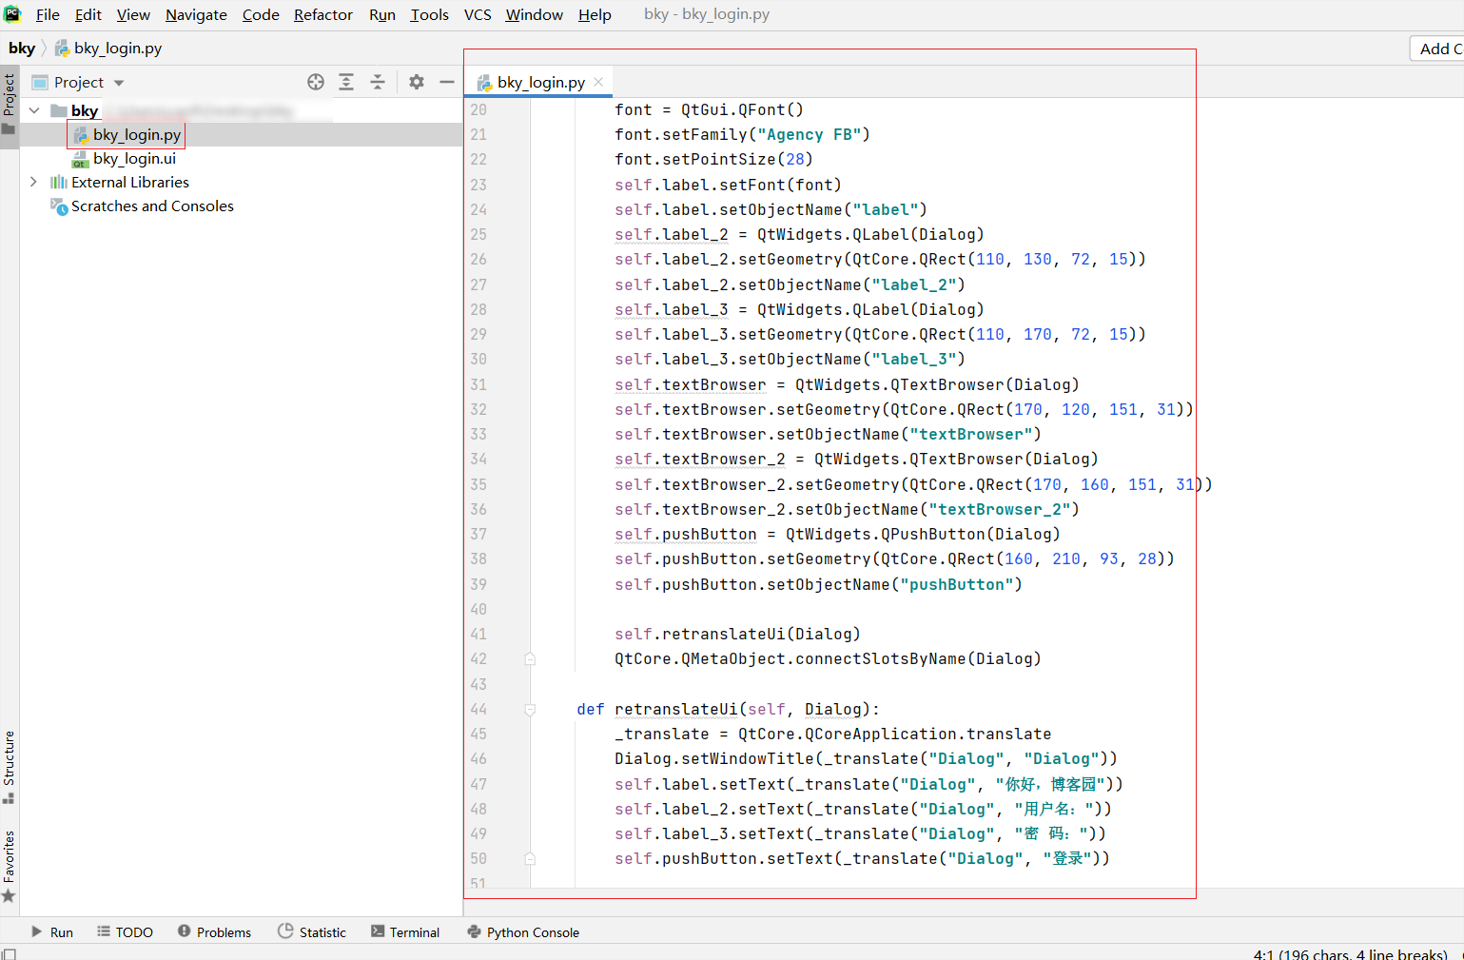
转换成功
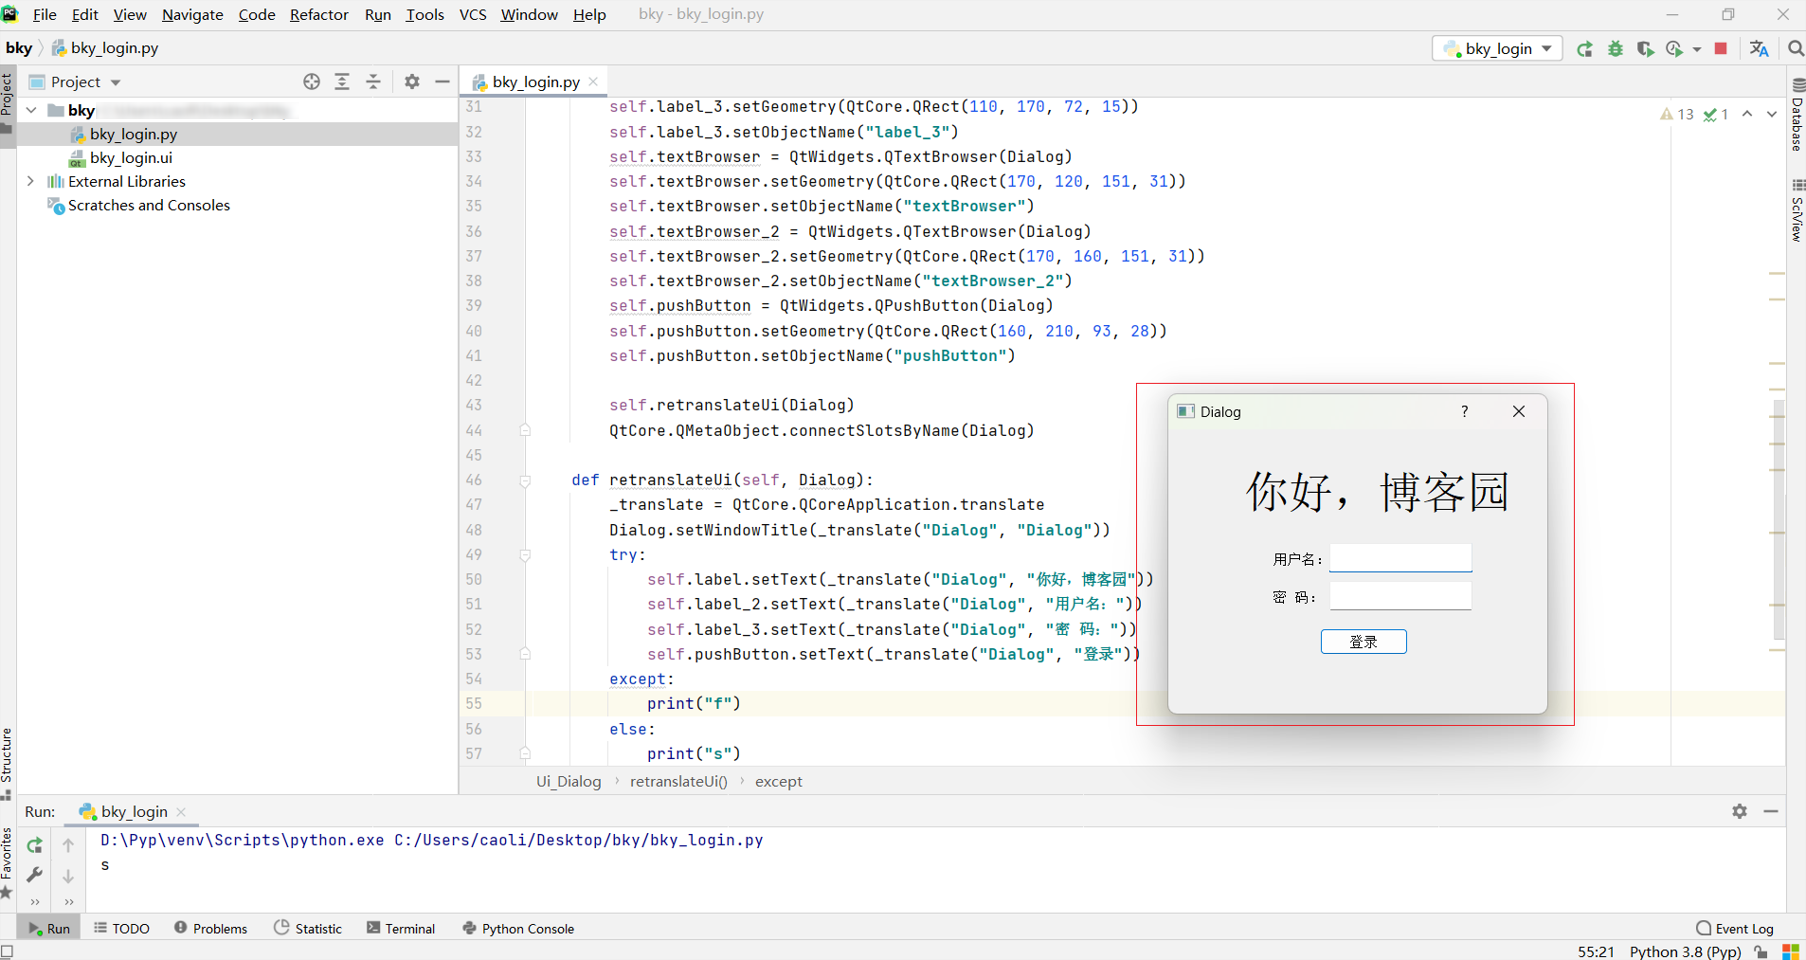
运行
附:


 浙公网安备 33010602011771号