Mac下安装配置NMP环境
第一次在Mac上安装NMP,记录下
因为下面环境的安装都是基于homebrew的,所以如果没有安装他的话,要先安装他(官网:https://brew.sh/index_zh-cn.html)
- 安装homebrew
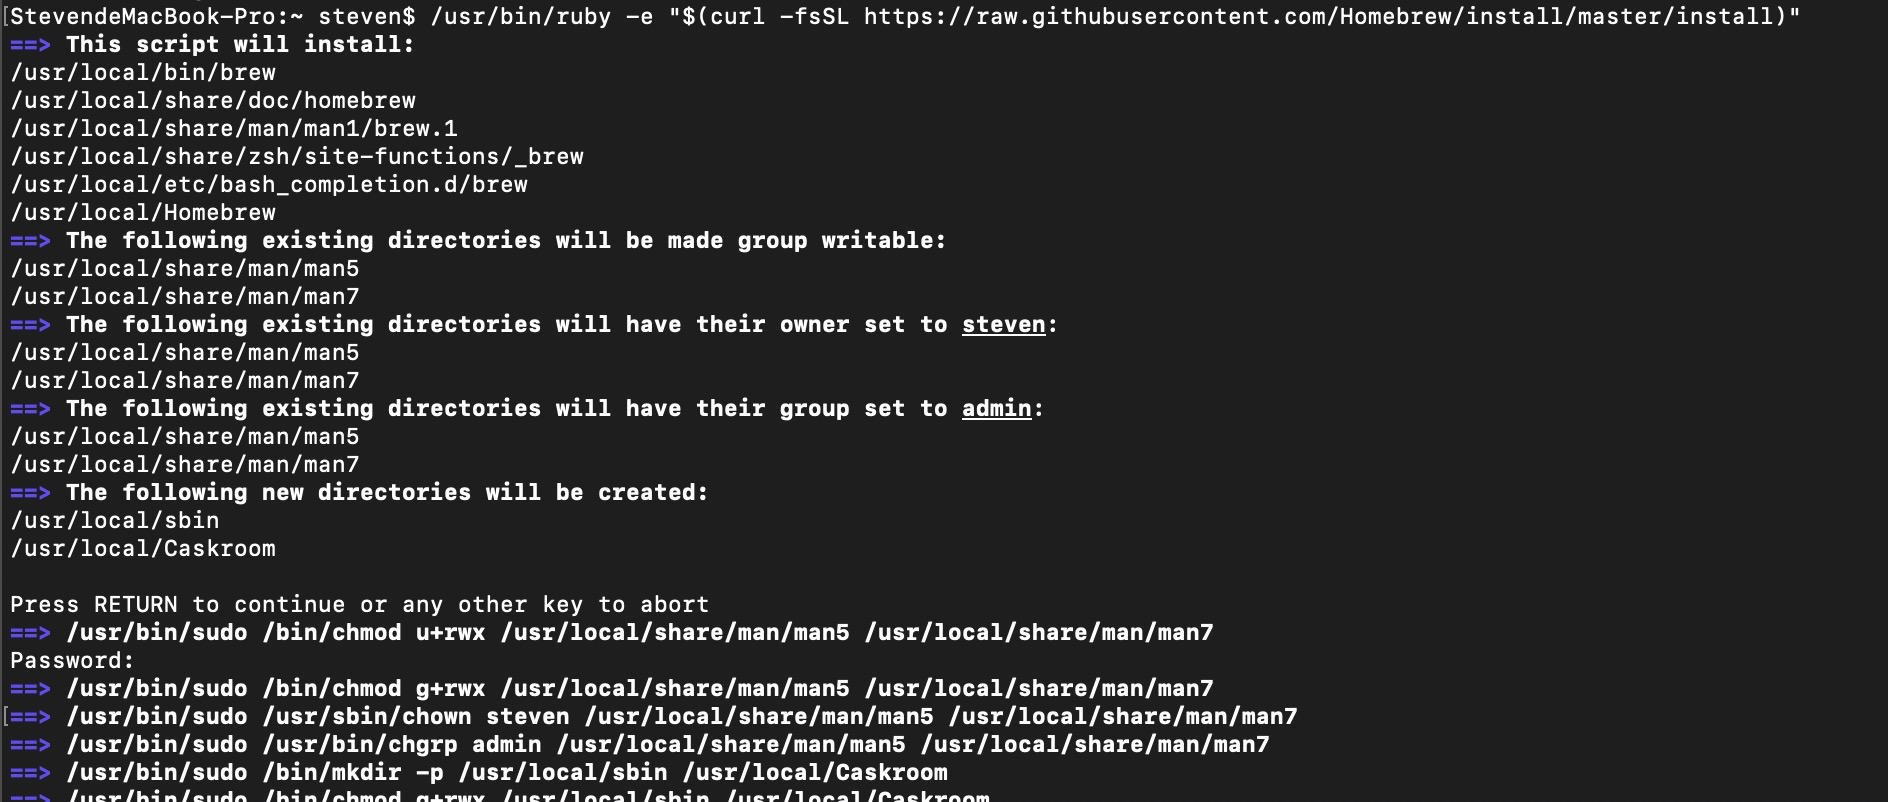
ruby -e "$(curl -fsSL https://raw.githubusercontent.com/Homebrew/install/master/install)"

等待安装即可
- 安装nginx
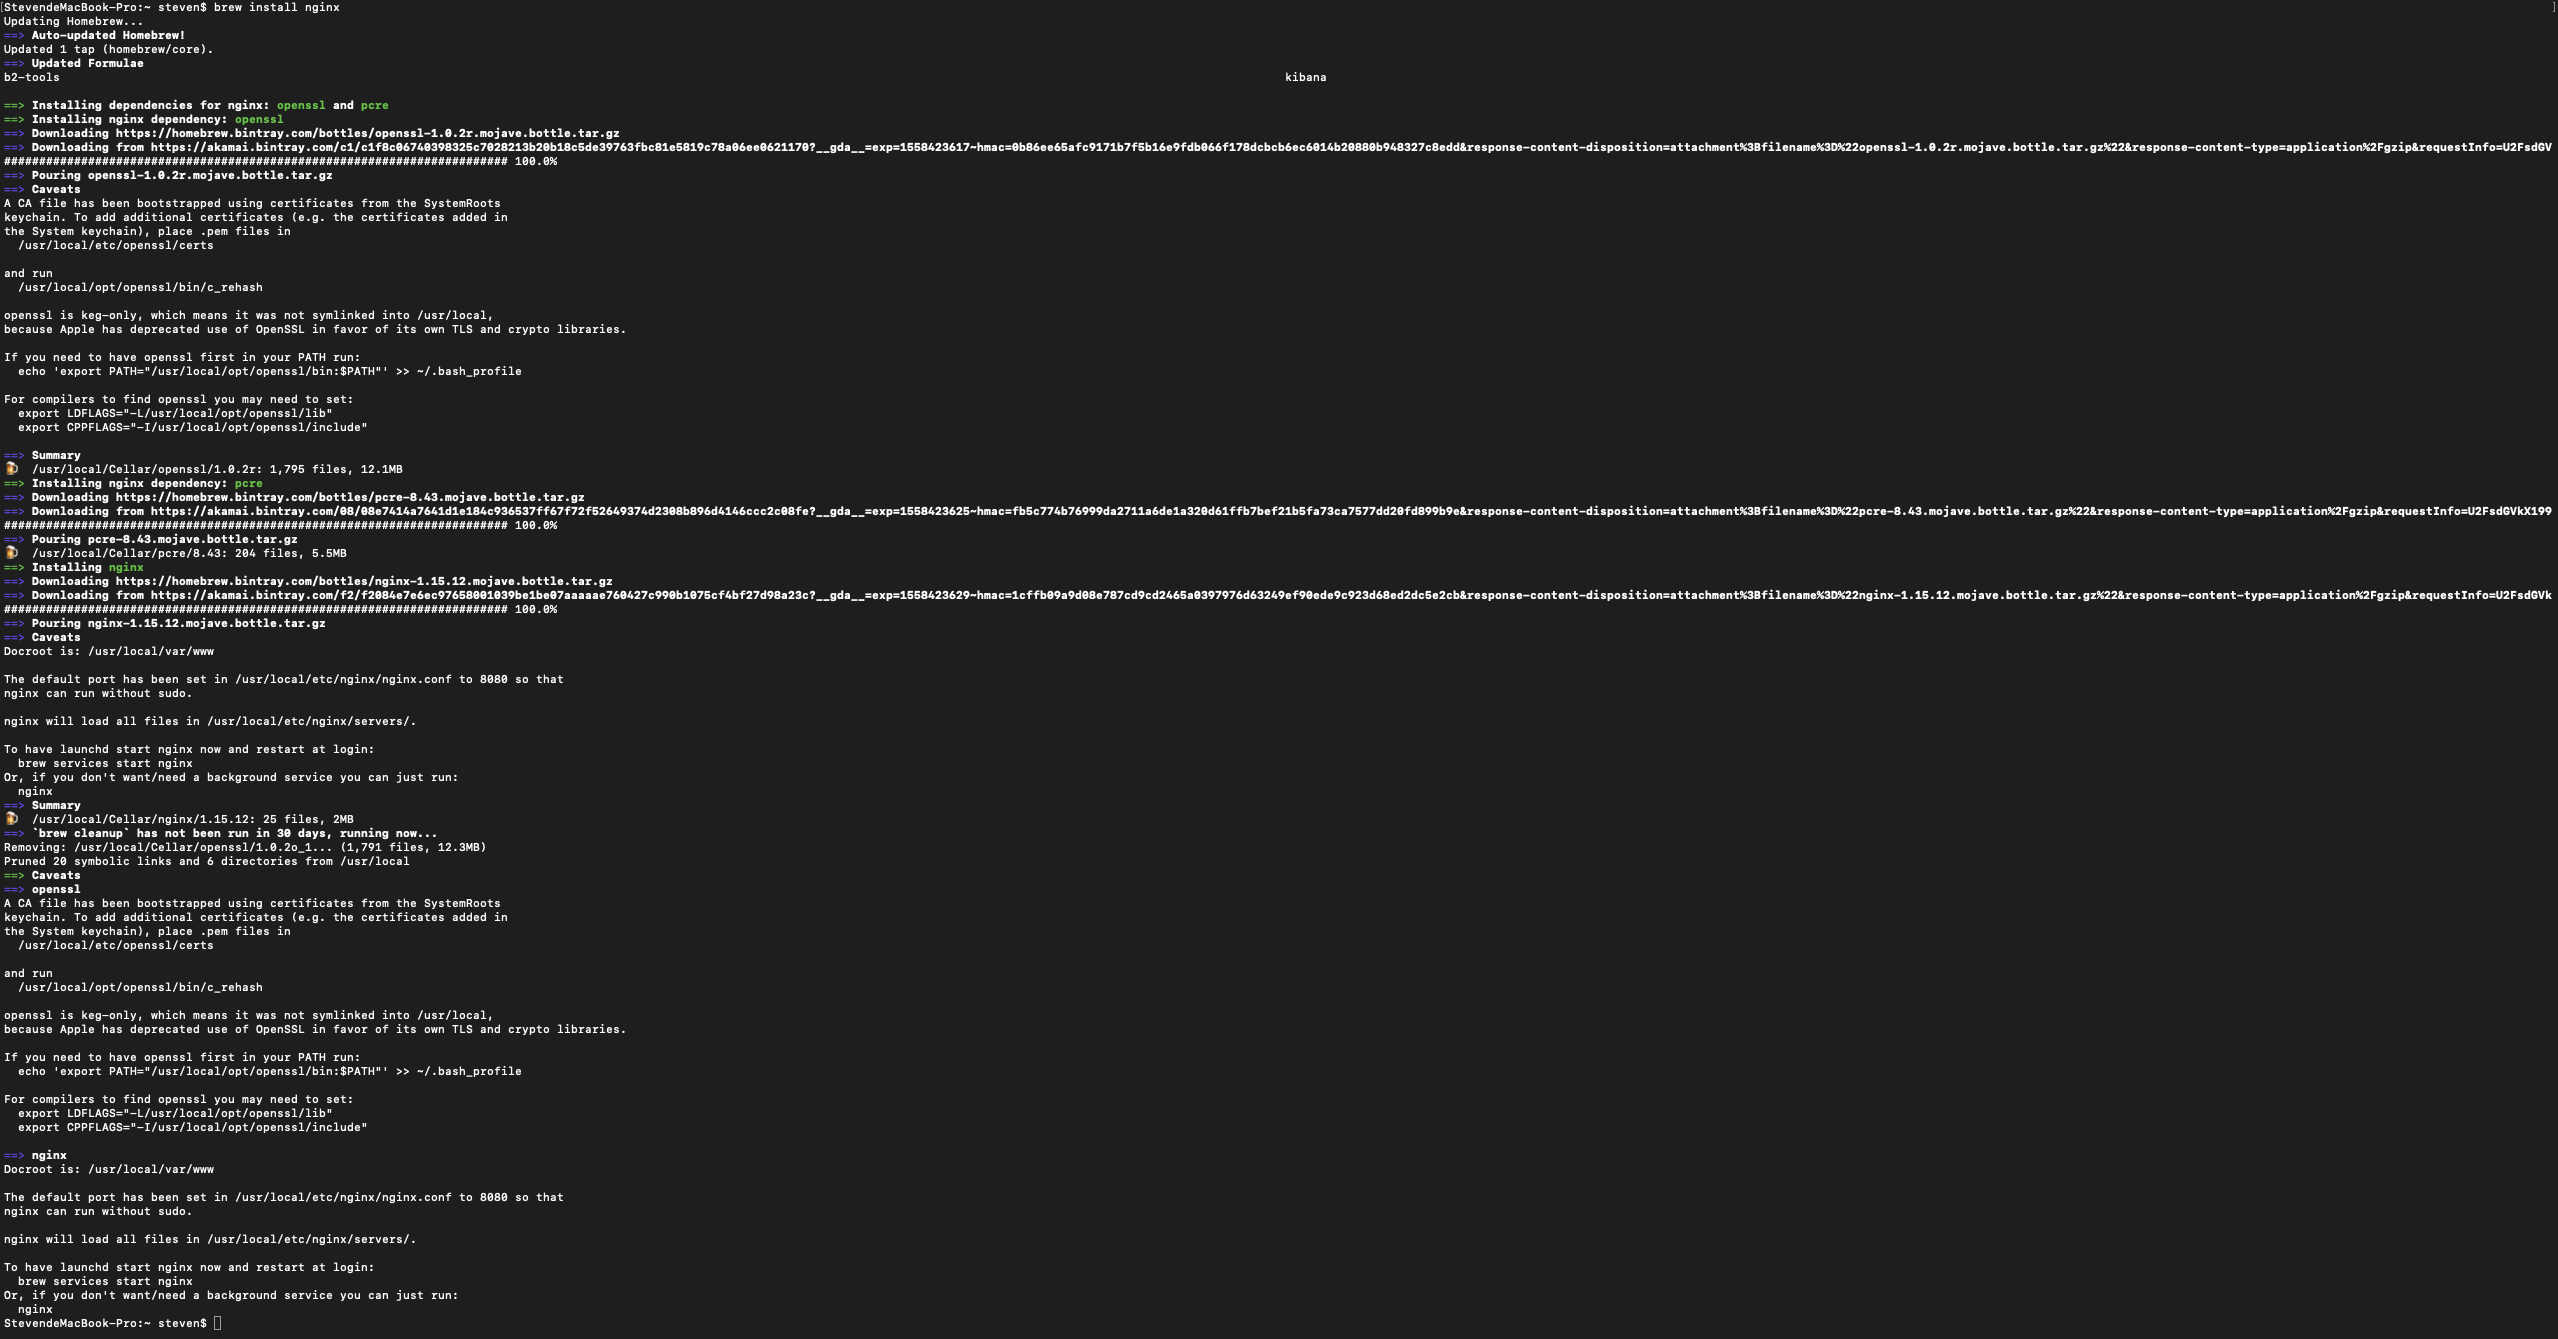
brew install nginx
注意:安装过程中会将一些安装的信息告诉你,省的你到处找:
Docroot is: /usr/local/var/www
nginx will load all files in /usr/local/etc/nginx/servers/The default port has been set in /usr/local/etc/nginx/nginx.conf to 8080 so that
nginx can run without sudo.To have launchd start nginx now and restart at login:
brew services start nginx
Or, if you don't want/need a background service you can just run:
nginx
等。
安装成功,启动Nginx:sudo nginx启动成功后,测试是否成功:
curl -IL http://127.0.0.1:8080
不出意外的话,得到的信息:
HTTP/1.1 200 OK
Server: nginx/1.15.12
Date: Tue, 21 May 2019 07:17:40 GMT
Content-Type: text/html
Content-Length: 612
Last-Modified: Tue, 16 Apr 2019 14:55:03 GMT
Connection: keep-alive
ETag: "5cb5ecc7-264"
Accept-Ranges: bytes
其他命令:
#打开 nginx
 sudo nginx
 #重新加载配置|重启|停止|退出 nginx
 nginx -s reload|reopen|stop|quit
#测试配置是否有语法错误
nginx -t
设置开机启动:
cp /usr/local/Cellar/nginx/1.2.6/homebrew.mxcl.nginx.plist ~/Library/LaunchAgents/
3 launchctl load -w ~/Library/LaunchAgents/homebrew.mxcl.nginx.plist
- Mysql安装
brew install mysql
执行完后,就可以在终端里运行 "mysql",直接进入mysql数据库里。对,不用输入密码,可以直接连接,初始默认是可以匿名访问的。超级用户 "root" 也是没设密码,要设密码的话可以执行下面指令
/usr/local/opt/mysql/bin/mysqladmin -u root password 'new-password'
现在访问 mysql 还是不用密码就可以连接,如果要设置一些登陆密码的安全访问限制,则需执行下面的 mysql安全安装指令
/usr/local/opt/mysql/bin/mysql_secure_installation
主要是设置修改root密码(设置过了可以不用设置,略过)、删除匿名访问、删除root网络访问、删除test数据库。指令执行完后,登陆mysql就需要密码验证了
mysql -u root -p
设置开机启动“
cp /usr/local/Cellar/mysql/5.5.28/homebrew.mxcl.mysql.plist ~/Library/LaunchAgents/
launchctl load -w ~/Library/LaunchAgents/homebrew.mxcl.mysql.plist
至此,mysql安装完毕。
安装php-fpm
因为篇幅太长,所以单独写了一篇文章,参考Mac安装PHP(Homebrew/php弃用、其他第三方tap也已经弃用或者迁移后的安装配置方案)


