Linux入门之MySQL安装及Nginx部署简单项目
1.安装MySQL
(1)卸载CentOS7系统自带的mariadb,因为会与MySQL冲突
#先检查有没有安装mariadb
rpm -qa|grep mariadb
#我有个mariadb-libs-5.5.56-2.el7.x86_64,把它给卸载了
#mariadb-libs-5.5.56-2.el7.x86_64
rpm -e --nodeps mariadb-libs-5.5.56-2.el7.x86_64
#再次查看,mariadb已删除
rpm -qa|grep mariadb
(2)安装libaio、perl、net-tools库,要不就会报错。
yum -y install libaio perl net-tools
(3)建立自己的文件夹保存安装包(没有就创建一个,命令不会请看下这个linux常用命令)
cd /usr/local/mytools
rz命令上传自己的mysql压缩包到此目录下
(4)建个目录并将安装文件解压到此目录
mkdir /usr/local/mysql-5.7.30
cd /usr/local/mytools
tar -xvf mysql-5.7.30-1.el7.x86_64.rpm-bundle.tar -C /usr/local/mysql-5.7.30
(5)进入目录准备安装
cd /usr/local/mysql-5.7.30
#开始安装,-ivh 其中i表示安装,v表示显示安装过程,h表示显示进度,下面轮着来一遍
rpm -ivh mysql-community-common-5.7.30-1.el7.x86_64.rpm
rpm -ivh mysql-community-libs-5.7.30-1.el7.x86_64.rpm
rpm -ivh mysql-community-client-5.7.30-1.el7.x86_64.rpm
rpm -ivh mysql-community-server-5.7.30-1.el7.x86_64.rpm
(6)启动服务:systemctl start mysqld
(7)查看临时密码:grep "password" /var/log/mysqld.log
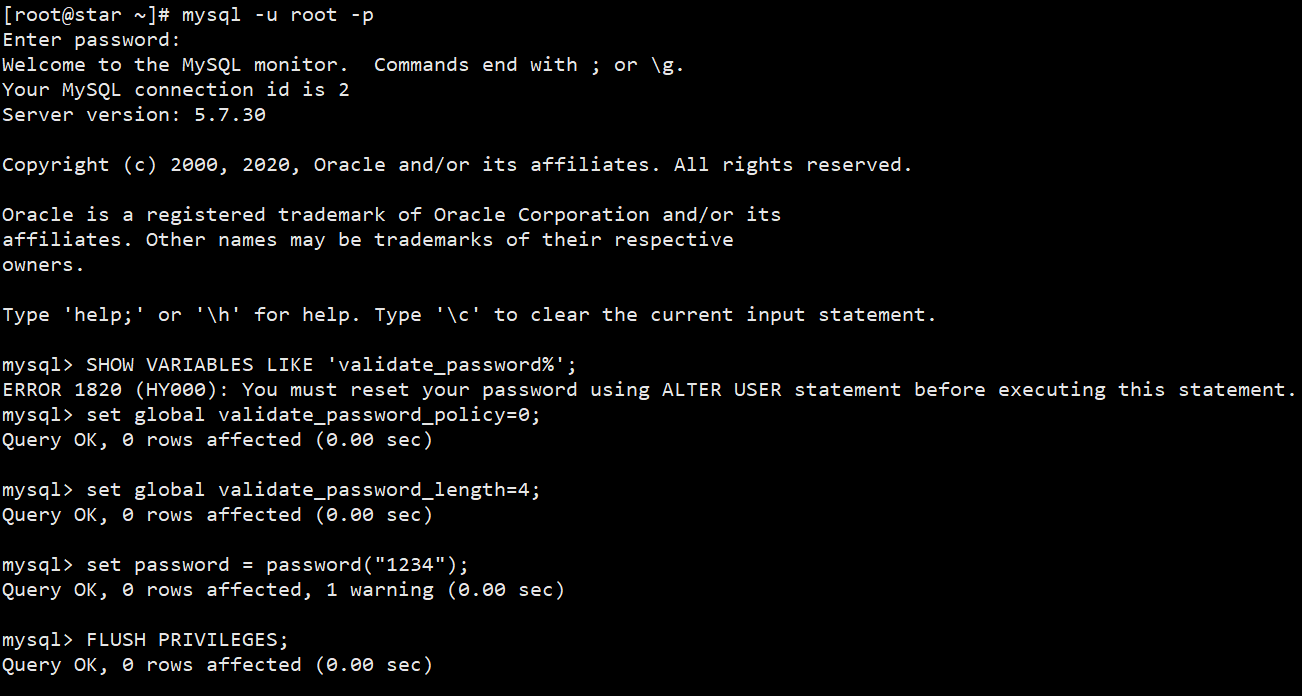
(8)登陆mysql:mysql -u root -p
(9)#因为是本地测试环境,所以想把密码改的简单点
#查看mysql初始的密码策略:
SHOW VARIABLES LIKE 'validate_password%';
#设置密码校验策略(0 or LOW),要不密码太LOW不让你过
set global validate_password_policy=0;
#设置密码校验长度,要不密码太短不让你过(多次测试发现密码最小长度为4位)
set global validate_password_length=4;
#更新密码
set password = password("1234");
#输入后使修改生效还需要下面的语句
FLUSH PRIVILEGES;
#可以退出,试试用新密码重新登录
exit
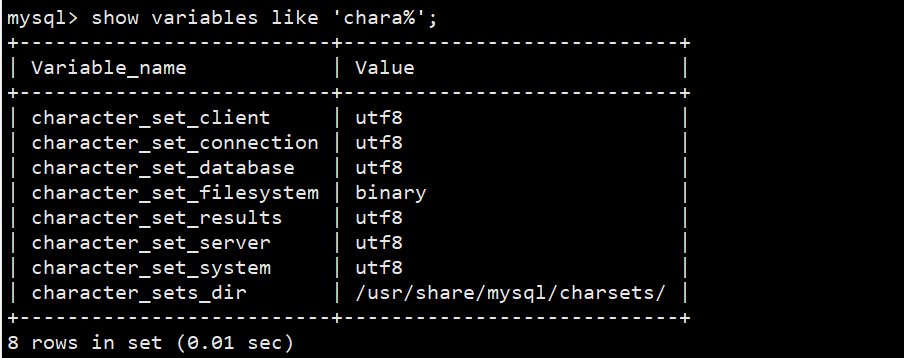
(10)修改mysql的字符集为utf8
#登陆mysql之后,可以通过如下命令查看mysql的字符集
show variables like 'chara%';
quit;
#以下命令为linux命令
#修改配置文件设置 MySQL 字符集为 UTF-8
vim /etc/my.cnf
[mysqld]
#在mysqld最下面加入二行代码
character-set-server=utf8
collation-server=utf8_general_ci
重新启动服务后可以看到如下:
(11).Centos7下无法远程连接mysql数据库
1.数据库没有授权,允许以root身份远程登录mysql
GRANT ALL PRIVILEGES ON *.* TO 'root'@'%' IDENTIFIED BY '1234' WITH GRANT OPTION;

报错在执行一遍第9步,因为上面设置密码长度没有生效,成功像这样:

#输入后使修改生效还需要下面的语句
FLUSH PRIVILEGES;
#服务器防火墙没有开放3306端口 ,开放此端口可远程链接数据库。
  firewall-cmd --zone=public --add-port=3306/tcp --permanent
  firewall-cmd --reload
  firewall-cmd --list-port
  firewall-cmd --query-port=3306/tcp
(12)打开自己的navicat用IP地址连接数据库,进入tomcat远程发布自己的后端项目(war包)。
2.安装Nginx
(1)添加 nginx 官方提供的 yum 源(需要联网且时间较长)
rpm -Uvh http://nginx.org/packages/centos/7/x86_64/RPMS/nginx-1.14.2-1.el7_4.ngx.x86_64.rpm
(2)使用 yum 安装 nginx,yum方式安装nginx,它的安装根目录为/etc/nginx
yum install nginx
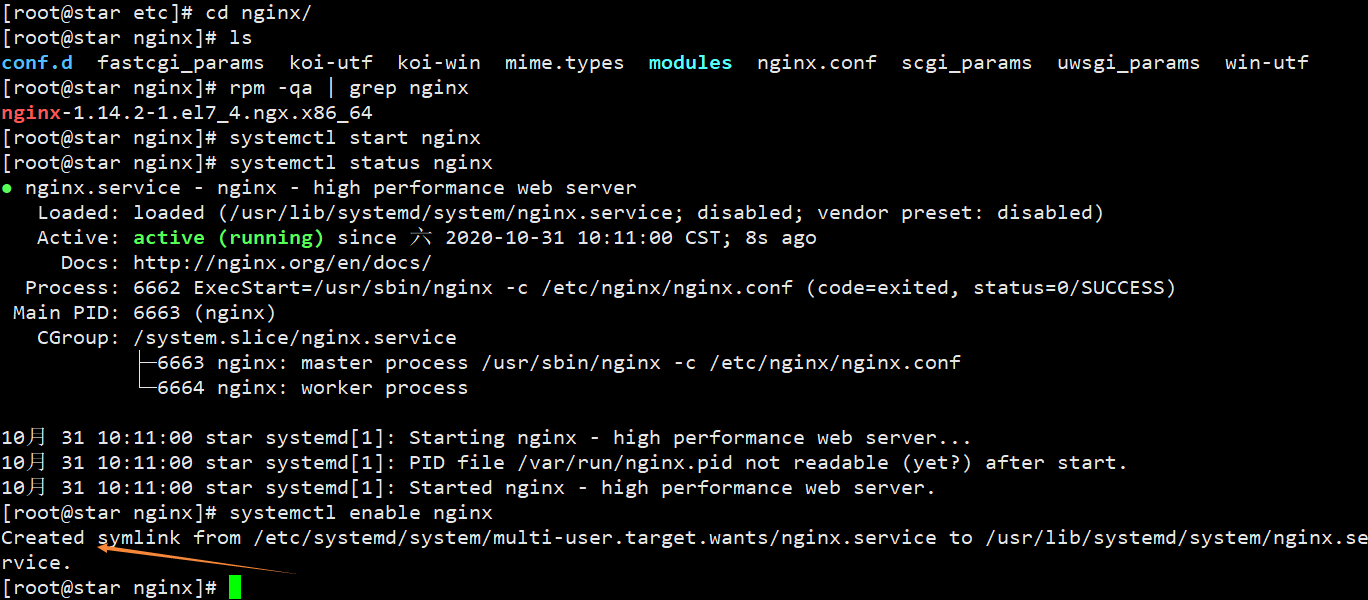
(3)查看Nginx版本:rpm -qa | grep nginx
(4)启动及设置开机启动
systemctl start nginx.service
systemctl enable nginx.service
(5)设置防火墙开放 80 端口
firewall-cmd --zone=public --add-port=80/tcp --permanent
firewall-cmd --reload && firewall-cmd --list-port
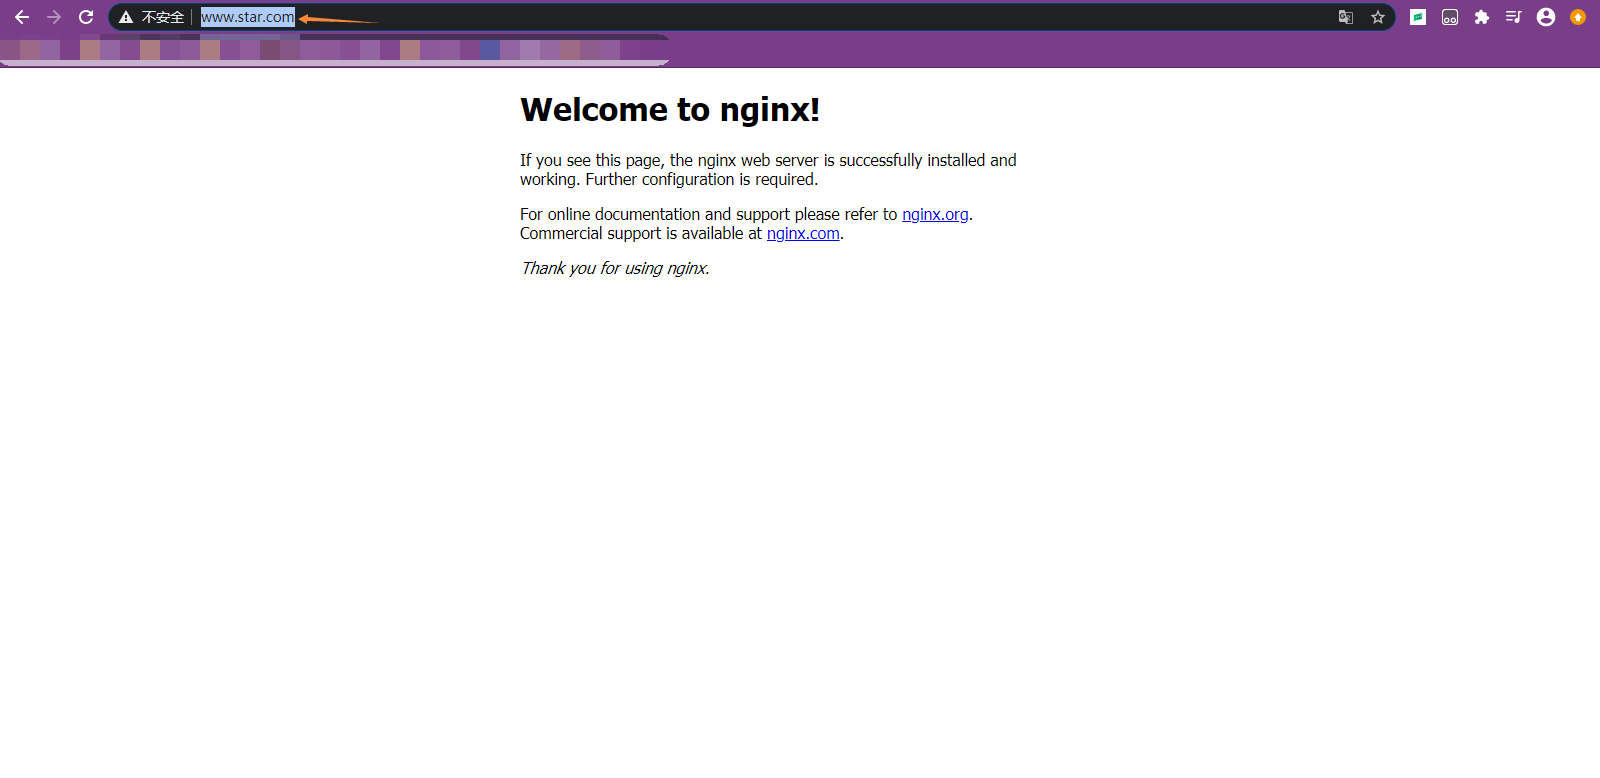
(6)测试 nginx 是否可被访问,应该显示nginx的欢迎界面
http://IP地址:80

3.部署项目
1.将SPA项目压缩并上传到/usr/nginx/html目录,再解压
mkdir -p /usr/nginx/html
rz 选中自己的前段项目上传(打包后的)
unzip 项目名 解压项目

2.通过虚拟域名访问,还要修改window的hosts文件添加虚拟域名映射(为了模拟真实的域名访问项目),文件位置如下:
C:\Windows\System32\drivers\etc\hosts
将此文件复制到d硬盘任一目录,修改后,再复制替换C:\Windows\System32\drivers\etc\hosts原文件

然后在浏览器访问:
3.通过nginx对tomcat进行集群及代理,对此文件进行相关配置
#进入conf.d目录,并对default.conf进行备份
cd /etc/nginx/conf.d && cp default.conf default.conf.bak
我们编辑/etc/nginx/nginx.conf配置文件

下面是模版,根据自己的项目修改相应设置
#user  nobody;
worker_processes  1;

#error_log  logs/error.log;
#error_log  logs/error.log  notice;
#error_log  logs/error.log  info;

#pid        logs/nginx.pid;


events {
    worker_connections  1024;
}


http {
    include       mime.types;
    default_type  application/octet-stream;

    #log_format  main  '$remote_addr - $remote_user [$time_local] "$request" '
    #                  '$status $body_bytes_sent "$http_referer" '
    #                  '"$http_user_agent" "$http_x_forwarded_for"';

    #access_log  logs/access.log  main;

    sendfile        on;
    #tcp_nopush     on;

    #keepalive_timeout  0;
    keepalive_timeout  65;

    #gzip  on;


    #服务器的集群
    upstream  tomcat_list {  #服务器集群名字
        server    127.0.0.1:8080  weight=1;   #服务器1   weight是权重的意思,权重越大,分配的概率越大。
        #server    172.17.0.4:8080  weight=2; #服务器2   weight是权重的意思,权重越大,分配的概率越大
    }

    server {
        listen       80;            #监听80端口,可以改成其他端口
        #server_name  localhost;    #当前服务的域名
    server_name  www.star.com; #当前服务的域名(虚拟域名也可以)
    root         html/crm;      #将要访问的网站的根目录,nginx节点会自动继承父节点的配置

        #charset koi8-r;

        #access_log  logs/host.access.log  main;

    location / {
            #该句代码是为解决history路由不能跳转的问题,在vue-router官网有介绍
        try_files $uri $uri/  /index.html;
    }
    location  ^~/api/ {
        #^~/api/表示匹配前缀是api的请求,proxy_pass的结尾有/, 则会把/api/*后面的路径直接拼接到后面,即移除api
        proxy_pass http://tomcat_list/;
    }
        #error_page  404              /404.html;

        # redirect server error pages to the static page /50x.html
        #
        error_page   500 502 503 504  /50x.html;
        location = /50x.html {
            root   html;
        }

        # proxy the PHP scripts to Apache listening on 127.0.0.1:80
        #
        #location ~ \.php$ {
        #    proxy_pass   http://127.0.0.1;
        #}

        # pass the PHP scripts to FastCGI server listening on 127.0.0.1:9000
        #
        #location ~ \.php$ {
        #    root           html;
        #    fastcgi_pass   127.0.0.1:9000;
        #    fastcgi_index  index.php;
        #    fastcgi_param  SCRIPT_FILENAME  /scripts$fastcgi_script_name;
        #    include        fastcgi_params;
        #}

        # deny access to .htaccess files, if Apache's document root
        # concurs with nginx's one
        #
        #location ~ /\.ht {
        #    deny  all;
        #}
    }


    # another virtual host using mix of IP-, name-, and port-based configuration
    #
    #server {
    #    listen       8000;
    #    listen       somename:8080;
    #    server_name  somename  alias  another.alias;

    #    location / {
    #        root   html;
    #        index  index.html index.htm;
    #    }
    #}


    # HTTPS server
    #
    #server {
    #    listen       443 ssl;
    #    server_name  localhost;

    #    ssl_certificate      cert.pem;
    #    ssl_certificate_key  cert.key;

    #    ssl_session_cache    shared:SSL:1m;
    #    ssl_session_timeout  5m;

    #    ssl_ciphers  HIGH:!aNULL:!MD5;
    #    ssl_prefer_server_ciphers  on;

    #    location / {
    #        root   html;
    #        index  index.html index.htm;
    #    }
    #}

}
4.报错信息:查看nginx的访问日志和错误日志
/var/log/nginx/access.log
/var/log/nginx/error.log

nginx这时是访问不了后台tomcat的,因为权限问题,详情参考这篇 解决Nginx的connect() to 127.0.0.1:8080 failed (13: Permission denied) while connect
解决办法就是执行下面命令:
setsebool -P httpd_can_network_connect 1
5.重新启动Nginx服务:
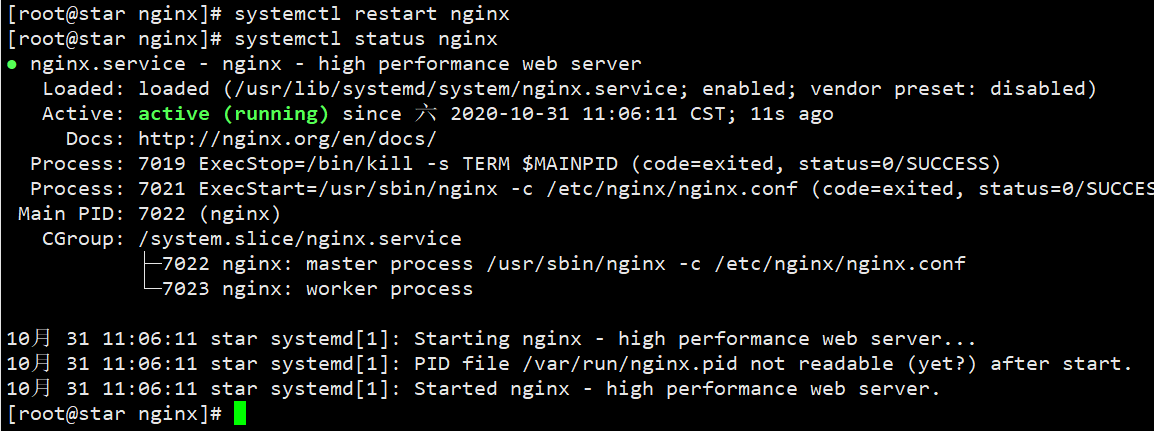
访问域名(登录是Vue静态页面):
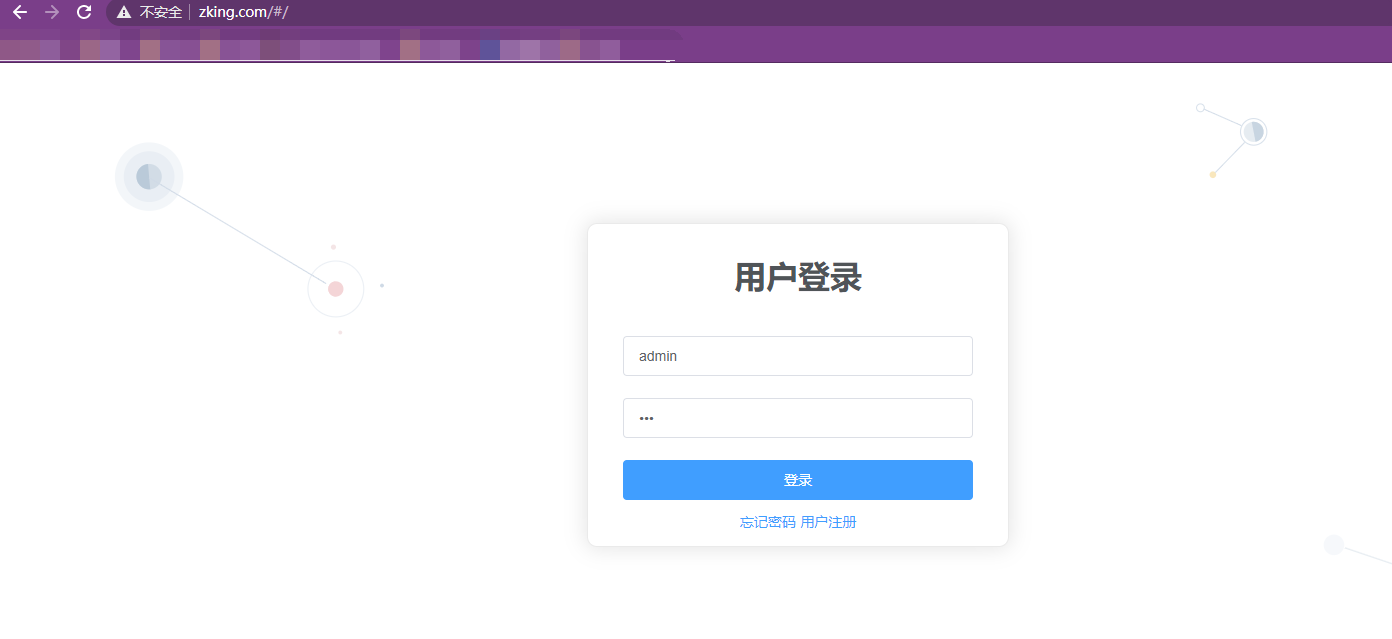
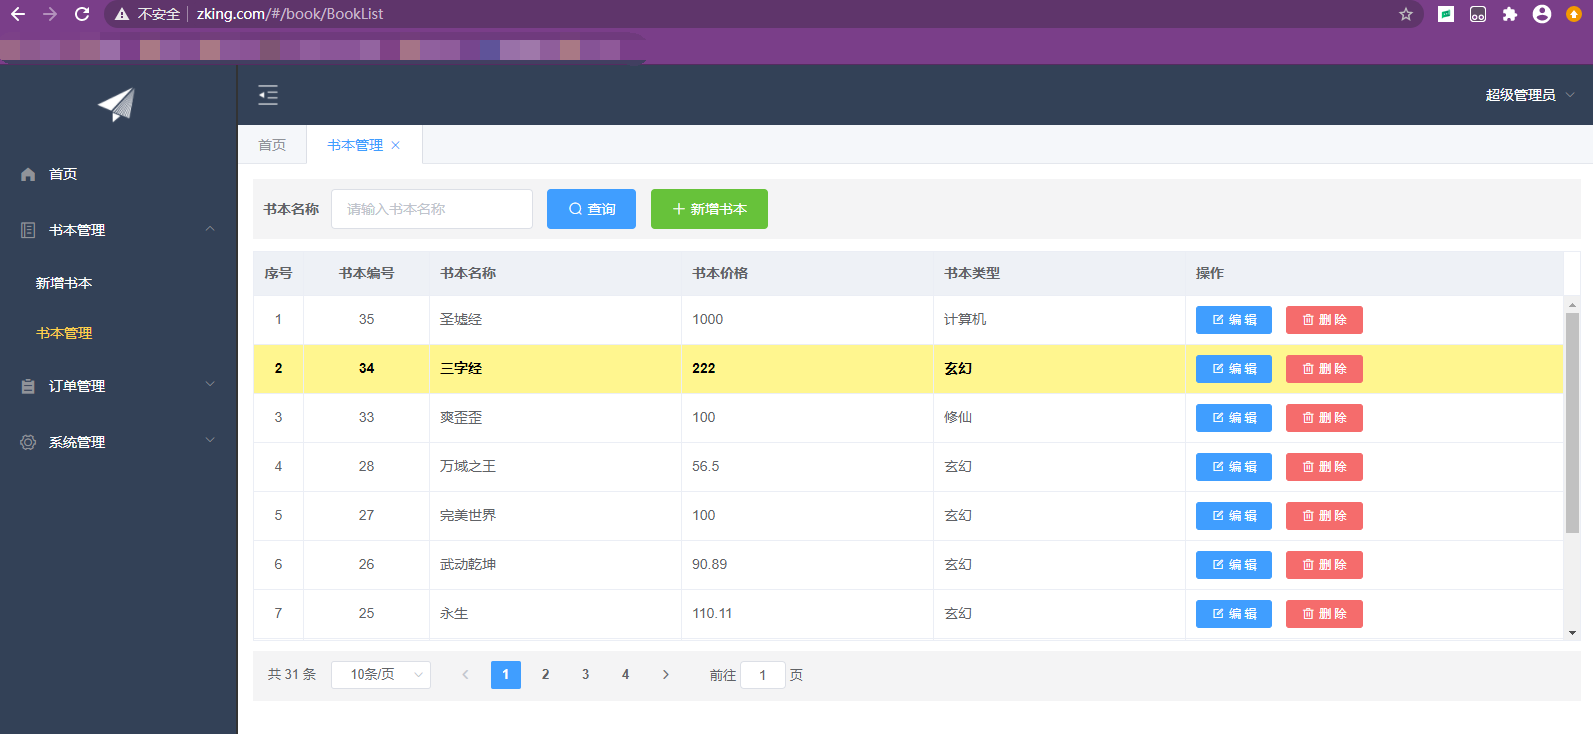
登录后页面可以访问证明项目部署成功:

 浙公网安备 33010602011771号